
Grow Your Own Chia Pet! A One-Of-A-Kind DIY Ornament
Posted September 6, 2017 in DIY (Crafts) by Dianne Weller
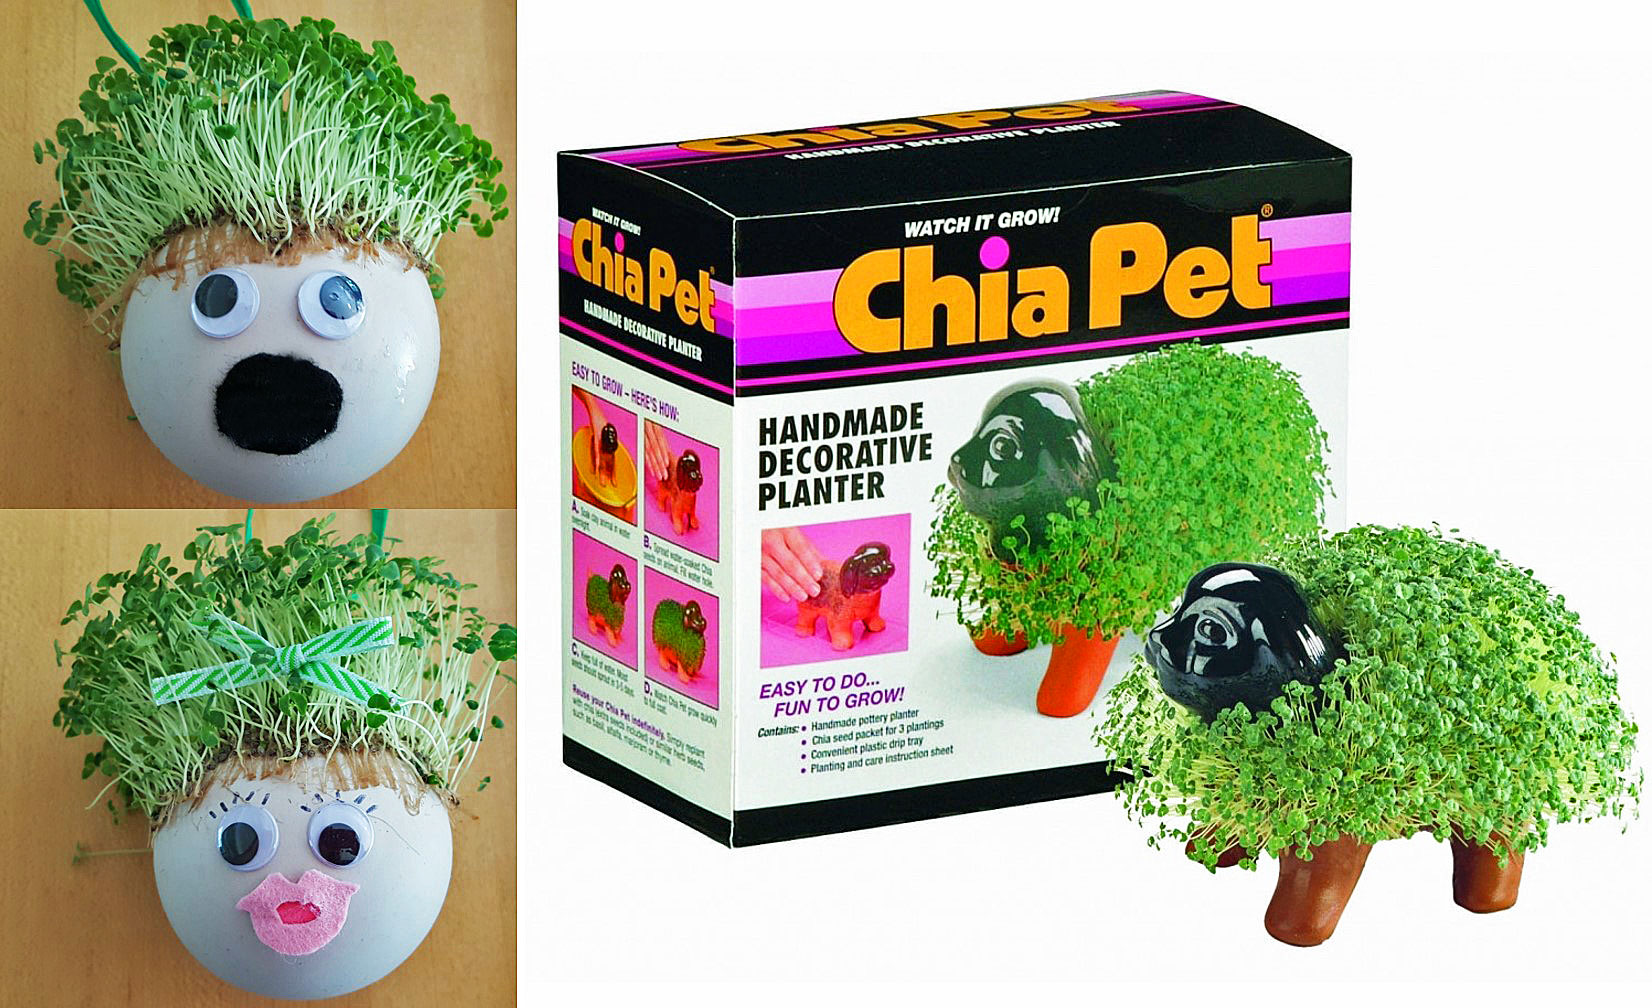
Did you know that September 8 marks 40 years since the introduction of the Chia Pet? We wanted to step back in time and celebrate this occasion by making DIY Ornaments that will remind you of the fun you had growing your first Chia Pet and naming it. Believe it or not, this phenomenon is still a popular craft among teachers today and children still have an awesome appreciation for these sprouts.
We wanted to celebrate this nostalgic birthday occasion by making a Chia Pet, but not just any Chia Pet. We paired our DIY ornaments experience with a Chia Pet and came up with Chia Pet DIY ornaments that everyone can have a little fun making. Chia Pets are easy to make and children truly love watching their seeds grow!
Grow Your Own Unique Chia Pet DIY Ornaments Craft
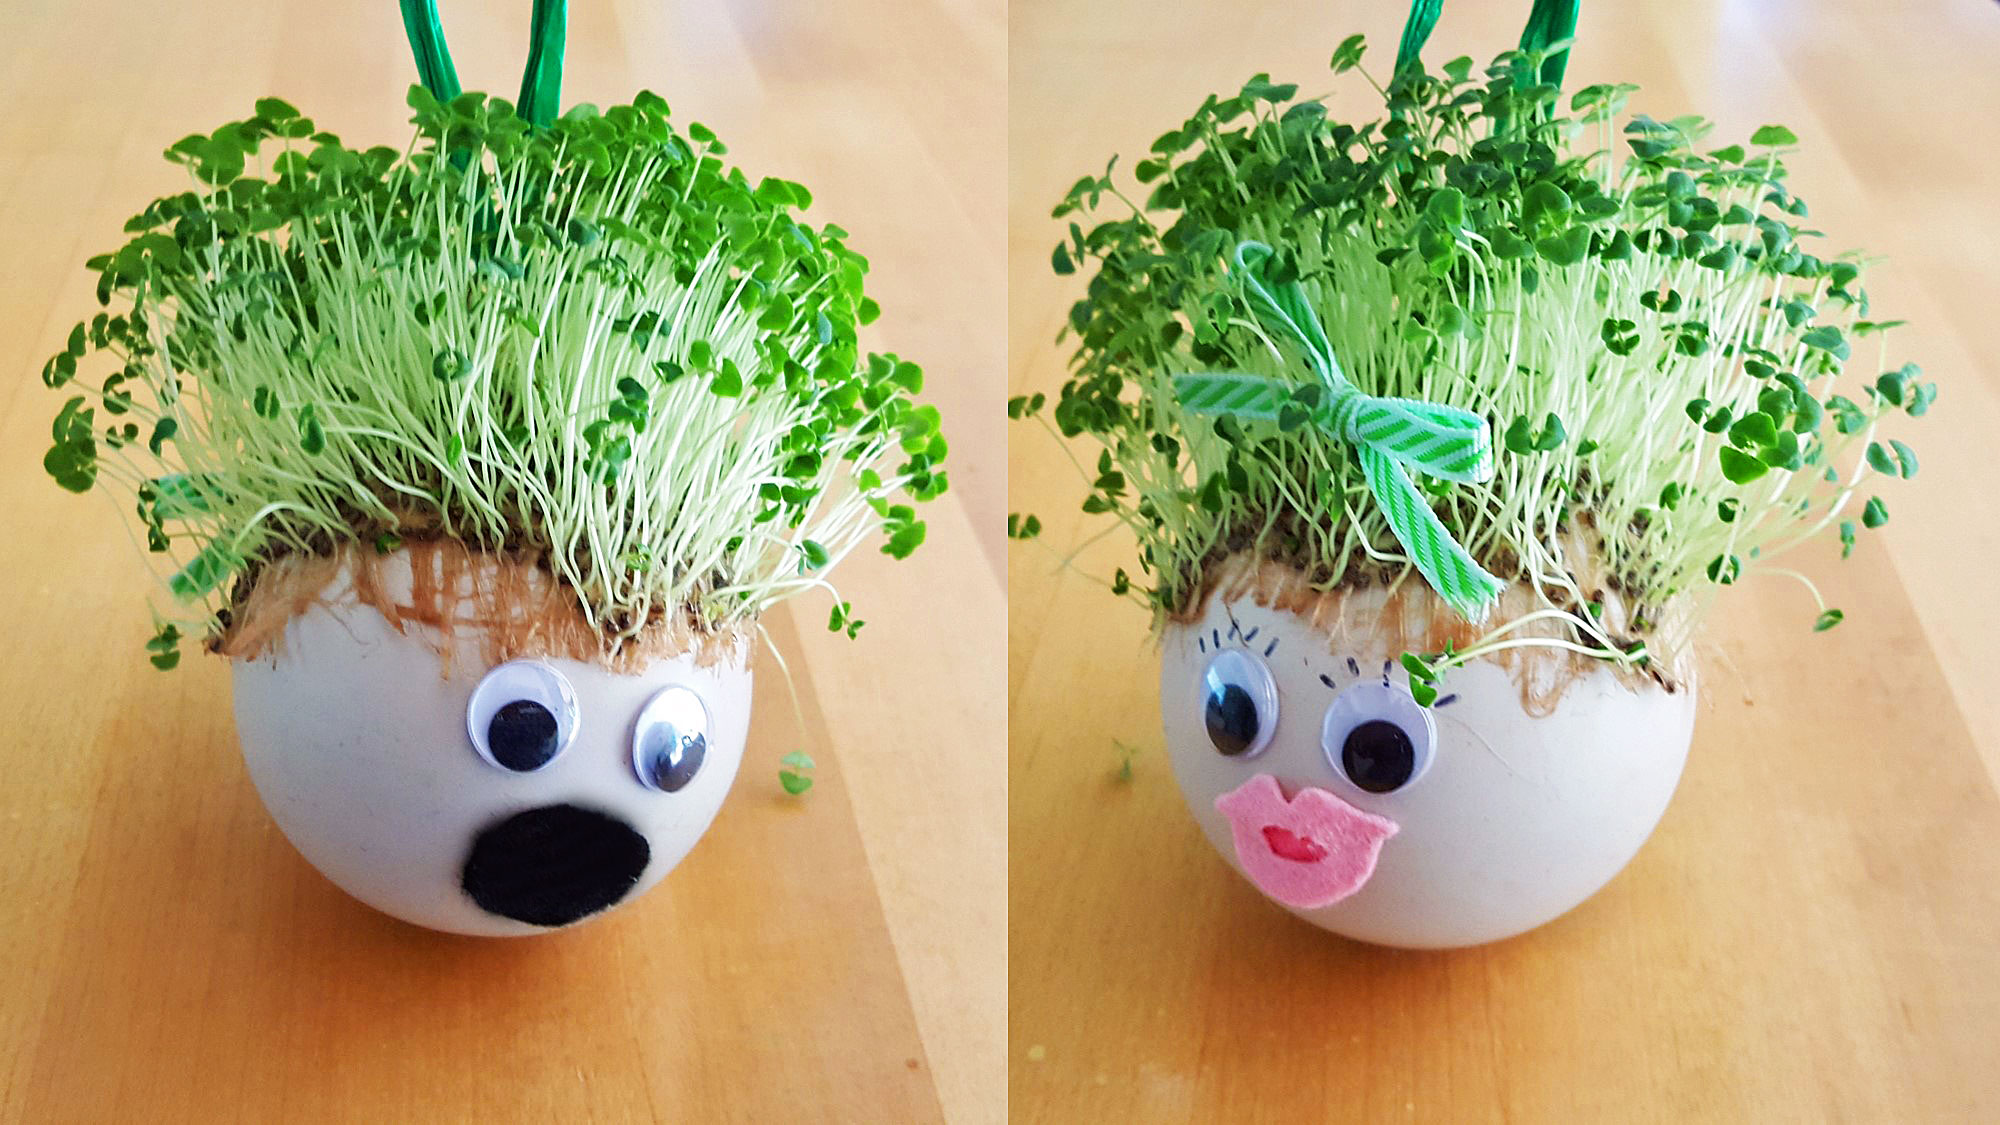
Making a Chia Pet is easy but you need to allow a few days for the seeds to begin grow. Get creative with your DIY ornaments and give them personality as well as a nifty haircut after your seeds grow long enough!
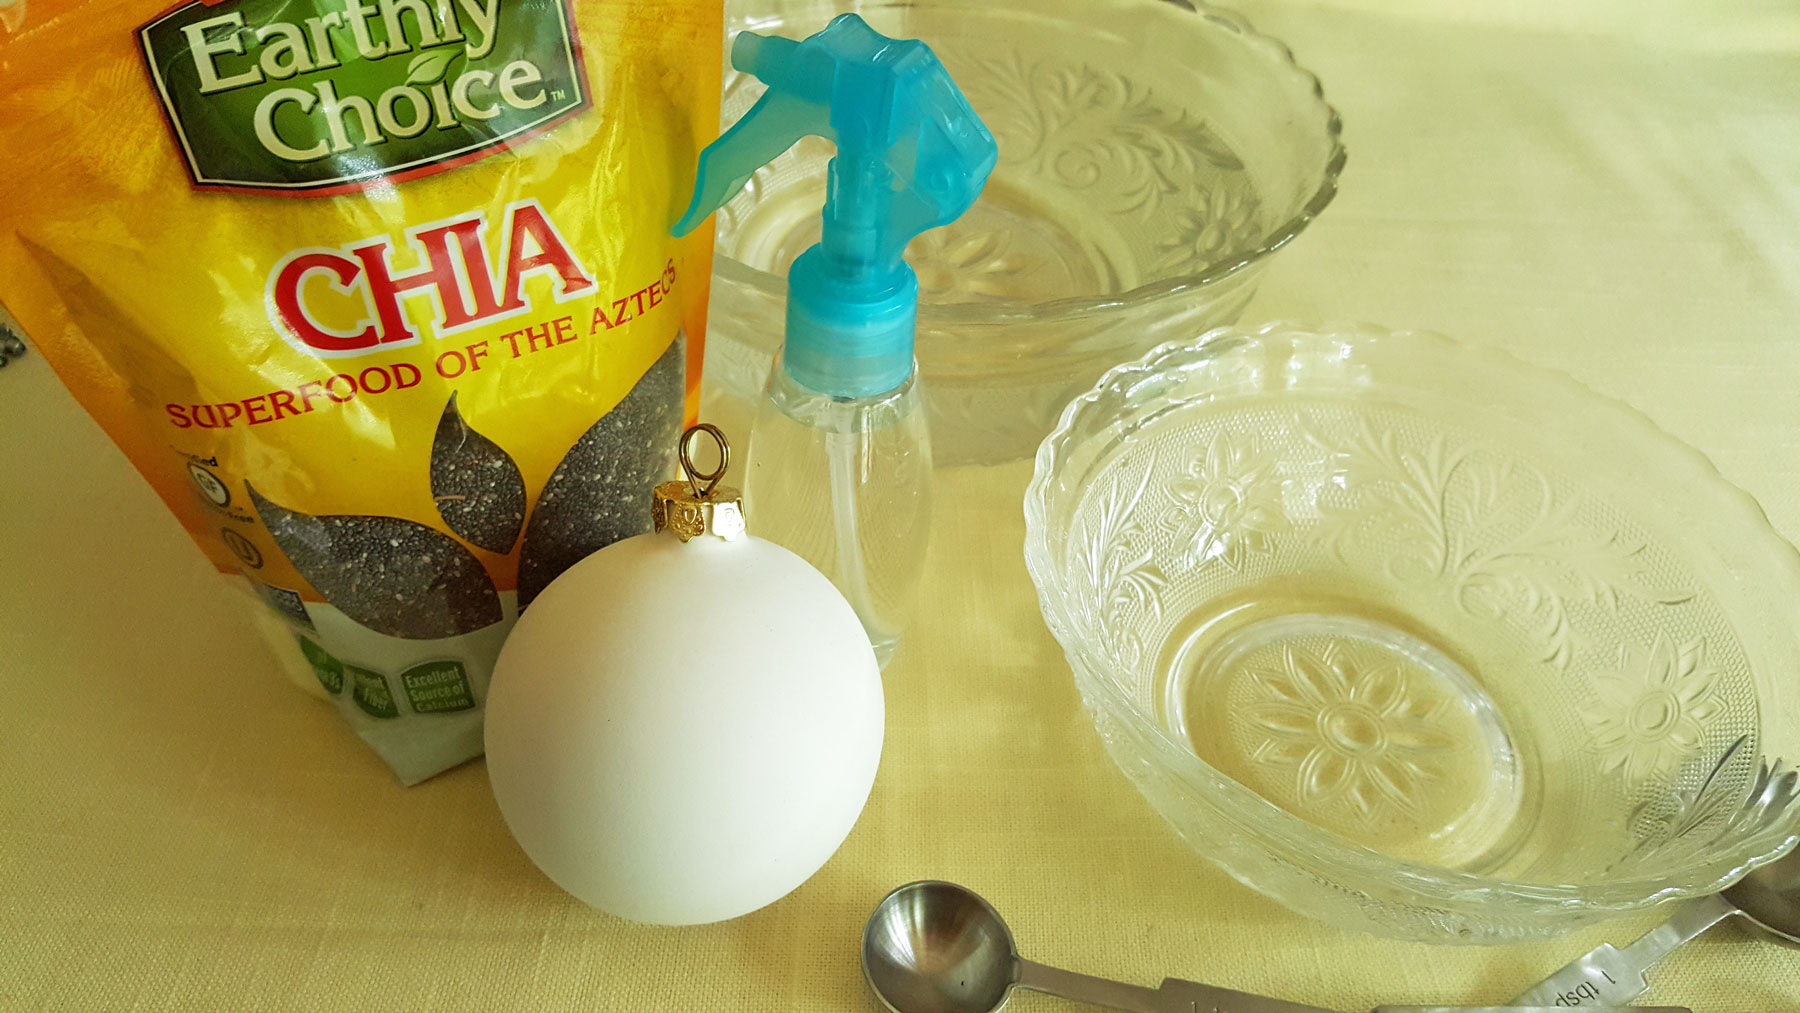
Supplies for Chia Pet Ornament:
- Unfinished ceramic ornament – DIY ornaments for painting
- Chia seeds
- Bowls of water
- Spray bottle of water
- Plastic baggie
- Markers and embellishments
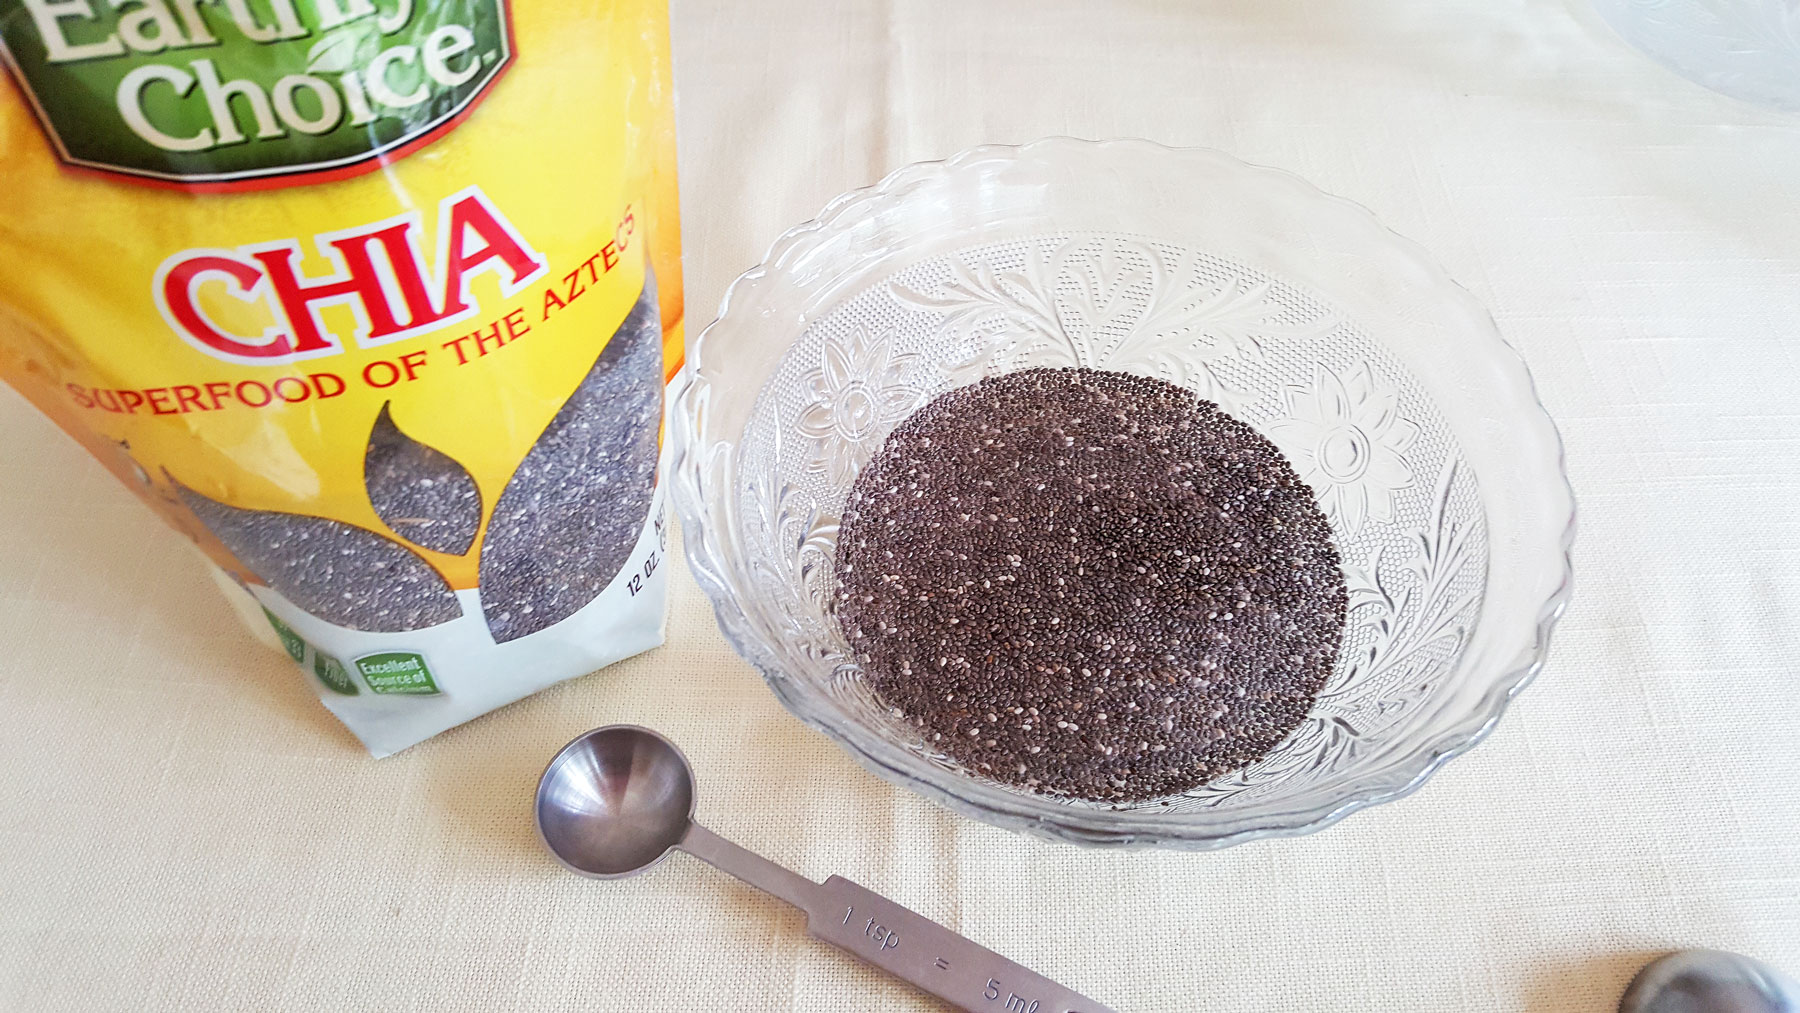
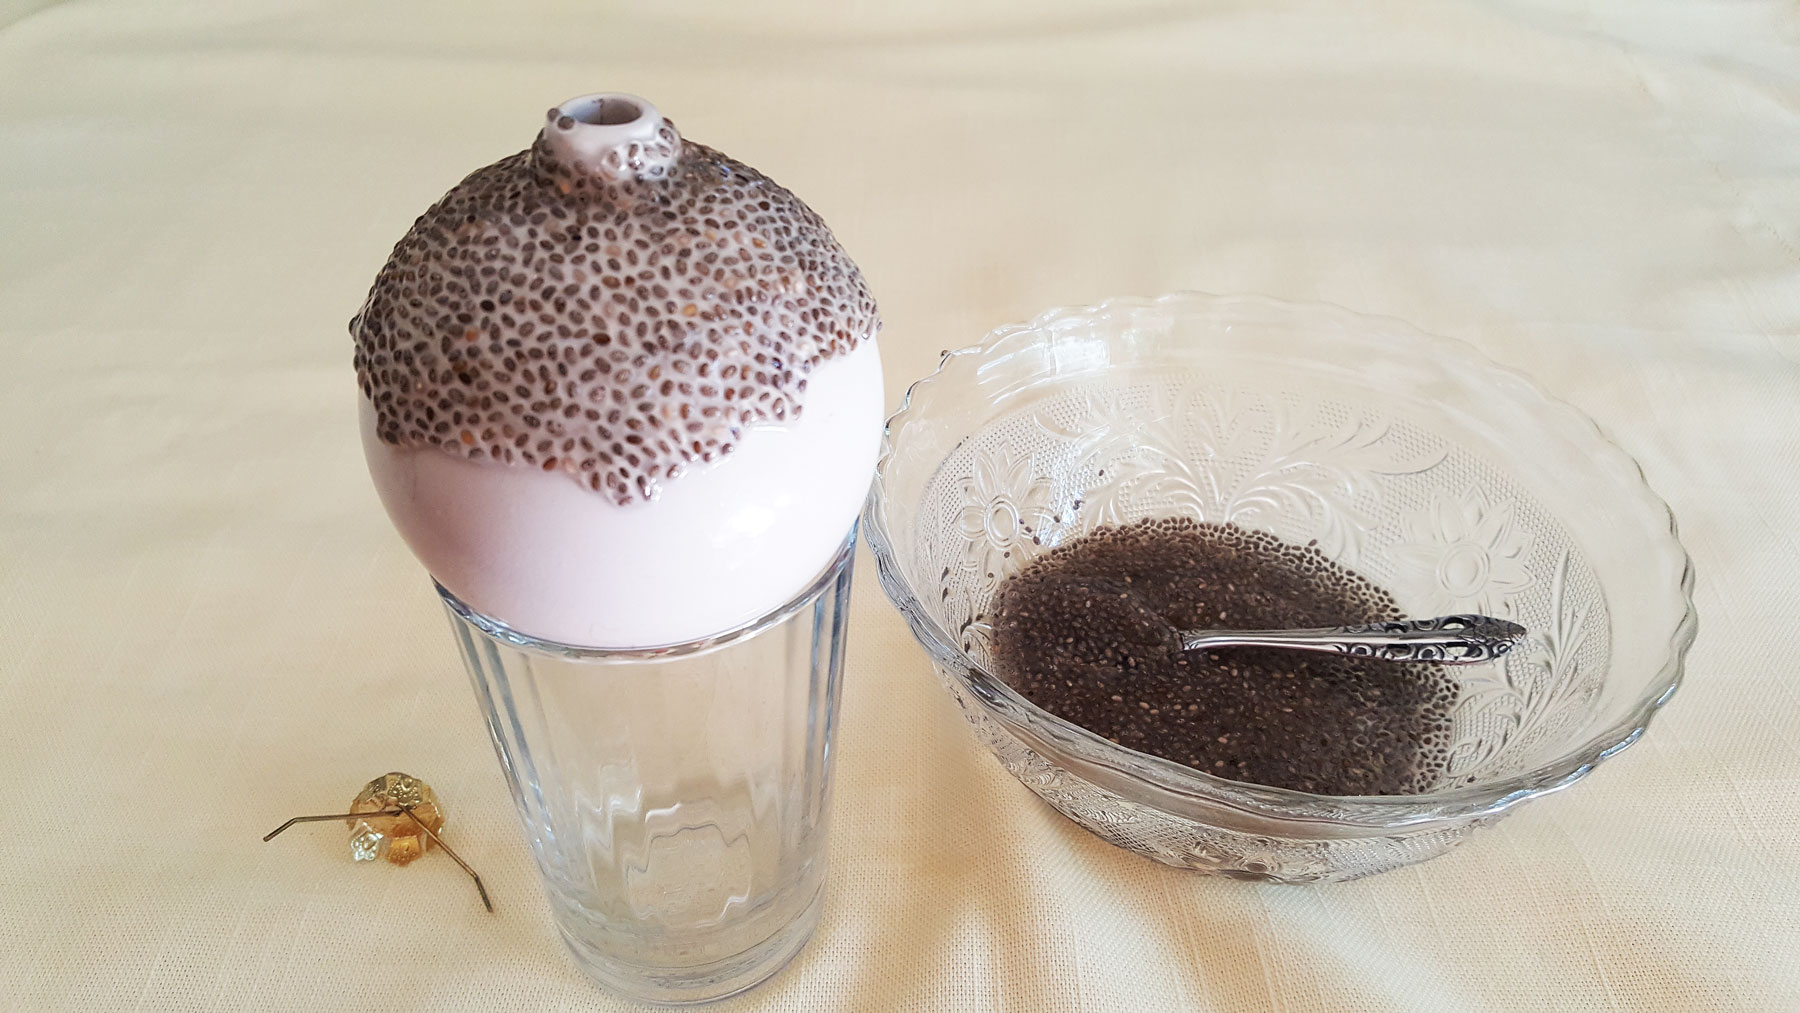
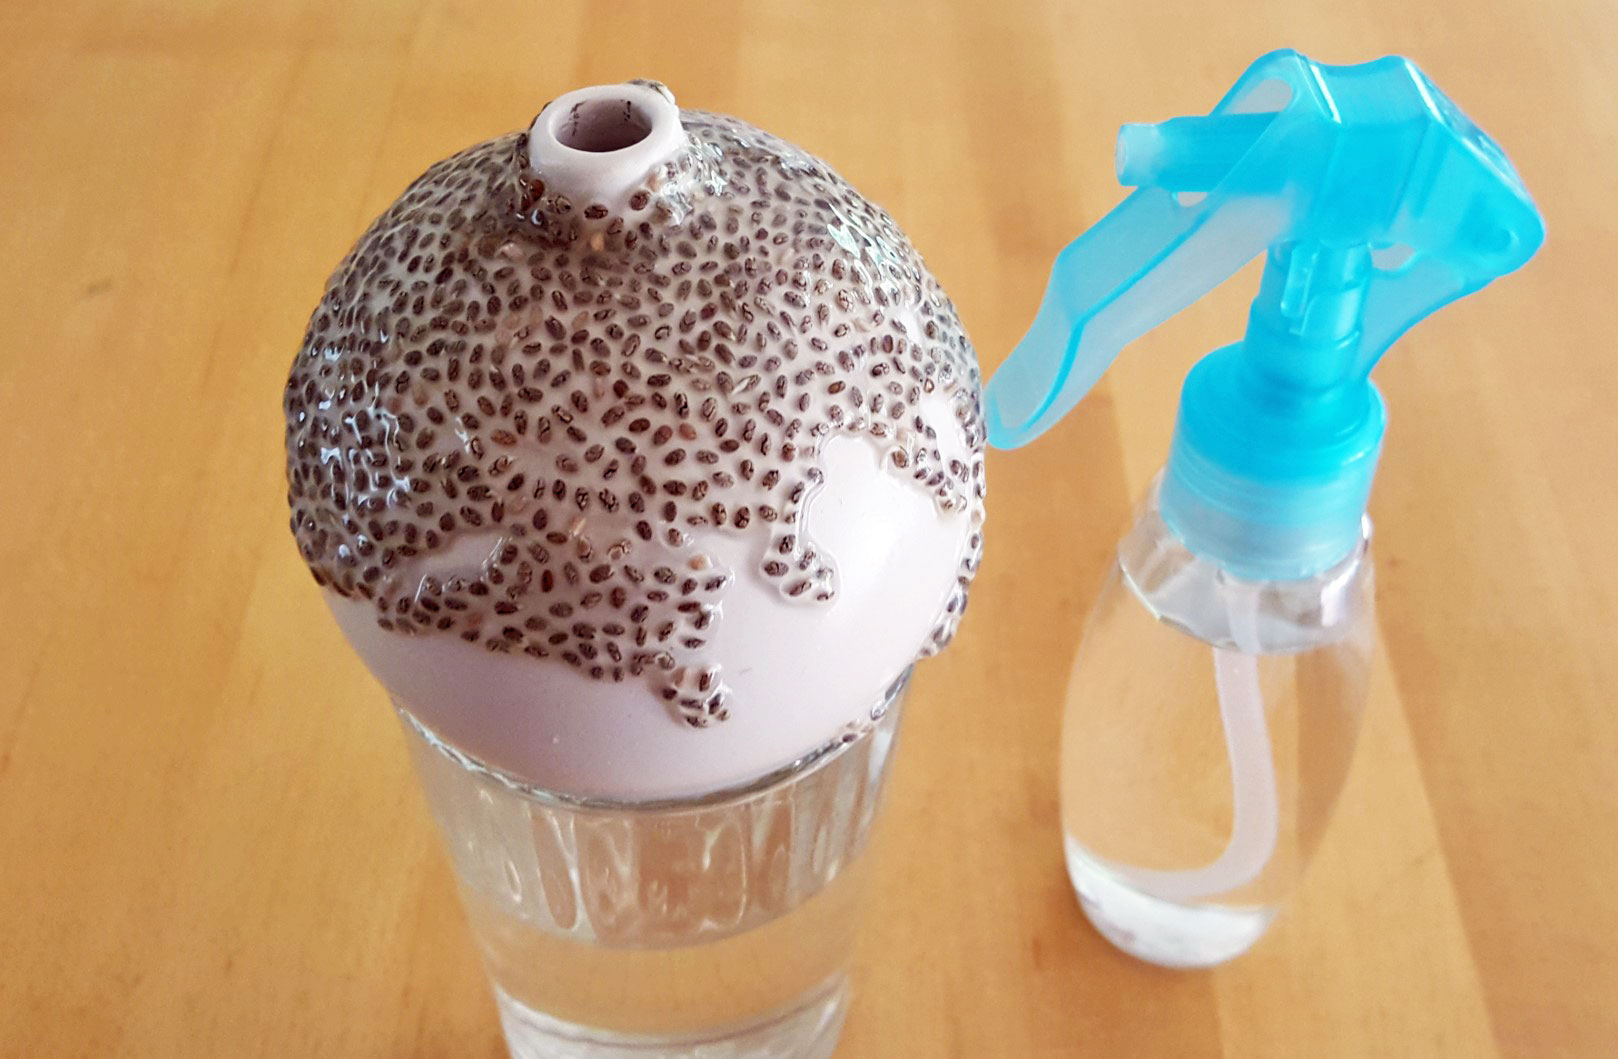
Step 1: Soak 2 teaspoons of Chia seeds in a ¼ cup of water (shallow bowl) for 24 hours to allow the Chia seeds to expand. Stir the seeds once to allow them to soak more evenly.
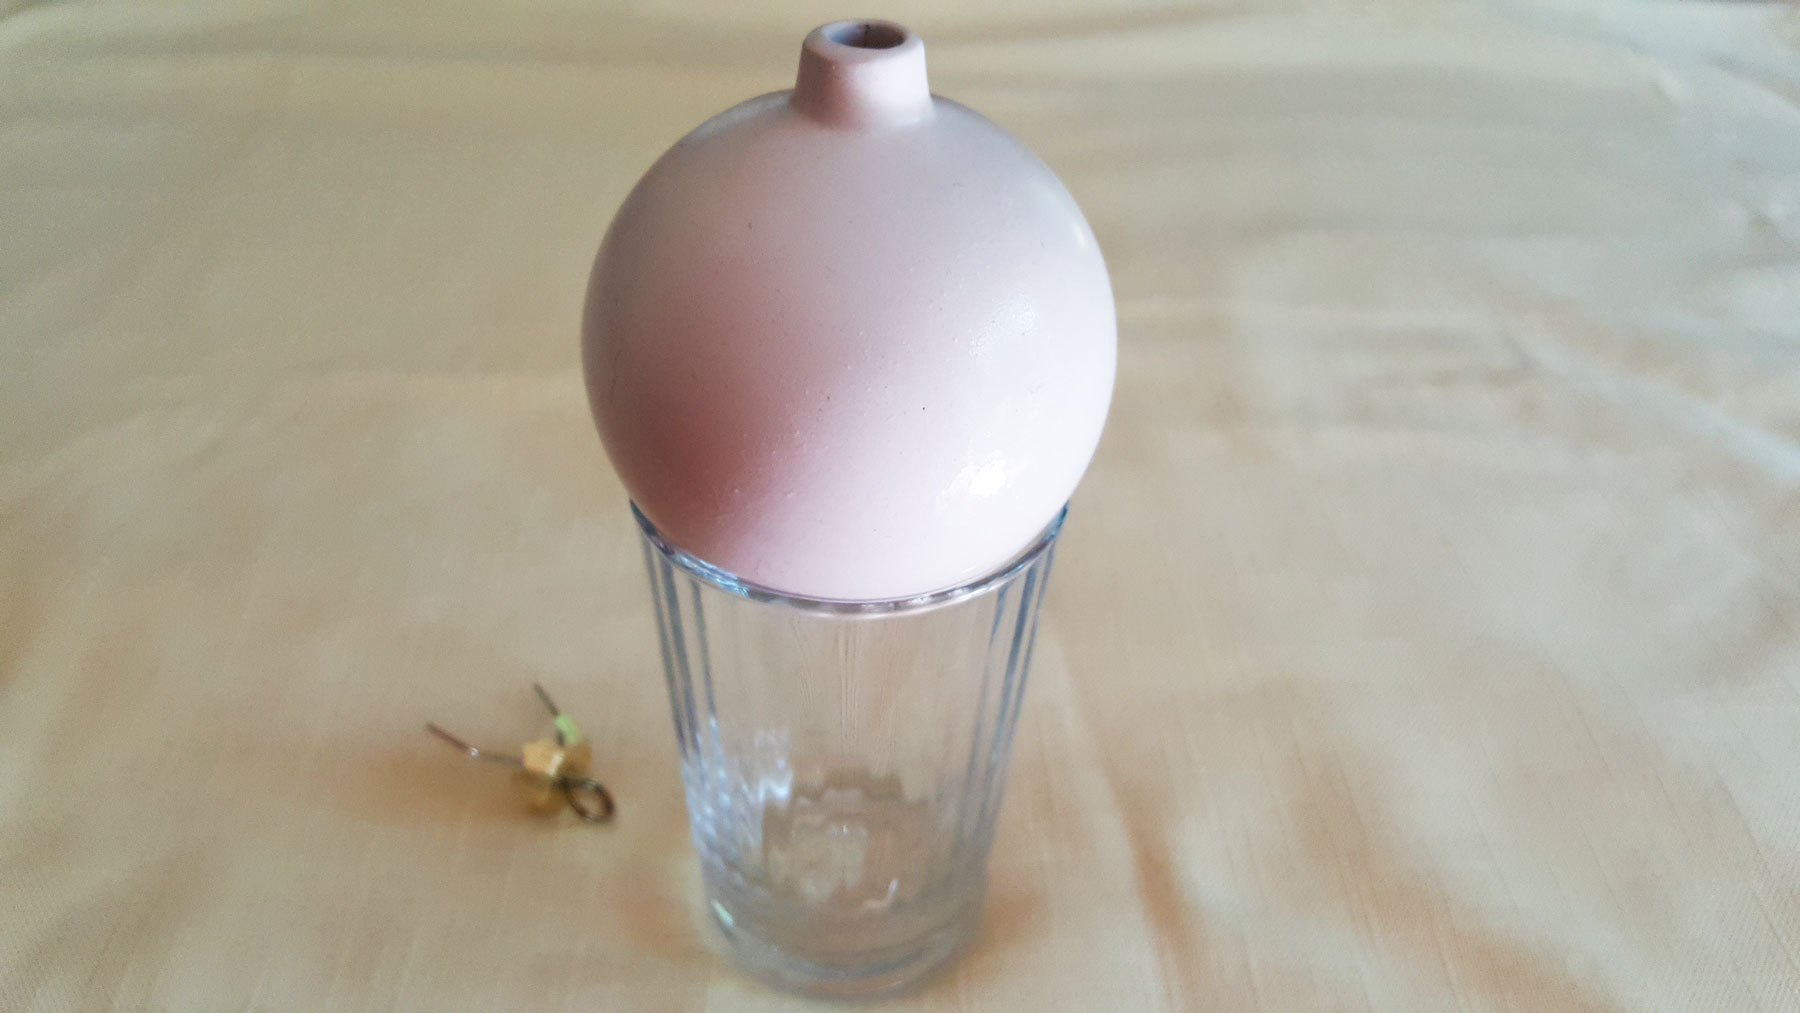
Step 2: Remove the cap from the ornament and fill it with water, then soak in a bowl of water. Keep the ornament completely submerged in water for 24 hours to allow the surface to absorb water, allowing the seeds the moisture they need to grow into a Chia Pet.

Step 3: Remove the ornament from the bowl and dump out the water. Fill the ceramic ornament all the way with fresh water and set on a glass or jar so it remains upright. This will catch water every day.
Step 4: Spread the Chia seeds as evenly as possible over the top of DIY ornament, trying to keep the seeds in a single layer and not overlapping or clumping.
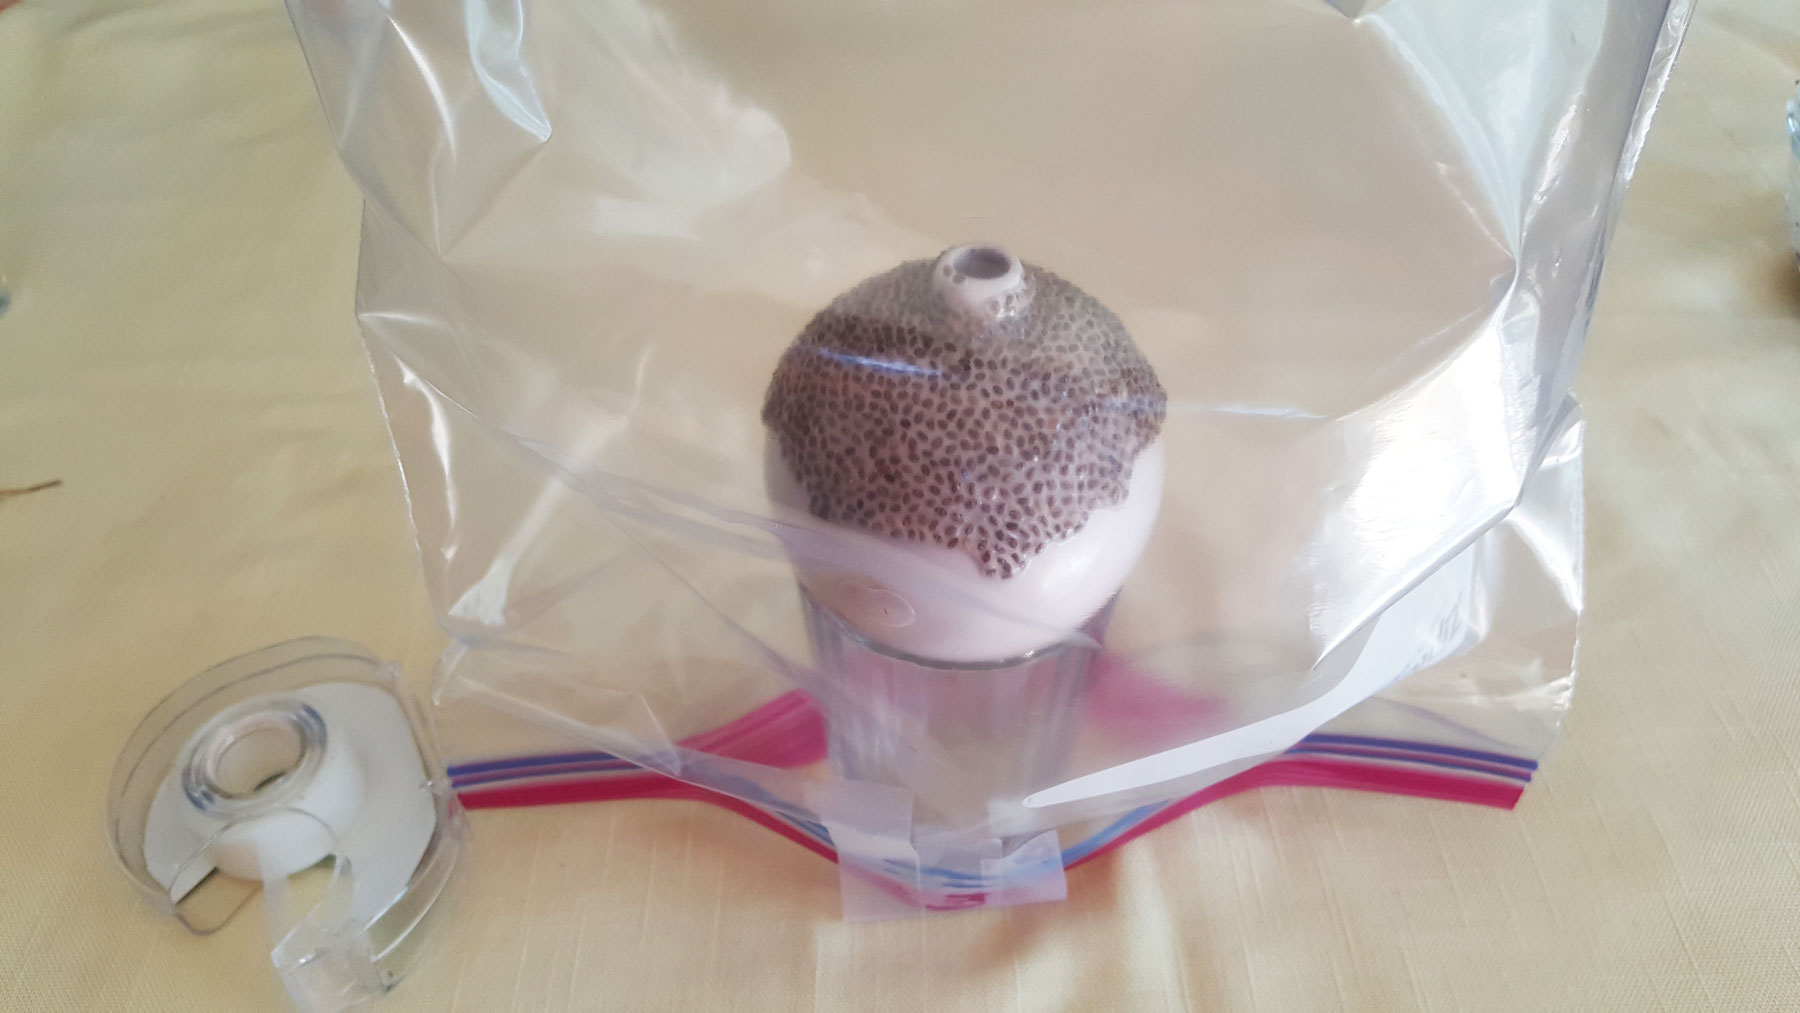
Step 5: Place a plastic baggie around your Chia Pet for the first 3-4 days, making sure that the baggie isn’t touching the DIY ornament Chia Pet.
Step 6: Place the Chia Pet in a sunny spot and wait for your sprouts to grow.
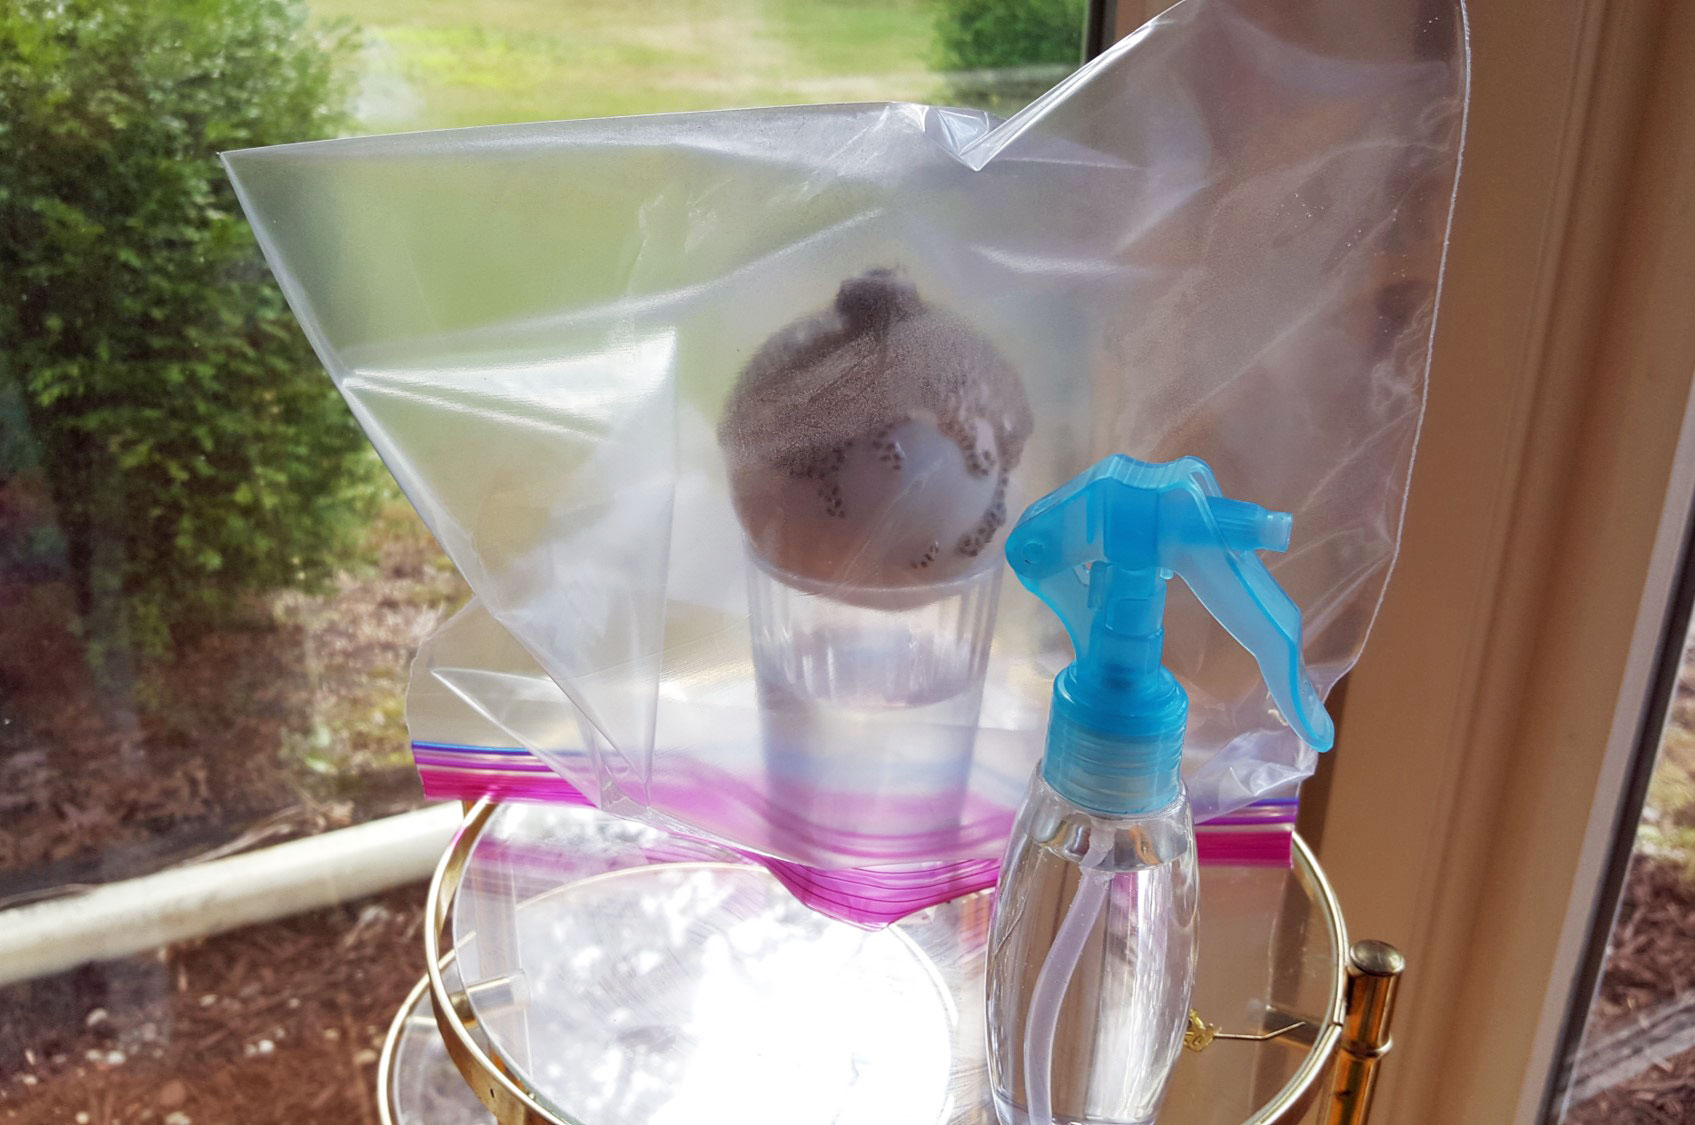
Step 7: Unwrap from the plastic wrap and mist with the water EVERY DAY. The seeds should remain moist, but not sitting in water. As you can see, the glass fills up with water. It needs to be emptied every day and then refilled. Be careful when you are refilling the ornament that you don’t pour water on the seeds or they may slide off.
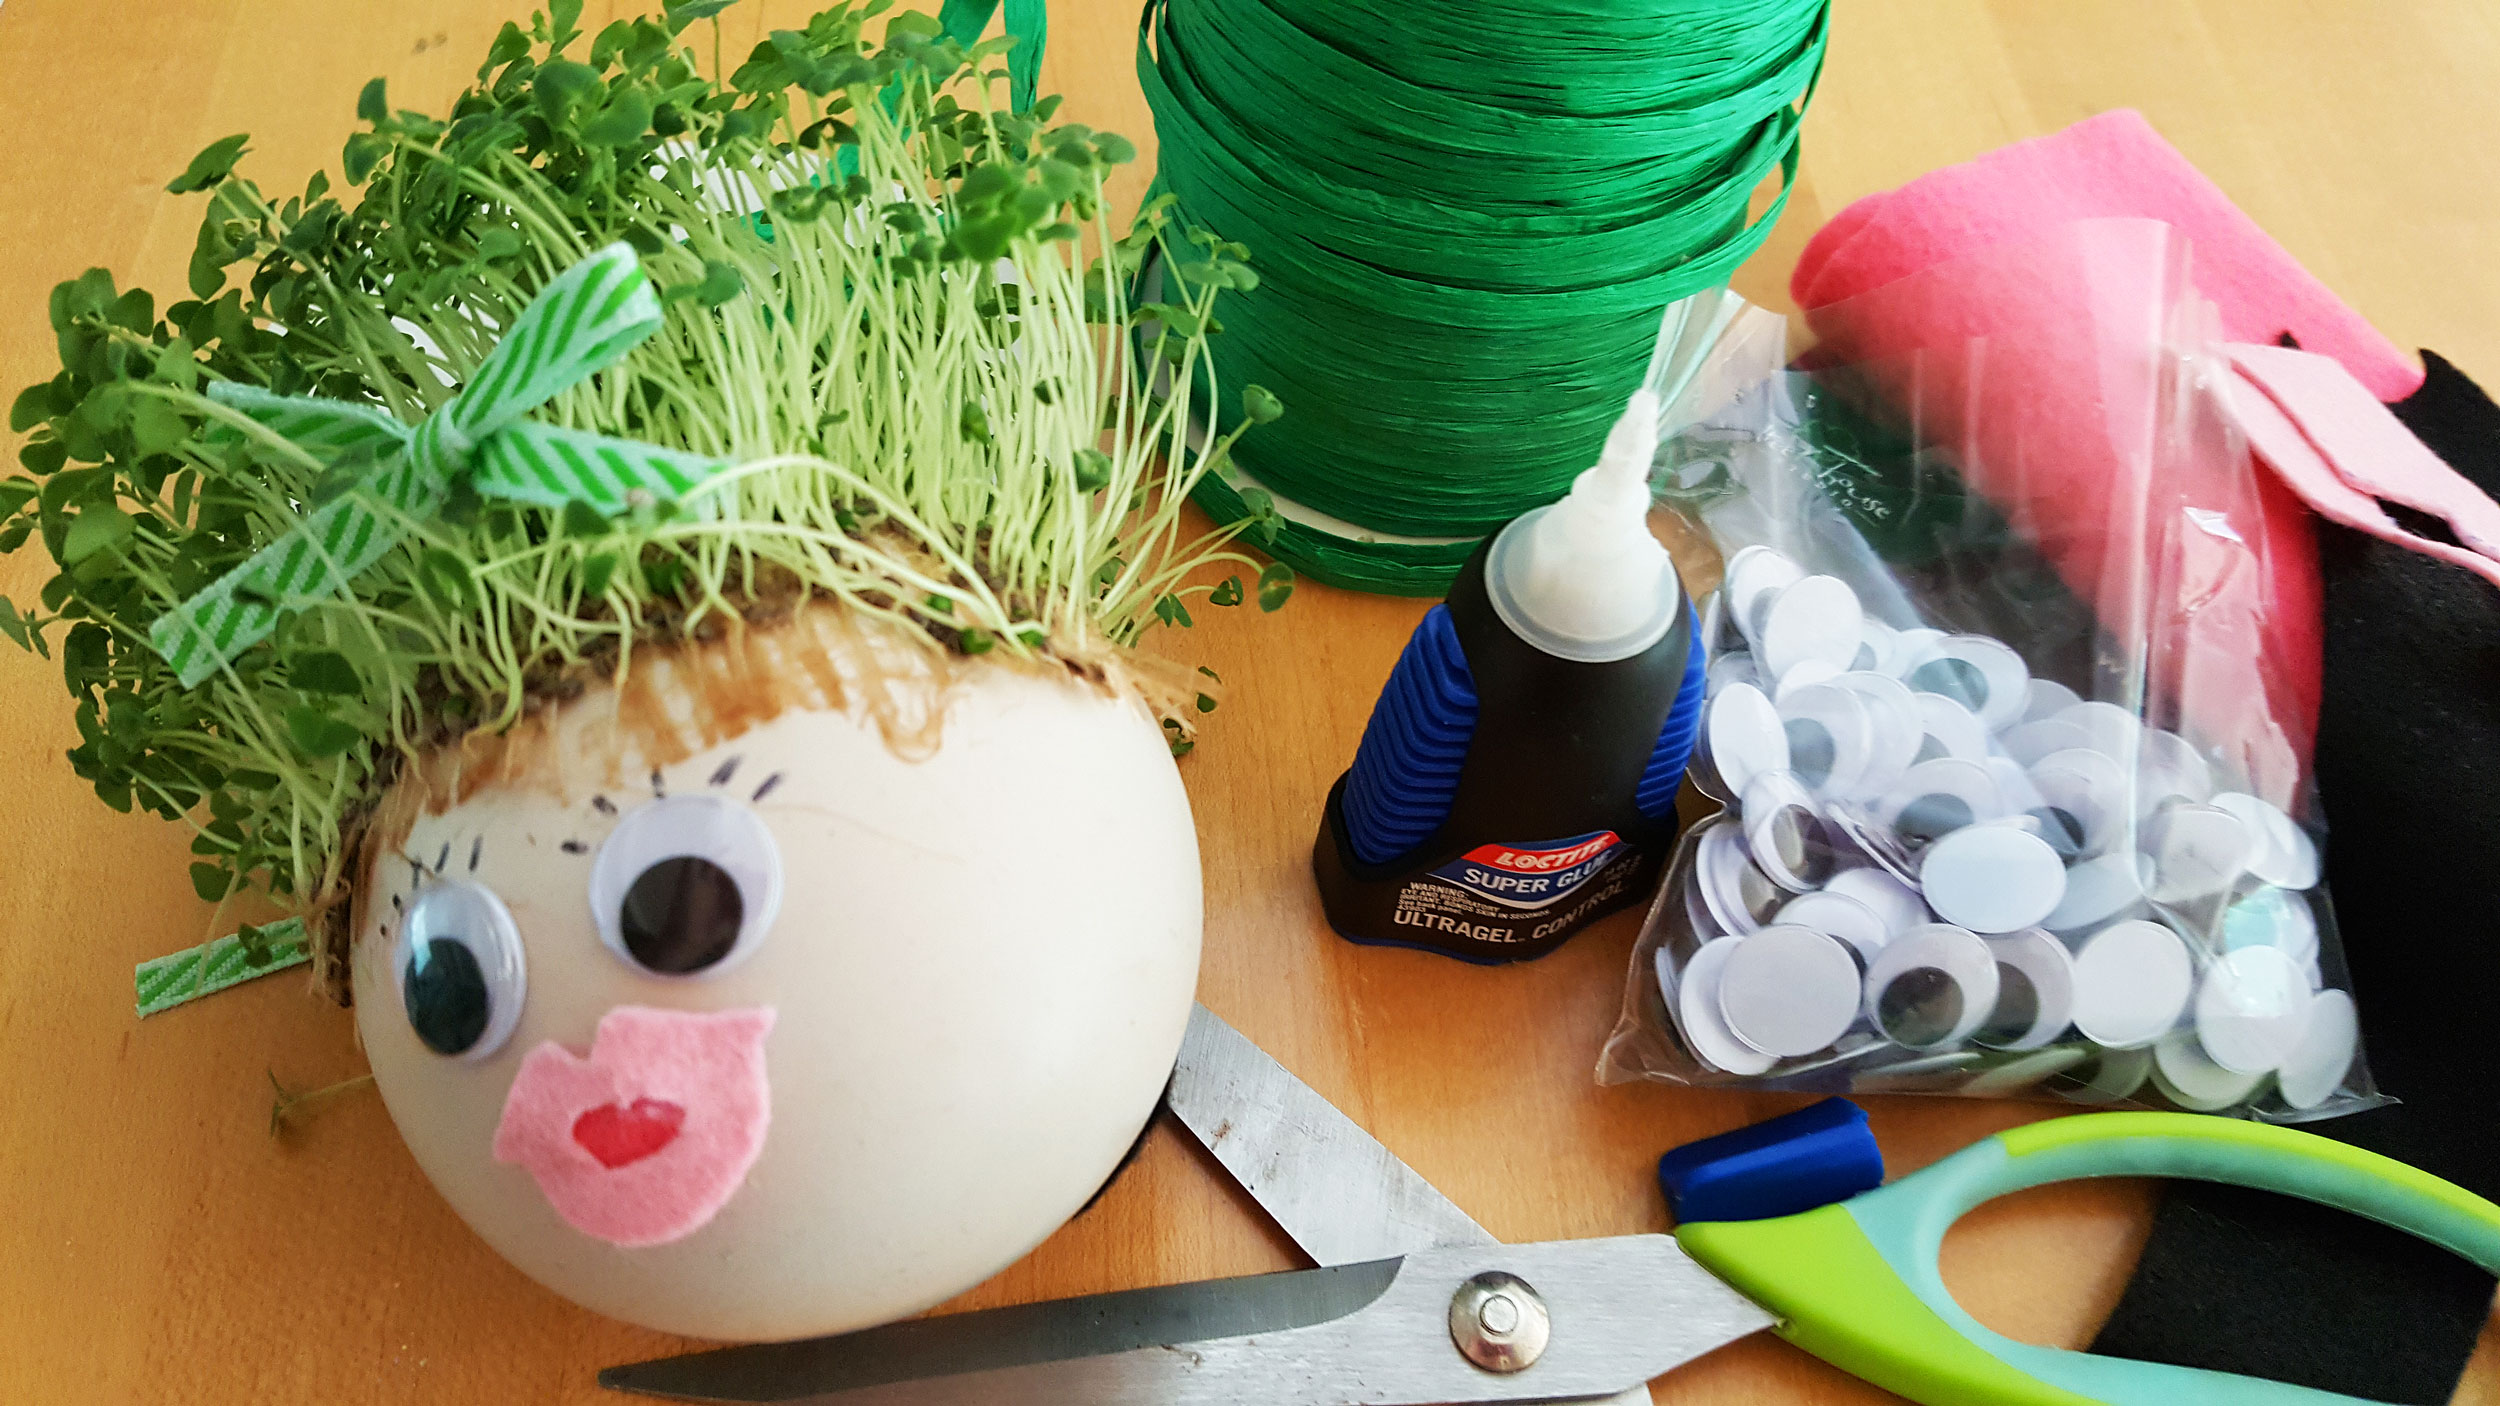
Step 8: After most of the seeds have sprouted you can take the baggie off, but keep your Chia Pet ornament in a sunny spot. Put a plate under your glass to catch any excess water. Once your Chia Pet has grown as you’d like, it’s time to get creative! Decorate your Chia Pet to make a fun DIY ornament!
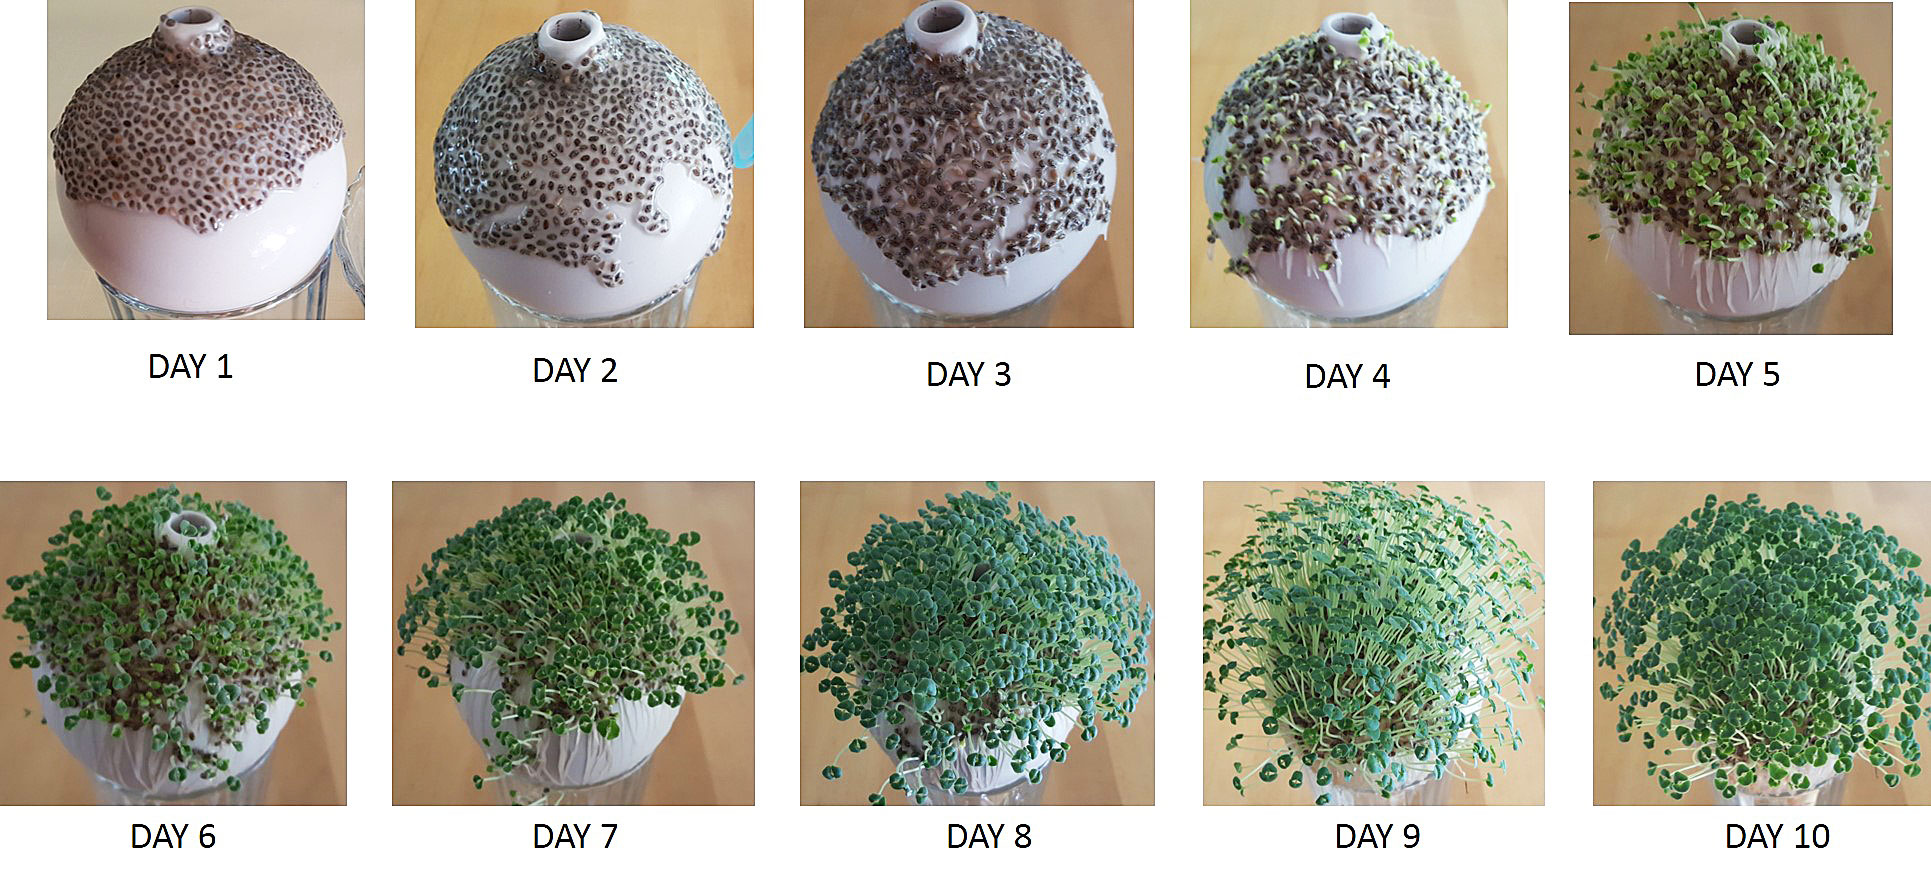
That’s it! Within 4 days you should see some sprouts and within 10 days you should have a Chia Pet! These DIY ornaments are a great craft for kids and are lots of fun for the whole family. Tie a ribbon on the top and hang from a colorful ornament stand for an adorable display!
Do you love nostalgic decorations and fun from the past? Check out our Personalized Retro Ornaments for a blast from the past that make perfect gifts for friends and family who want to remember the good old days! Gardeny