DIY Mini Birdcage: House Your Bird Ornament
Posted July 5, 2017 in DIY (Crafts) by Dianne Weller
I love looking at ornate bird cages and was so inspired by their beauty that I decided to make my own Bird Ornaments. There is just something about the lines and elegance that make it a focal point in a room. Pairing Bird Ornaments with a DIY bird cage theme, I thought I could make one by bending metal, but it didn’t turn out very good.
Balloon string ornaments for outdoors are very popular and seem easy to make, so I decided why not make bird ornaments in the same fashion? A little birdie told me that it would be really fun. If you enjoy the birds of spring, these bird ornaments are for you!
Interesting DIY Bird Ornaments You Can Craft
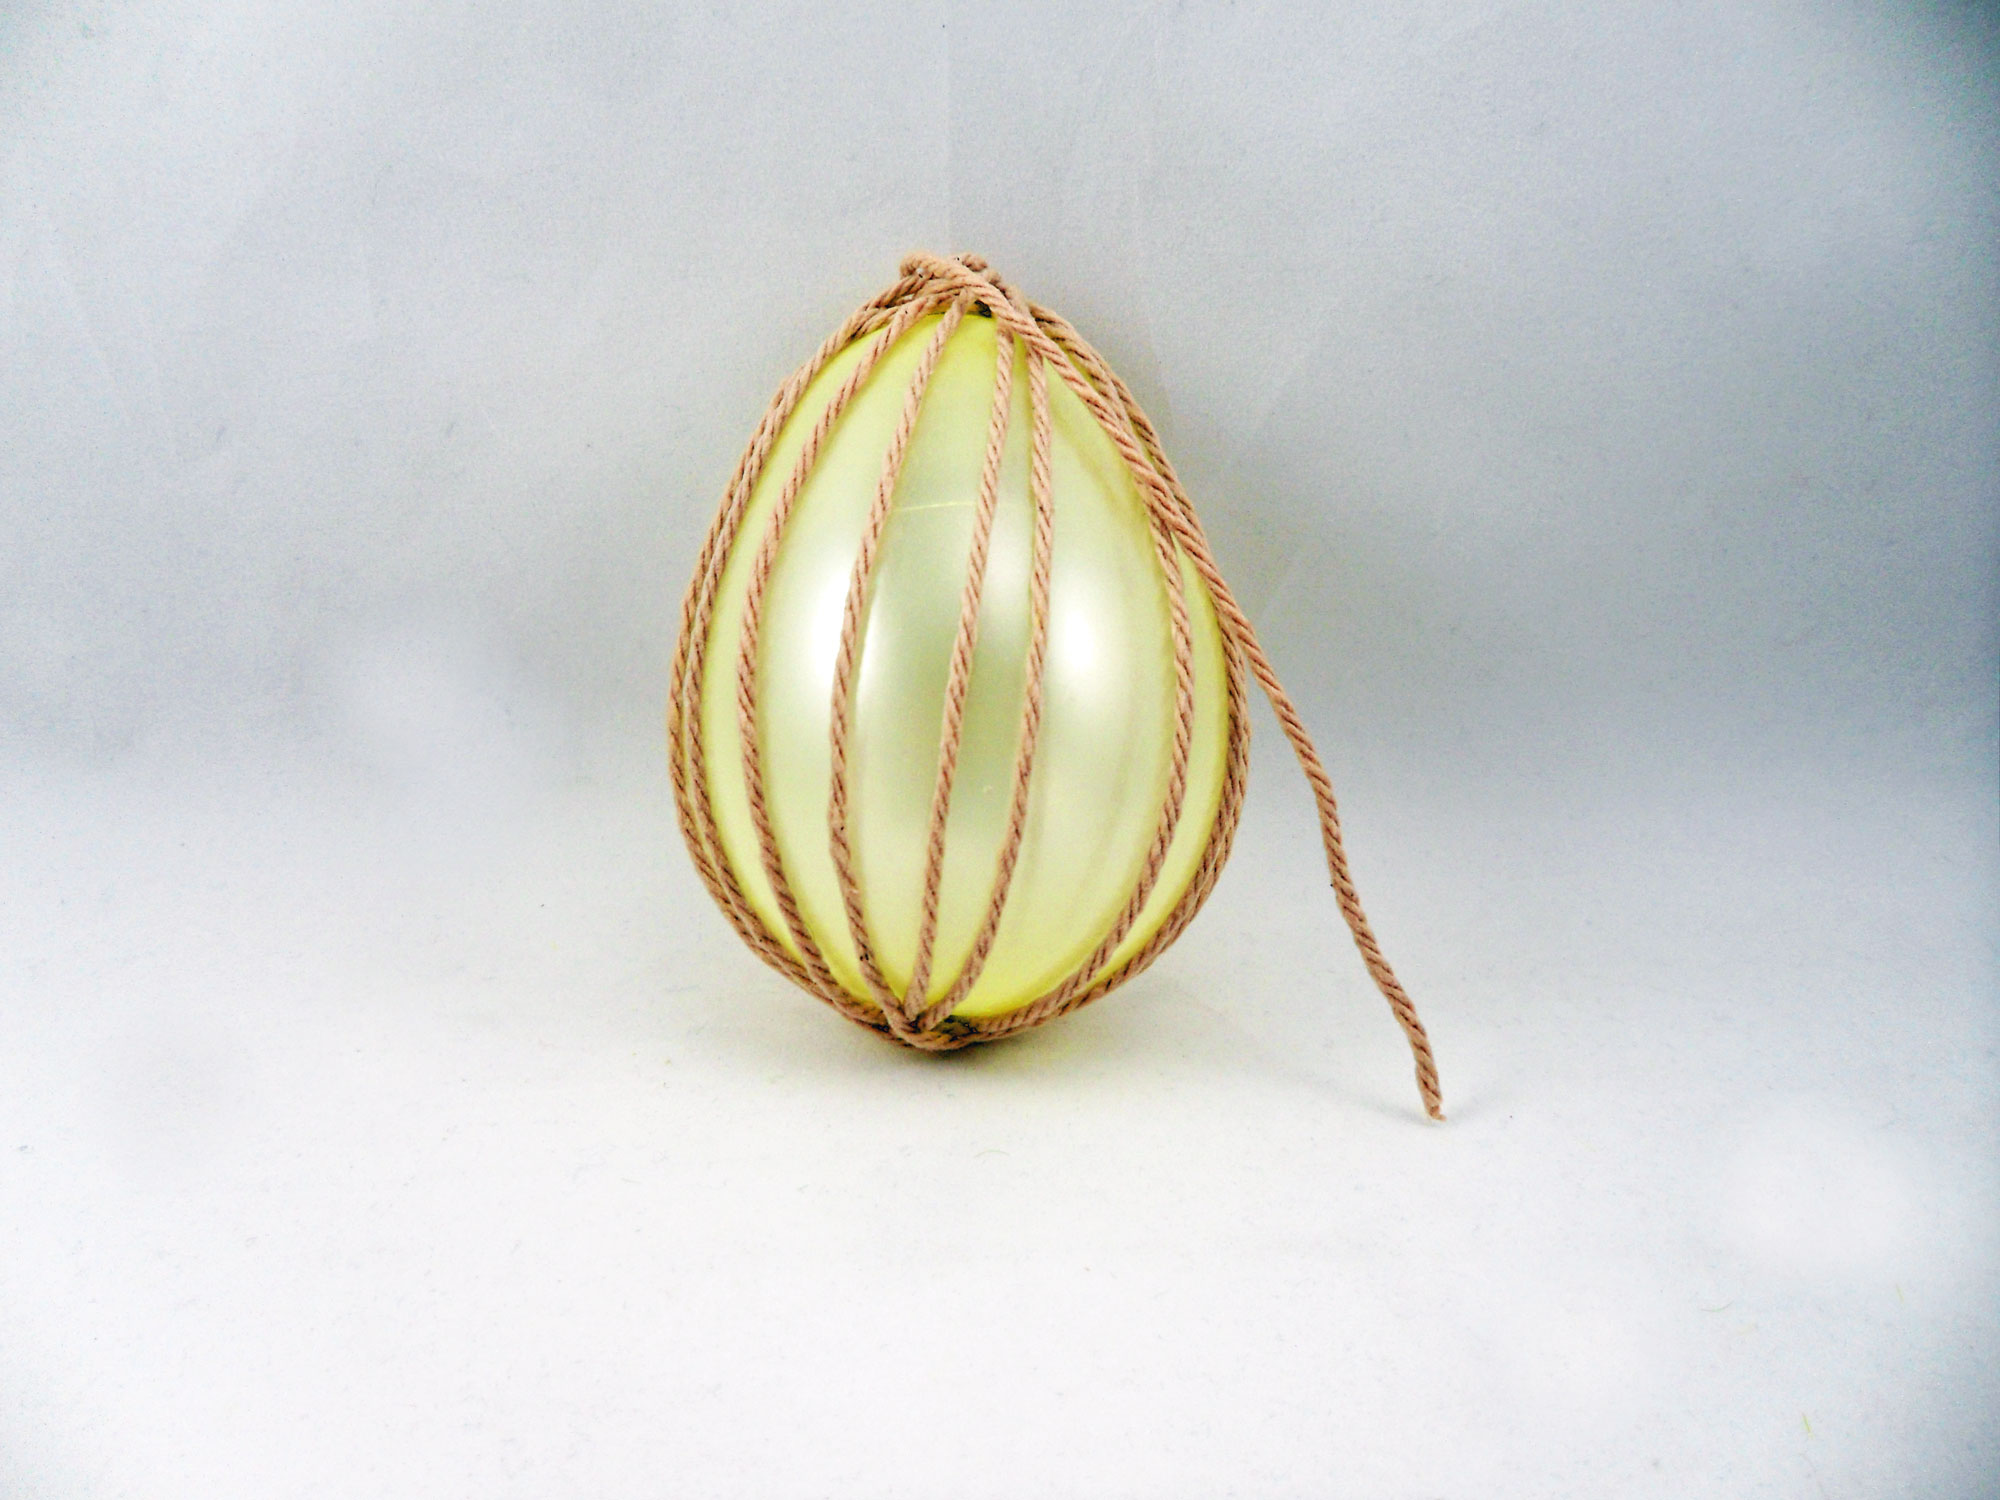
Different from the other string ornaments that are out there, you will need to shape your balloon into more of an egg shape than a circle for the bird cage shape, and remember it has vertical lines, not horizontal. These tips will ensure that your DIY bird ornaments come out great!
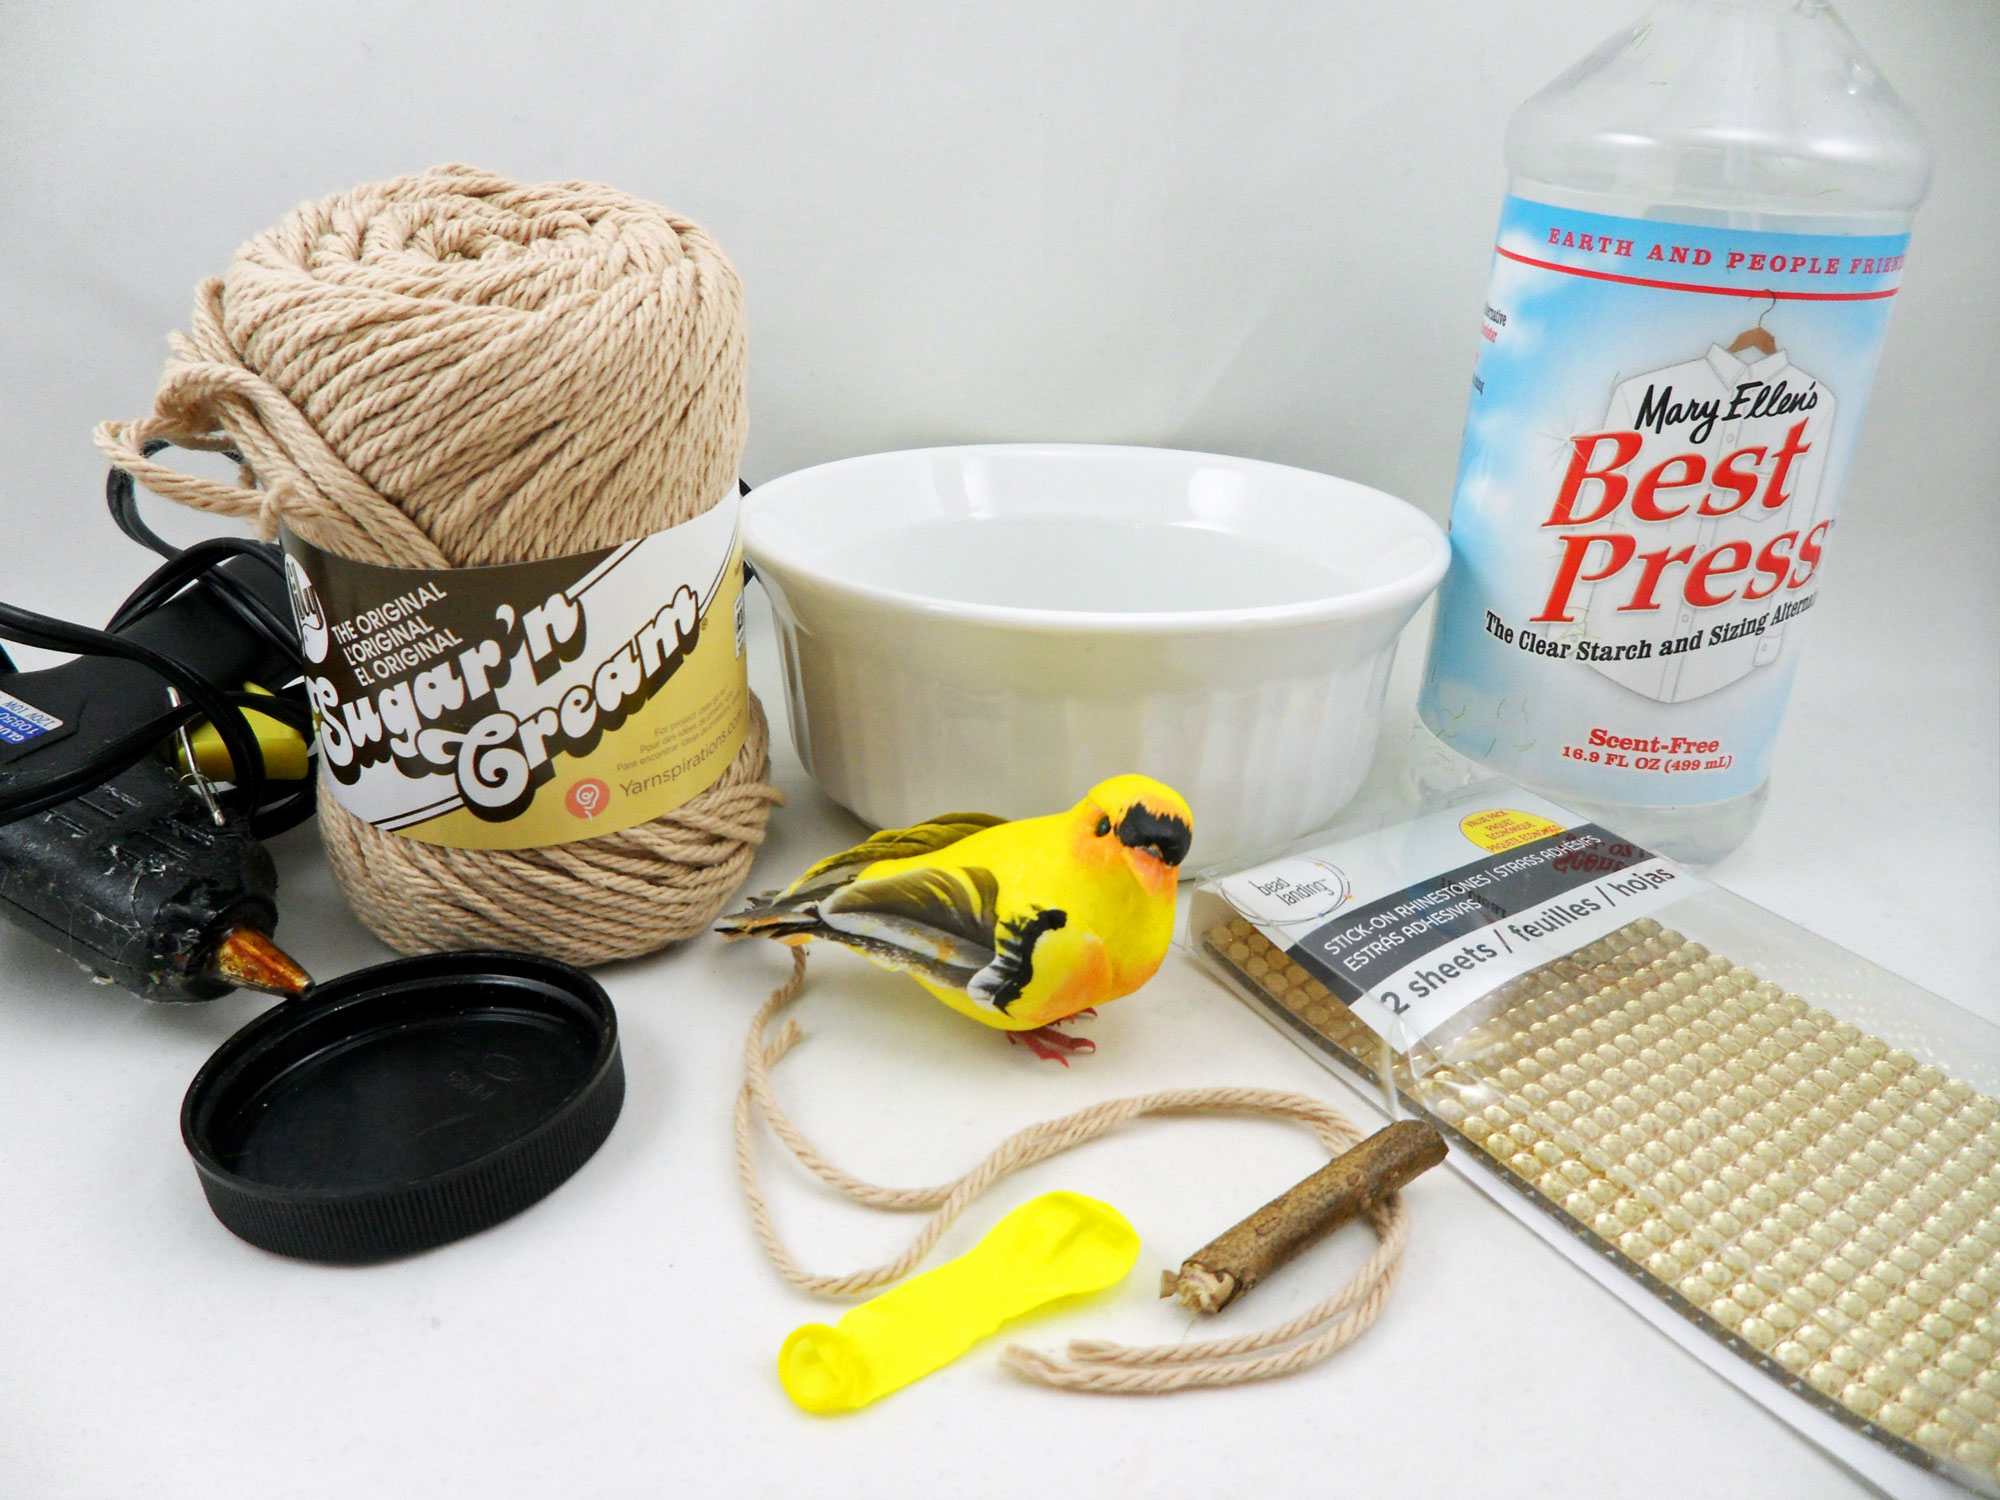
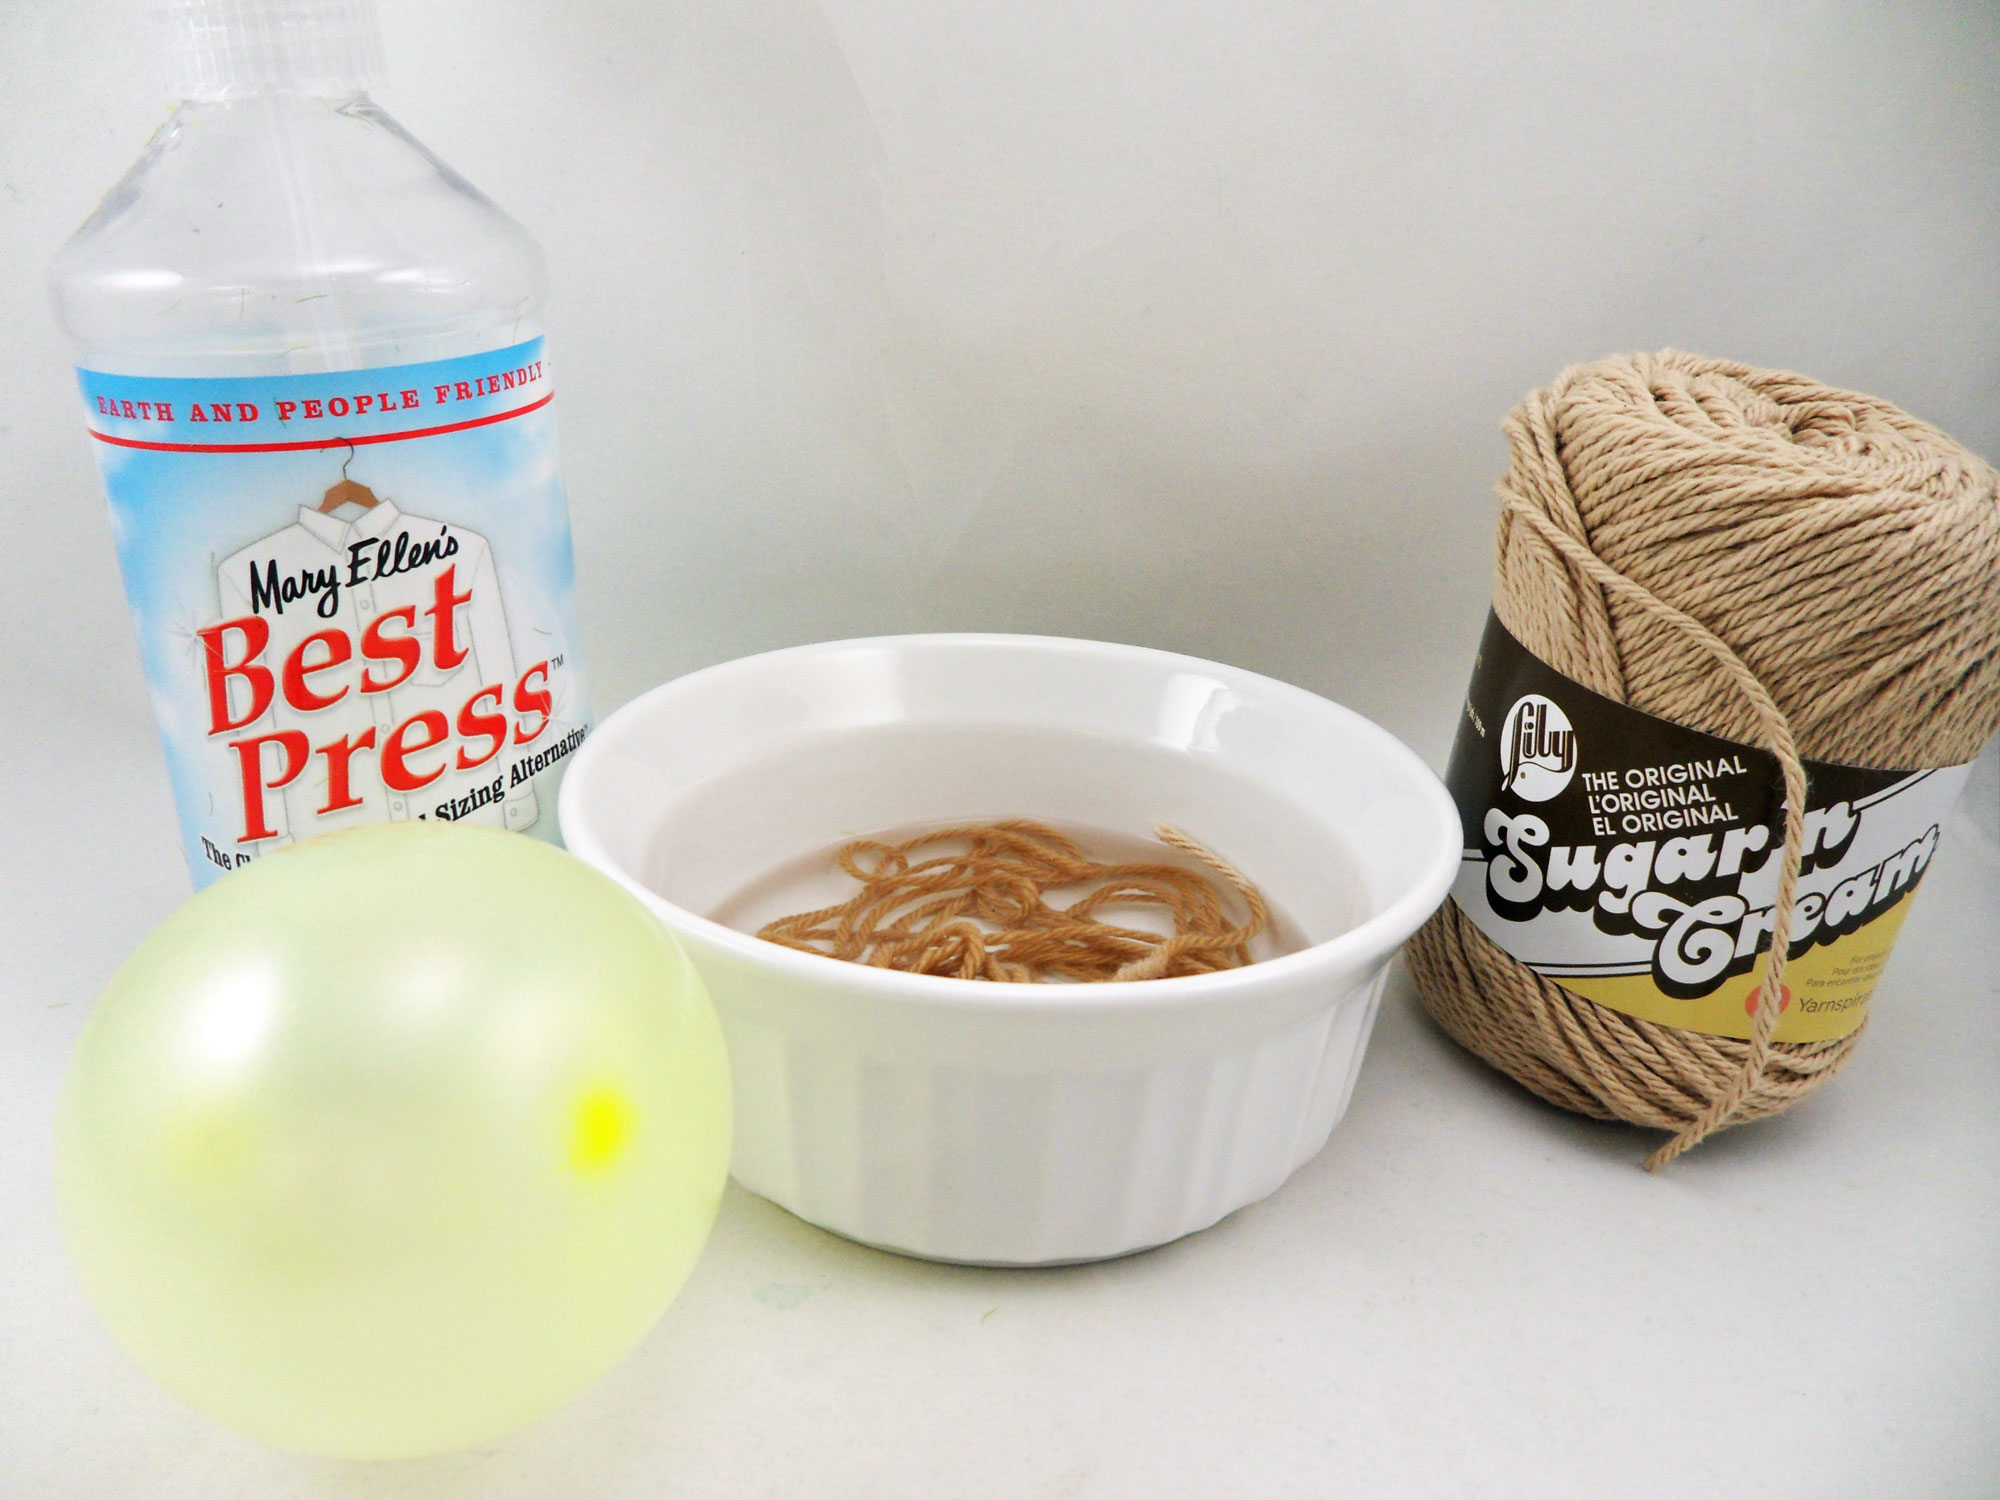
Supplies:
- Small balloon
- Cotton crochet thread
- Liquid starch
- Scissors
- Lid from any used container or jar – can be plastic or metal
- Craft bird
- Twig
- Glue
- Embellishments
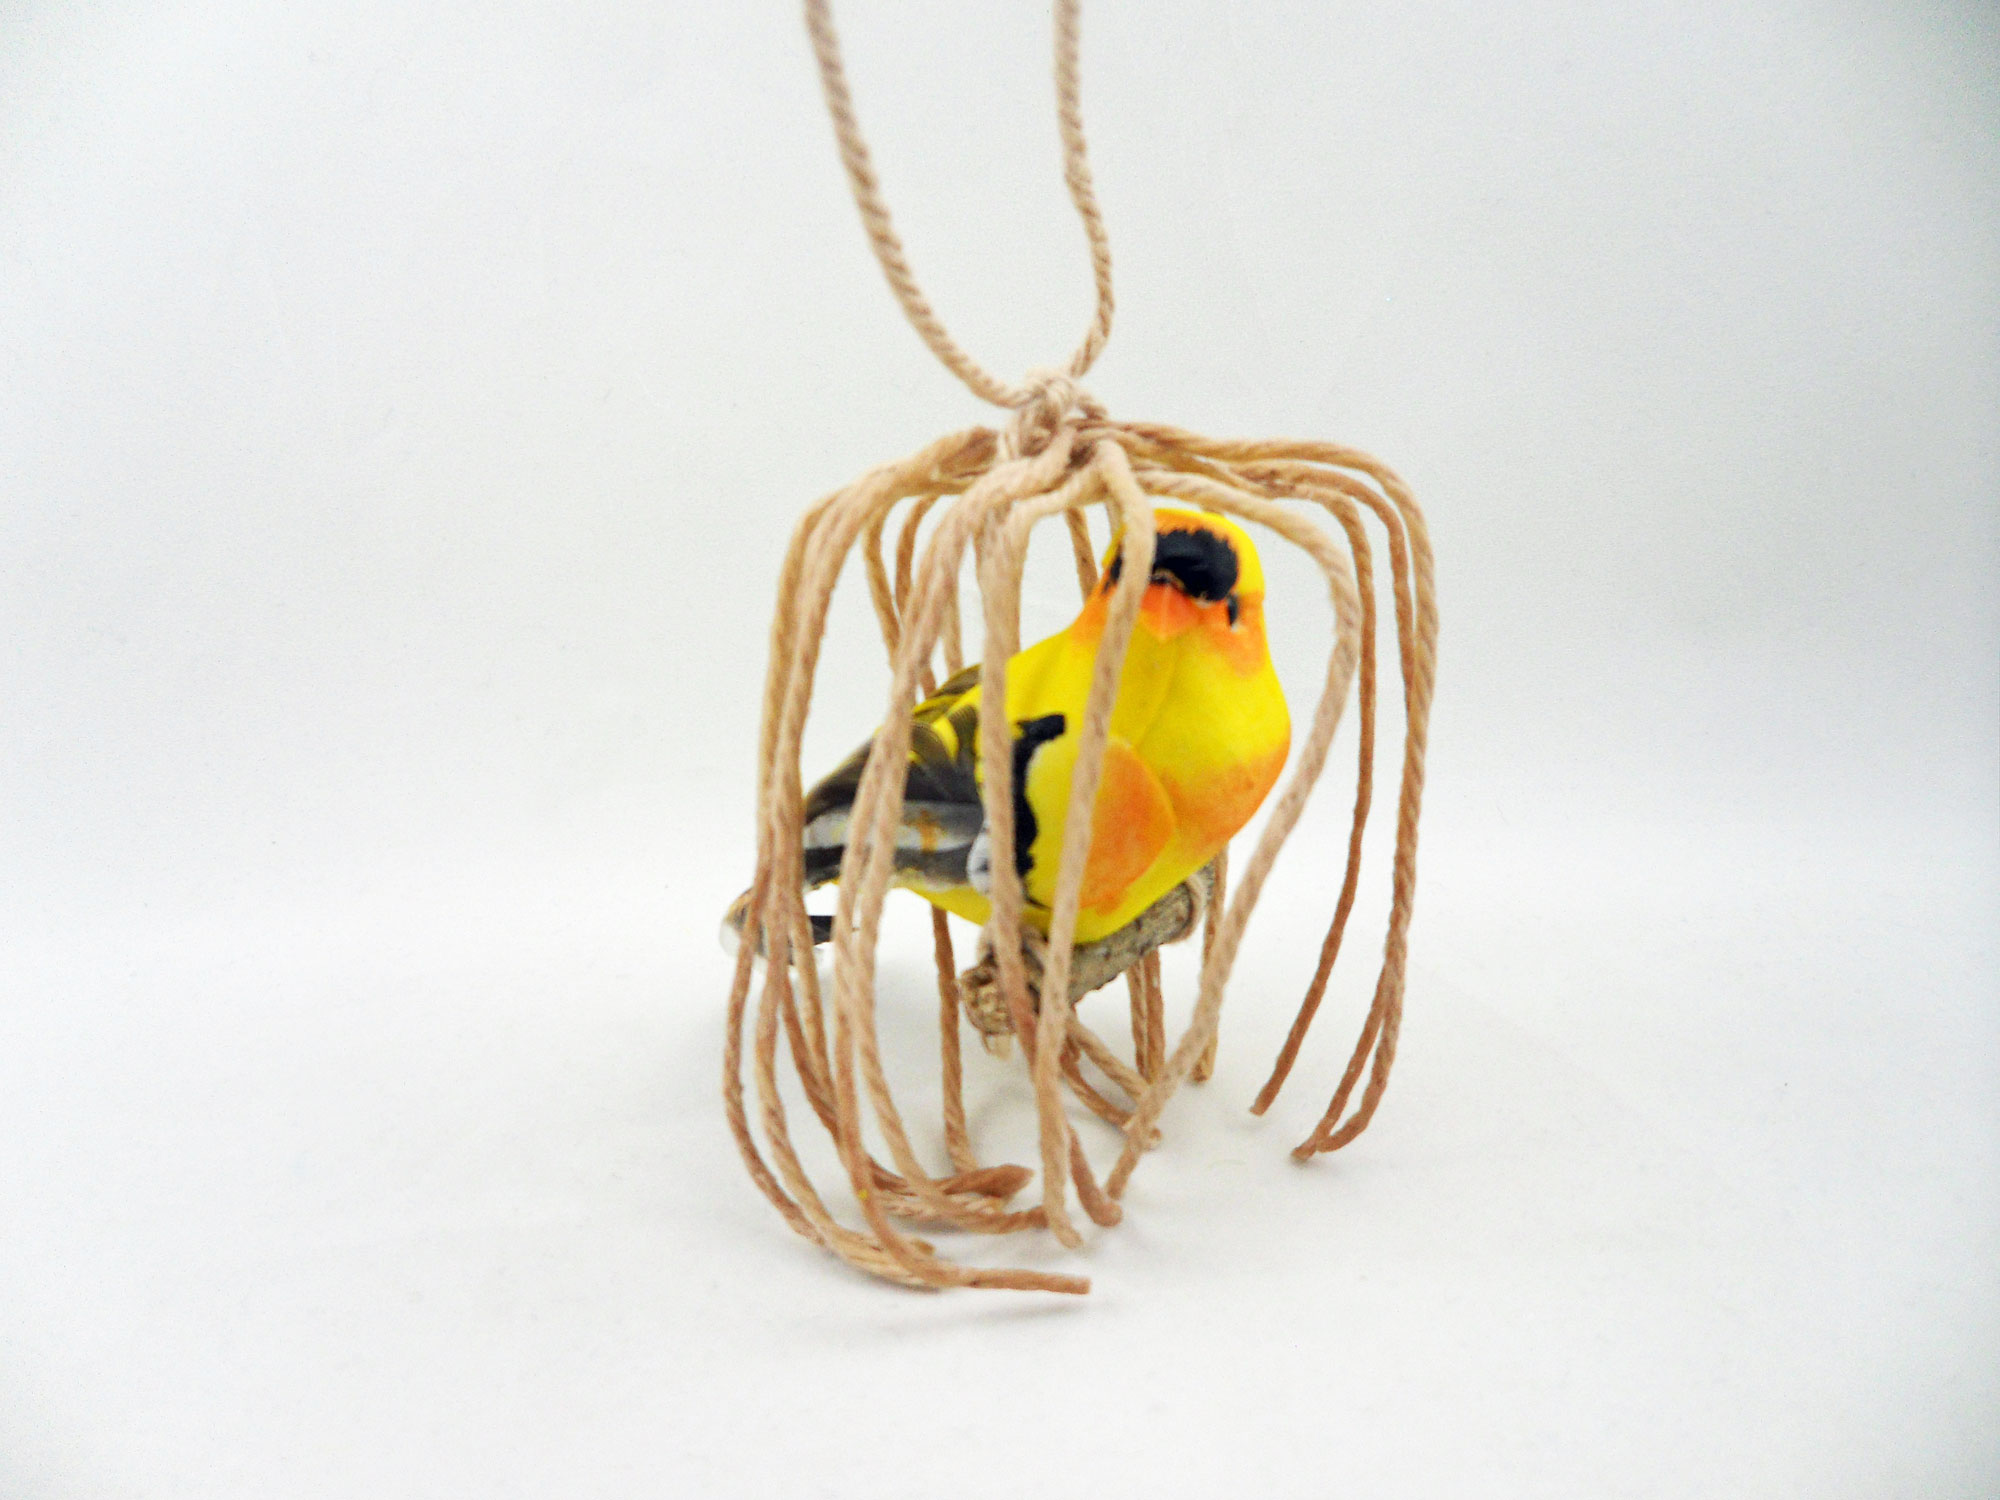
Step 1: Blow the balloon into the size and shape that your want your bird cage. Pour some of the liquid starch into a bowl and soak the yarn in it.
Step 2: As you go along, coat the thread in the starch and wrap around the balloon vertically, creating the bars of the bird cage. Let this dry overnight and completely. You may have to do this in several rounds to get the desired stiffness.
Step 3: When dry, pop the balloon and carefully remove any pieces of the rubber that stick.
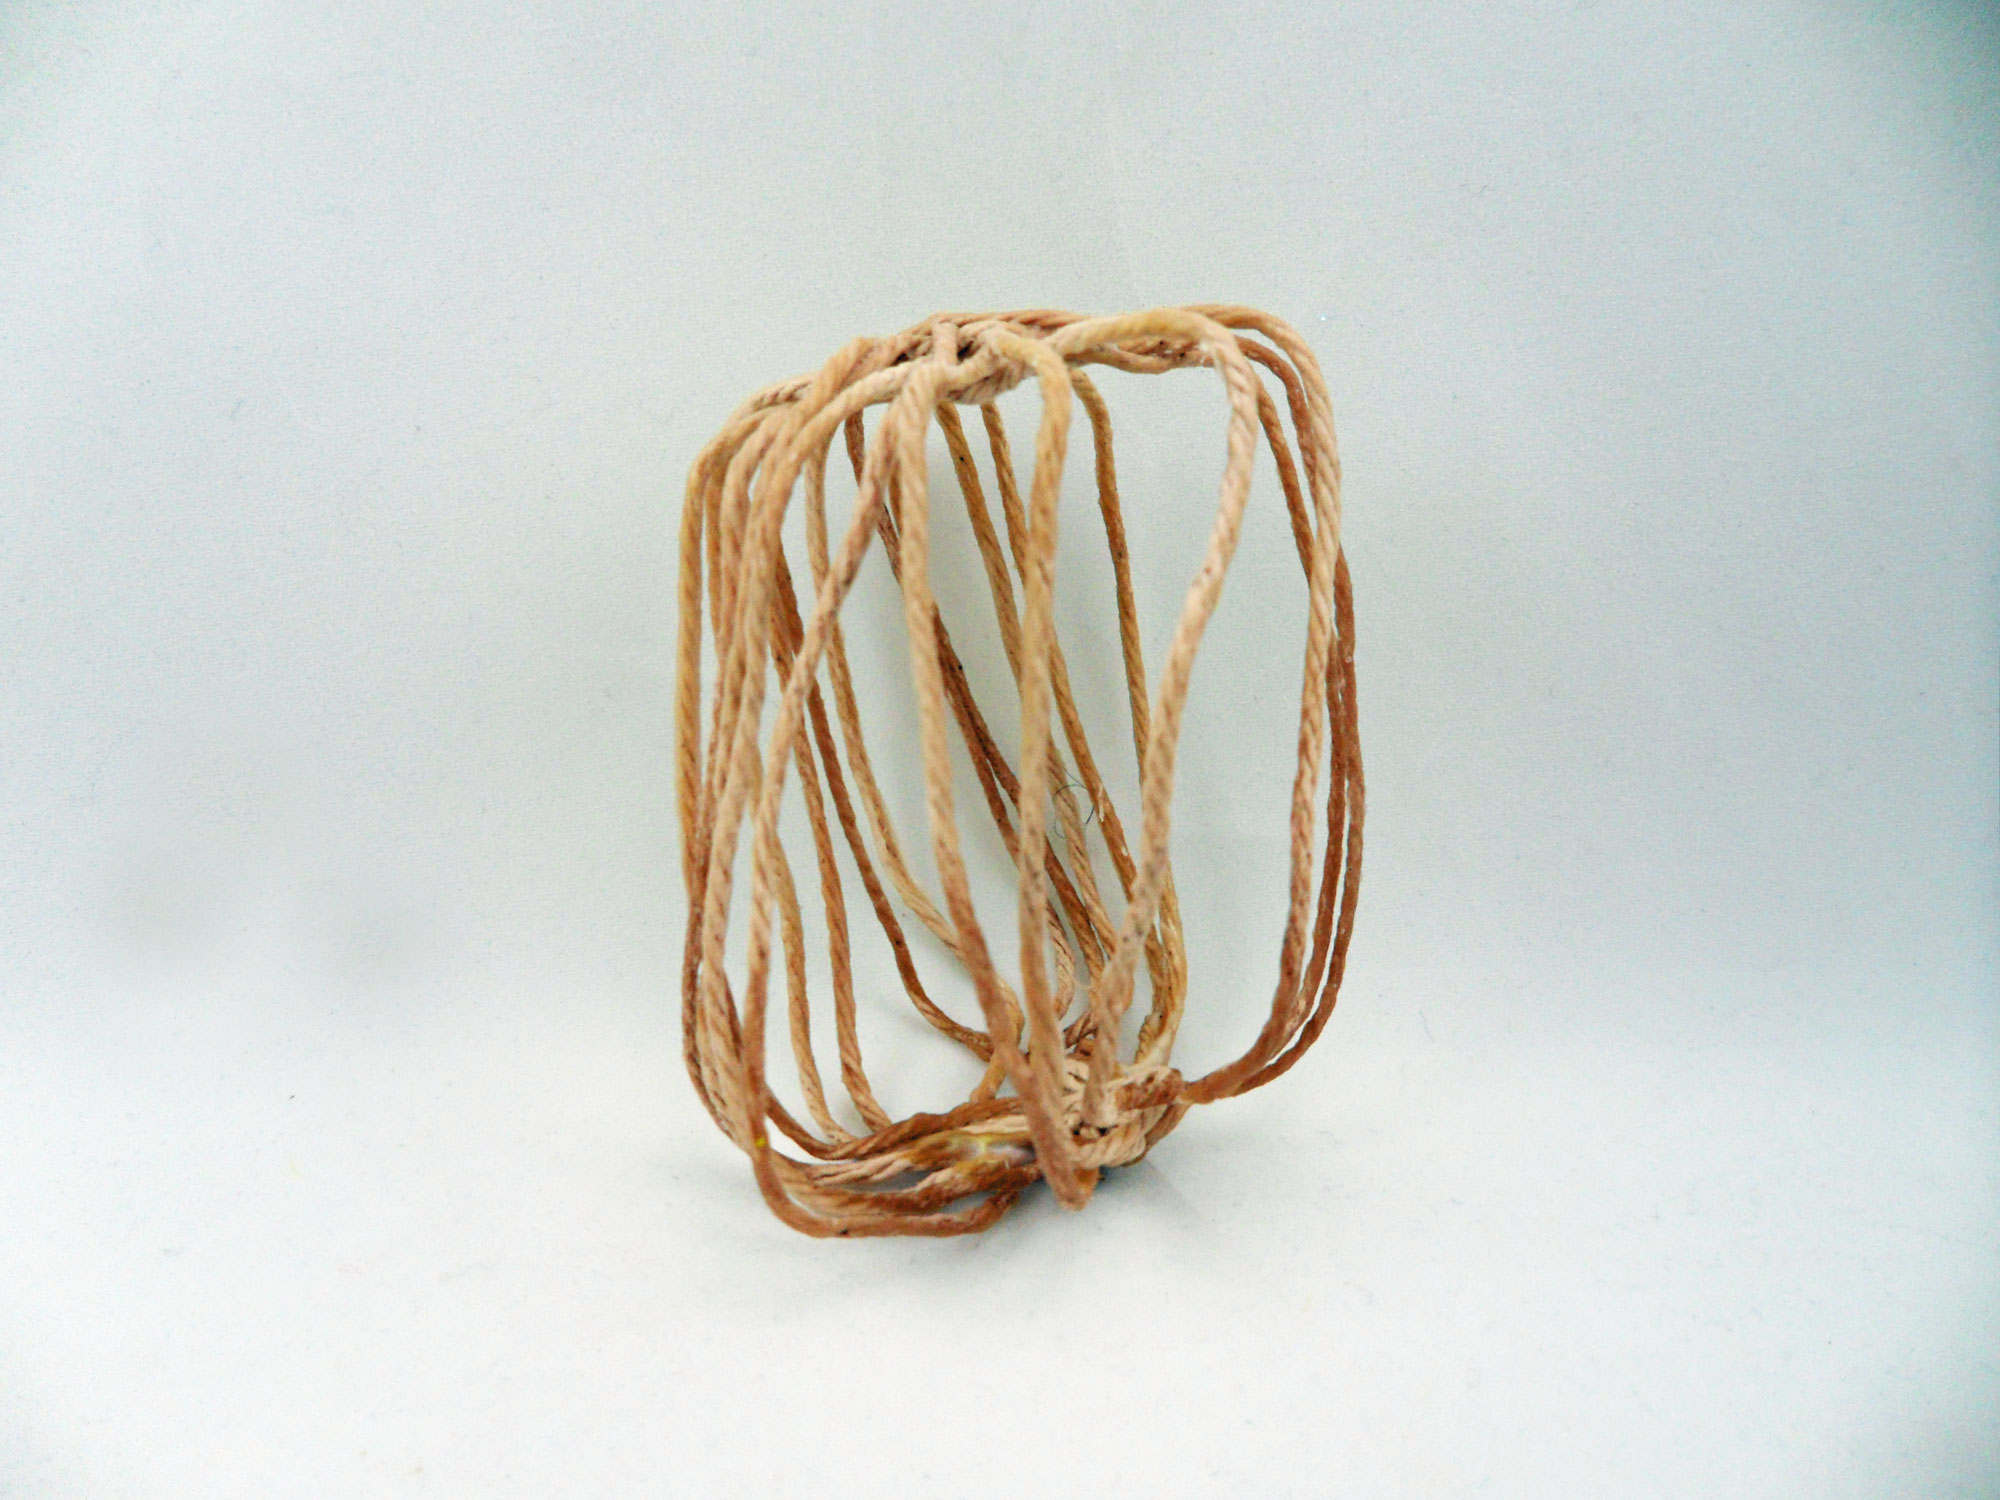
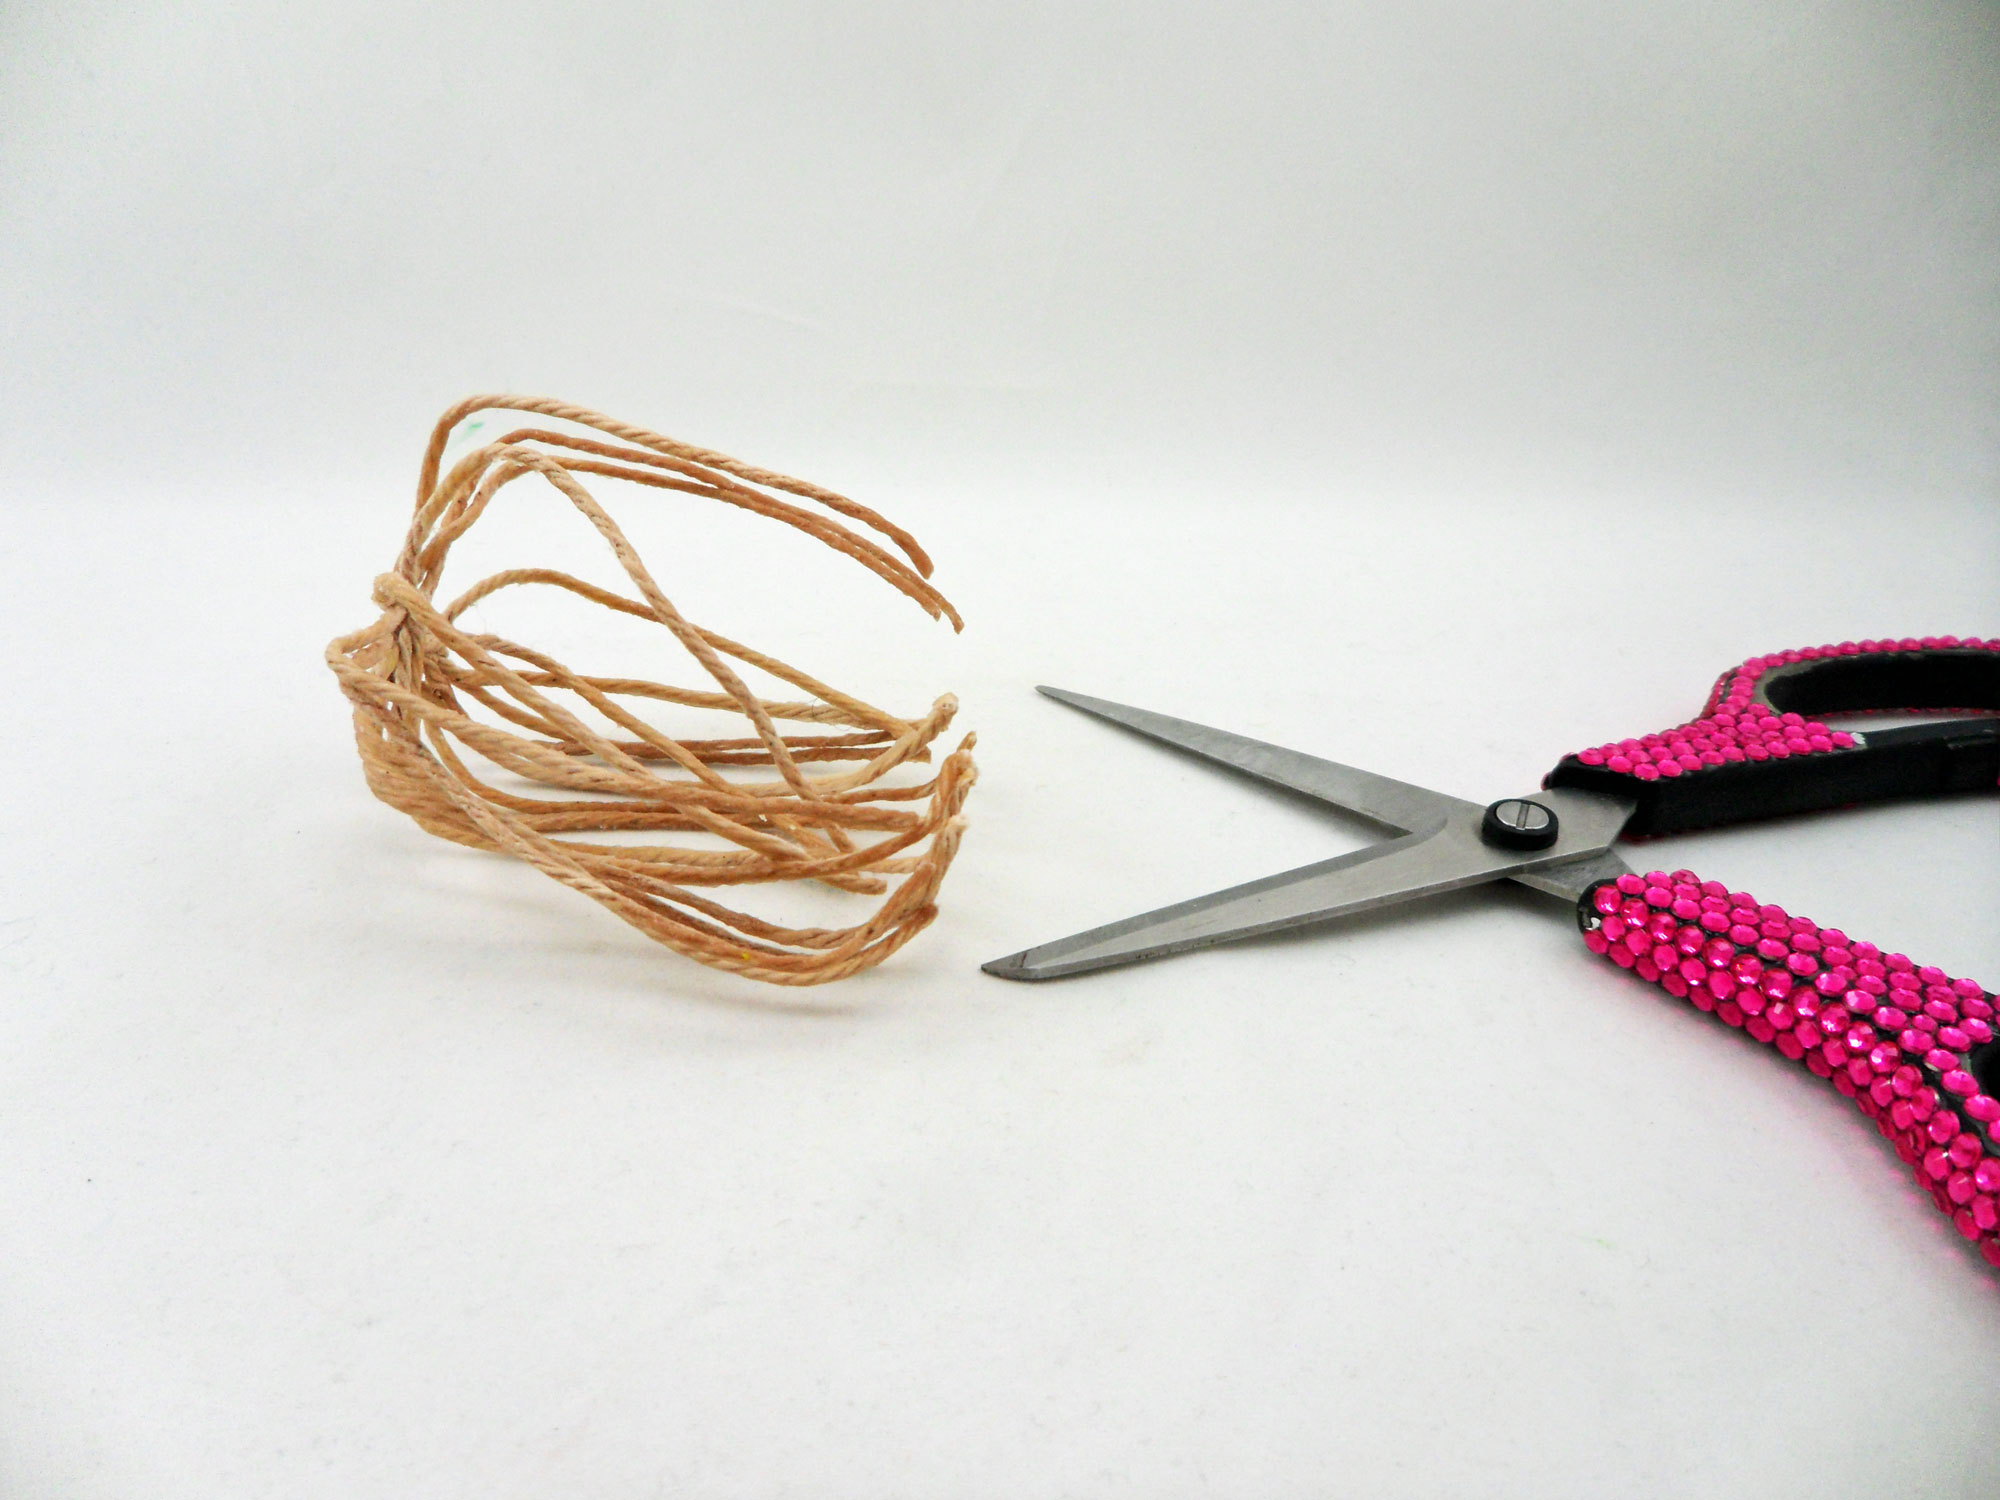
Step 4: Cut the bottom part of the string bird cage all the way around so that it is straight.
Step 5: Cut the twig into a perch. Cut two pieces of string and tie one on each end of the twig.
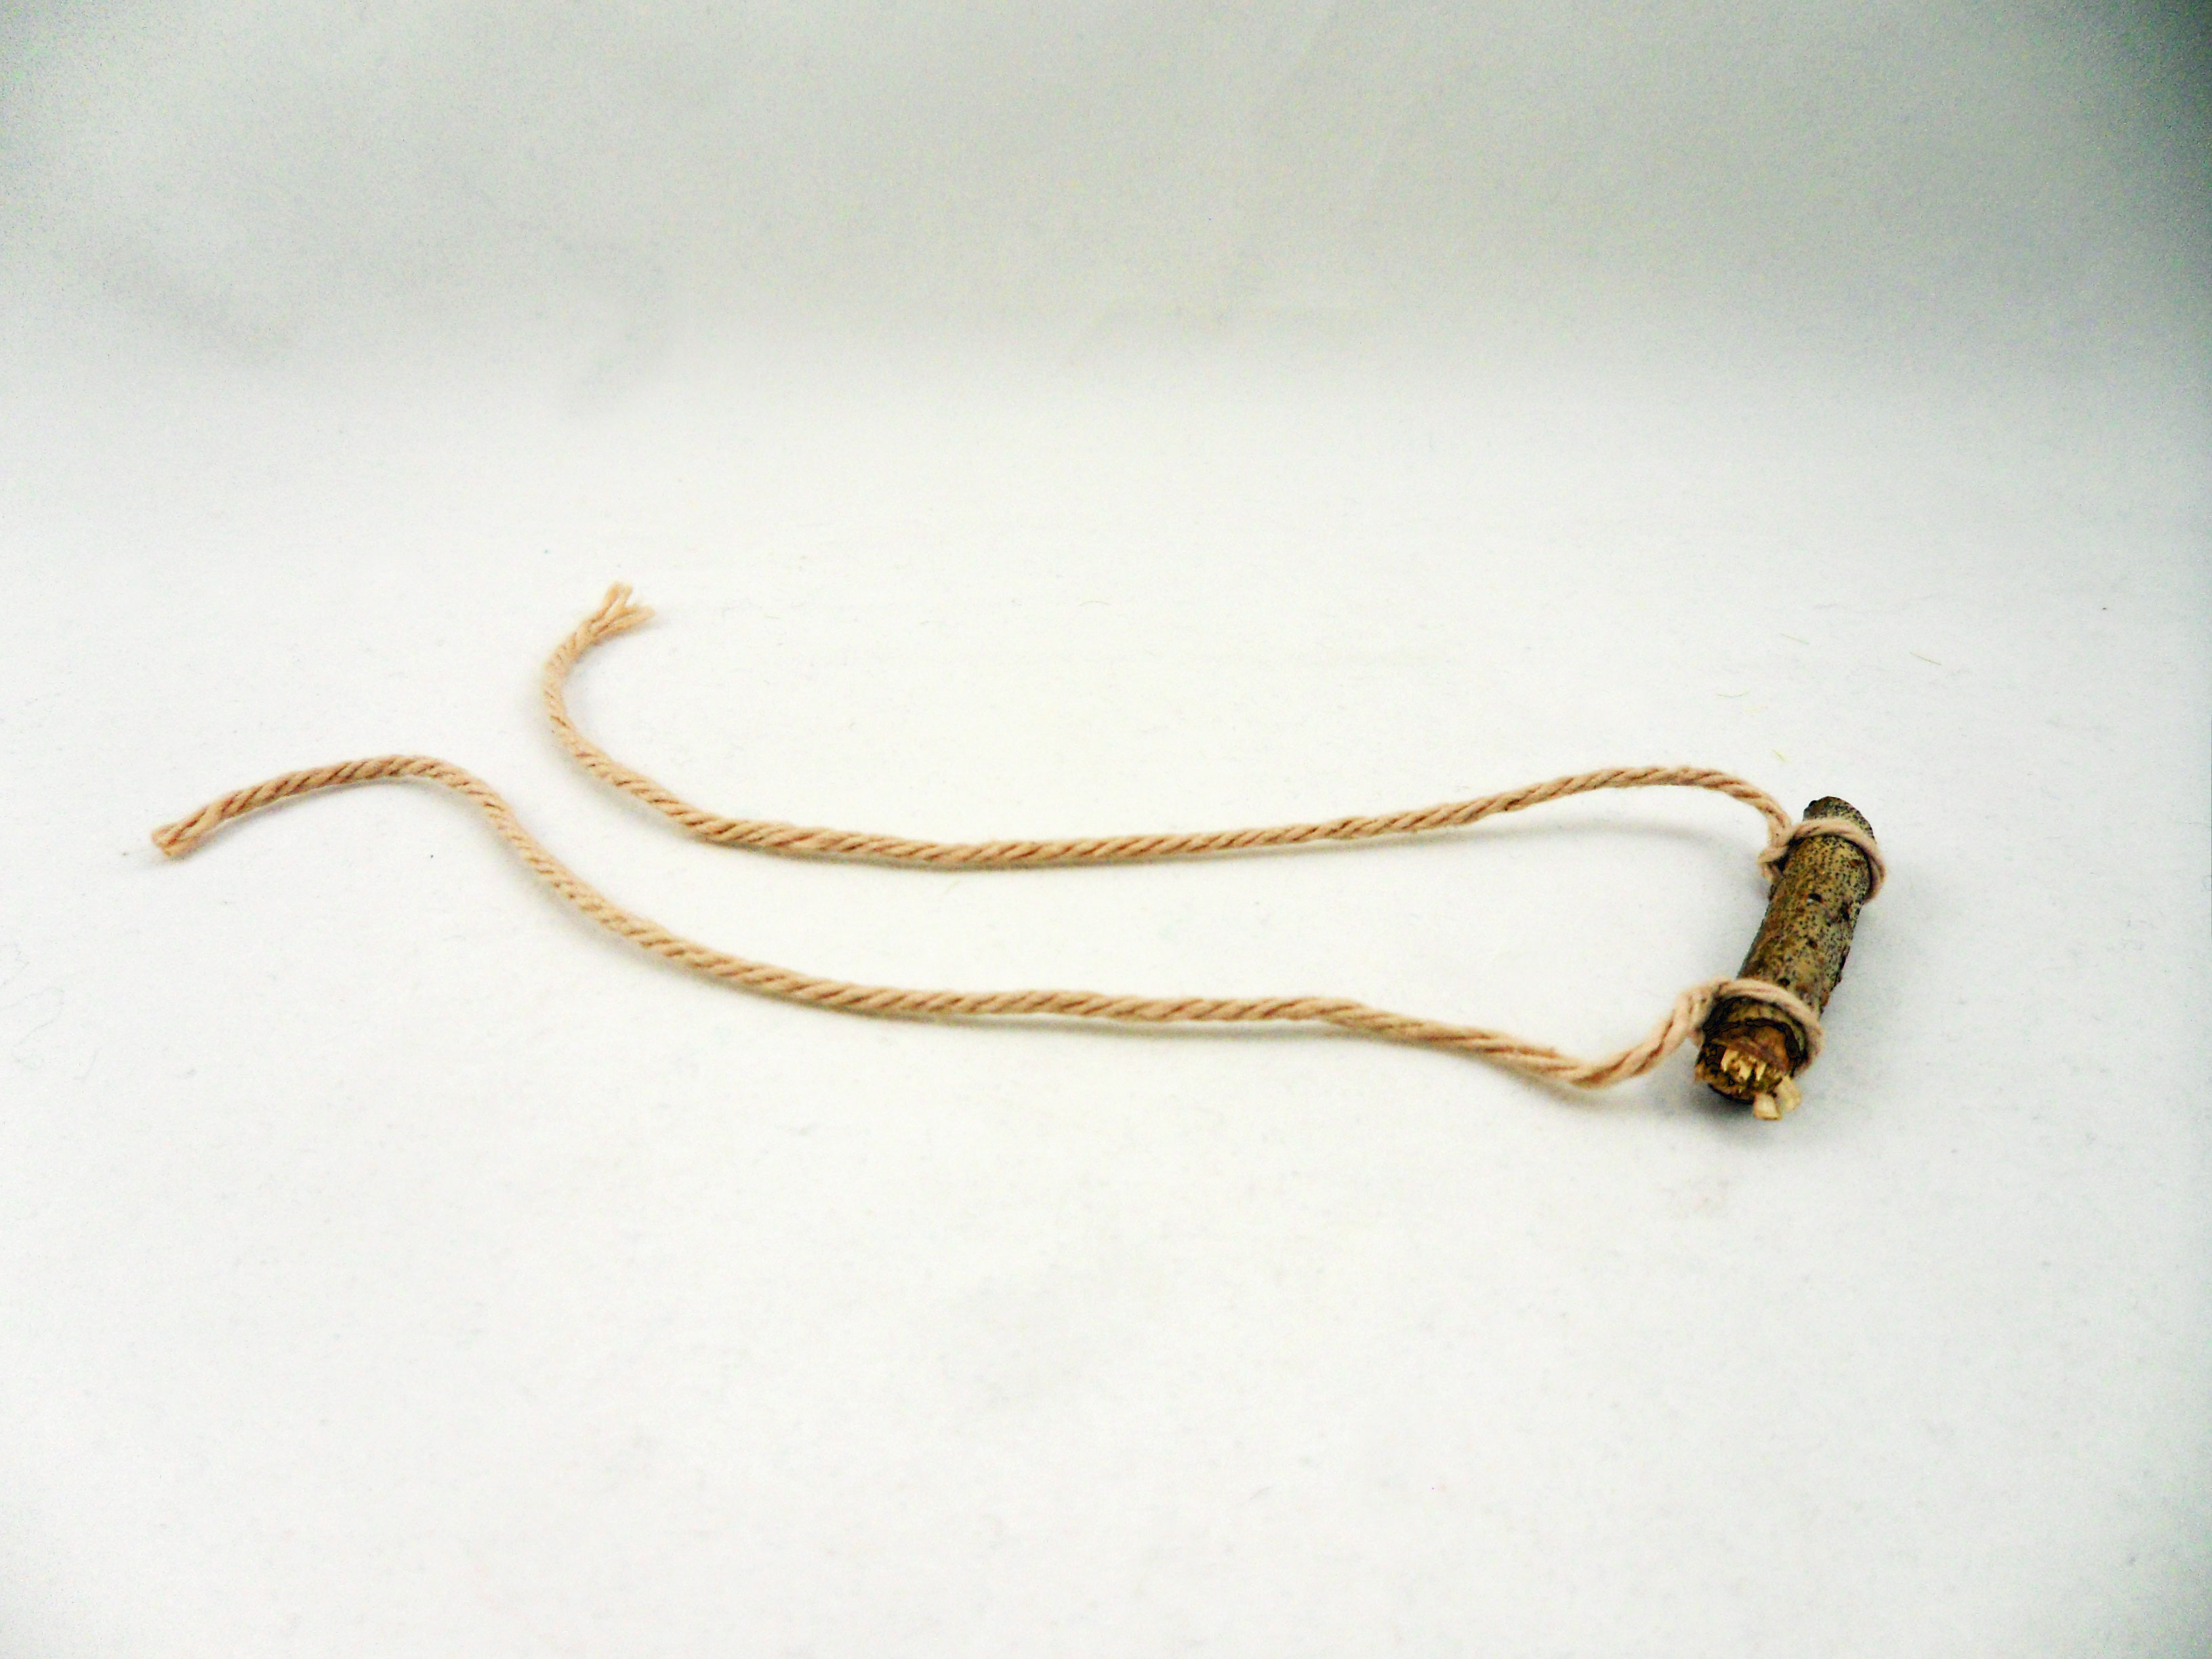
Step 6: Glue the bird to the perch and let dry.
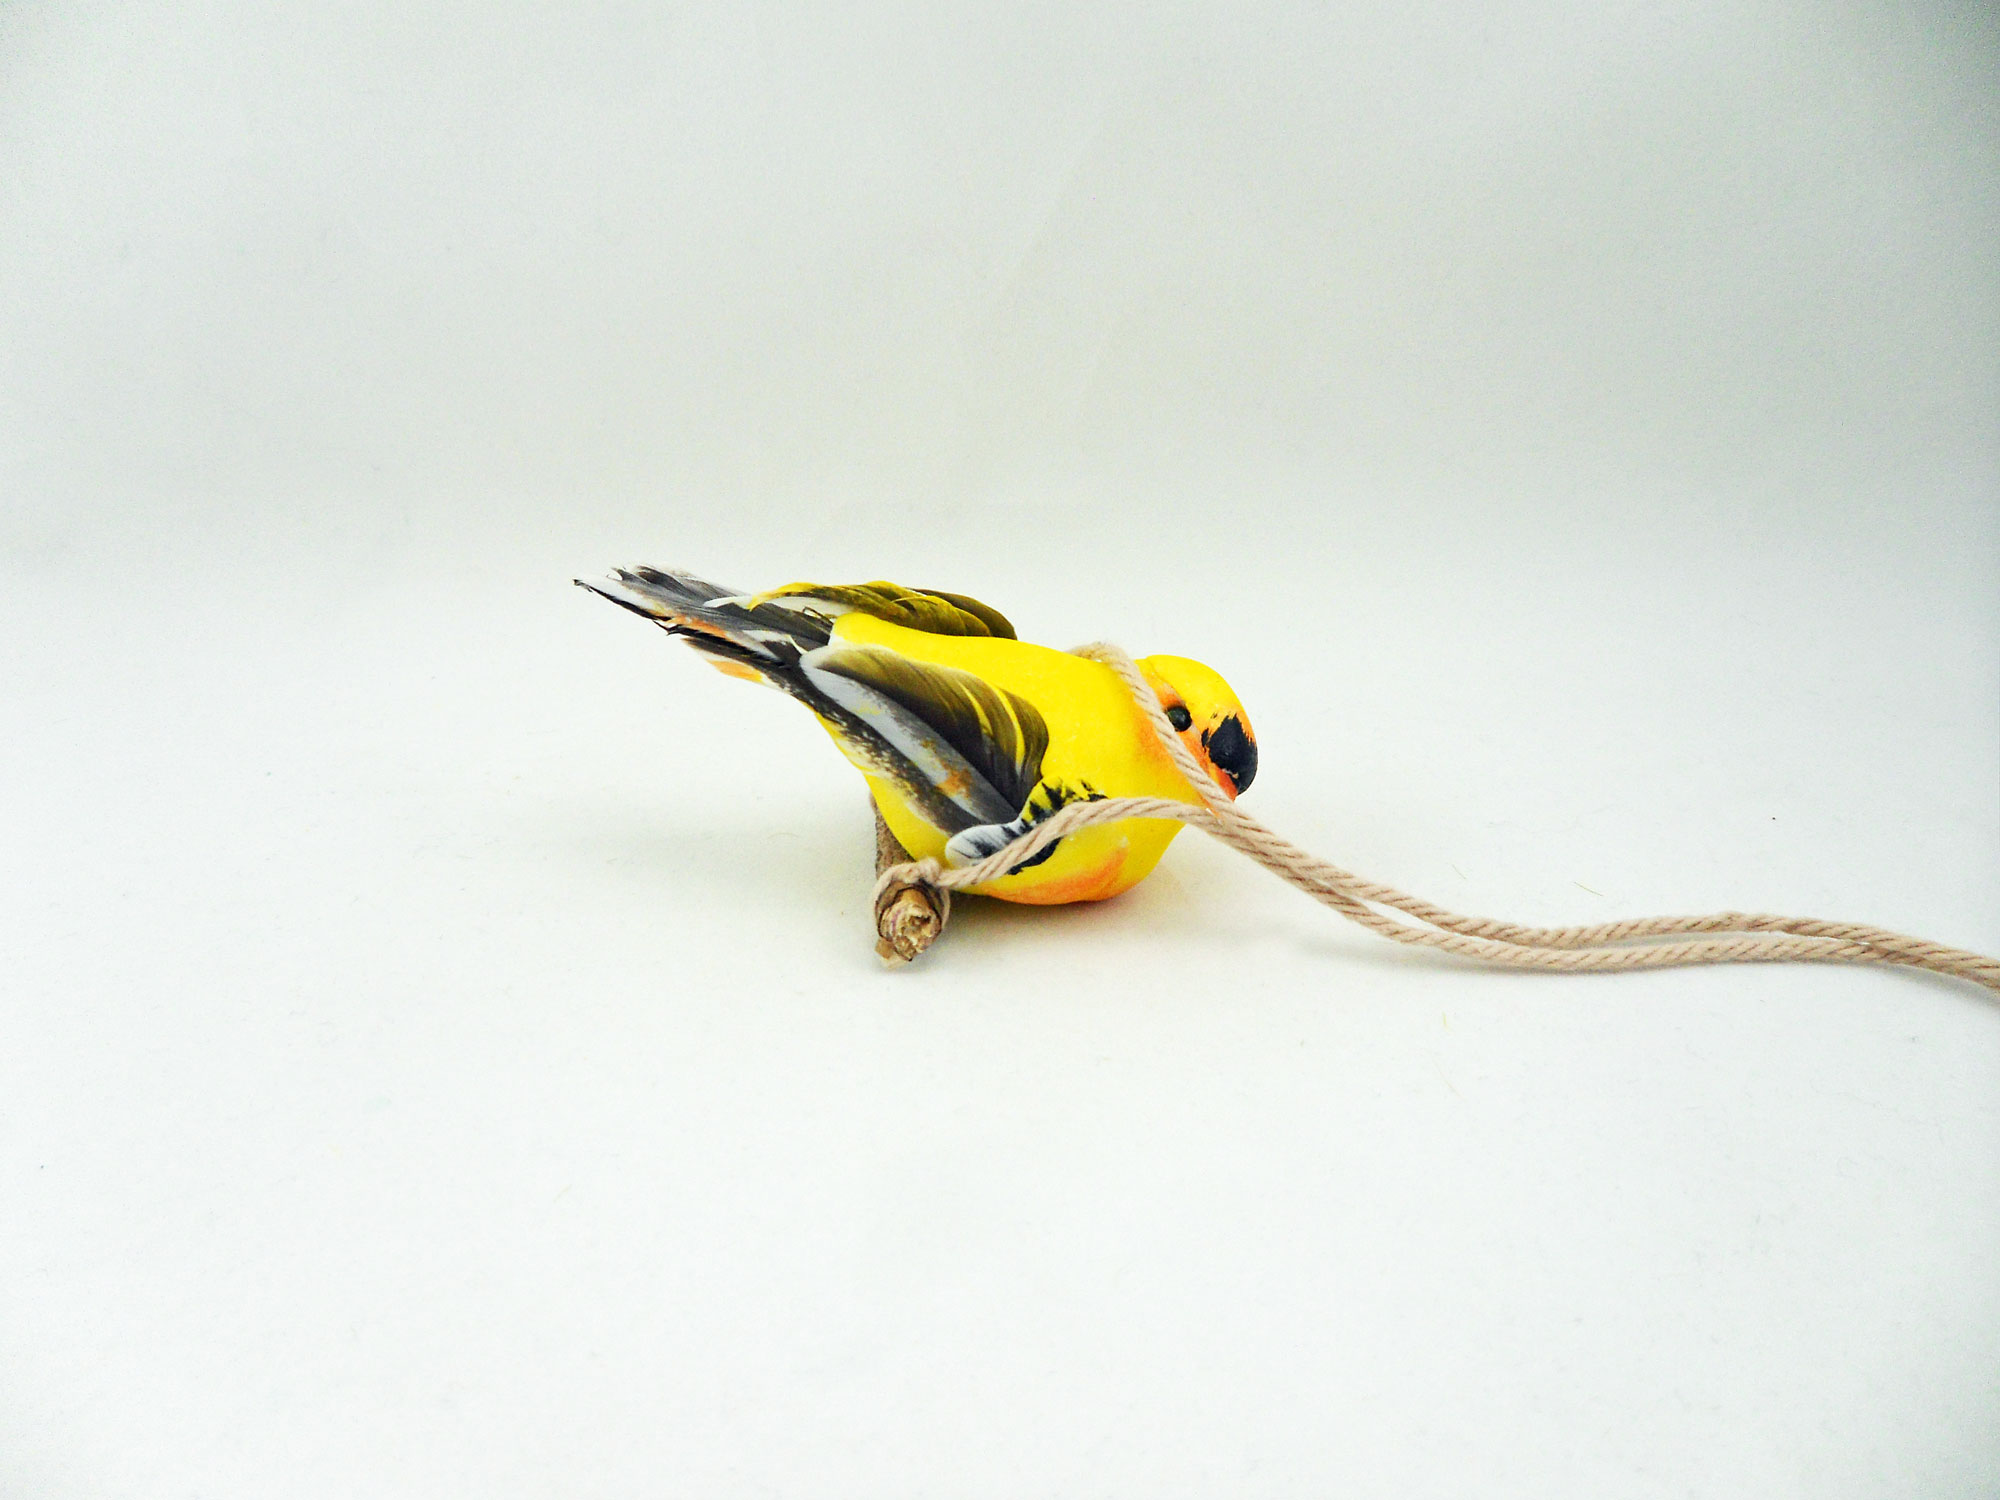
Step 7: Tie each remaining end of the string to inside top of the bird cage to create a perch for your bird.
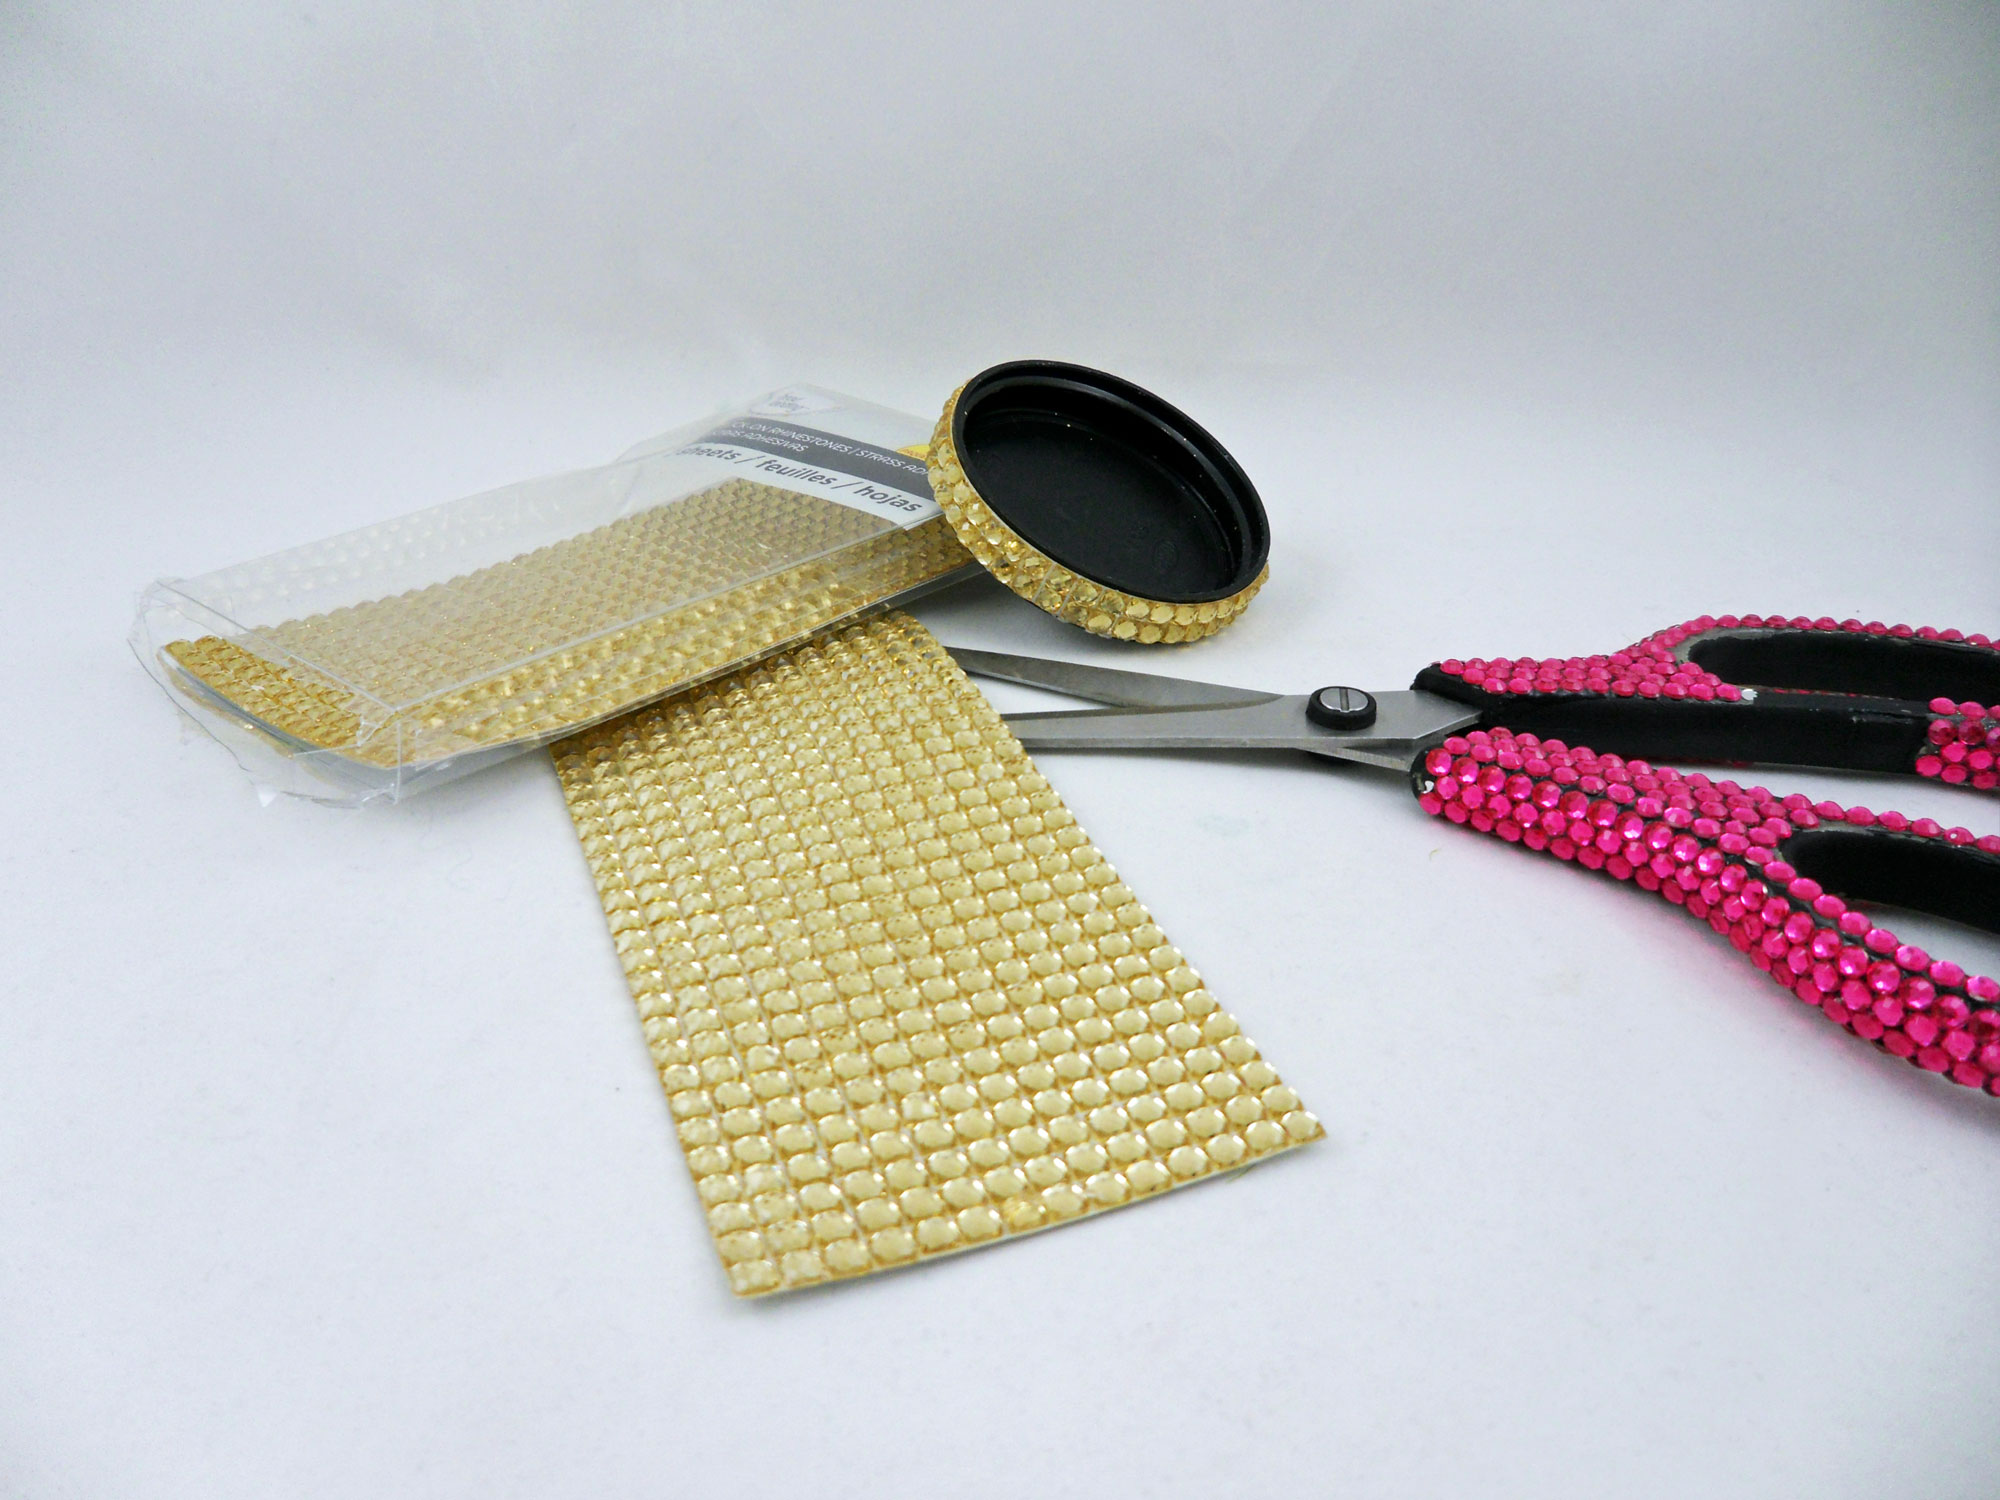
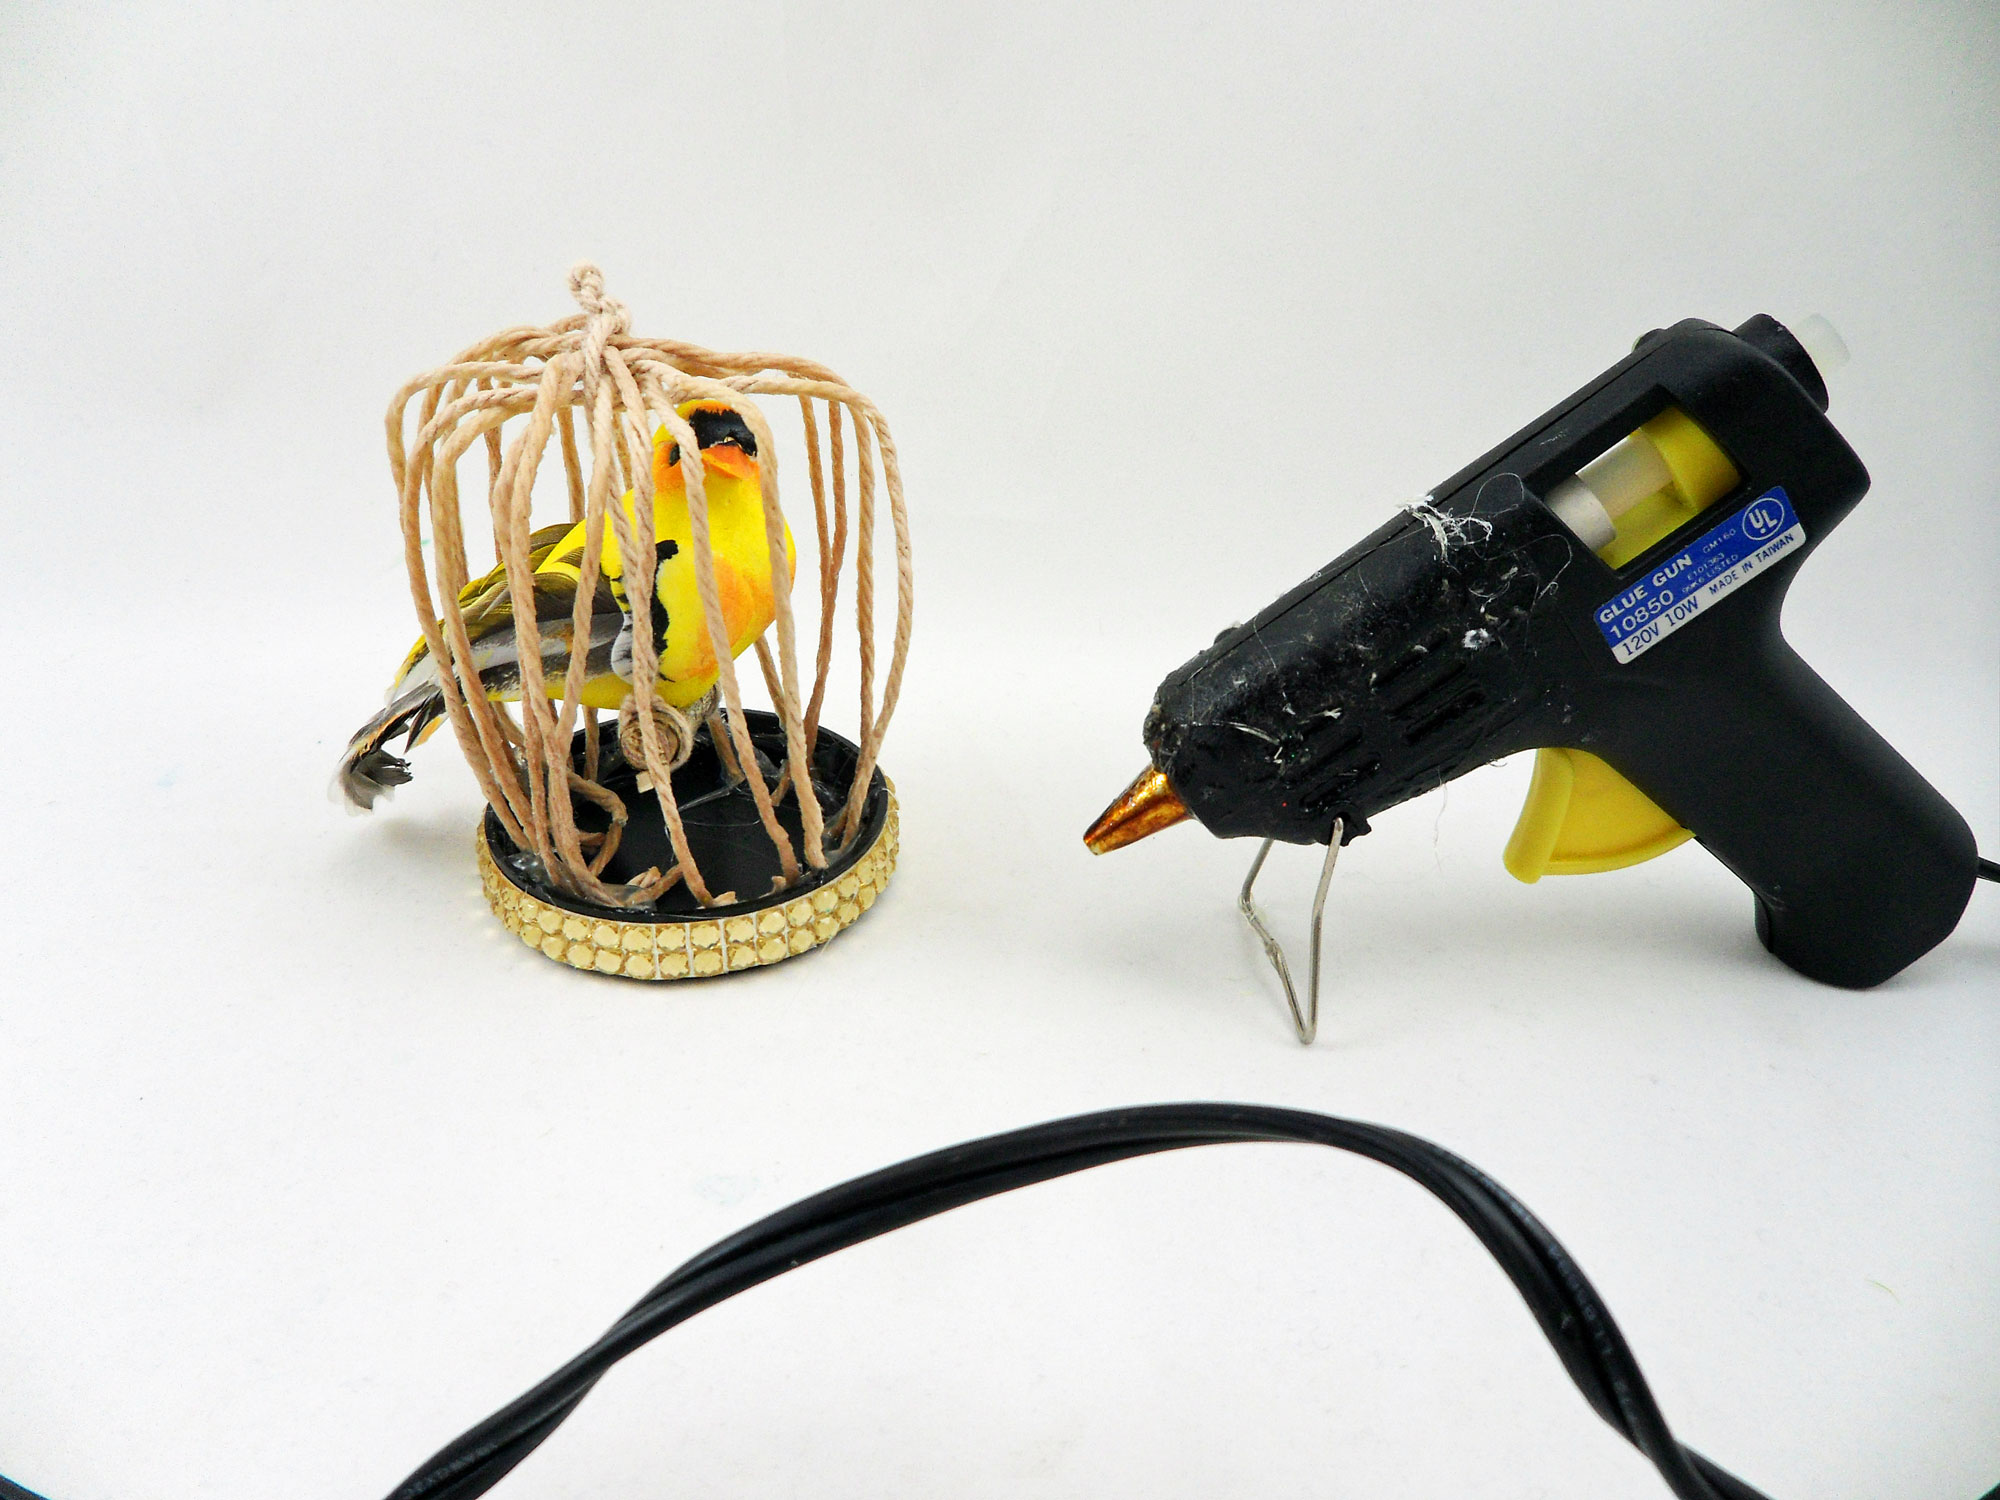
Step 8: Paint or embellish the plastic or metal lid. Here we added strips of gold bling.
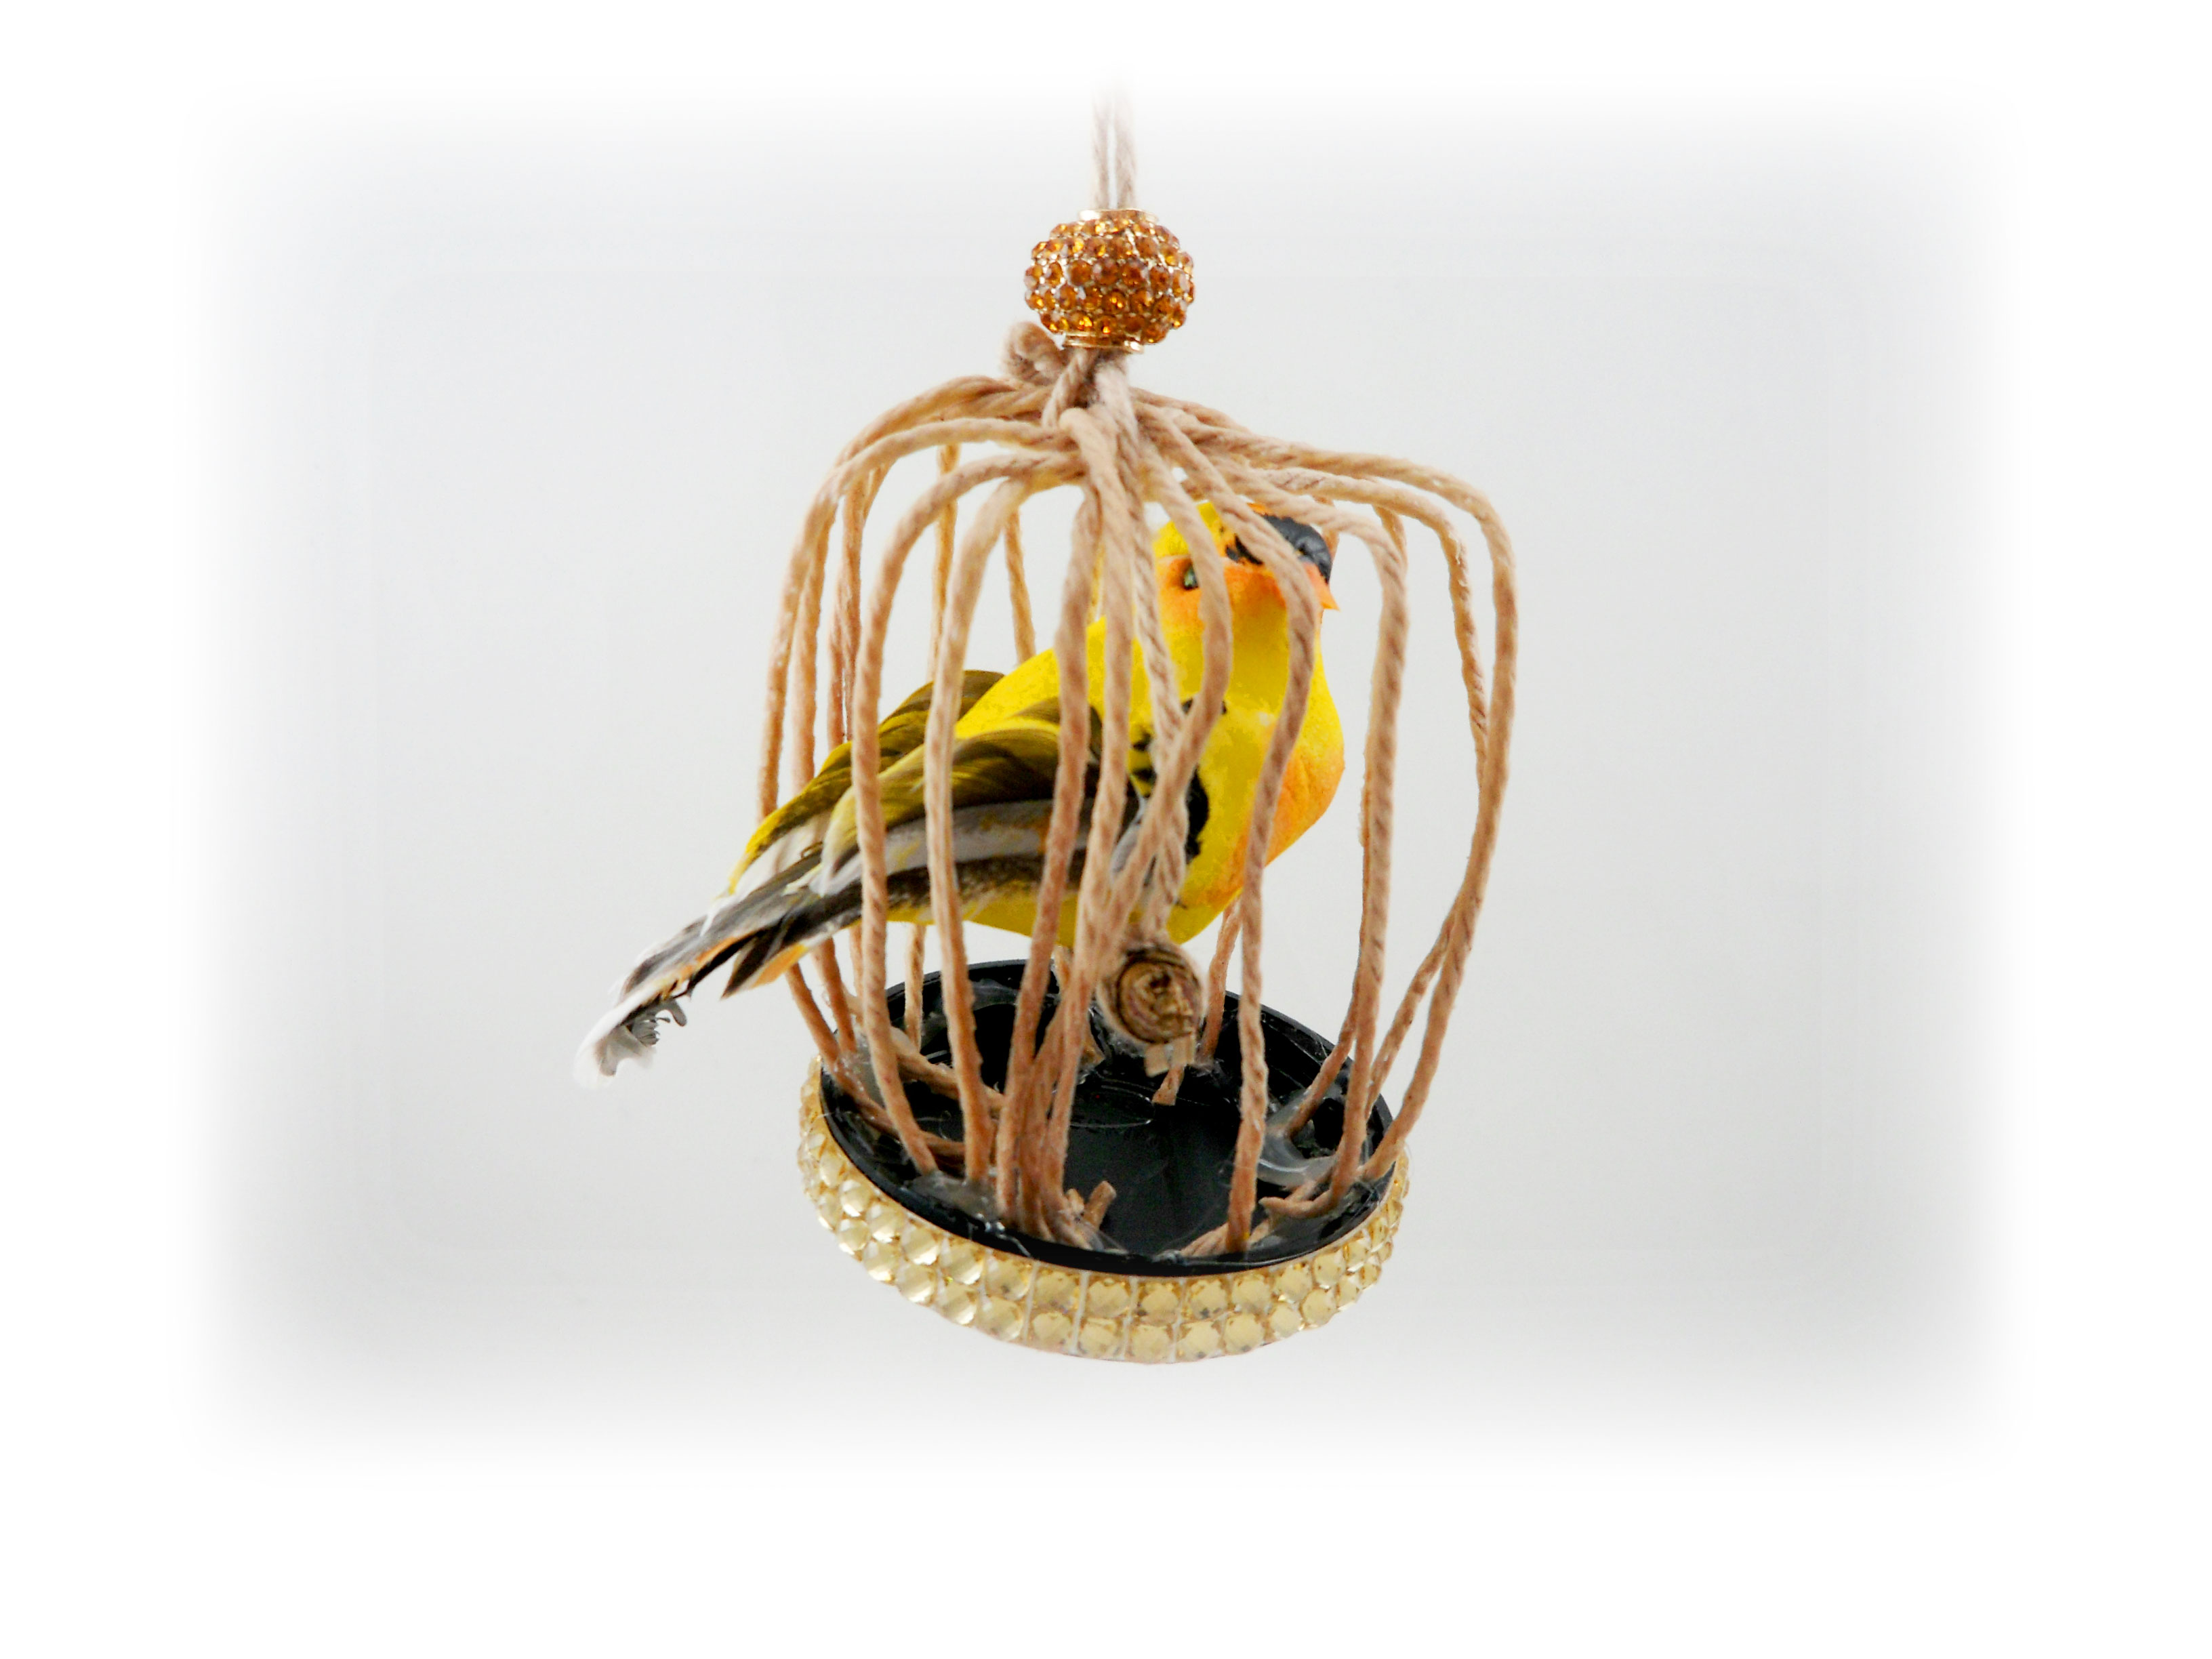
Step 9: Take the bird cage you designed and using hot glue, secure the bird cage to the lid so that the bird is perched inside.
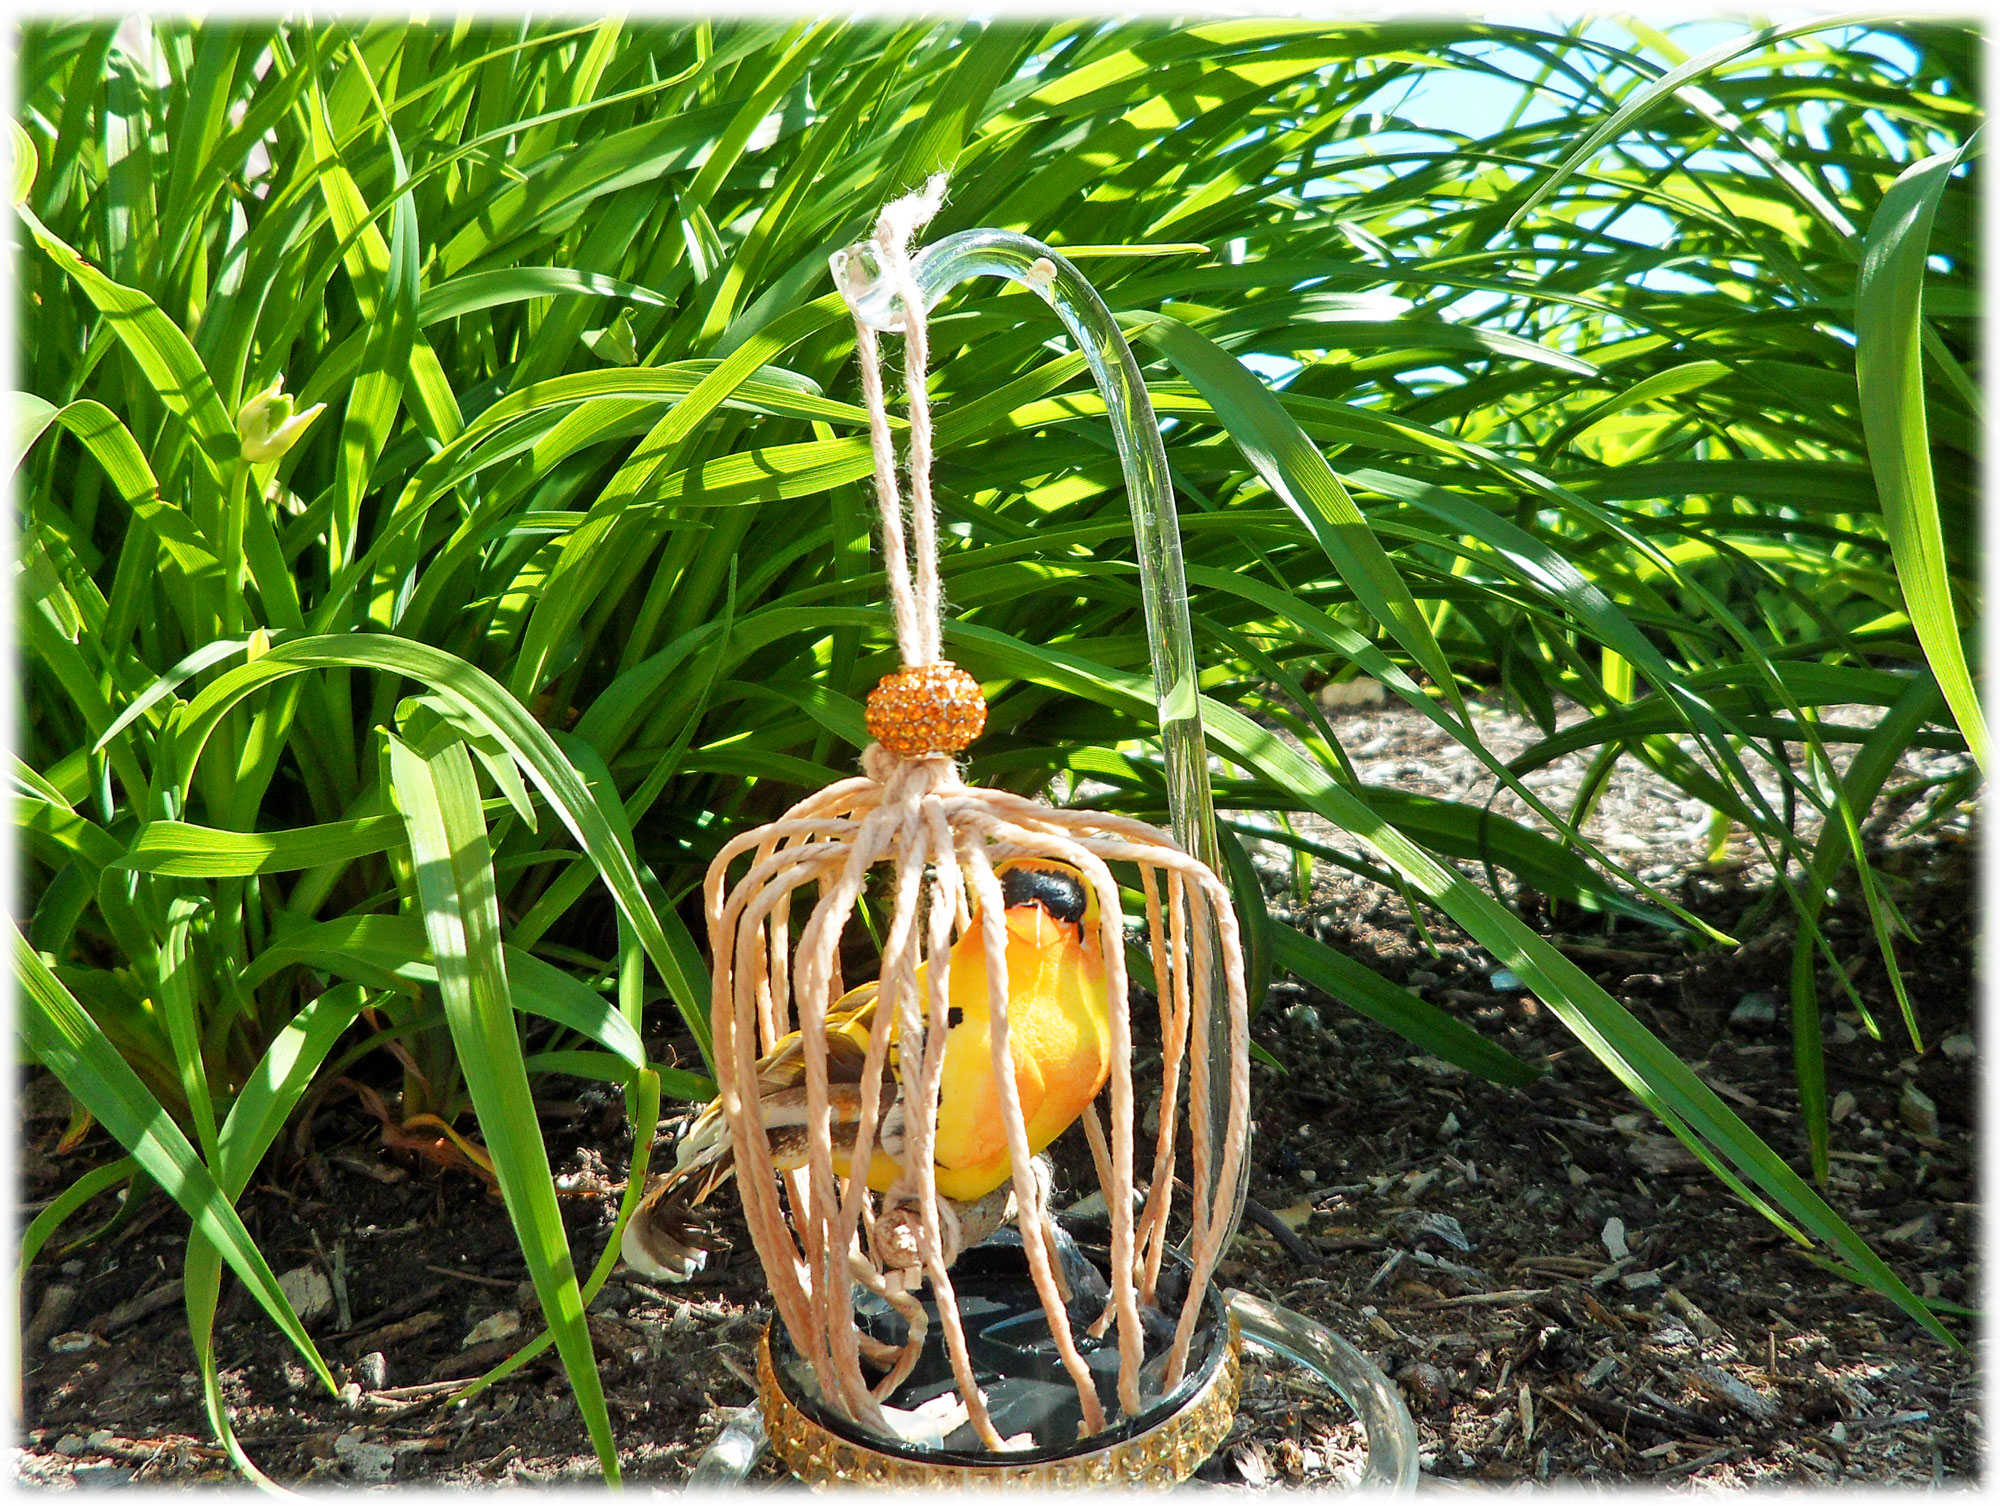
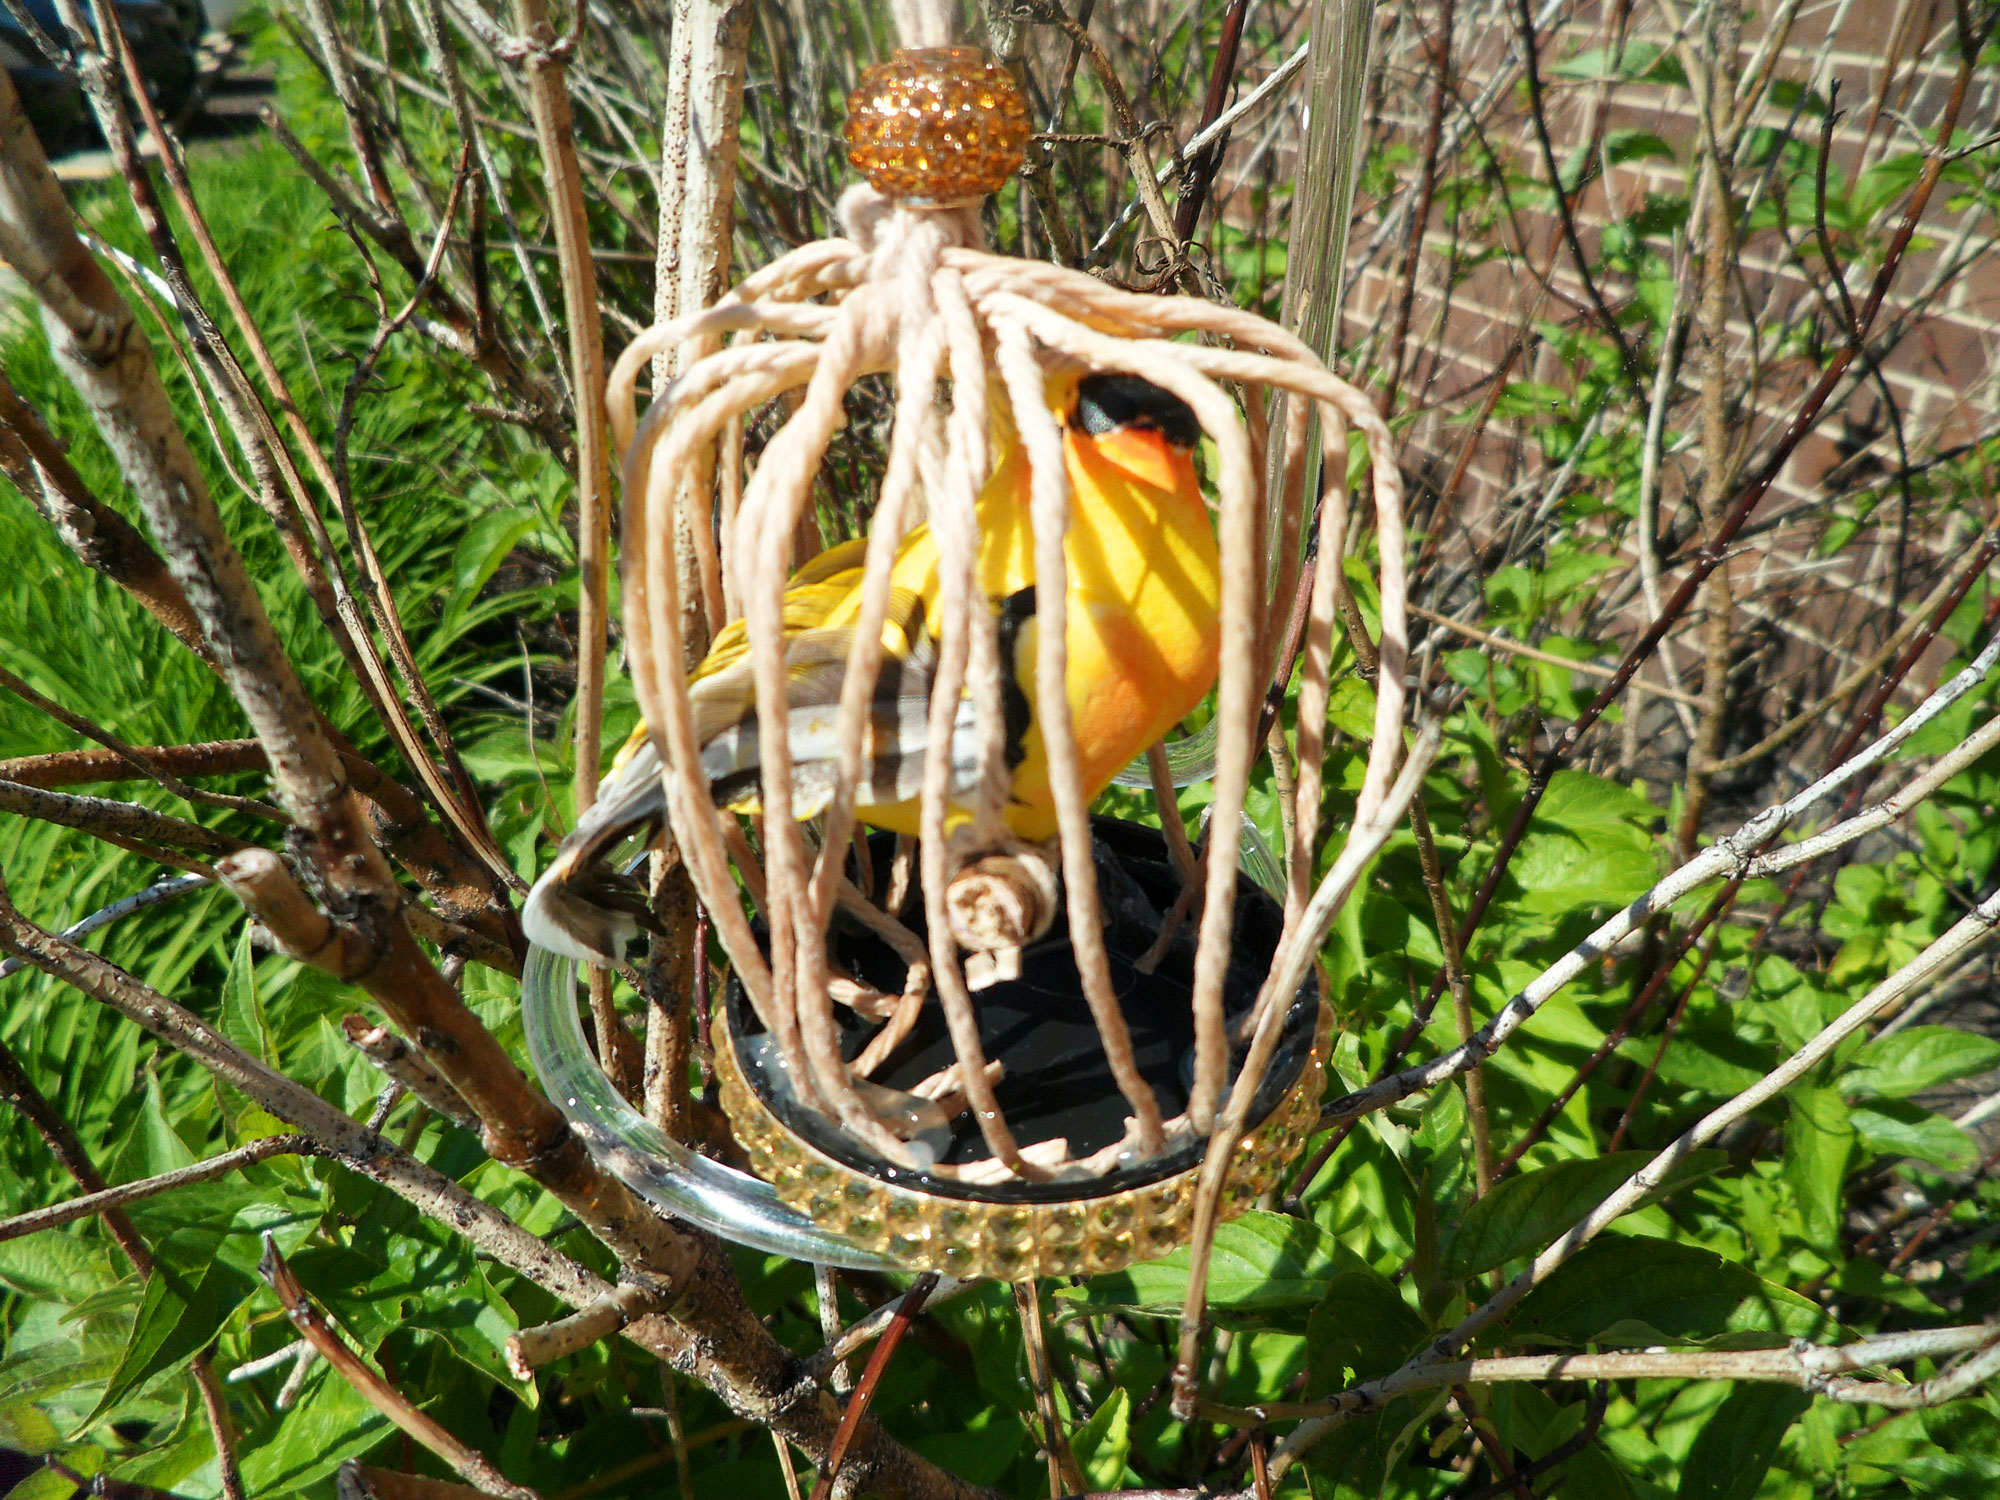
Once the two pieces are firm and secure, tie a piece of string to the top of your bird cage and you have beautiful DIY bird ornaments that are pretty spring decorations for your home, four season room, porch or sunroom.
That’s it! Now you have your very own pet in a bird cage, although this bird won’t be singing. For a unique display, make a few bird ornaments and hang them together in a colorful cluster.
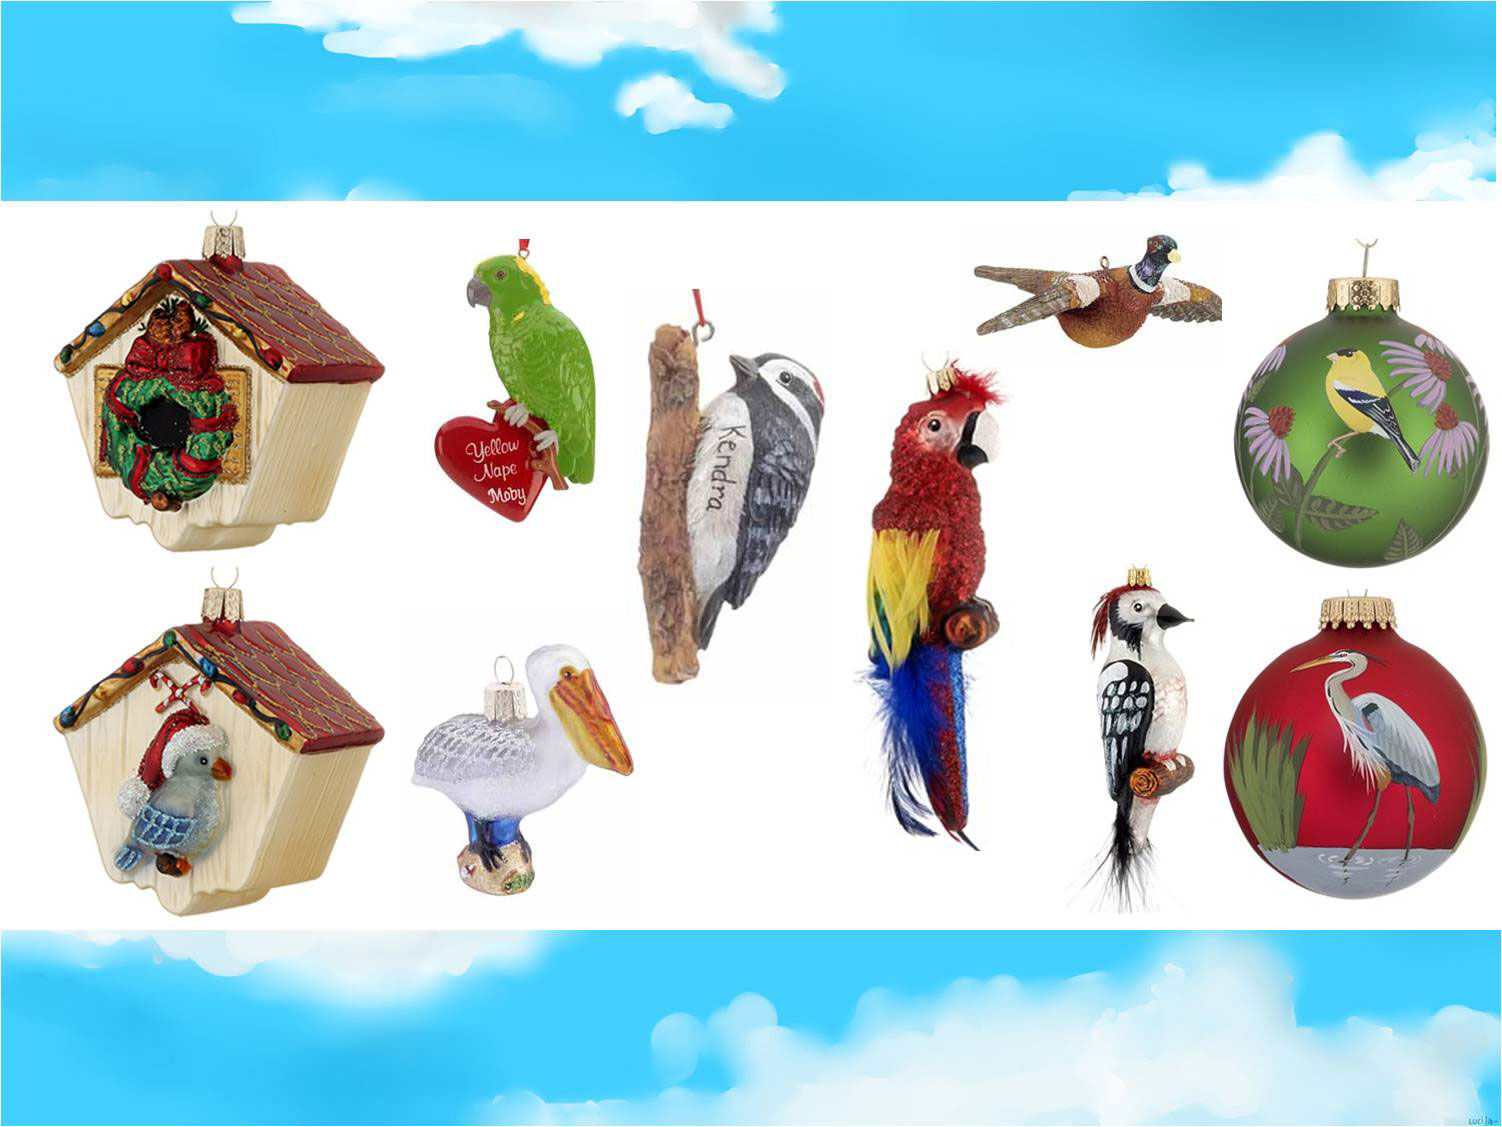
Not crafty, but you are a bird lover? Birds of a feather flock together! We’ve got Personalized Bird Ornaments that you can give to a friend who loves birds or for someone on your holiday list who is a bird watcher.