
DIY Glitter Acorn Ornaments: Never Fear, Autumn is Here!
Posted September 11, 2015 in DIY (Crafts) by Dianne Weller
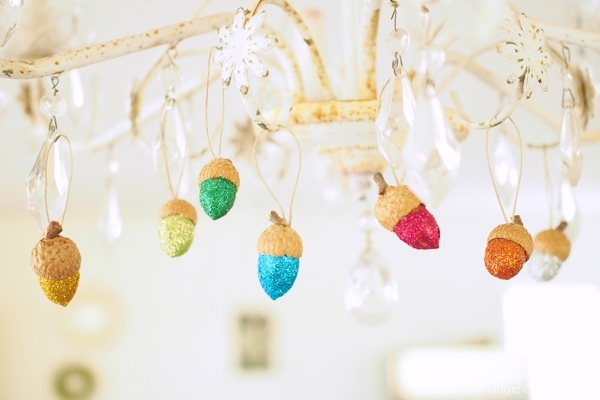
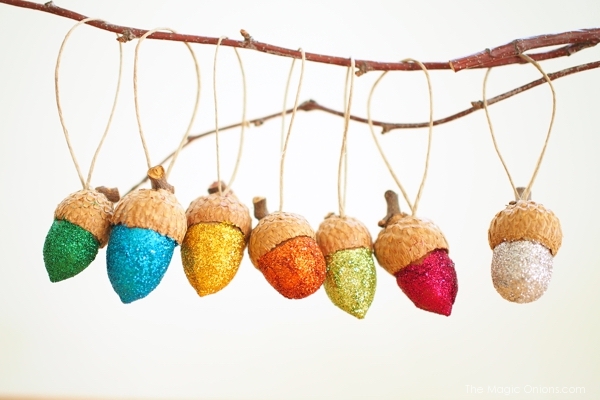
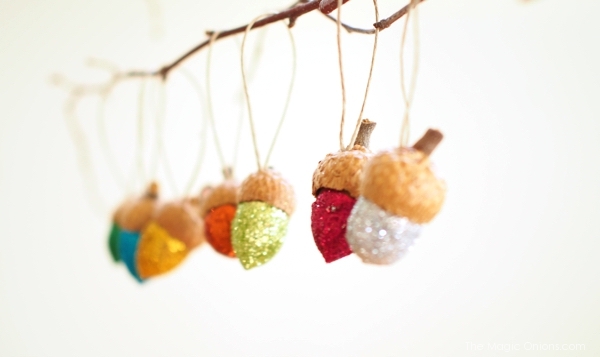
Look what I have hanging from my chandelier! The most gorgeous bright and colorful autumn Acorn Ornaments! They are just the perfect little accents to bring the festive feeling of Fall into your home.
And they are not difficult to make either. I thought it would be a great idea to ask my friend Donni at TheMagicOnions.com to lead you through an easy step-by-step tutorial of these fall festive acorn ornaments so that you can make some for your home too.

How To Make Glitter Acorn Ornaments
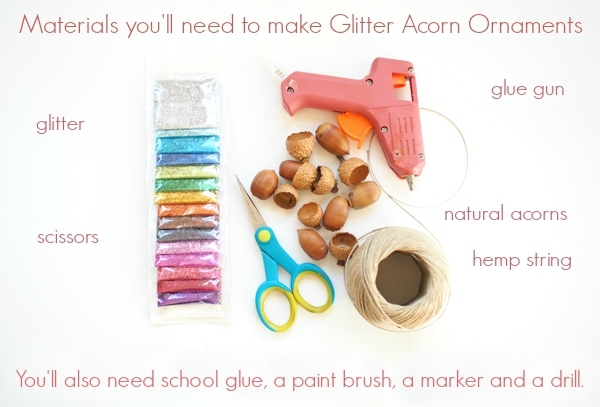
Supplies:
- Glitter
- Natural Acorns
- School Glue
- Hemp String
- Scissors
- Hot Glue Gun
- Black Marker
- Drill
- Muffin Tin
Step 1:
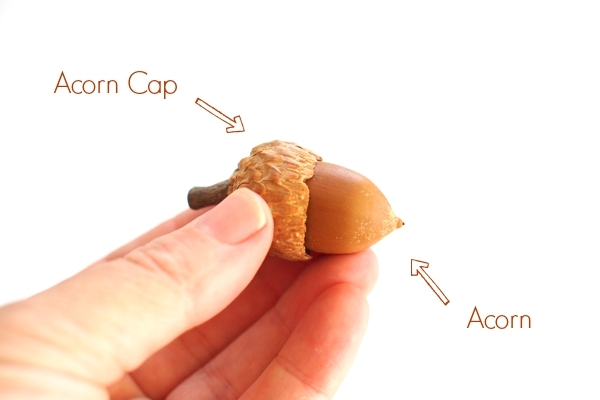
If you have oak trees in your area, you can find the acorns on the ground beneath them during the Fall. If you don’t have any oak trees in your neighborhood, you can purchase acorns from Etsy.com. The larger the acorns, the better, and acorns with little woody stems are the best.
Start by separating the acorns from the acorn caps by pressing gently on acorns while holding the caps firmly in your fingers. If your acorns are green, they won’t separate easily and you’ll need to leave them in a cool dry place for a few days to dry out.
Step 2:
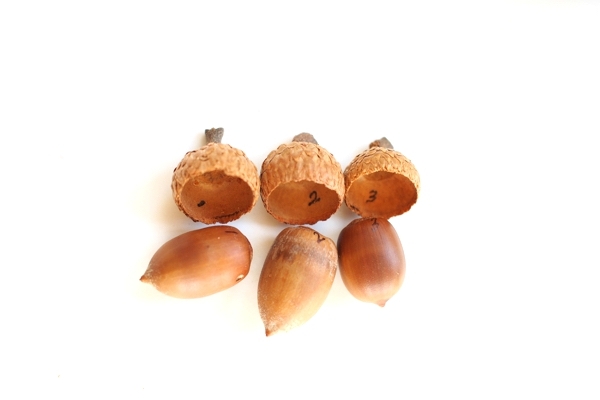
As soon as you have separated the acorn from the cap, use your marker to number the acorn with the corresponding cap. Later, you will want to know which acorn fits perfectly in which cap and your numbers will help you match up the pairs. Make sure that the markings are at the top of the acorn and on the inside of the acorn cap as we don’t want to be able to see them once we have glued them back together again.
Step 3:
Cut the hemp string into 6 inch lengths for hanging.
Drill holes in the top of each acorn cap. You’ll want to use a drill bit double the diameter of your hemp string.
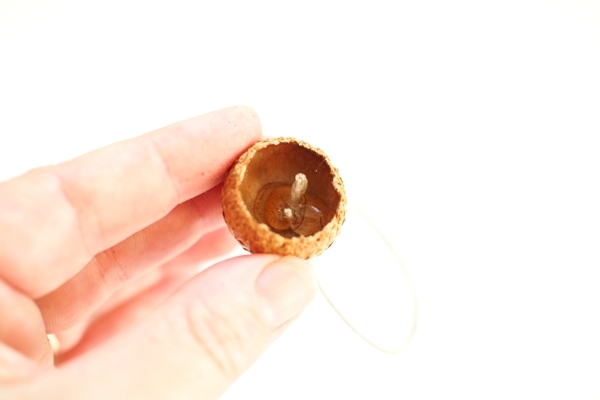
Thread the hemp string up through the inside of an acorn cap and back down through the hole again to make a hanging loop. Make sure that the two ends of the hemp string on the inside of the acorn cap are not long enough to protrude past the lip of the cap.
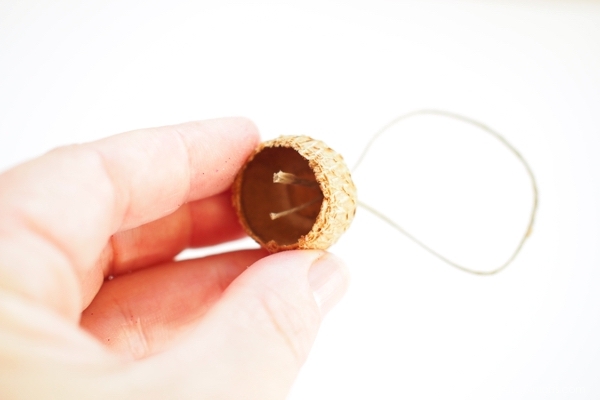
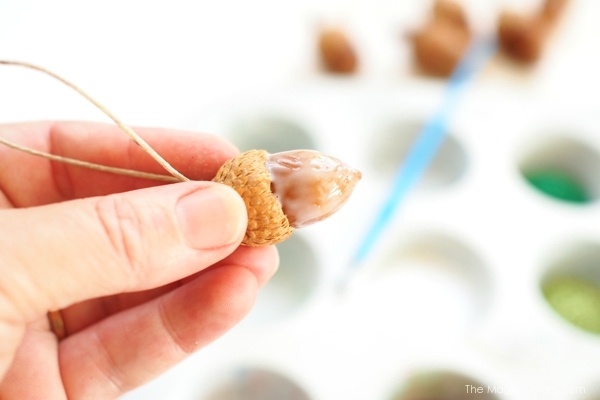
Step 4:
Use the hot glue gun to put a blob of glue on the hemp string inside the acorn cap.Stick the acorn back into its cap.
Step 5:
You now have a perfect little acorn ornament.
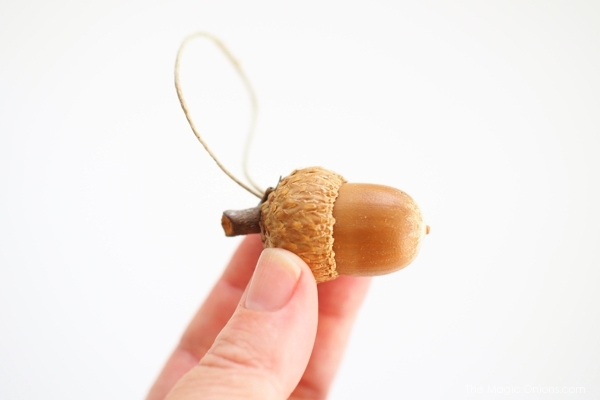
Step 6:
These sweet acorn ornaments are delightful as they are… but we’ll be kicking them up a notch with colorful glitter!
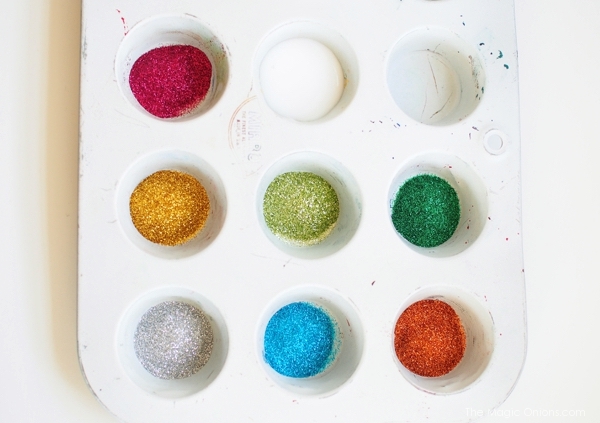
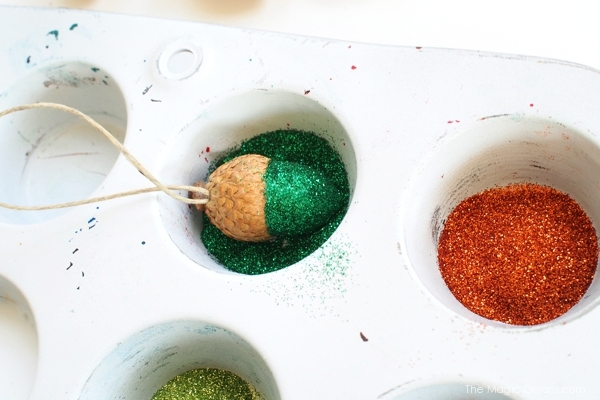
To keep the glitter under control, I used a recycled mini muffin tin, filling the cups with different colored glitter. I also filled one of the cups with school glue.
Step 7:
To add glitter to each acorn ornament, paint the acorn with school glue, making sure not to get glue on the acorn cap.
Step 8:
Dip the acorn ornament in glitter, spreading color evenly all around the acorn.
Step 9:
Set your glittered acorns aside to dry completely.
If you are nervous of the glitter falling from your acorn ornaments, you can spray them with a coat of Polyurethane spray.
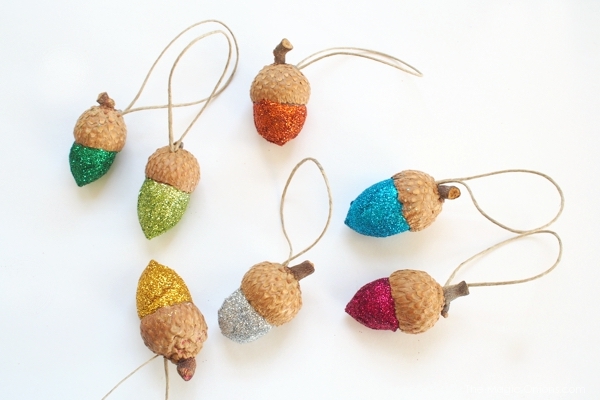
And that’s it!
Hang them in your home wherever you want their autumn magic to sparkle.
Here’s a little tip before I leave you with your glittery acorn ornaments… I make them as gifts for all of my friends who have autumn birthdays. They are definitely the firm favorites!
And of course, they never fail to make it onto the Christmas tree too.
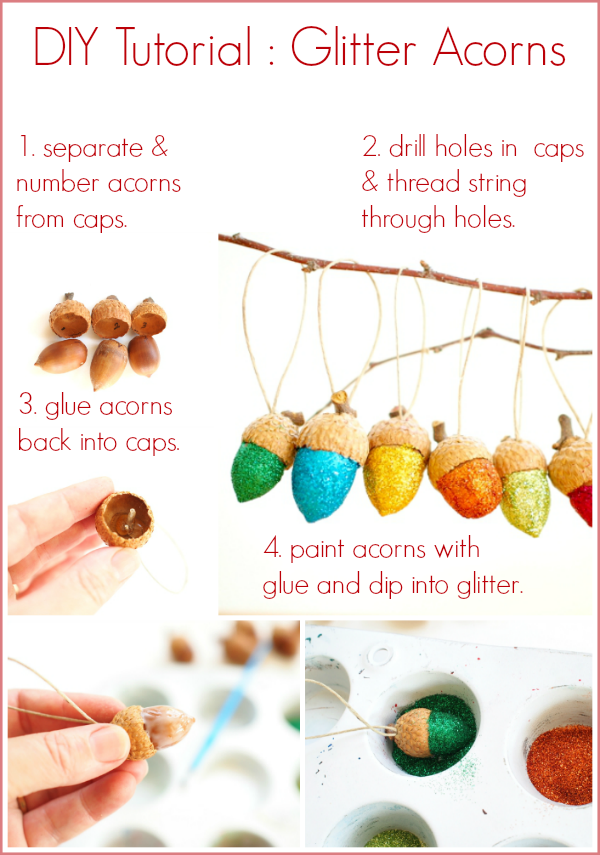
Here’s a quick cheat-sheet if you want to Pin this project for later…
If you enjoyed these cute autumn ornaments, you may love our Fall and Halloween Ornaments collection!
Tell us how you enjoyed this Do-it-Yourself Tutorial for making Acorn Ornaments!
I would love to hear how useful you found our DIY blog. Would you like to see us post more neat content like this? How did you like this Acorn Ornaments project? Please take a moment to share this on your favorite social media site, like Facebook or Twitter. Do you have an ornament project you would like to share with me? Please send me an email with your comments, ideas, or DIY craft project to Dianne@OrnamentShop.com
This tutorial was designed and written by my friend Donni Webber from The Magic Onions Blog – www.theMagicOnions.com. Donni lives with her family in sunny Southern California. She is the mom of two sunbursts of joy, Kitty and Teddy and is also a wife, blogger, crafter, knitter, gardener, explorer and traveler.

halloweenie