DIY Silent Night Ornament: Commemorate the Carol’s 200th Anniversary!
Posted December 13, 2018 in DIY (Crafts) by Dianne Weller
This charming Silent Night Ornament is a neat way to celebrate the 200 birthday of the favorite Christmas carol. It’s hard to believe that this beautiful song was composed in 1818 in a small village in Austria. Musicians have recorded their own renditions for generations, but the version by Bing Crosby has been the most popular and wears the crown for being the 3 best-selling single of all-time.
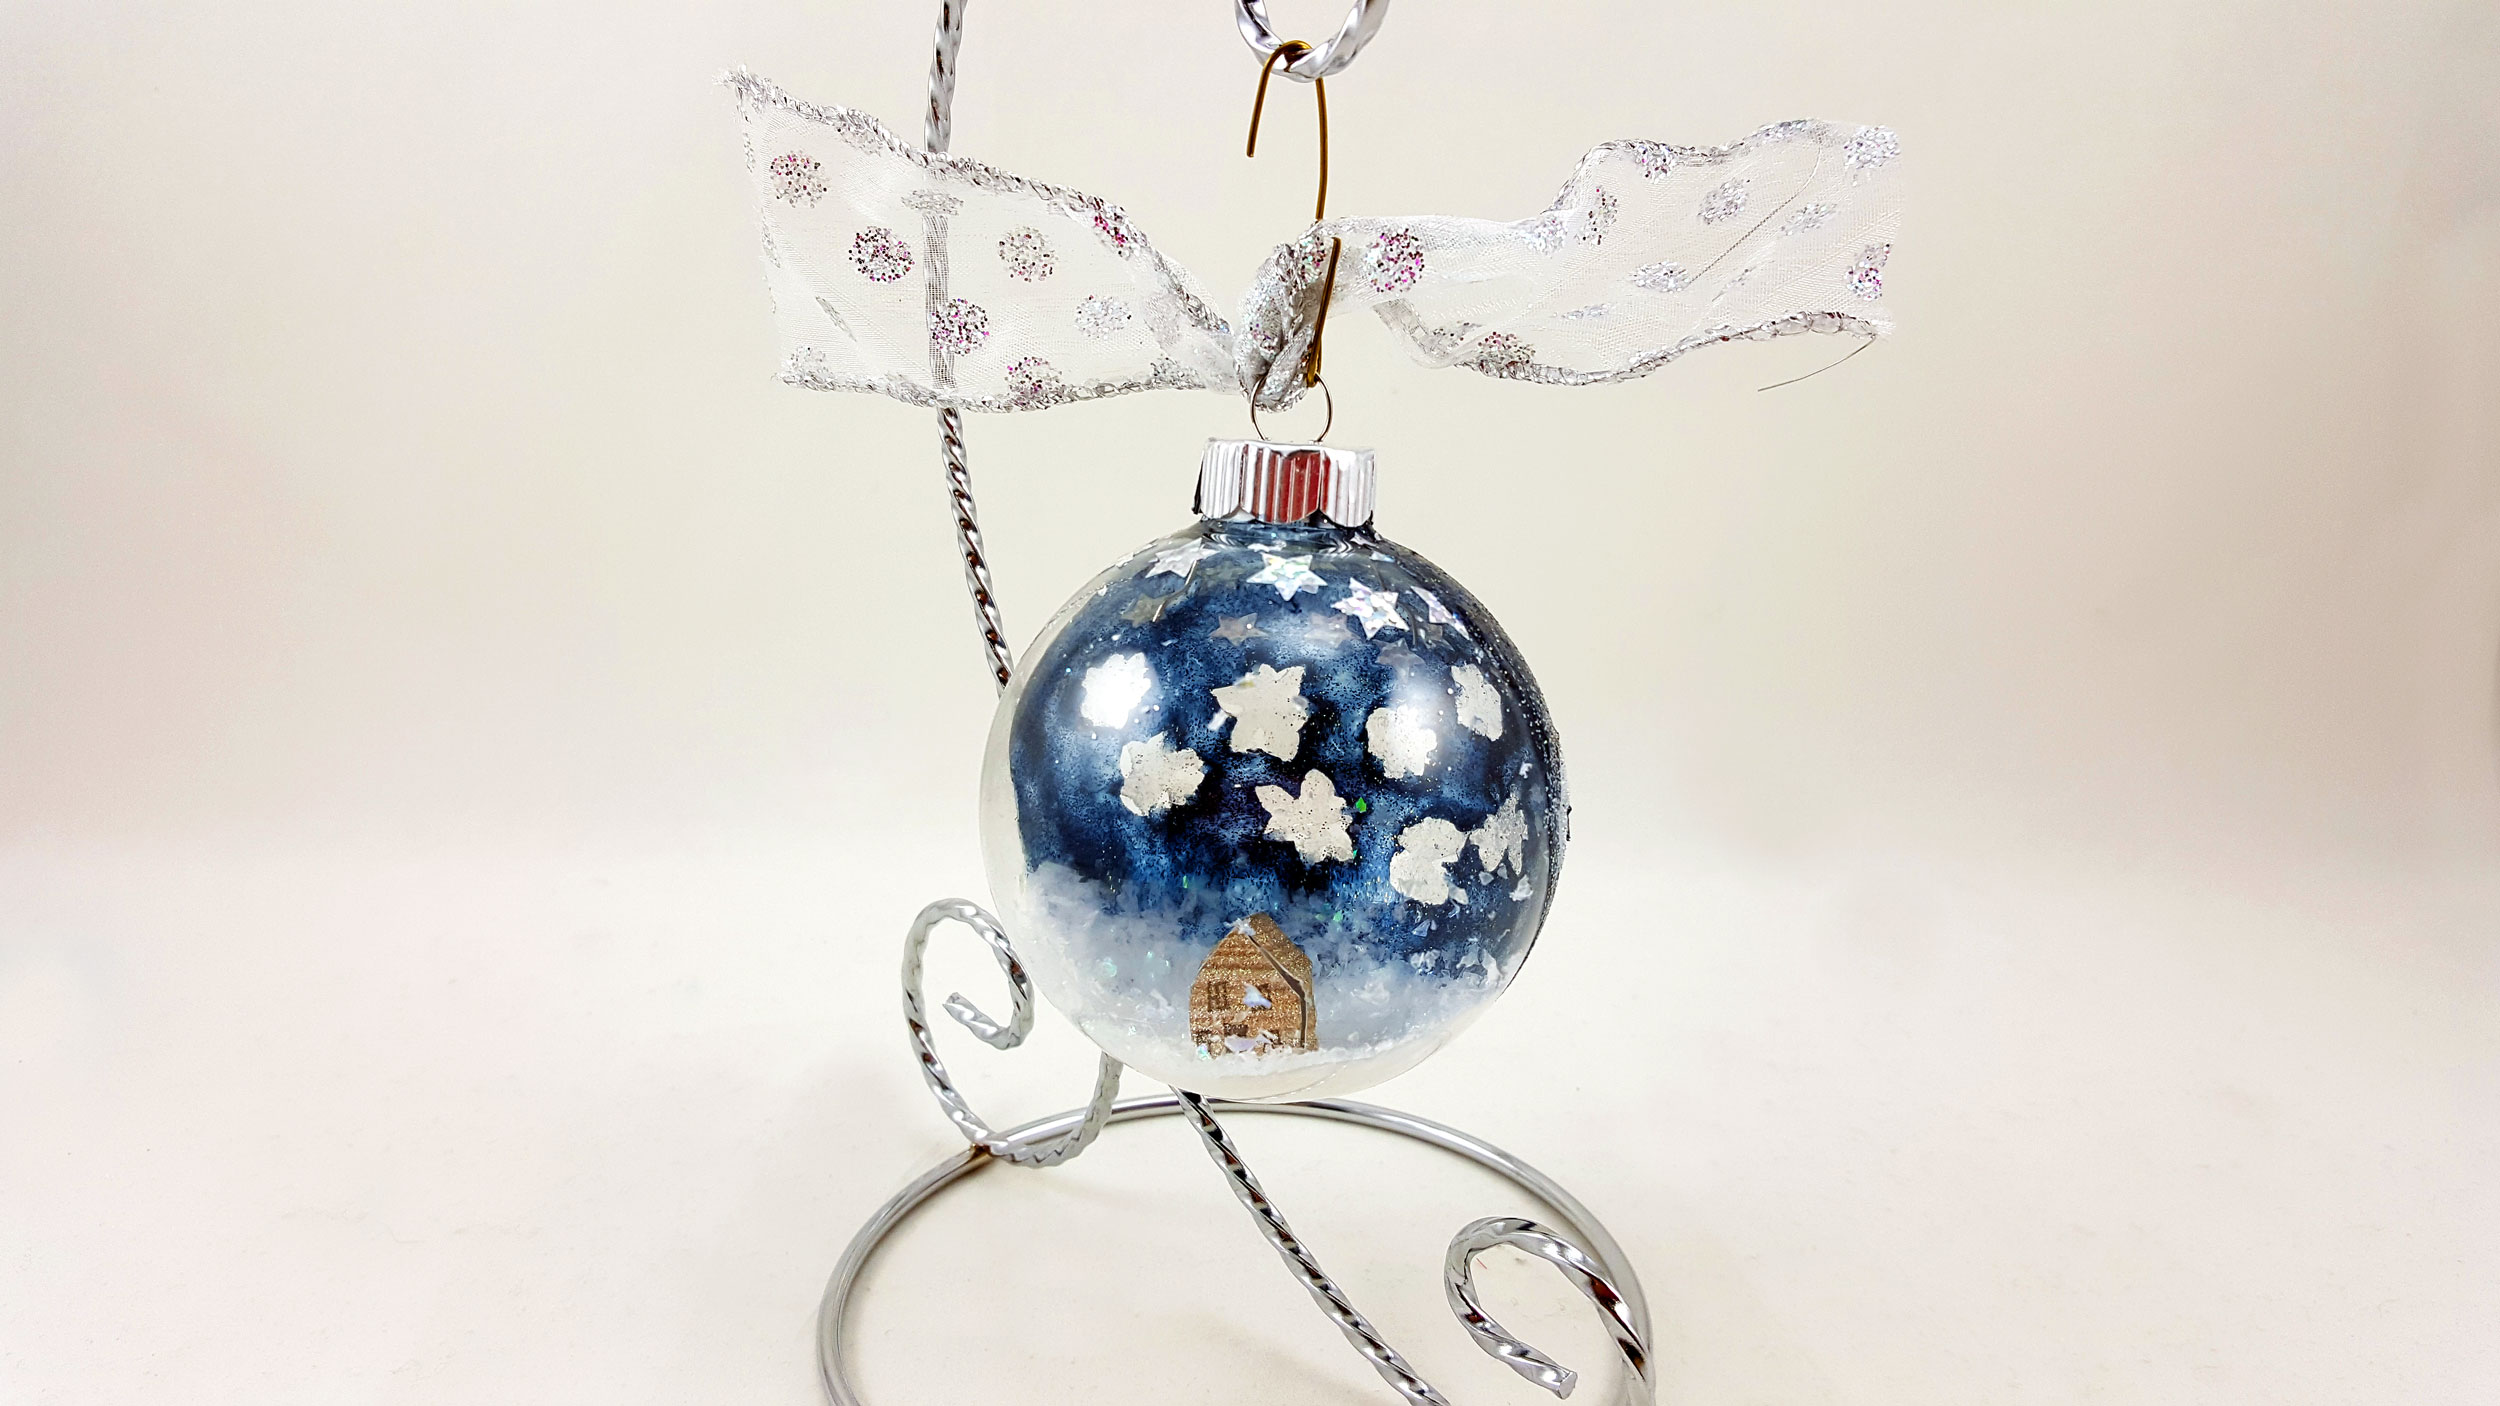
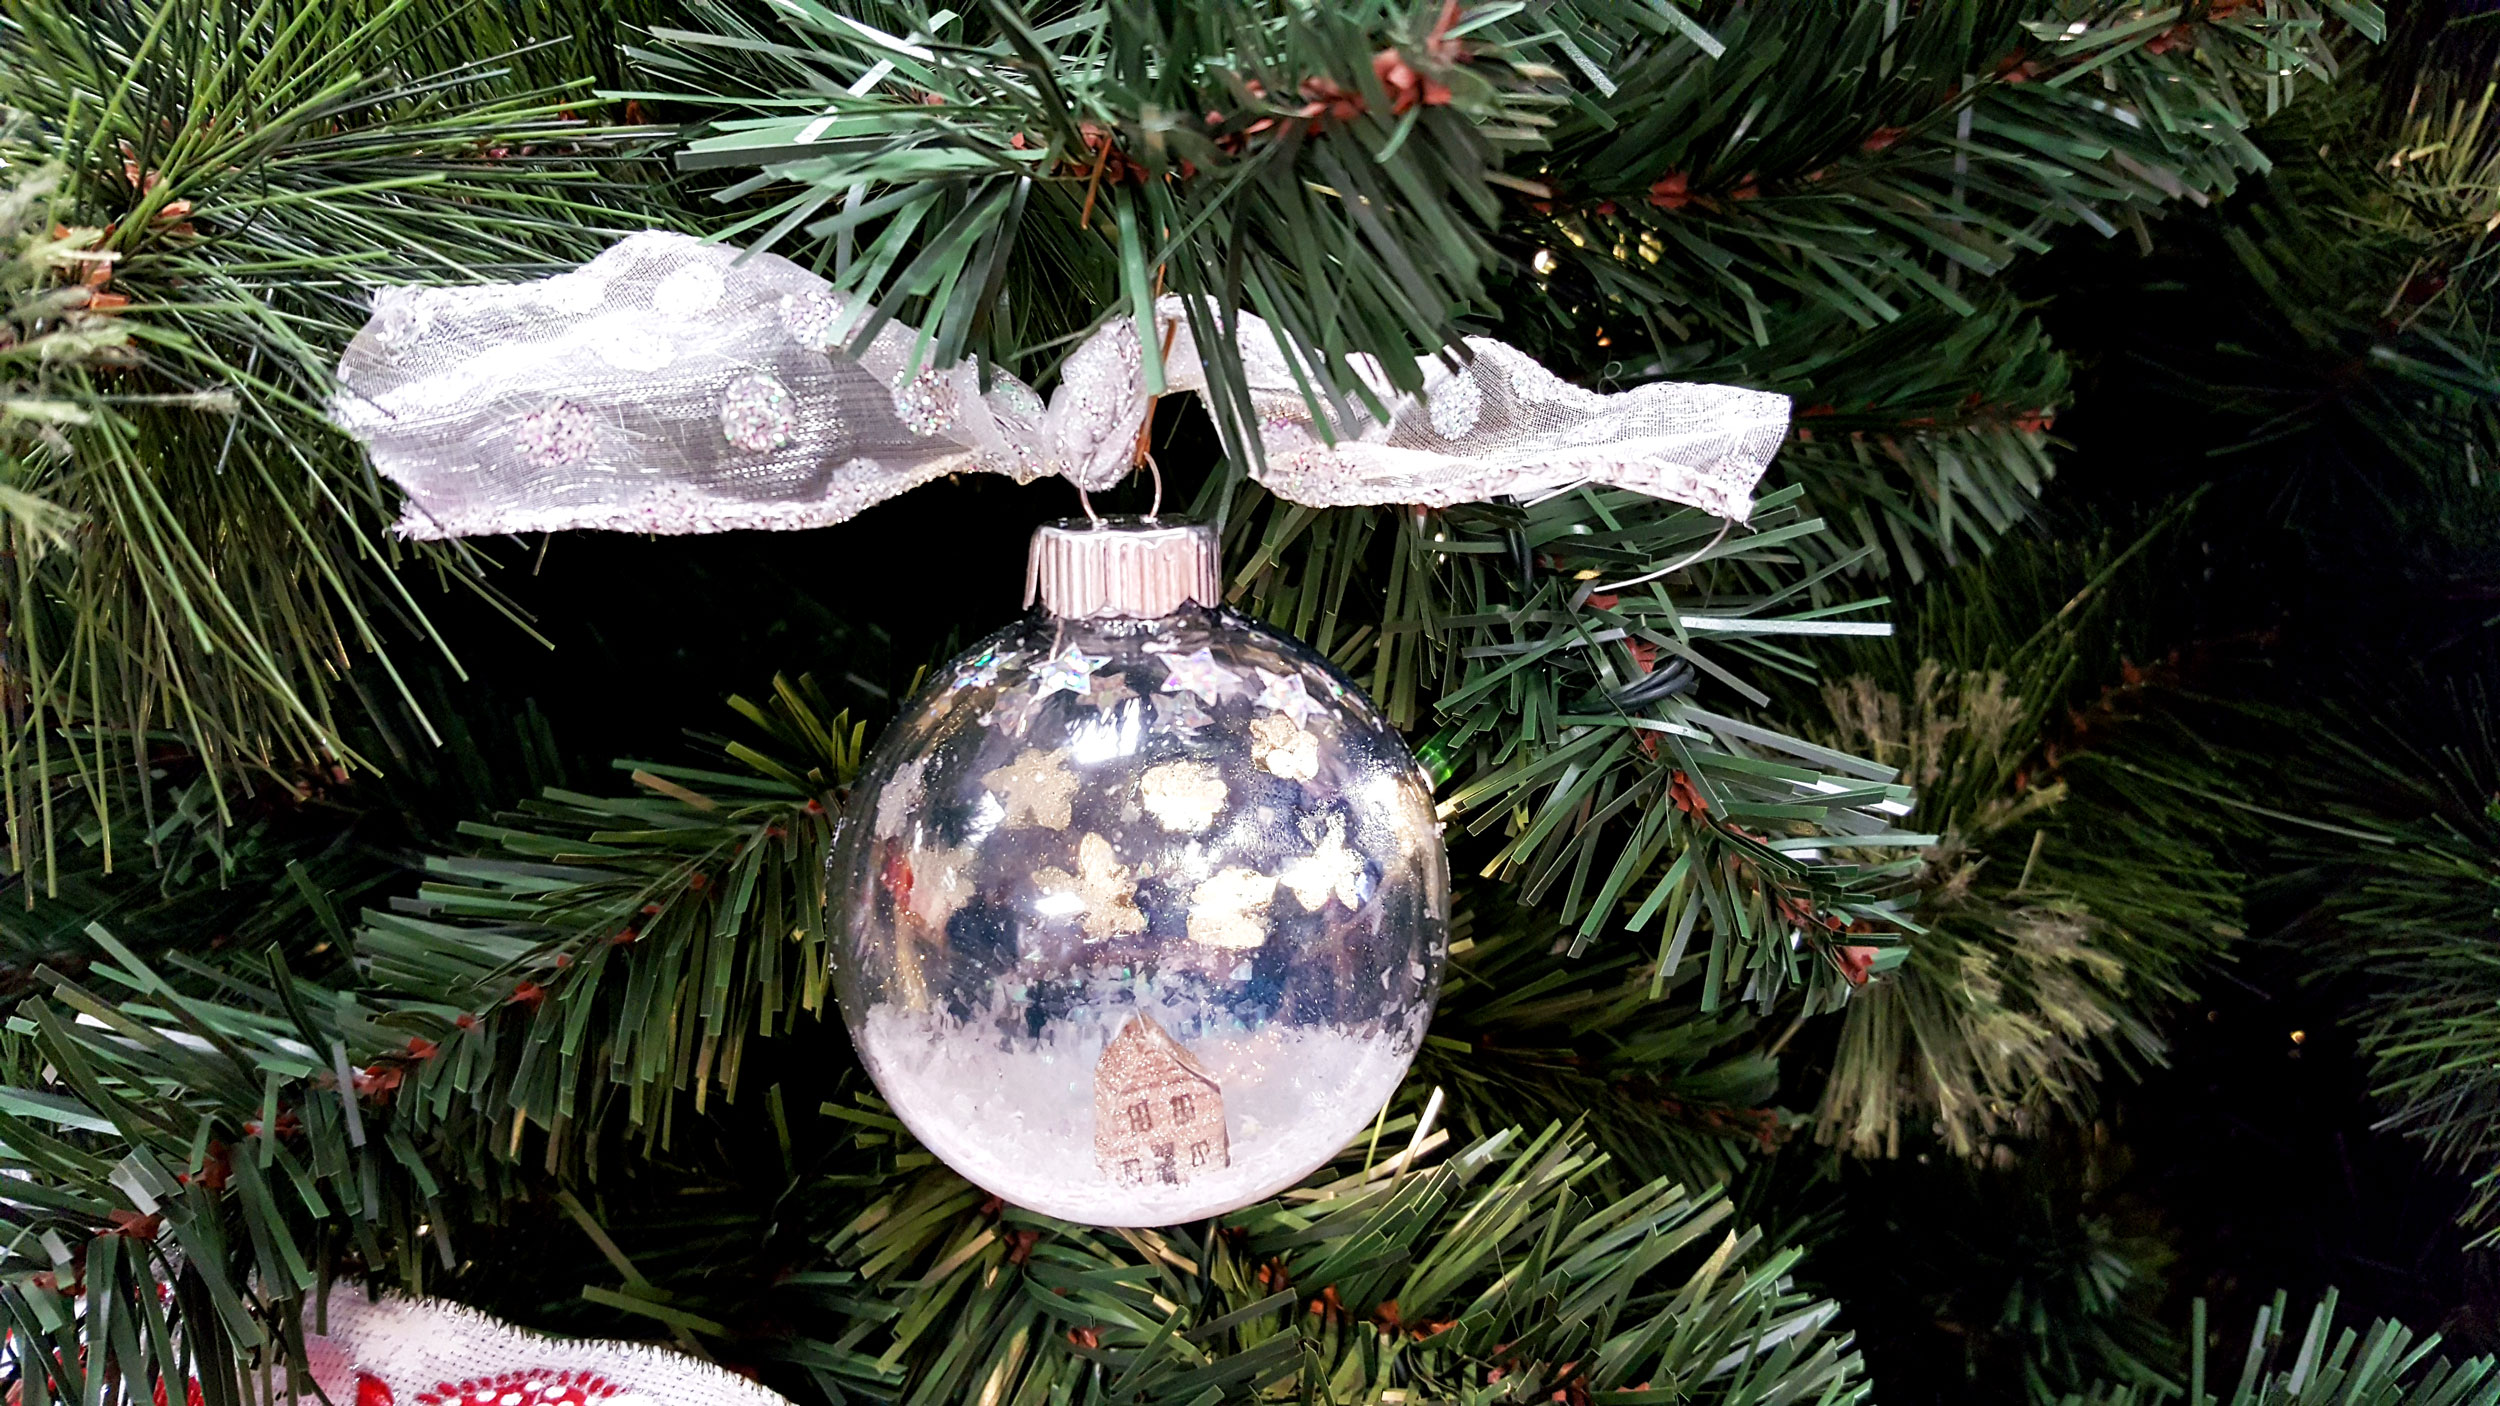
In thinking about how to make a Silent Night Ornament, I felt it most fitting to use a clear glass ball ornament, which is a traditional shape that everyone recognizes as a Christmas ornament. It is so pretty once it is finished and will remind you of a quiet evening in which you can watch the snow falling on a cold winter’s night.
How To Make A Silent Night Ornament
It isn’t too difficult to make a Silent Night Ornament, but it will take a bit of patience to execute. Make a Christmas carol ornament for anyone on your list that cant’ wait until the radio stations transfer over to a holiday format every year.
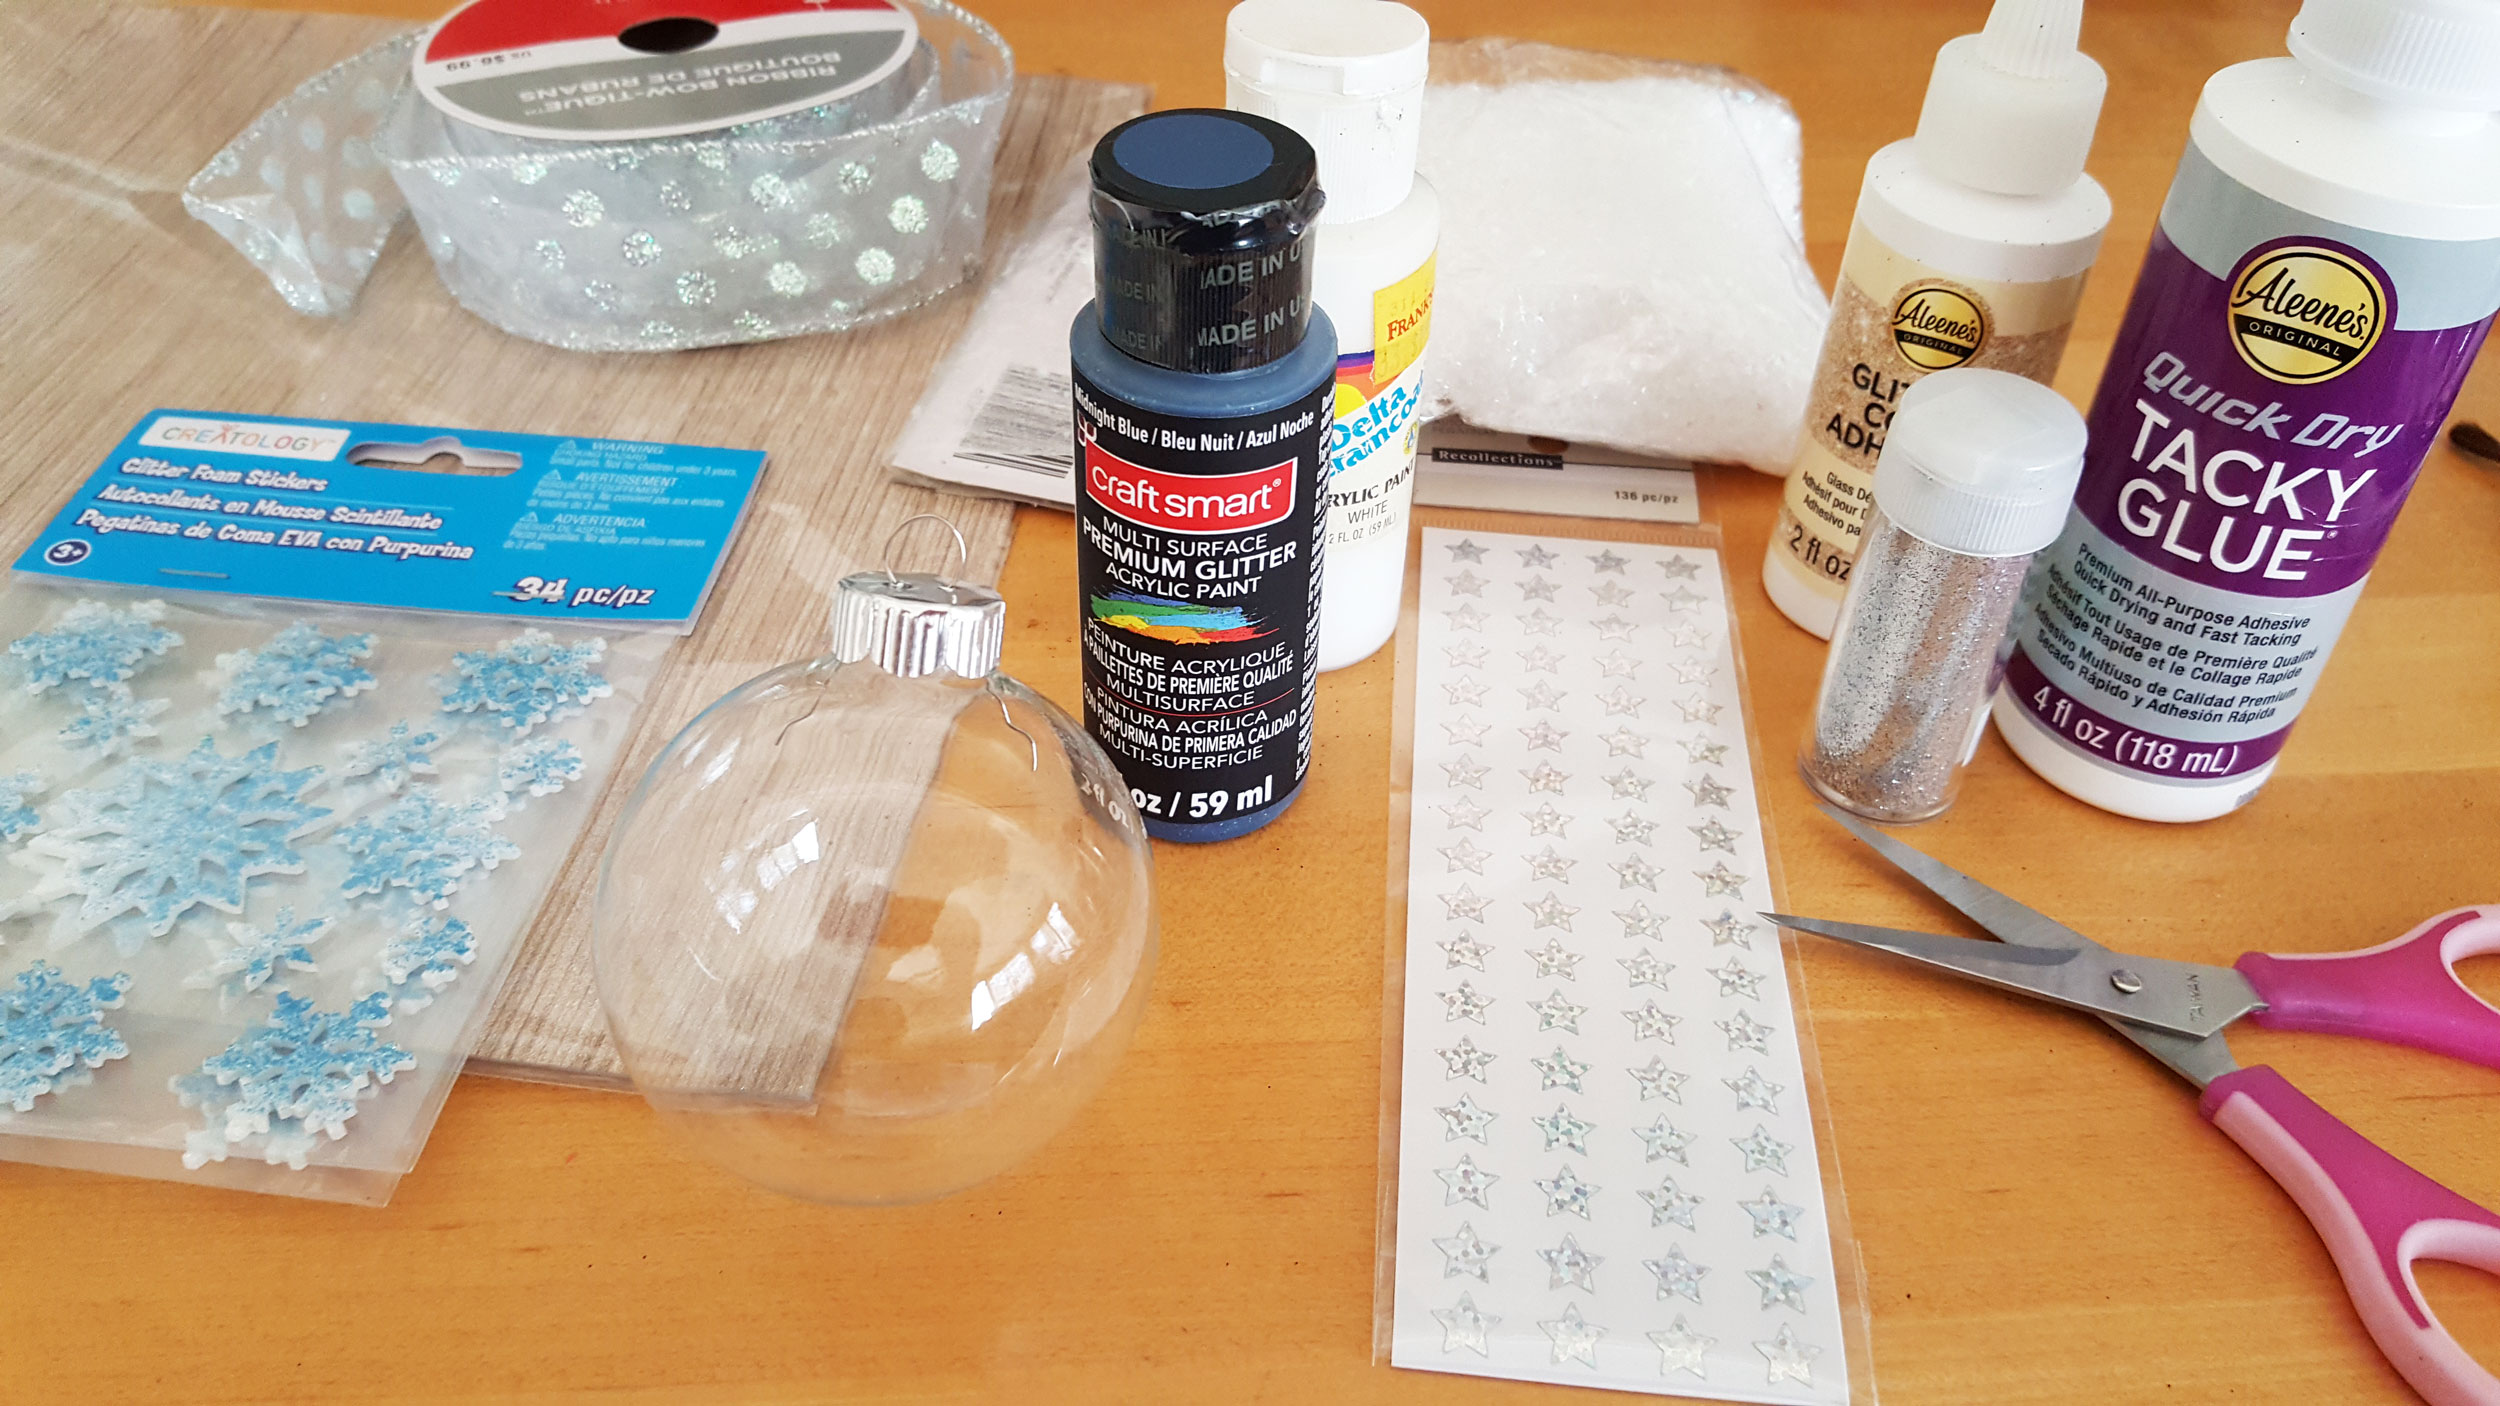
Supplies:
- Clear glass ball ornament
- Navy blue glitter paint
- White paint
- Small star stickers
- Small snowflake foam stickers
- Cardstock
- Paper snow
- Glue
- Glitter glue
- Silver glitter
- Scissors
- Ribbon
- Fondue fork or tweezers
Silent Night Ornament Steps 1 – 6
Step 1: Stick the star stickers around the top of the clear glass ball ornament. Then, on the back side only add a couple of snowflake stickers.
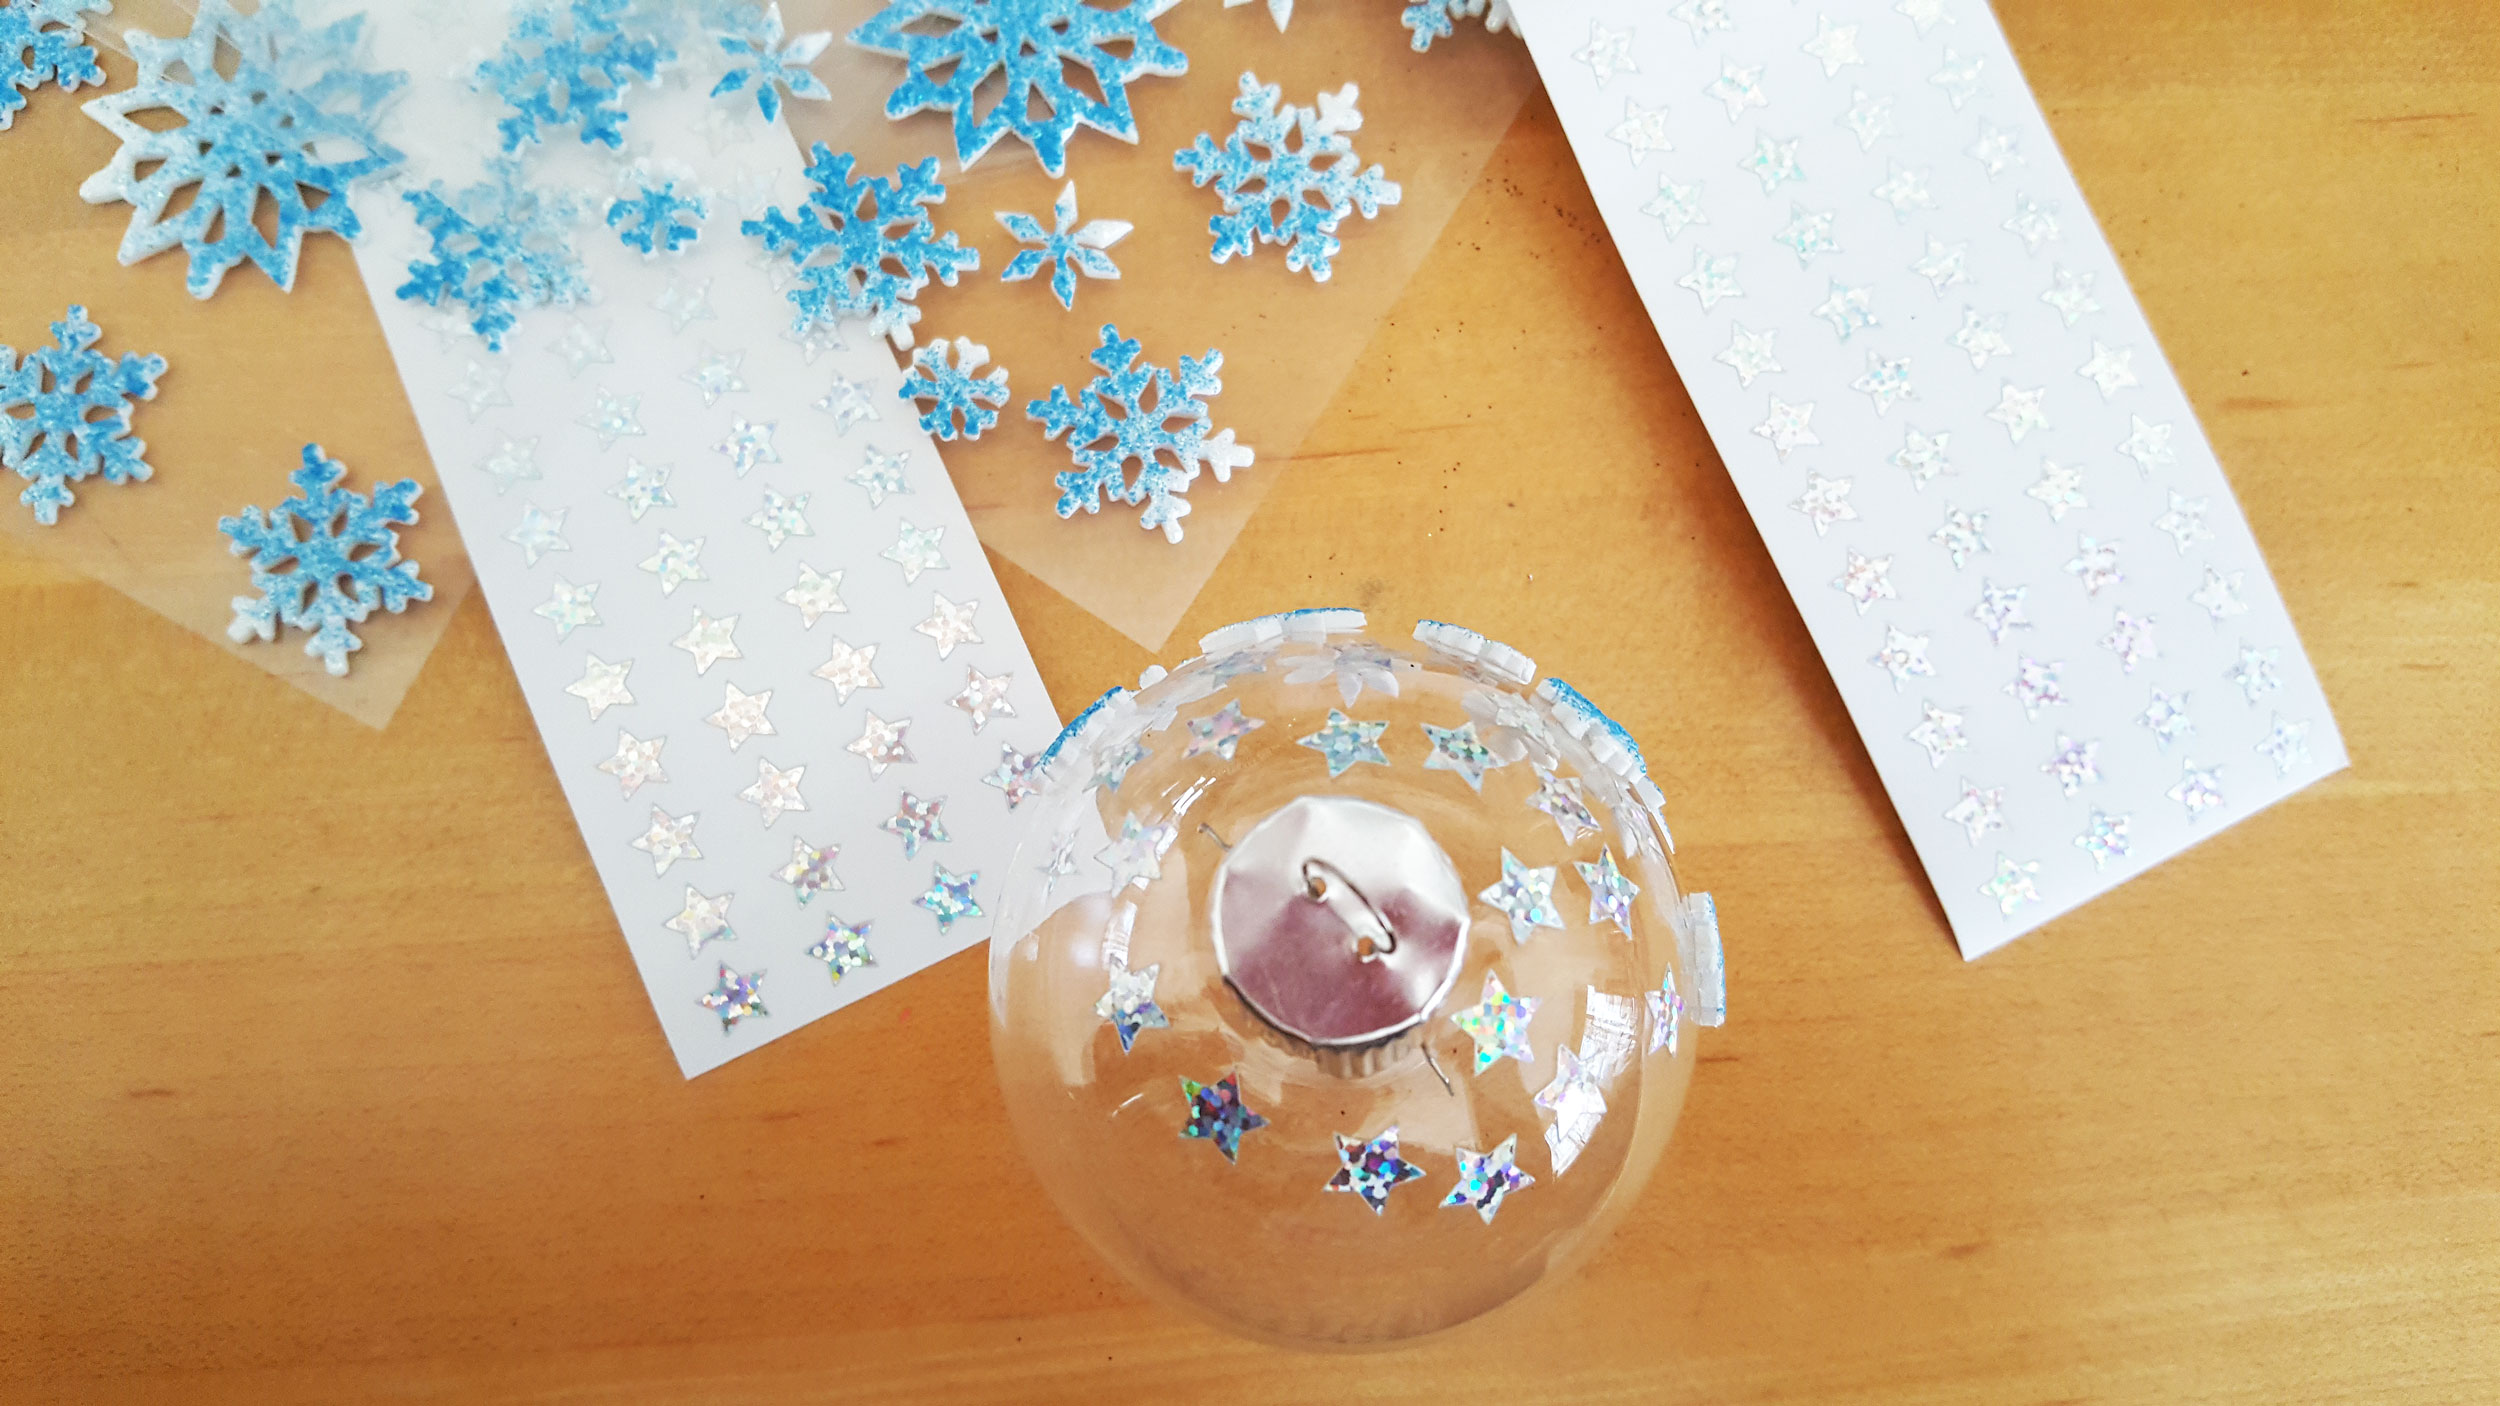
Step 2: Here is a front view of the glass ball ornament with the stickers attached.

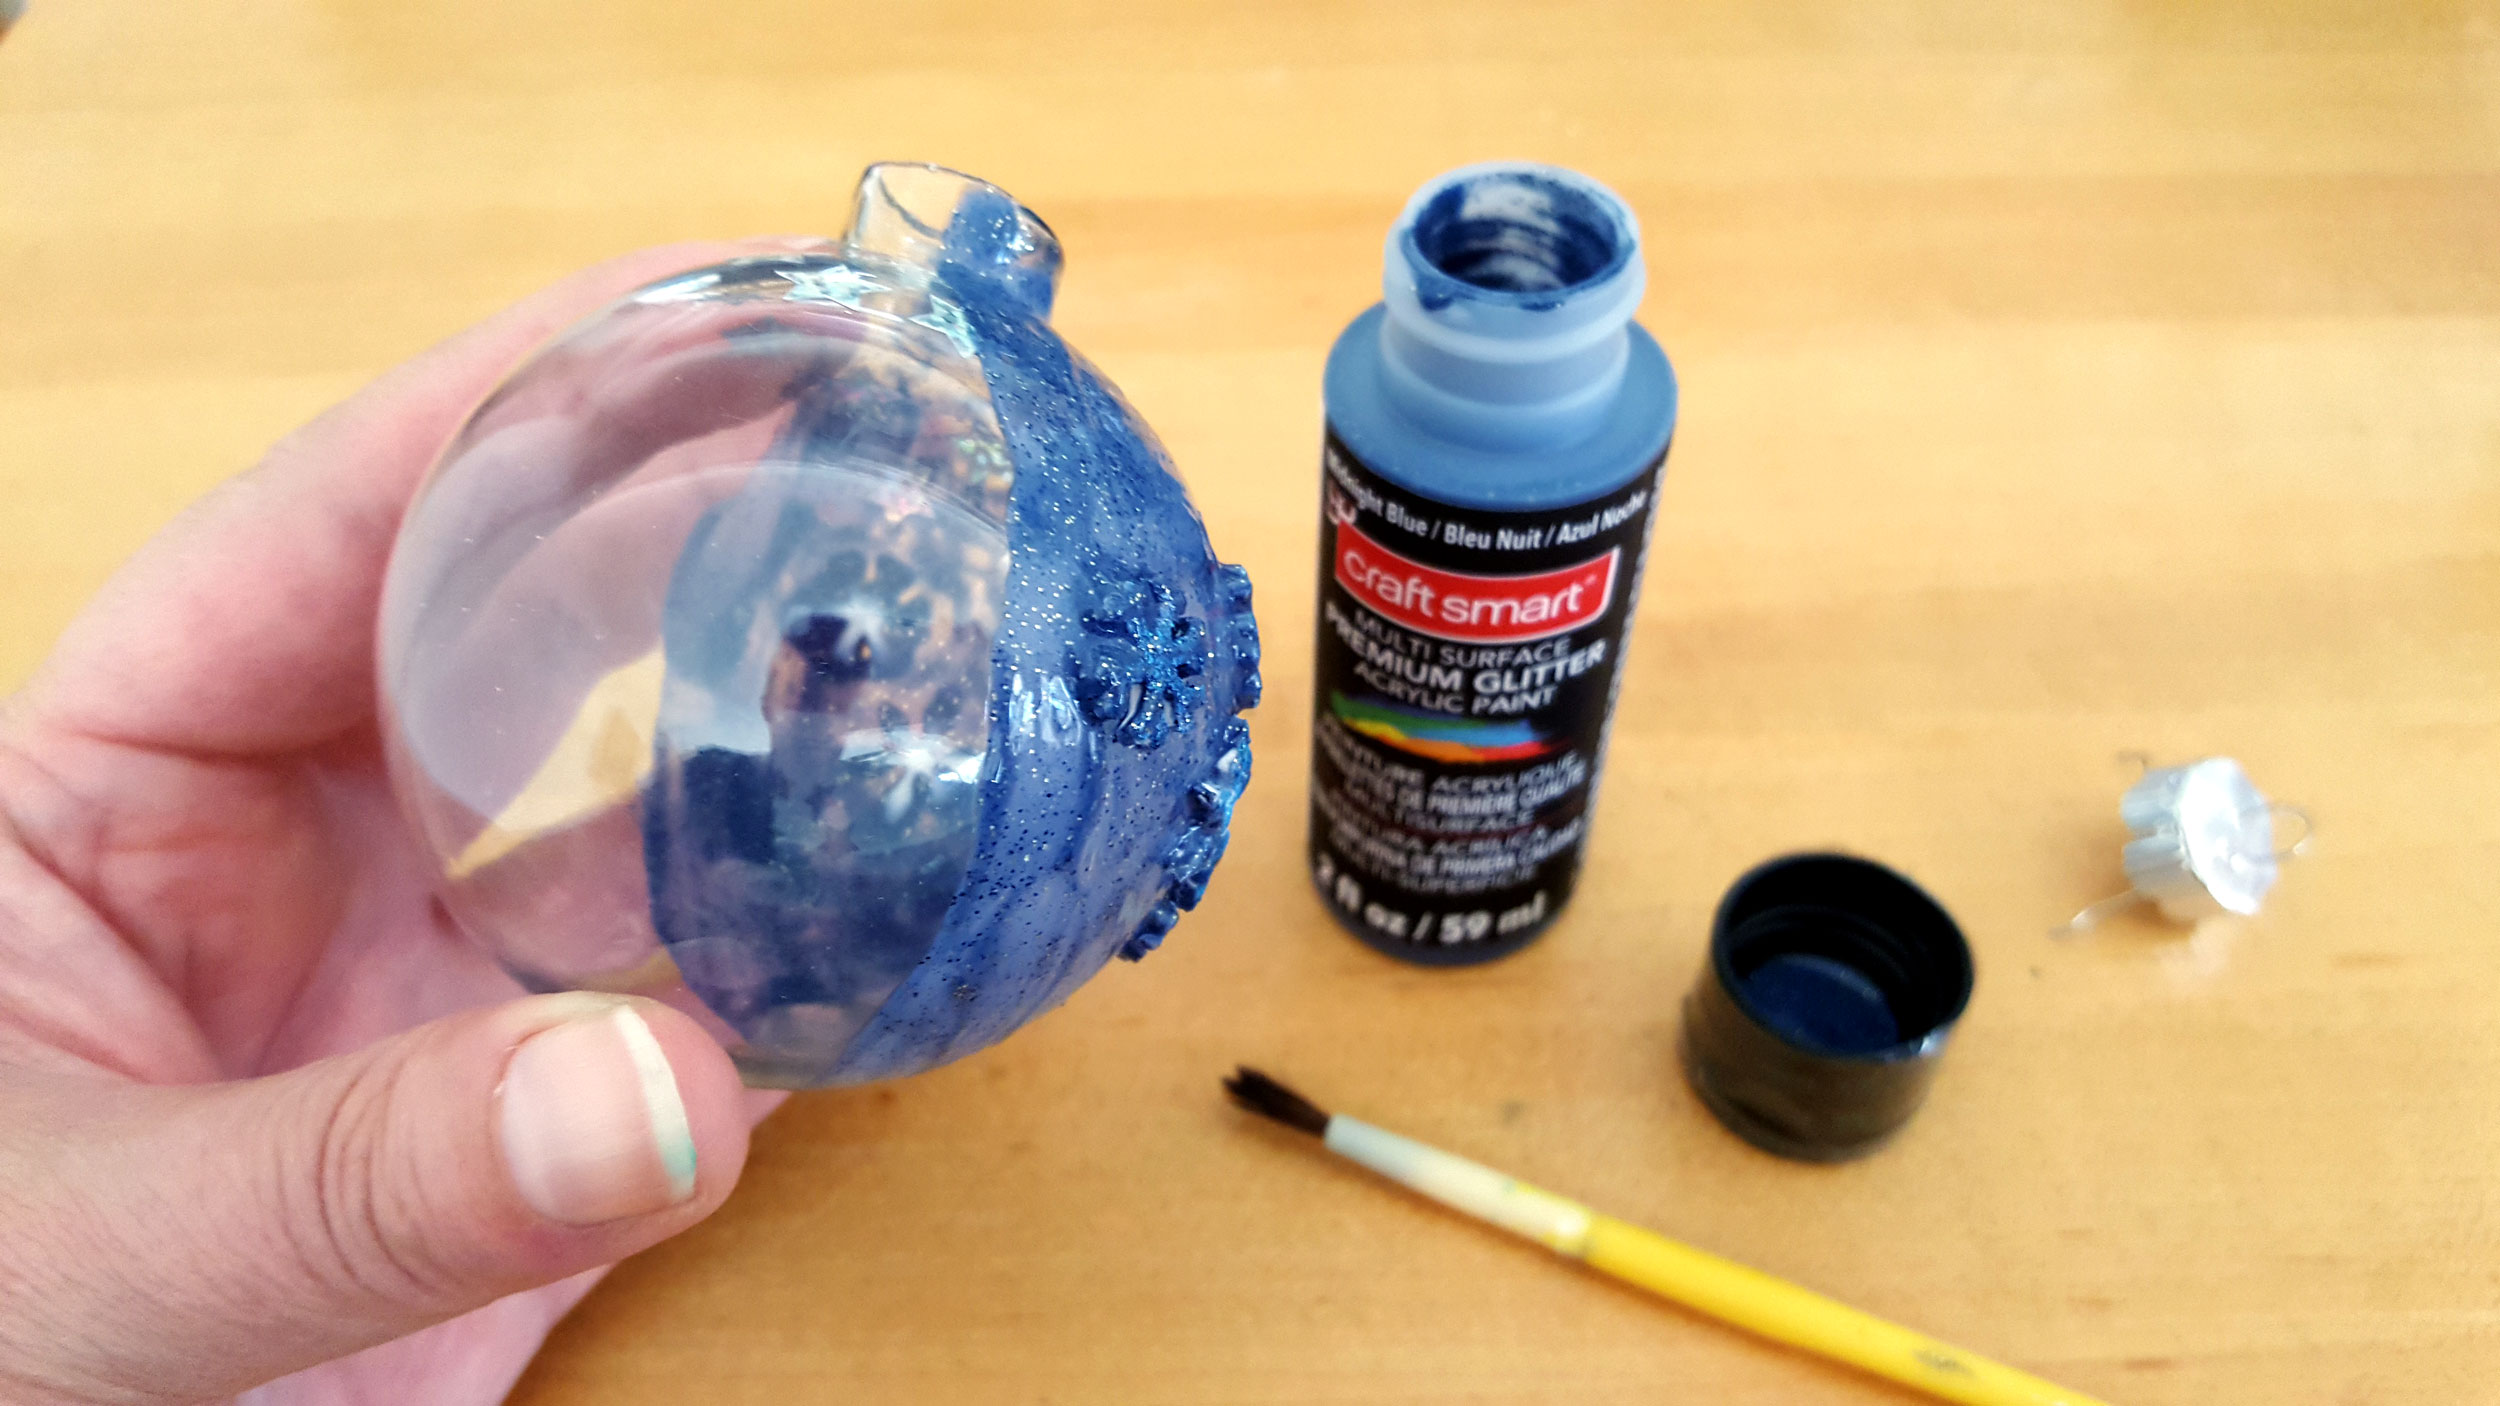
Step 3: Remove the cap on the glass ball ornament. Next, paint the back half of the glass ball with the blue glitter paint. You may have to do more than one coat to achieve the desired coverage and color.
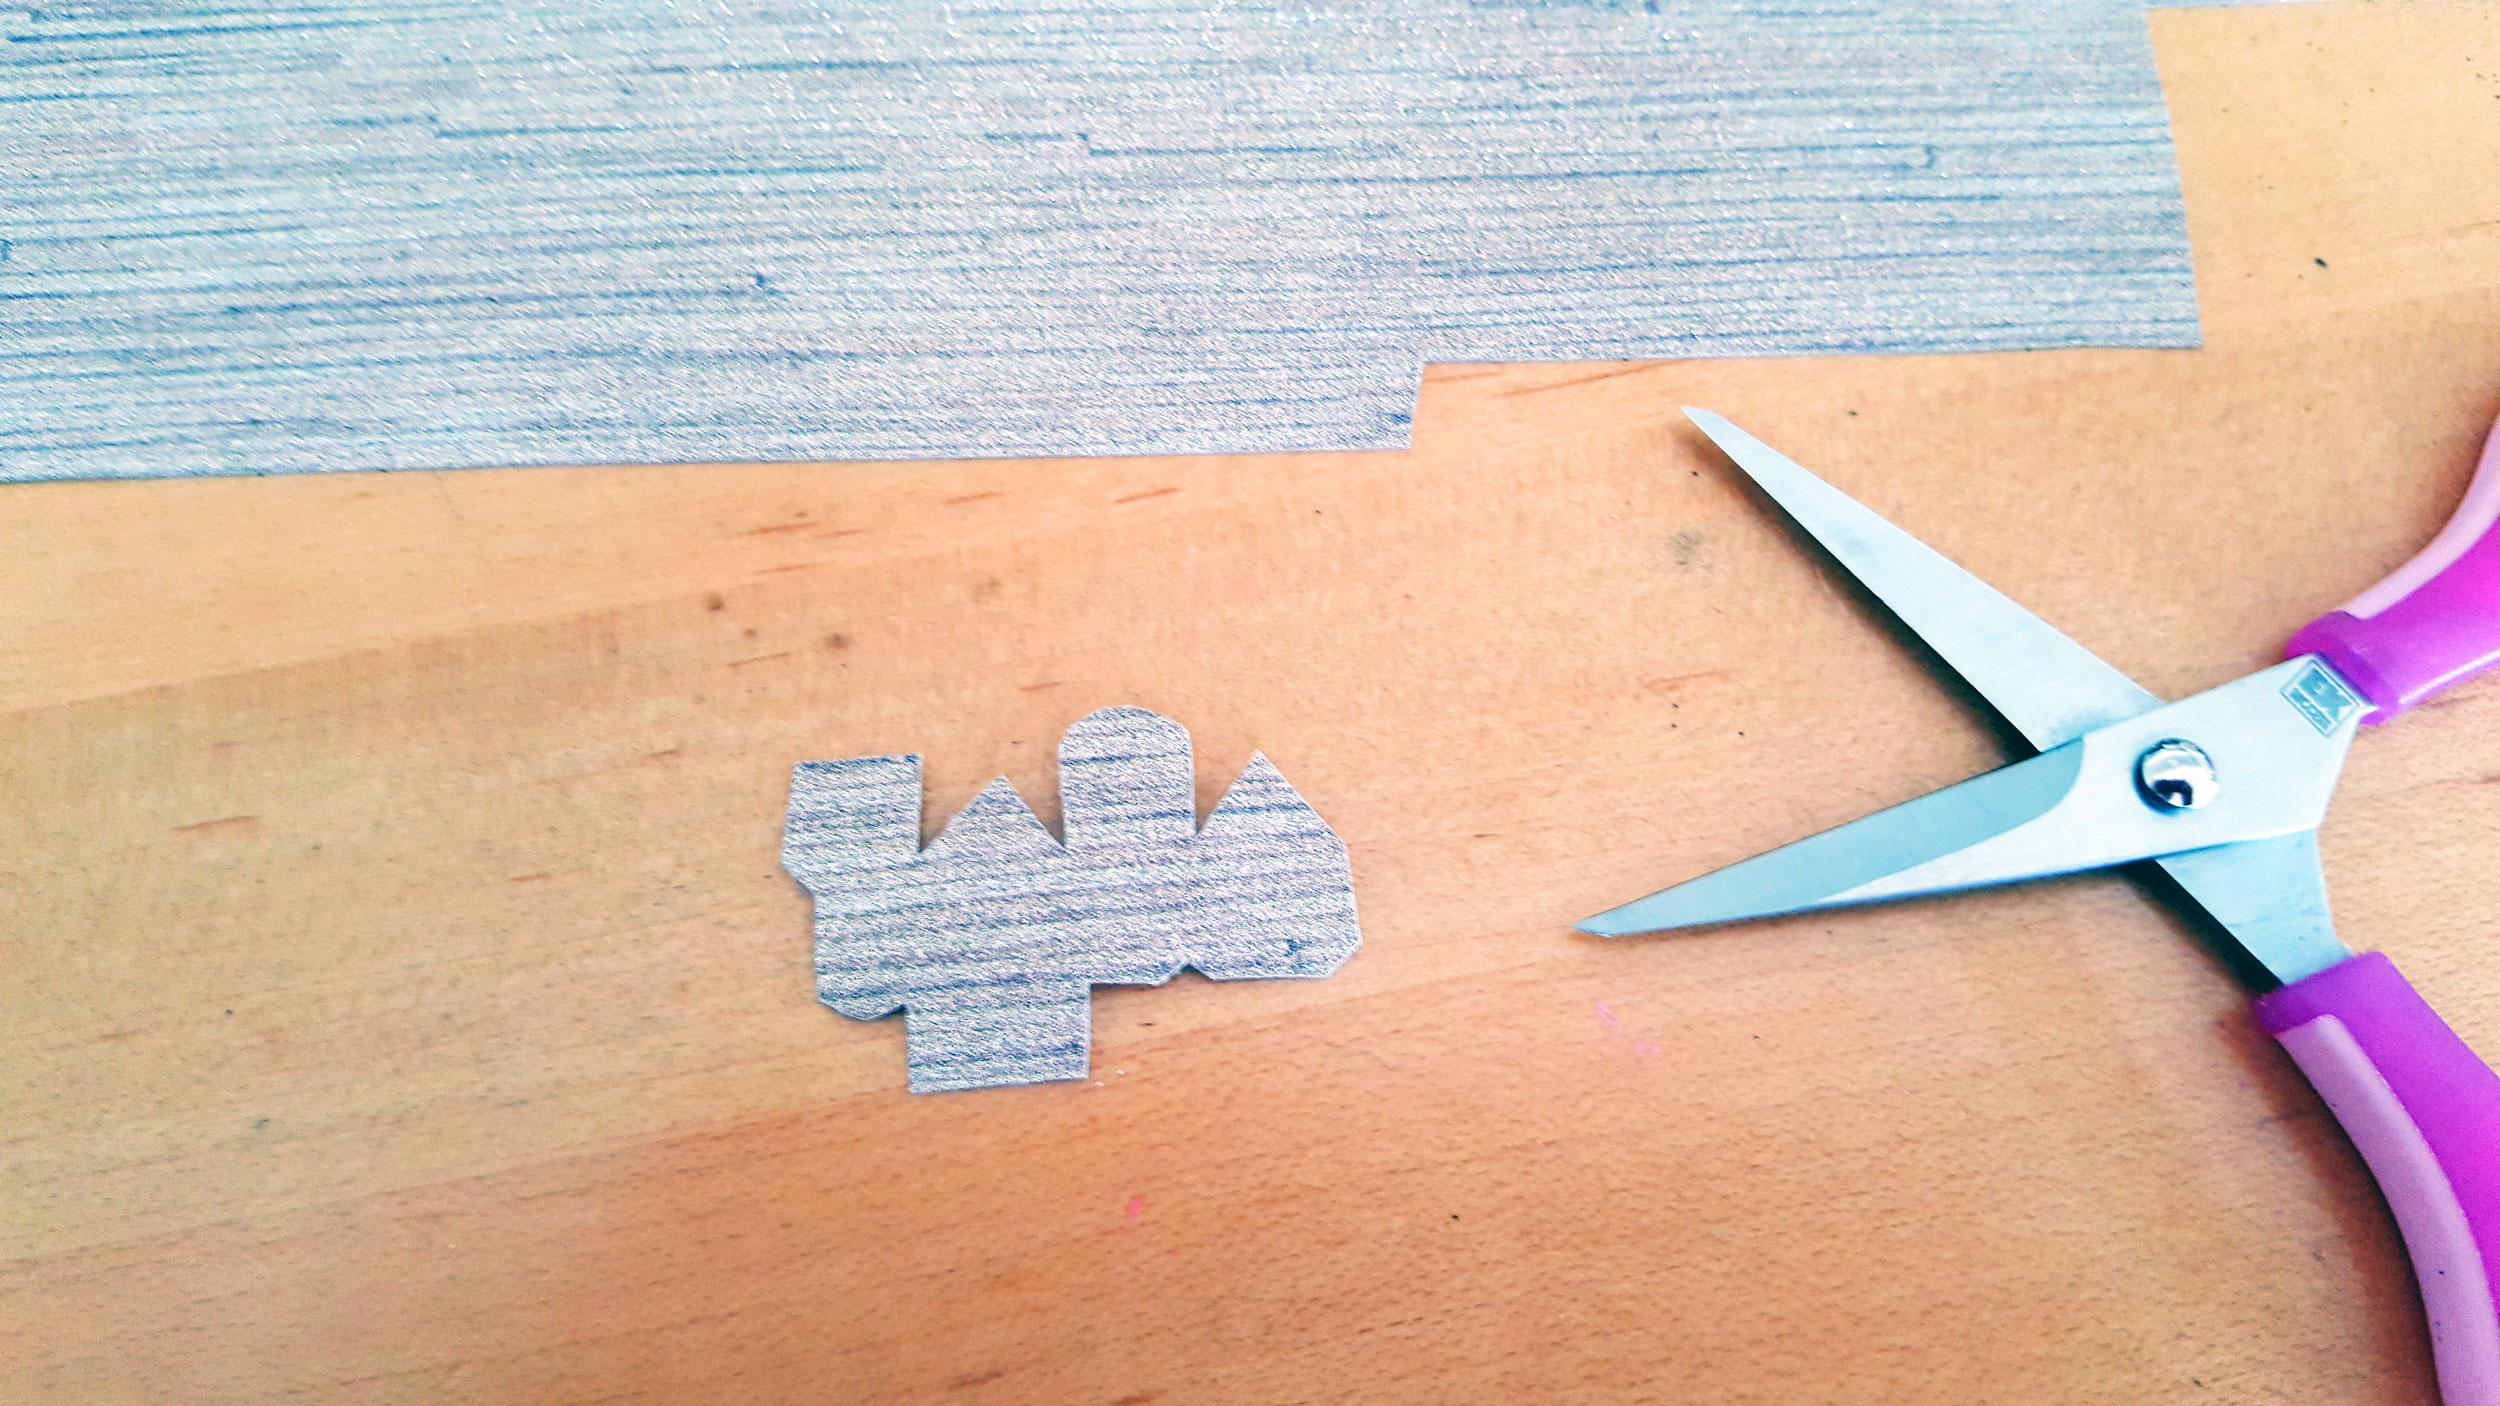
Step 4: Using the template that we did in our paper house ornaments blog, shrink it down to a miniature size that will fit inside the hole of your glass ball ornament. Print out the template onto a piece of cardstock paper (we chose one that looked a bit rustic for our house) and then cut it out with scissors.
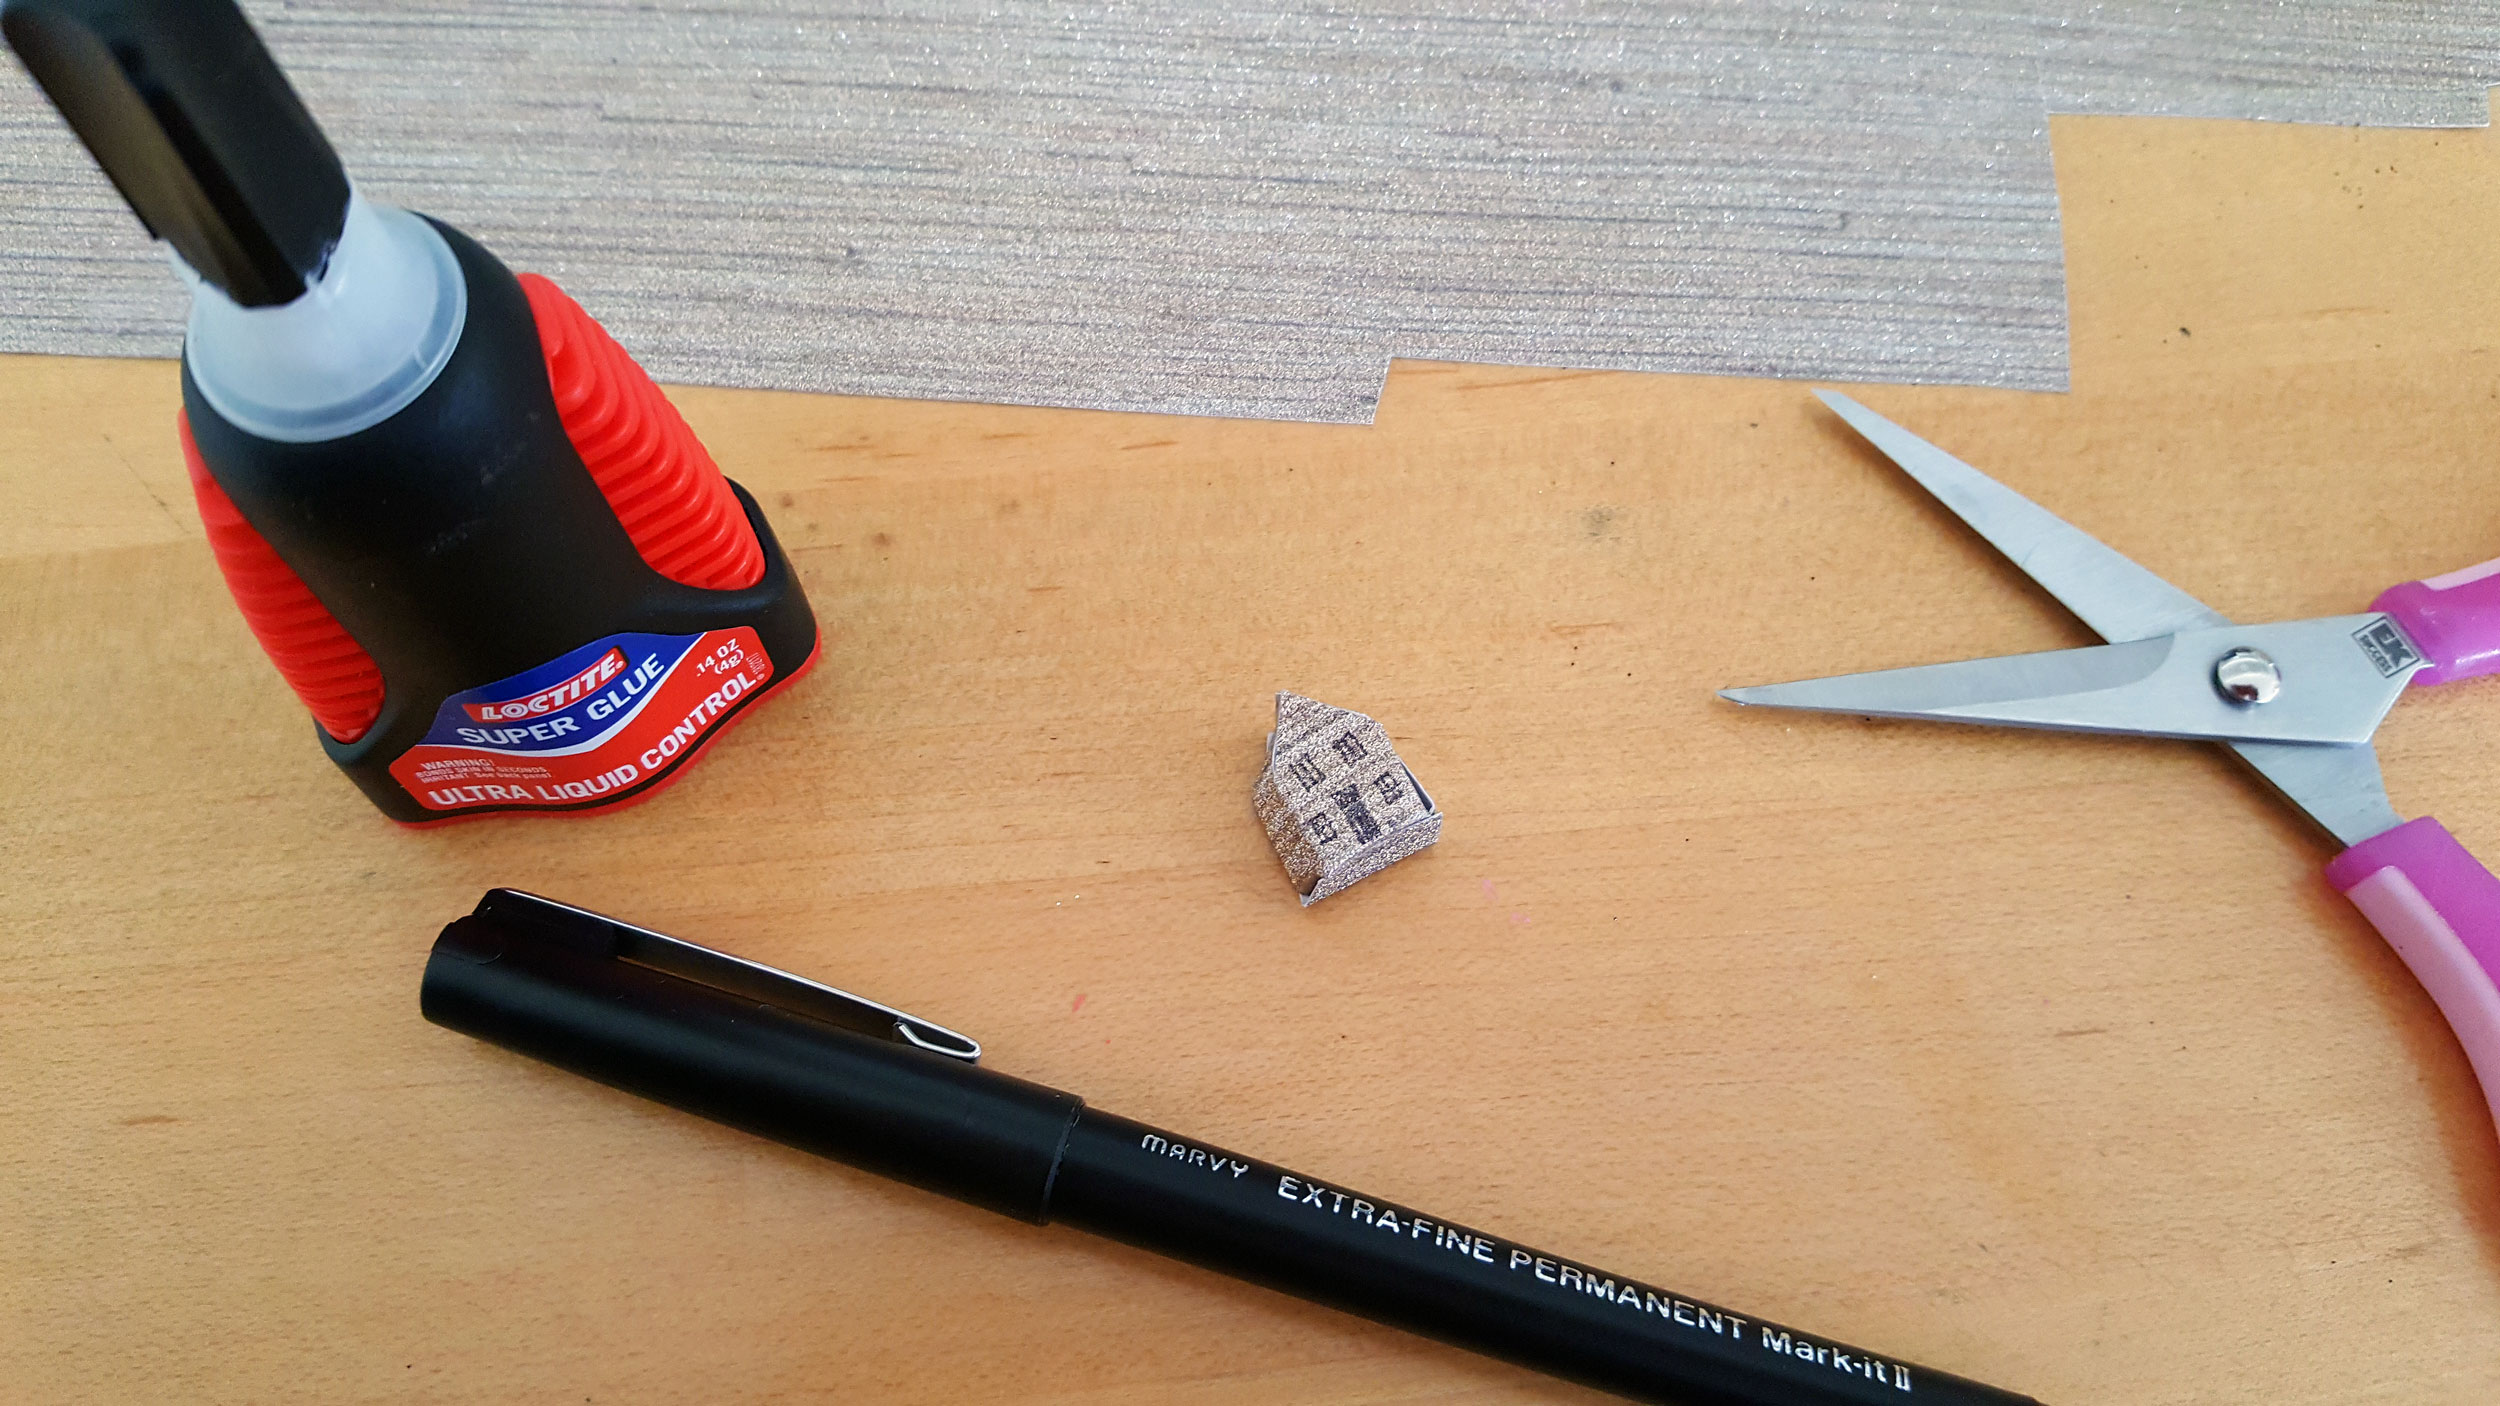
Step 5: Construct the house following the instructions in the paper house ornaments blog and glue it together. Finish off your house cube by drawing in windows and a door with a fine tip permanent pen or marker.
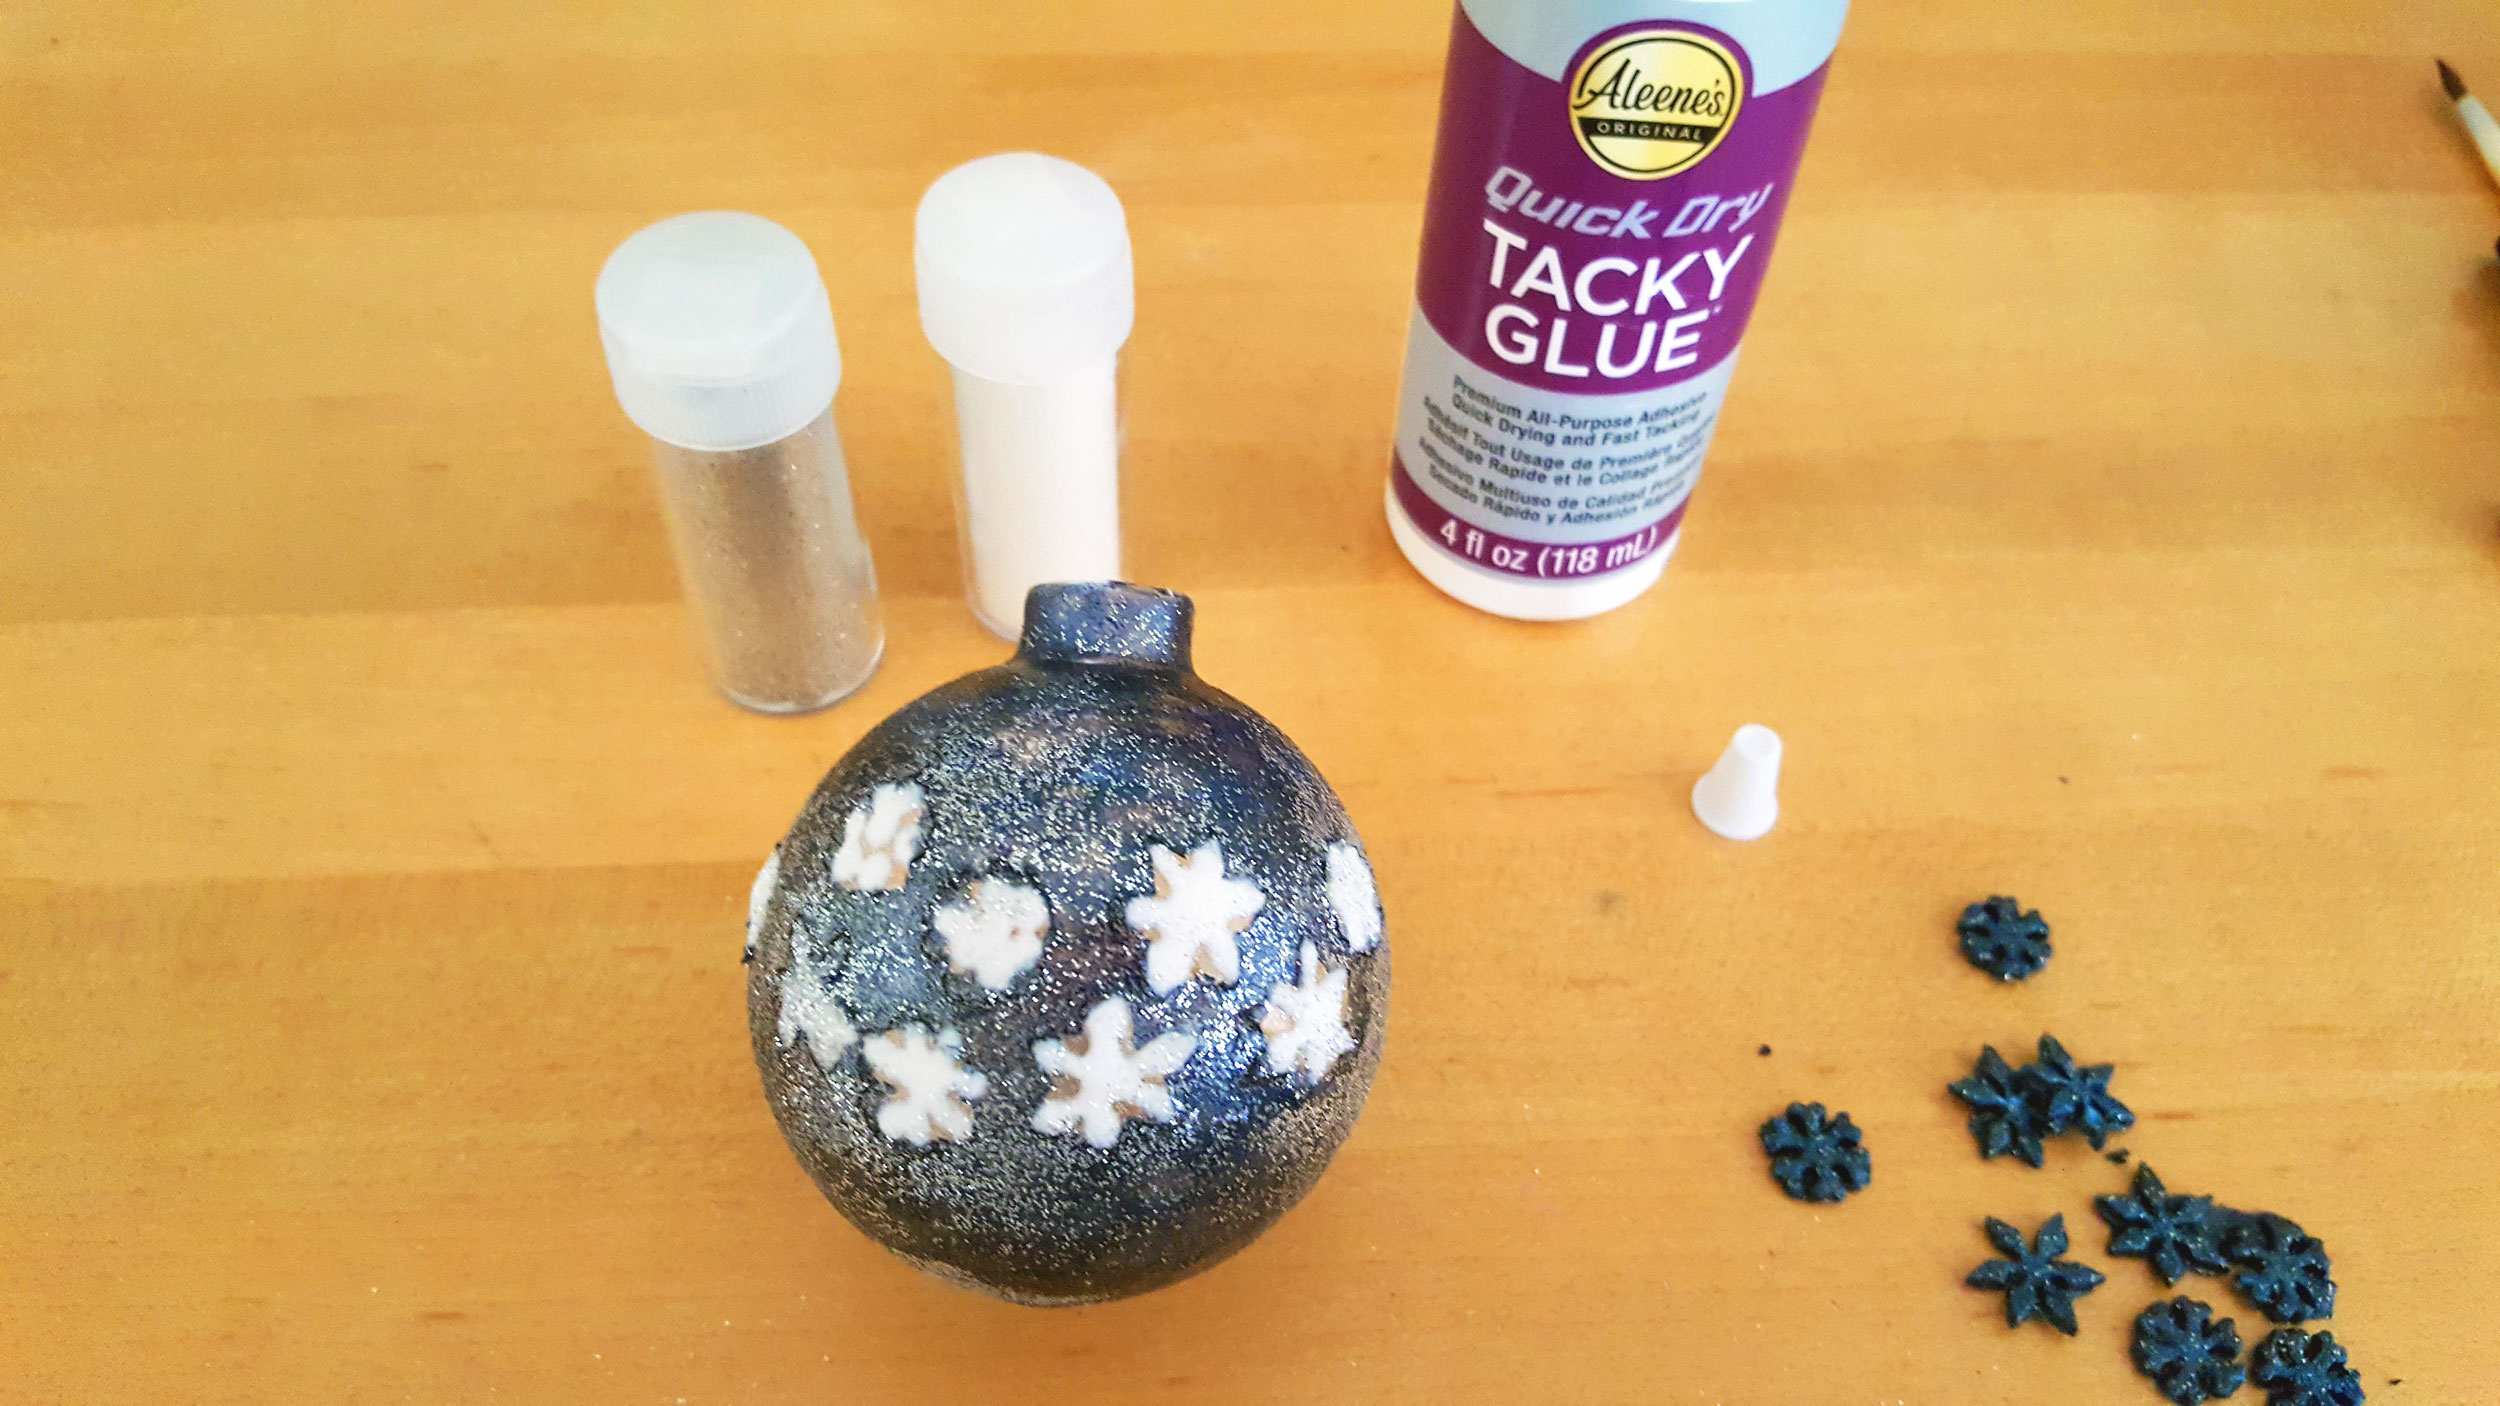
Step 6: Once the paint on the outside of the glass ball is completely dry, peel off the snowflake stickers, add glue and shake silver glitter over them. Let the glue dry completely, then tap off any excess glitter.
Silent Night Ornament Steps 7 – 9
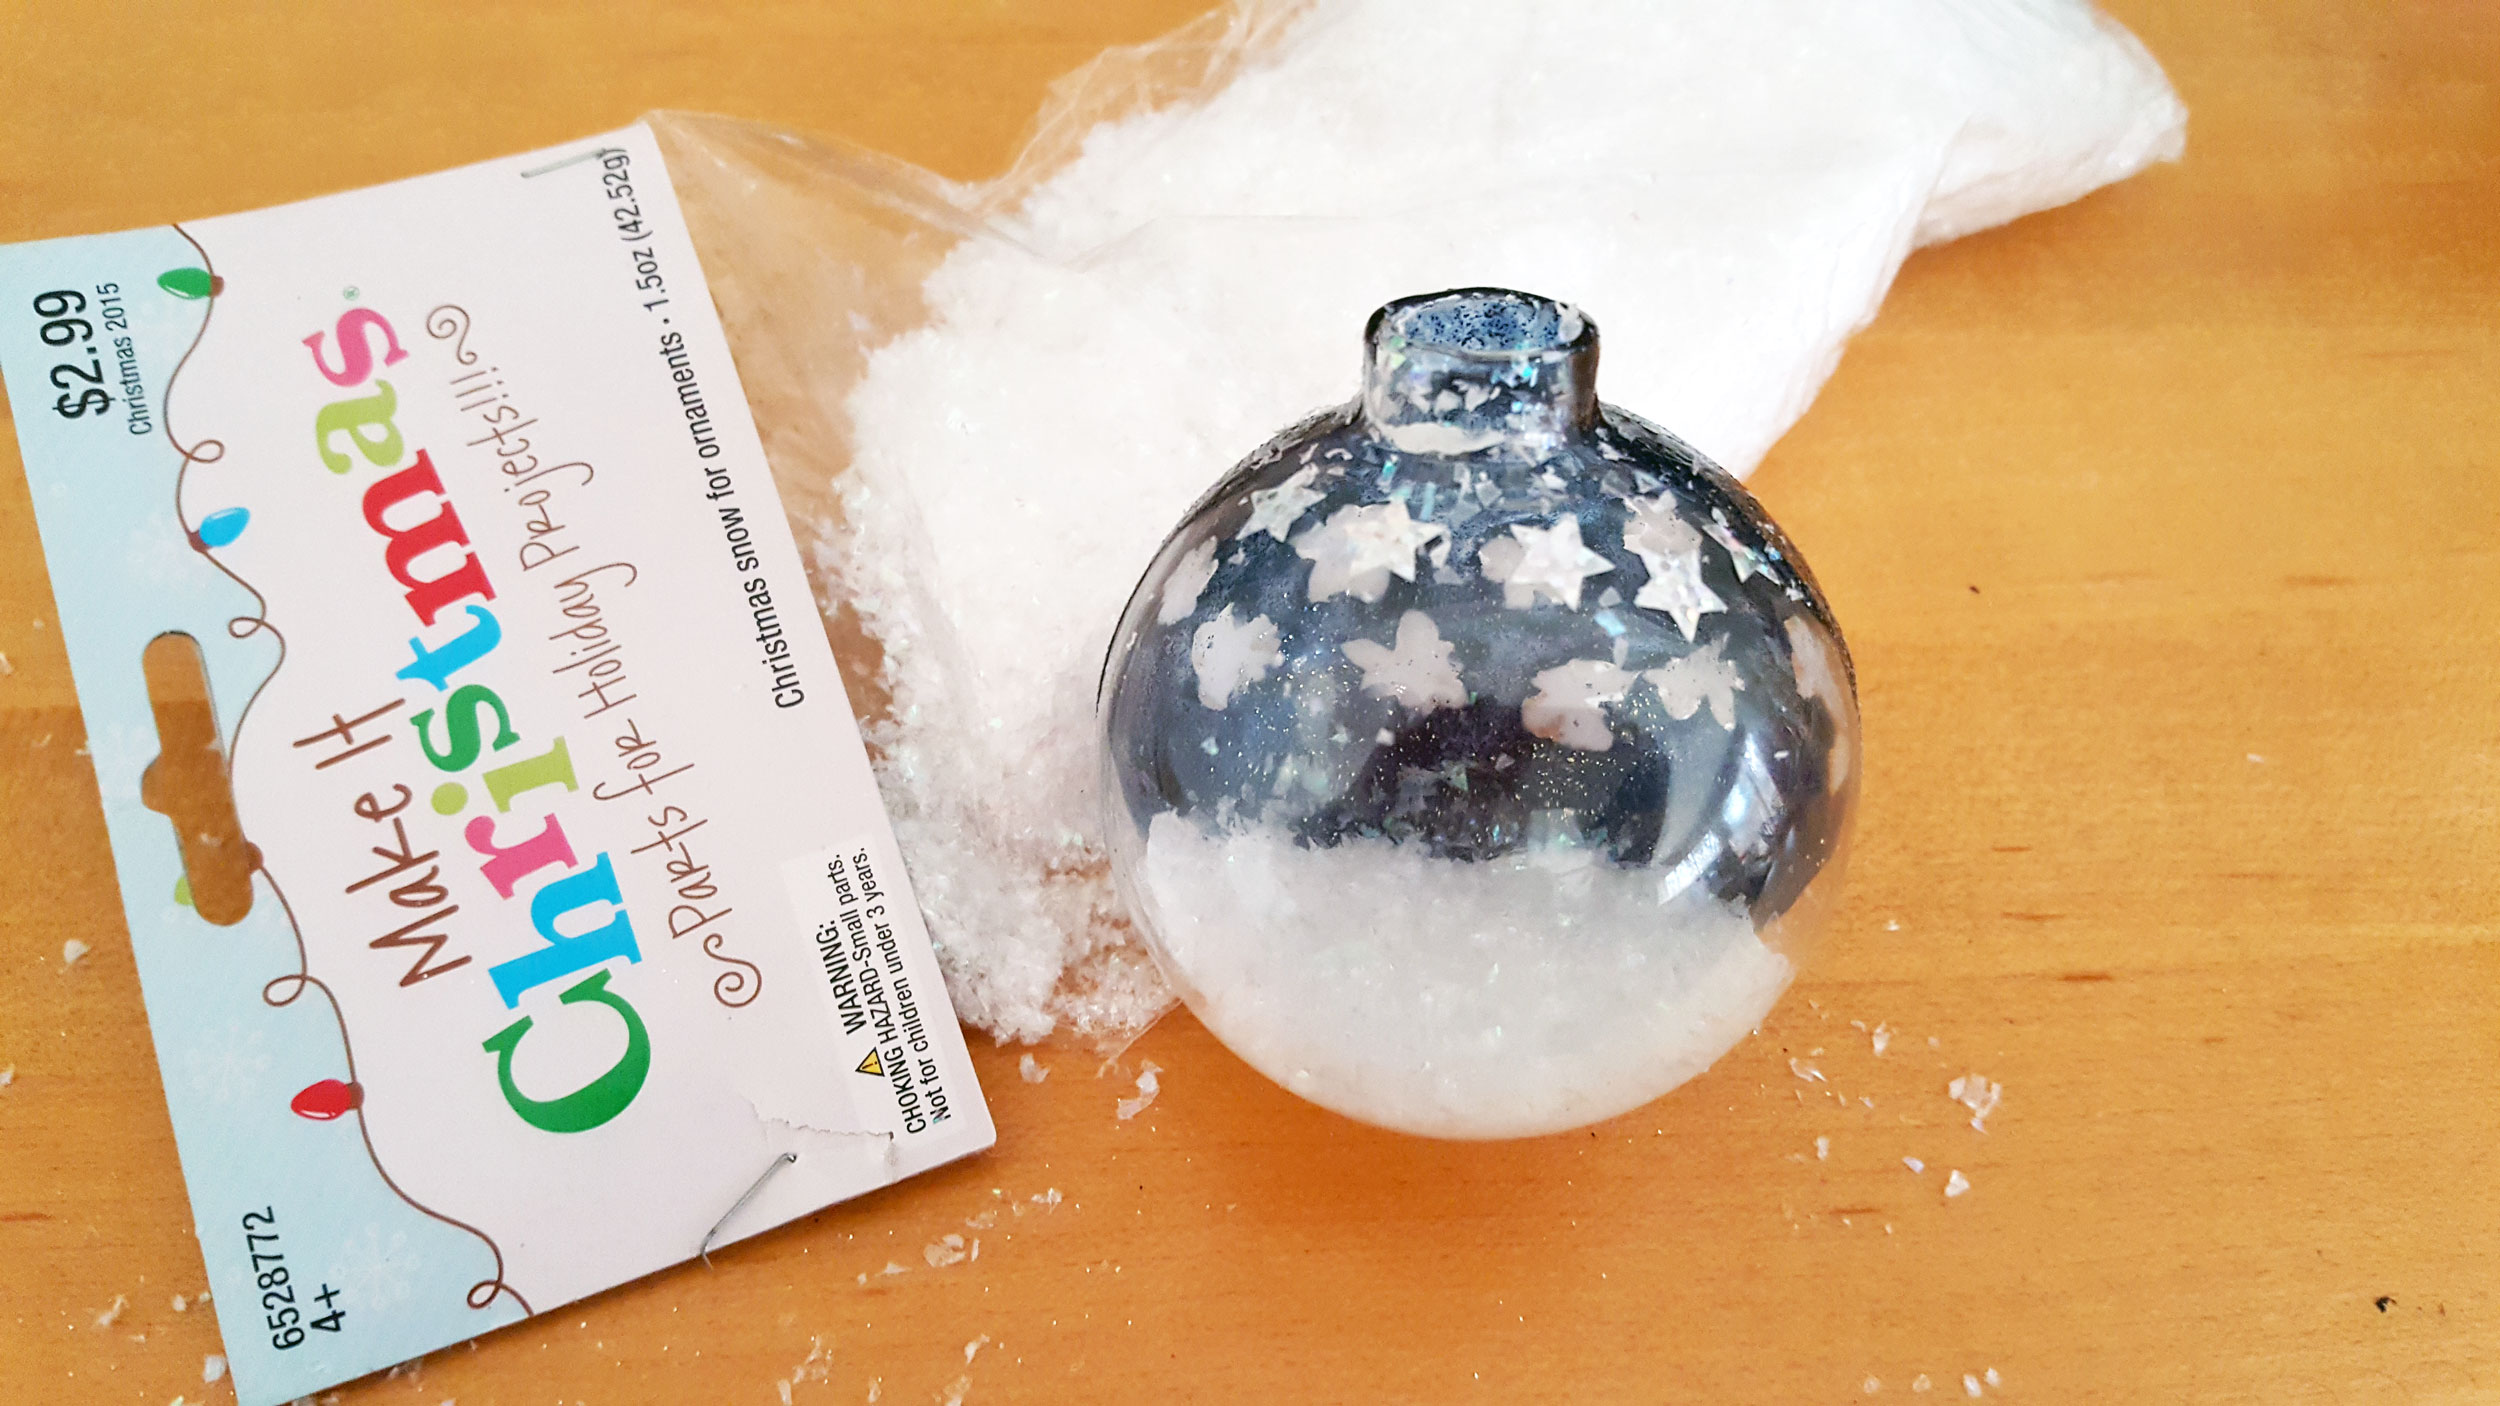
Step 7: Pour a little white paint into the glass ball ornament, careful not to drip any paint onto the inside walls of the glass ball. Swirl the paint so that it coats the bottom of the ornament and then pour in the paper snow confetti to cover it. Let the paint completely dry. It’s OK if you have a little extra “snow” in the bottom, but not too much that when you insert the house, it won’t have stability.
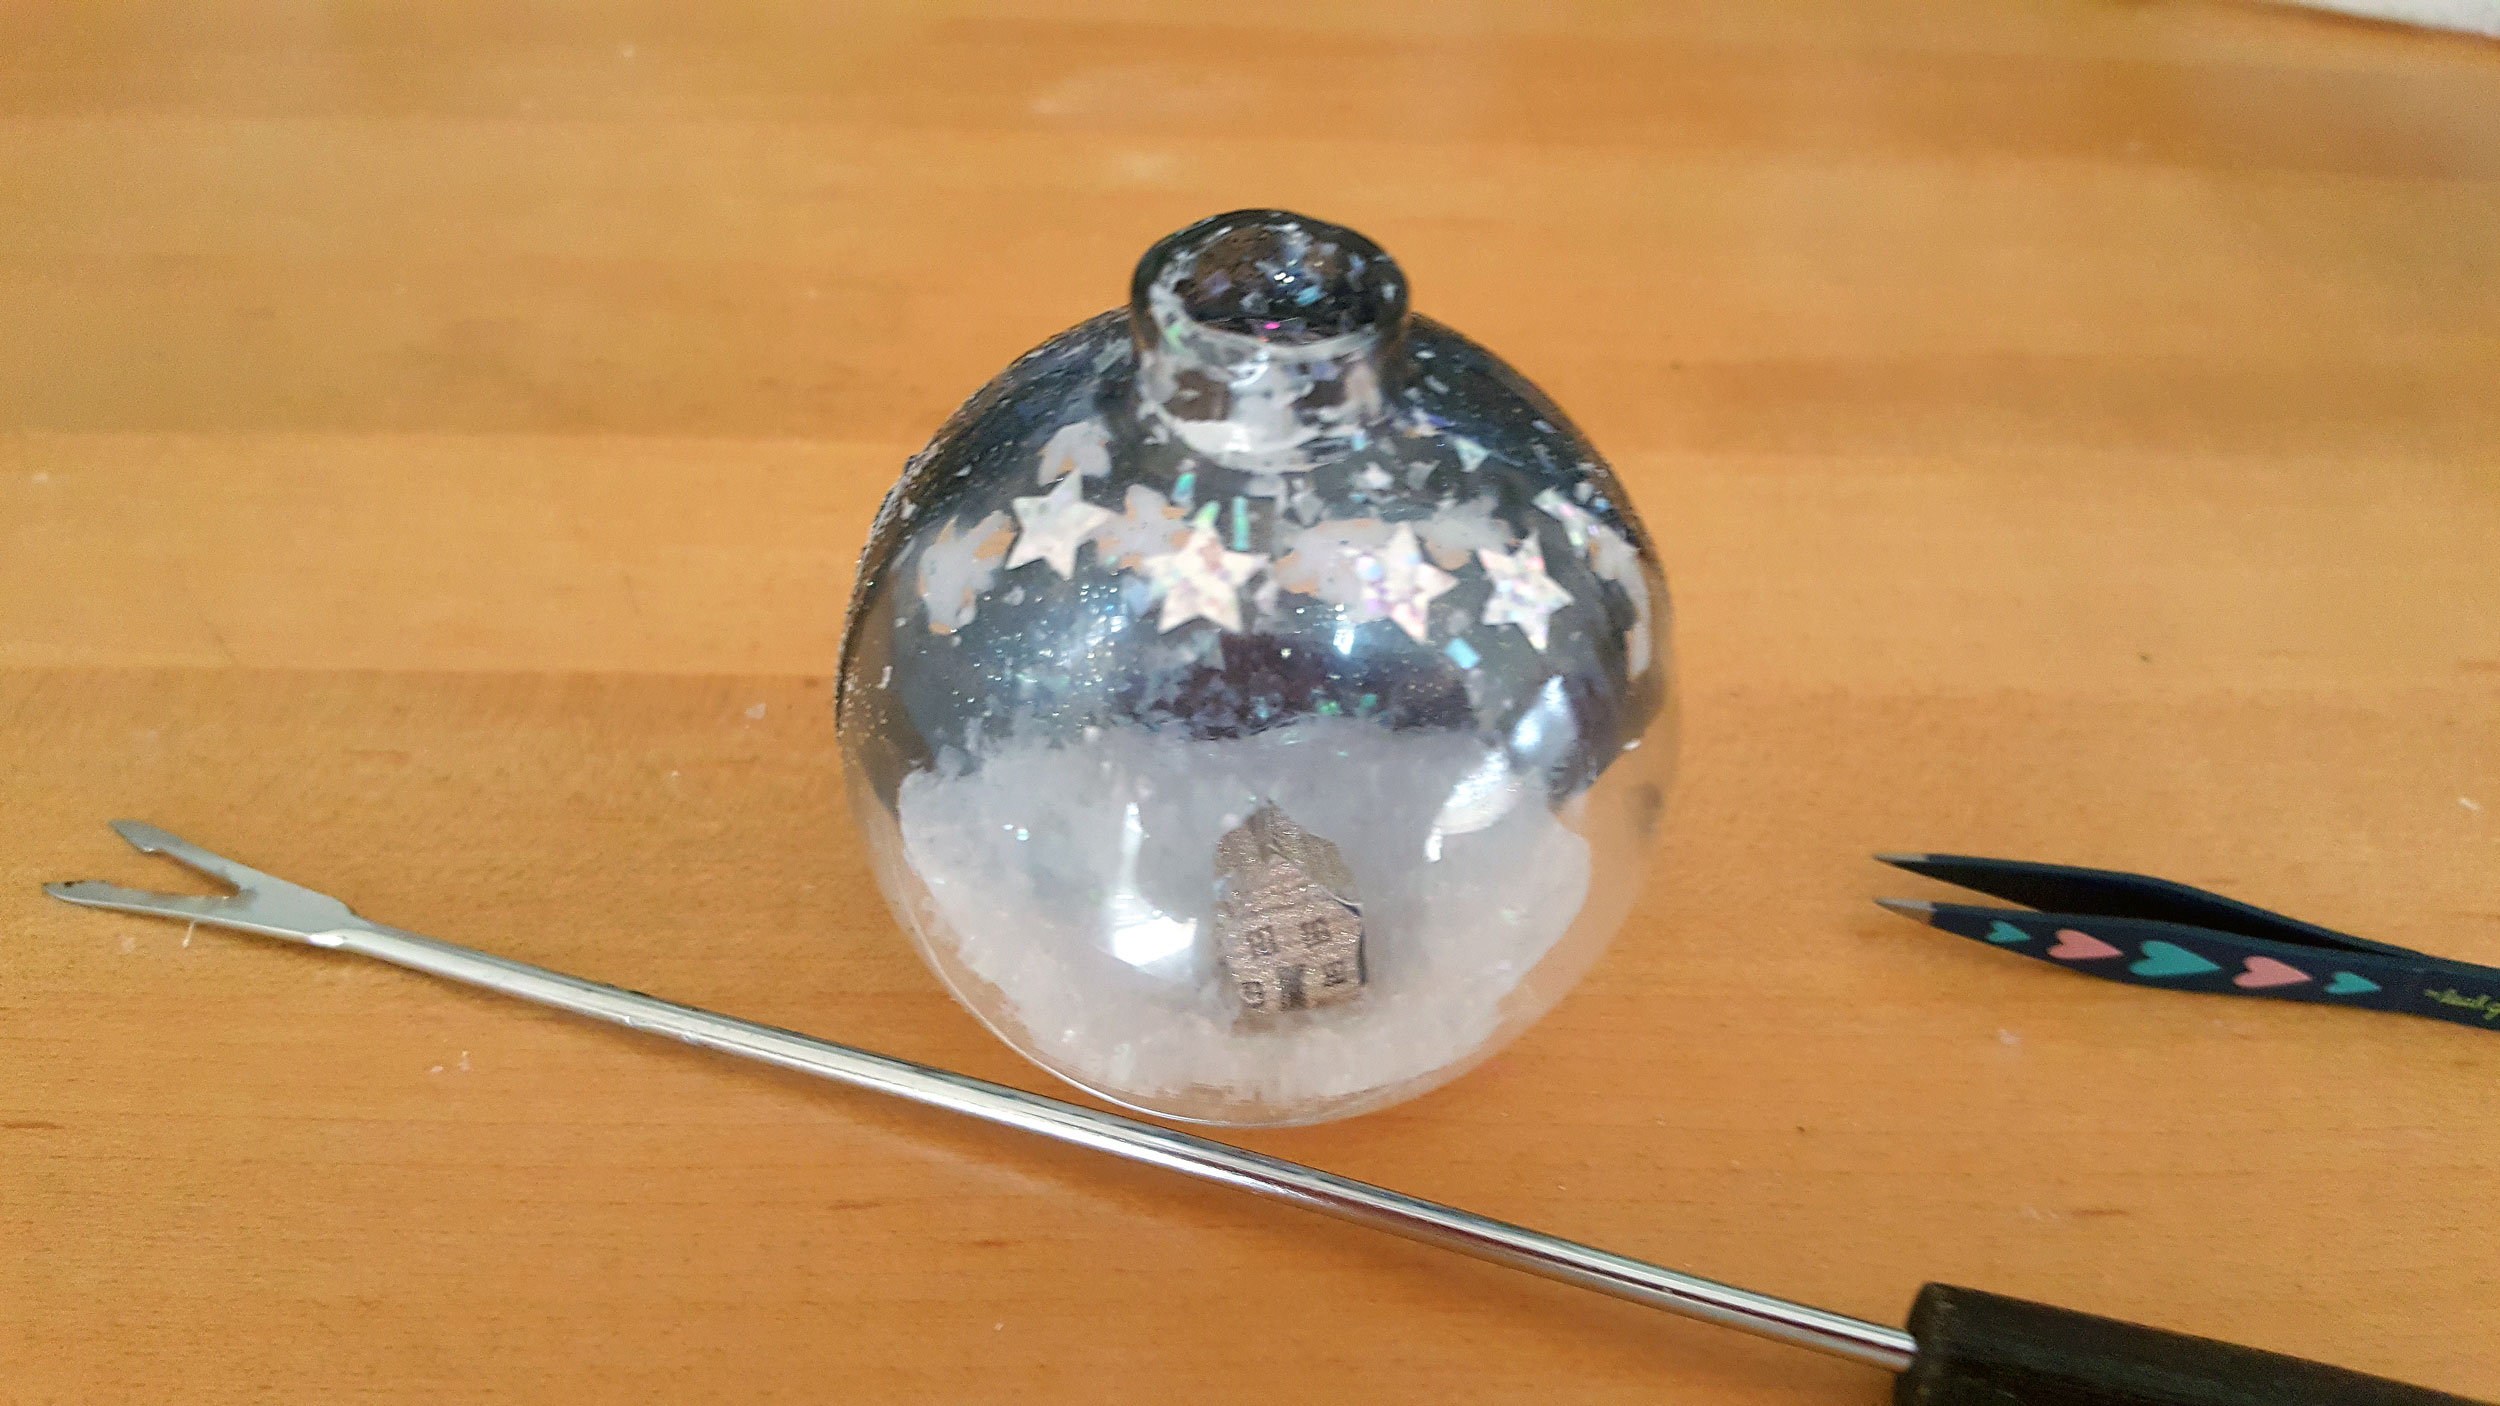
Step 8: Spread some glue onto the bottom of the paper house. Using a pair of tweezers or a fondue fork, carefully insert the house through the hole of the ornament and press to secure to the bottom snow. Let the glue dry so the house isn’t moving around.
Note: If it is too wobbly, add some glue around the house and then cover with a little more snow.
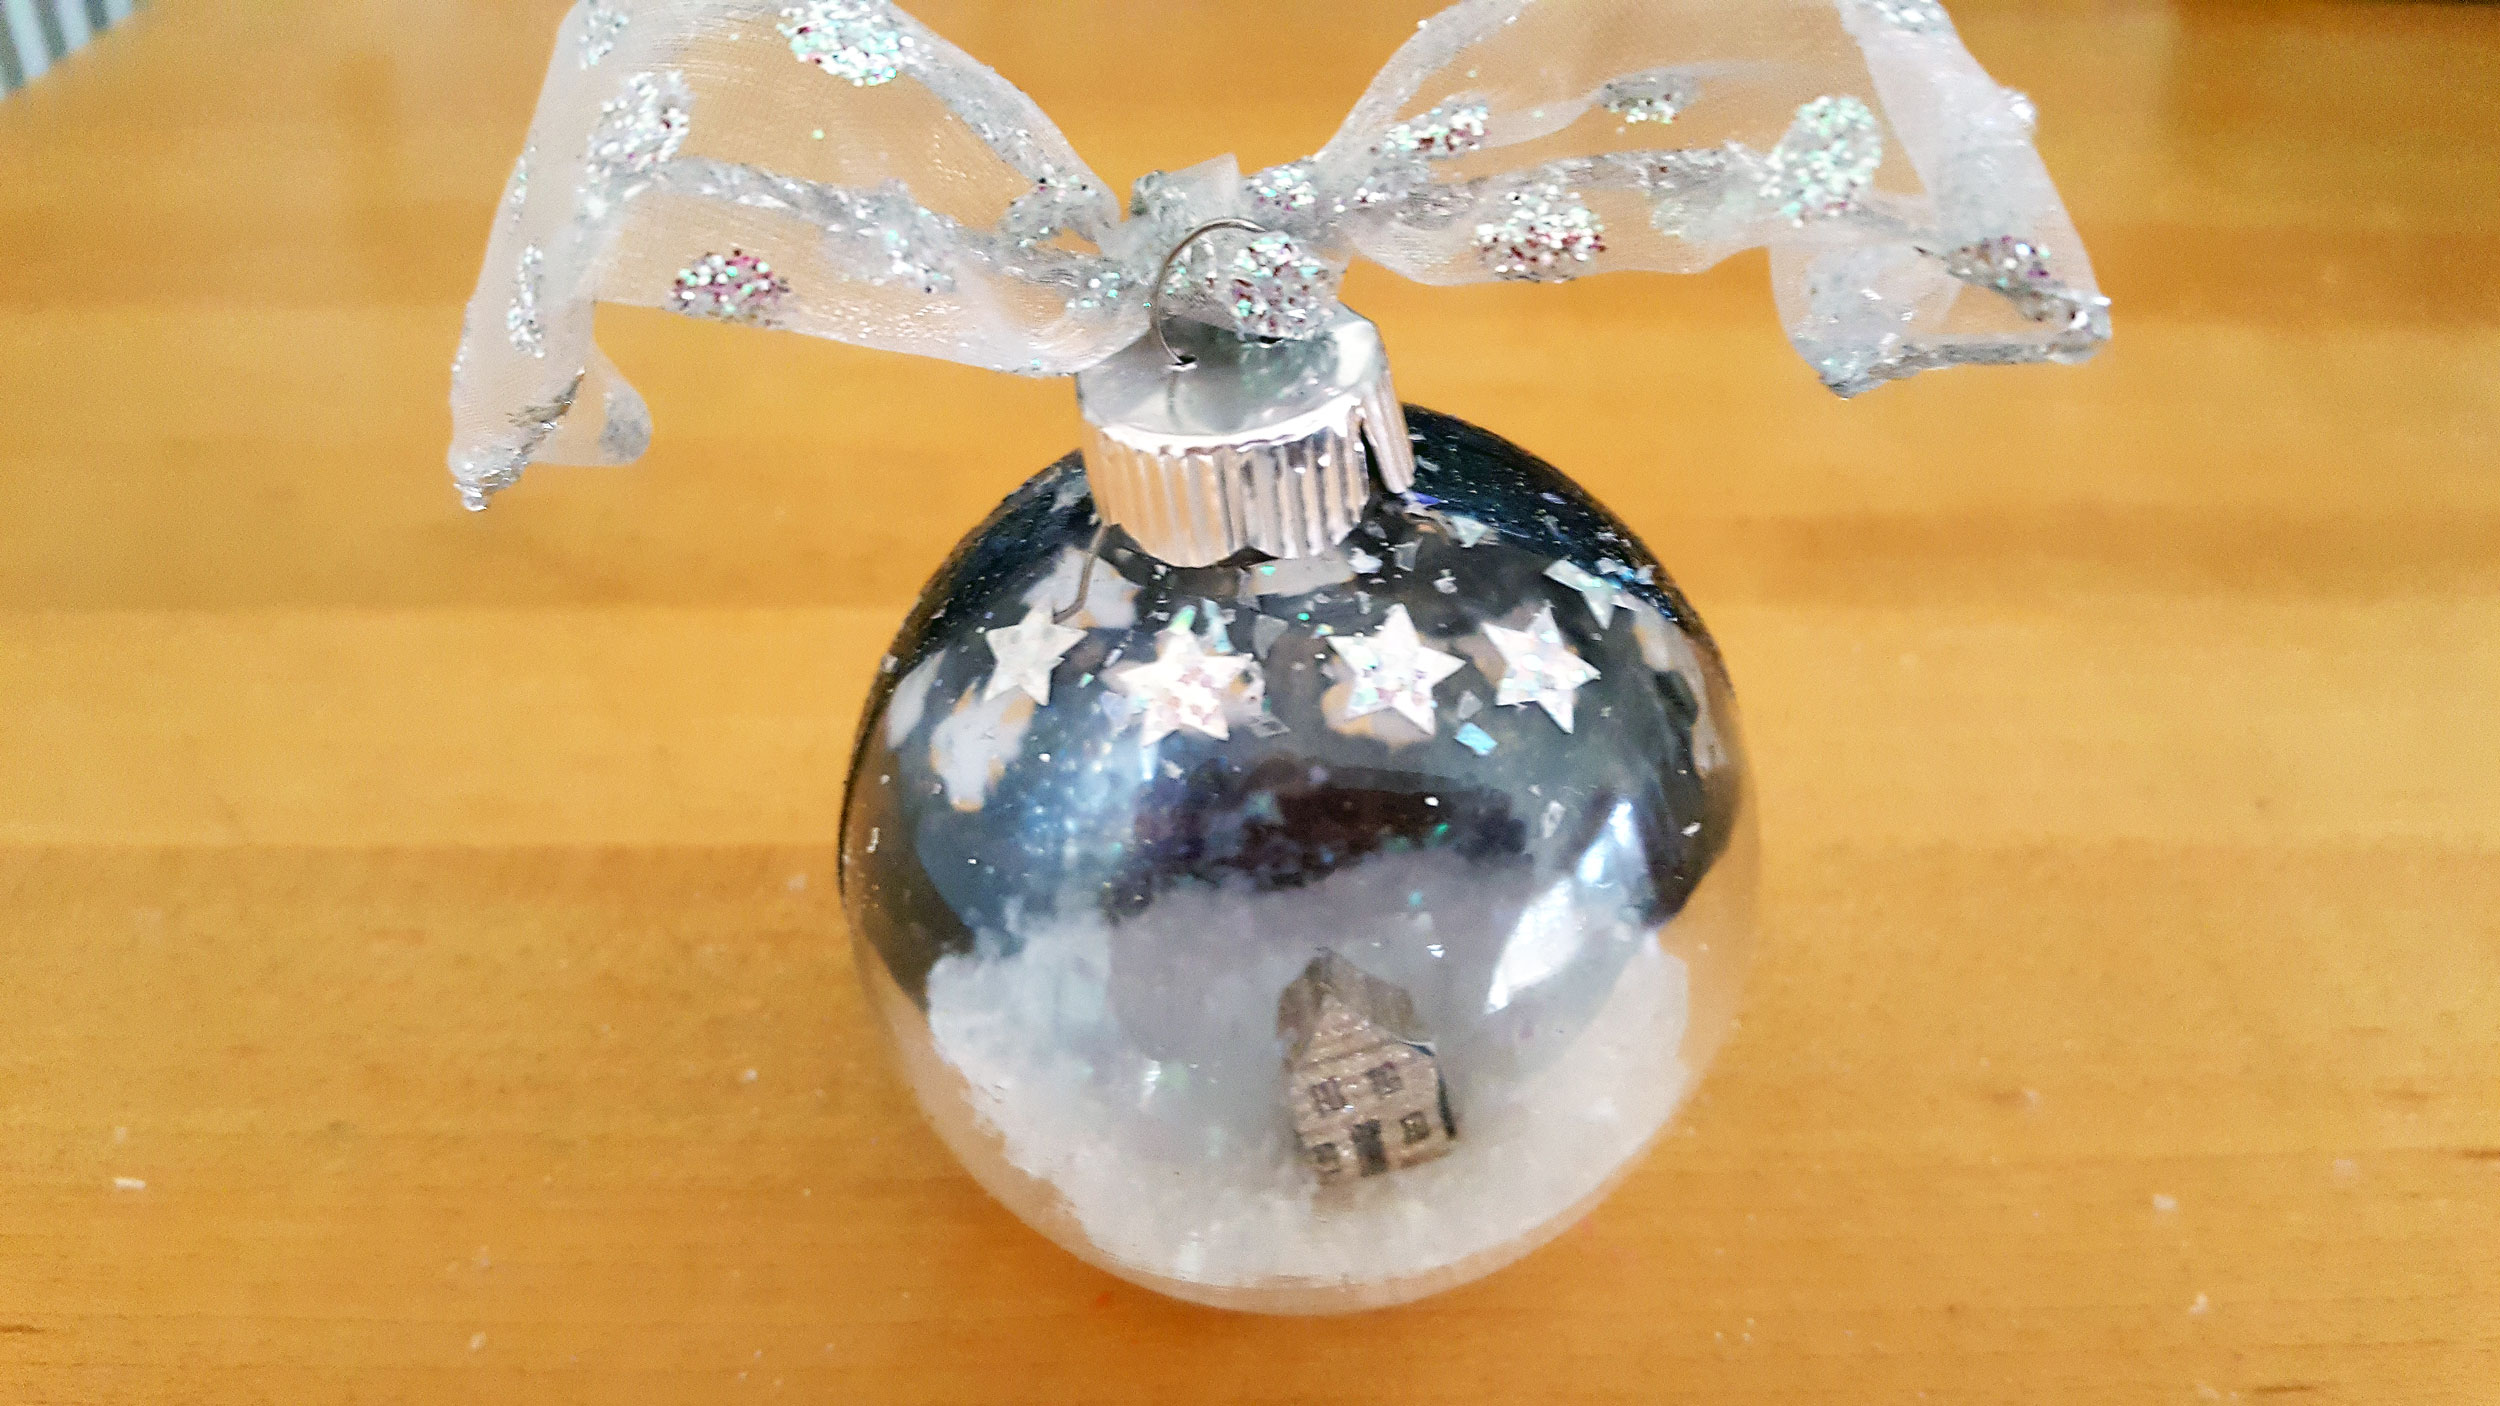
Step 9: Now you are ready for the finishing touches on your Silent Night Ornament. Replace the ornament cap and then cut a piece of ribbon and tie it to the top. We chose a ribbon with sparkle added to draw out the glittery stars and snowflakes of the scene.
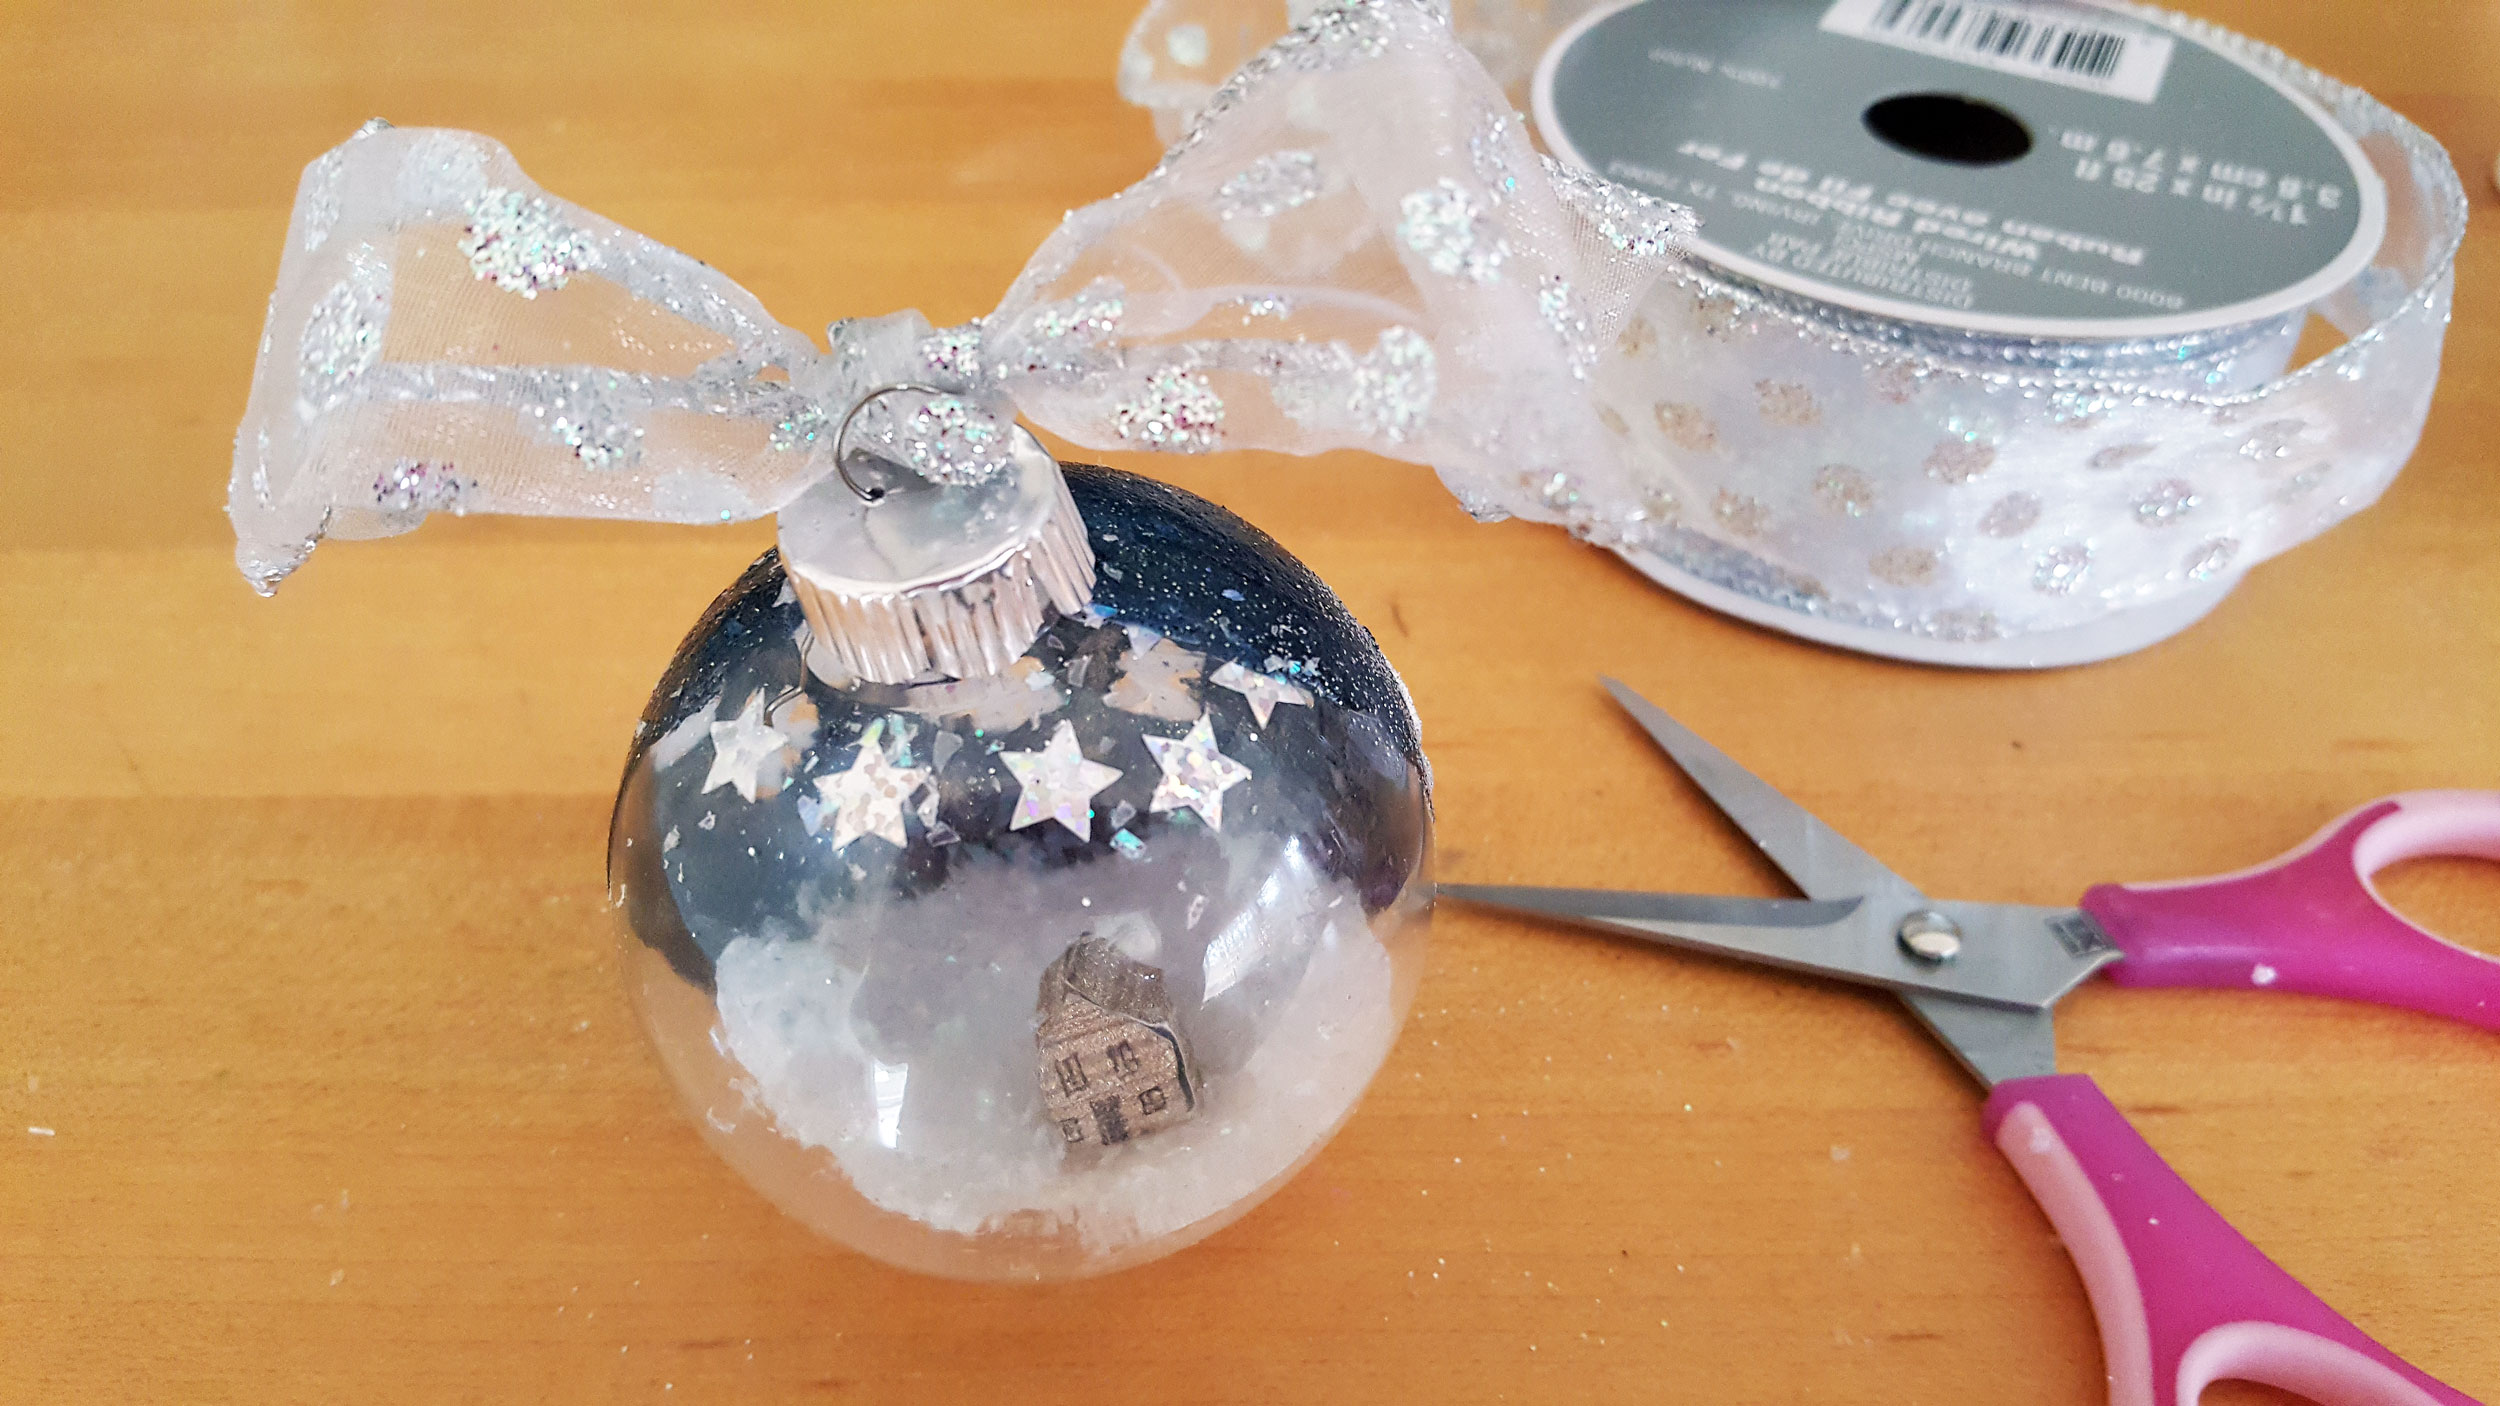
That’s it! Now you have made a sparkly Silent Night Ornament that is a wonderful way to commemorate the 200 anniversary of this favorite Christmas carol. Make silent night ornaments as party favors for a holiday open house or ornament exchange party.
Love the idea of a Silent Night Ornament or Christmas carol ornaments but aren’t crafty or are out of time getting ready for the holidays? Check out our selection of personalized Christmas carol ornaments that make great gifts for family and friends as well as ornament exchange parties.