DIY Easter Chick Decoration: The Hunt for Versatile Easter Ornaments Ends Here!
Posted April 17, 2019 in DIY (Crafts) by Dianne Weller
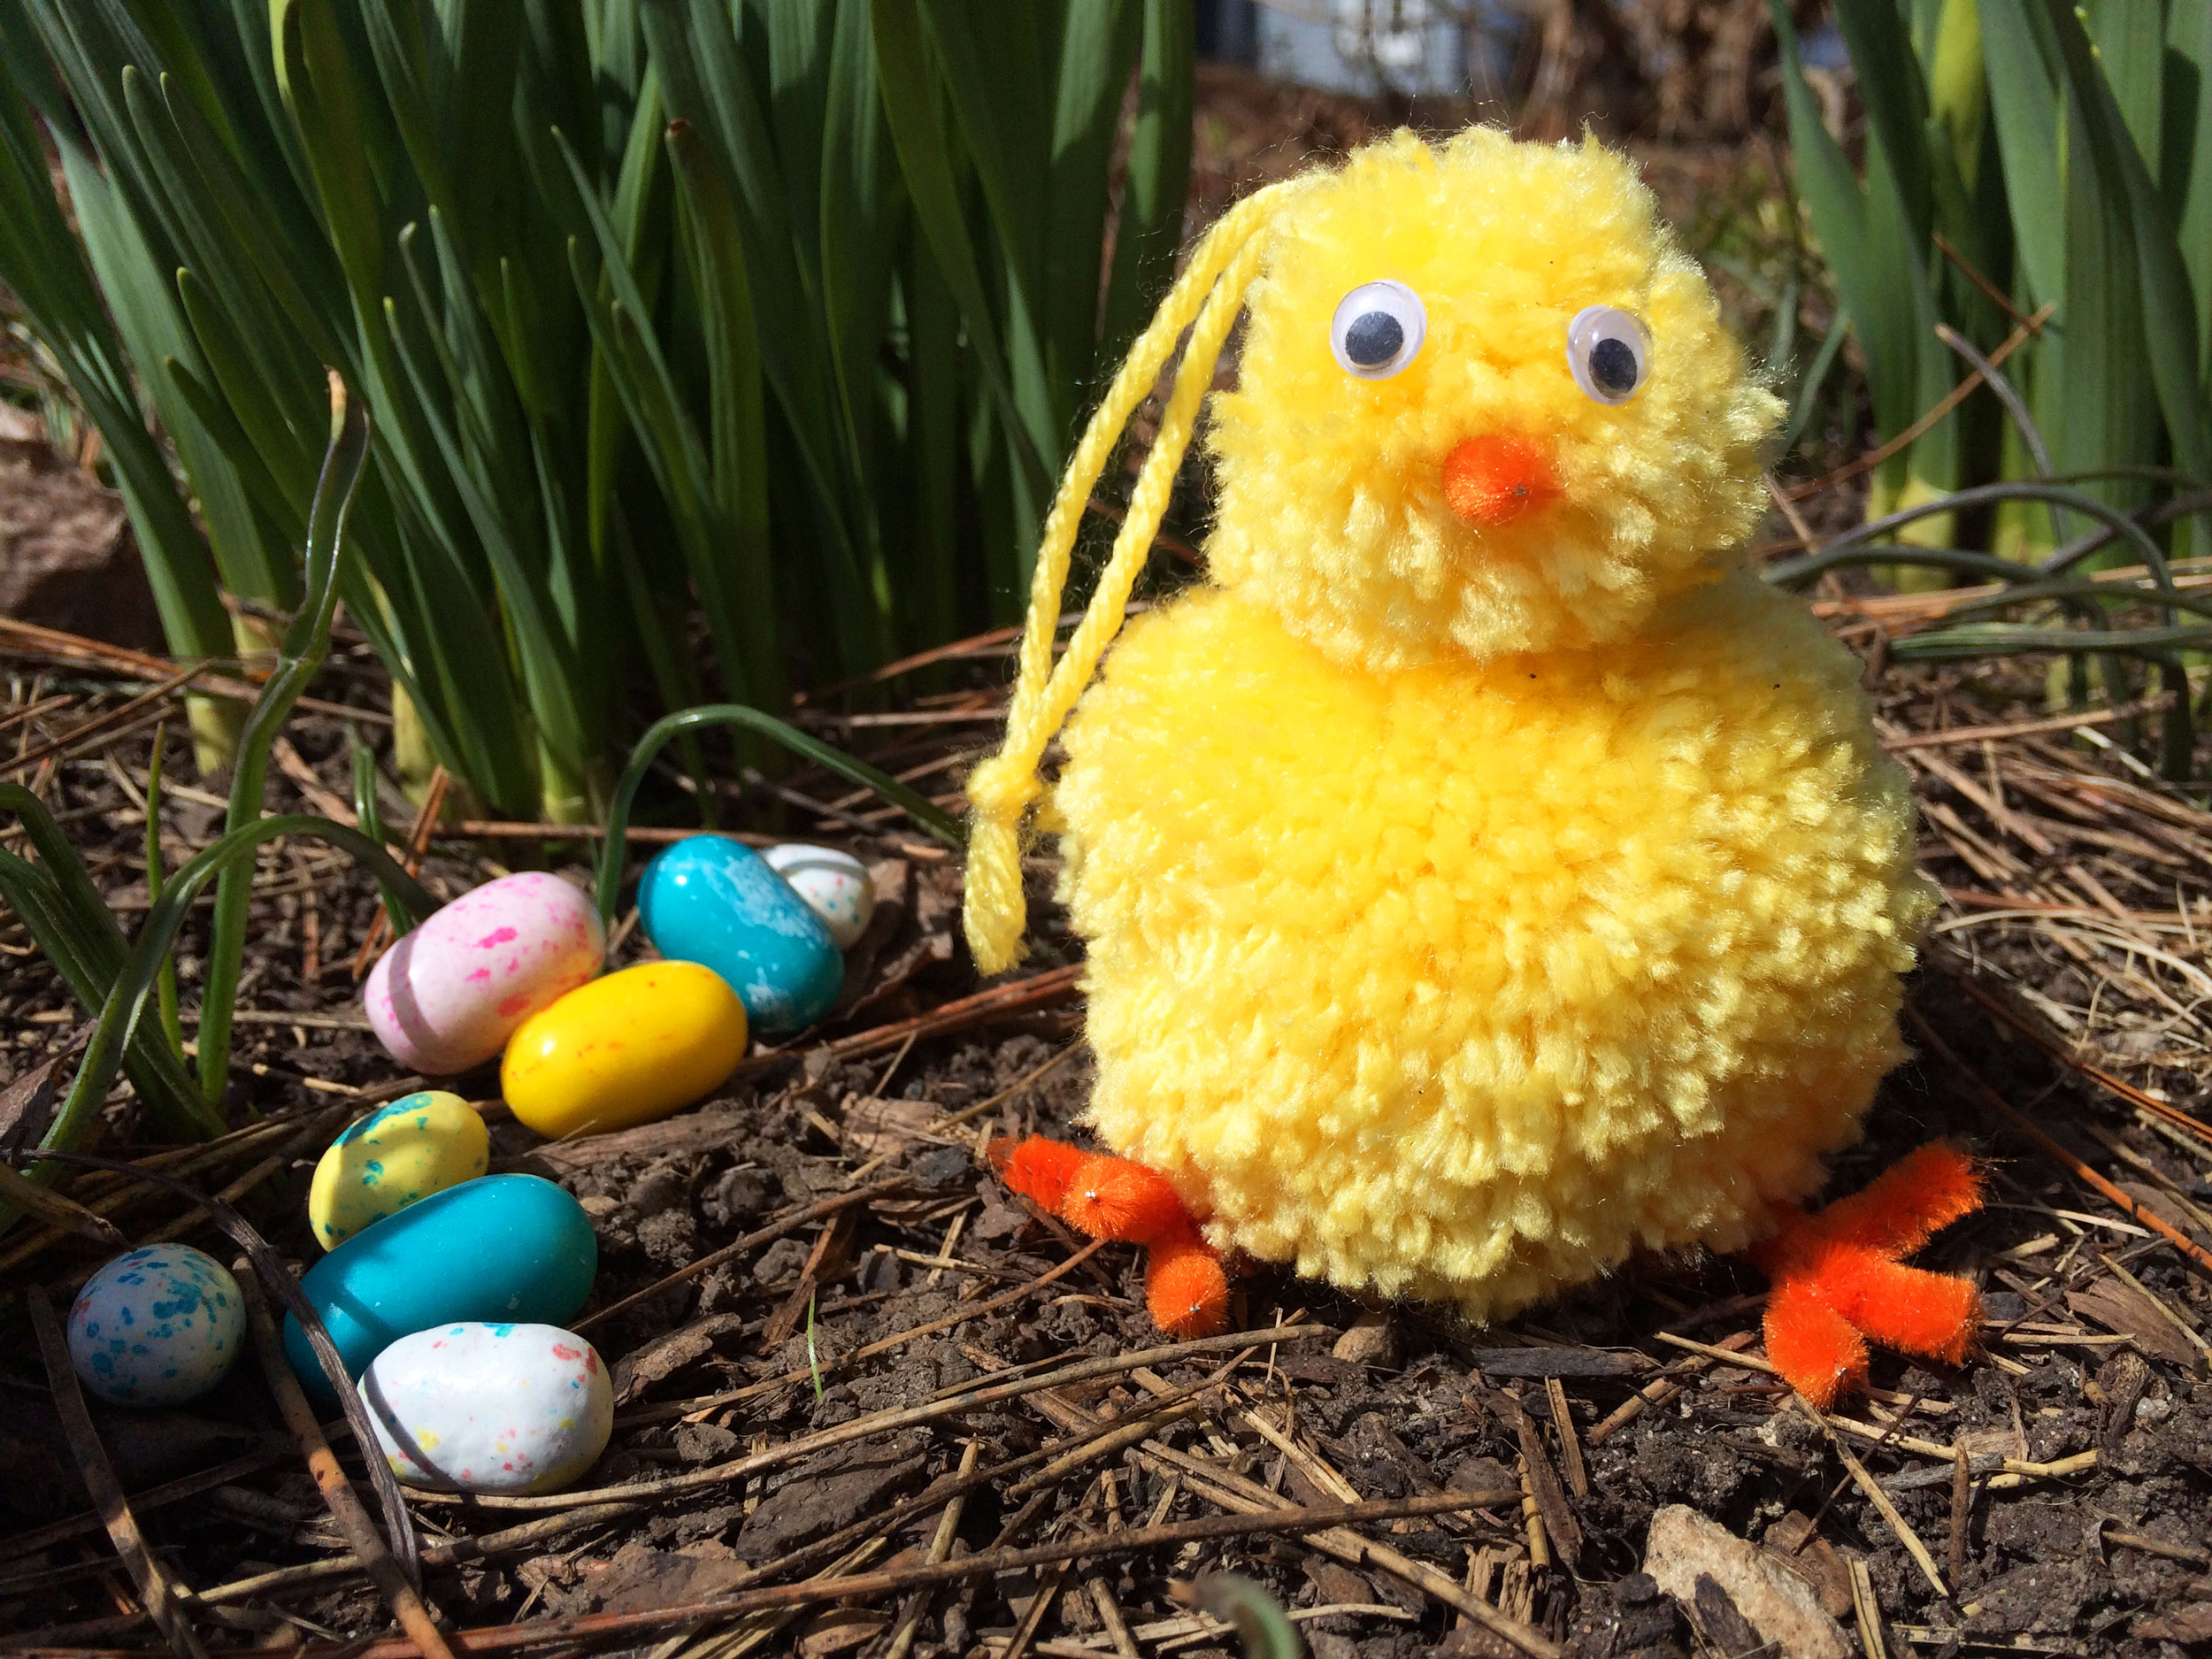
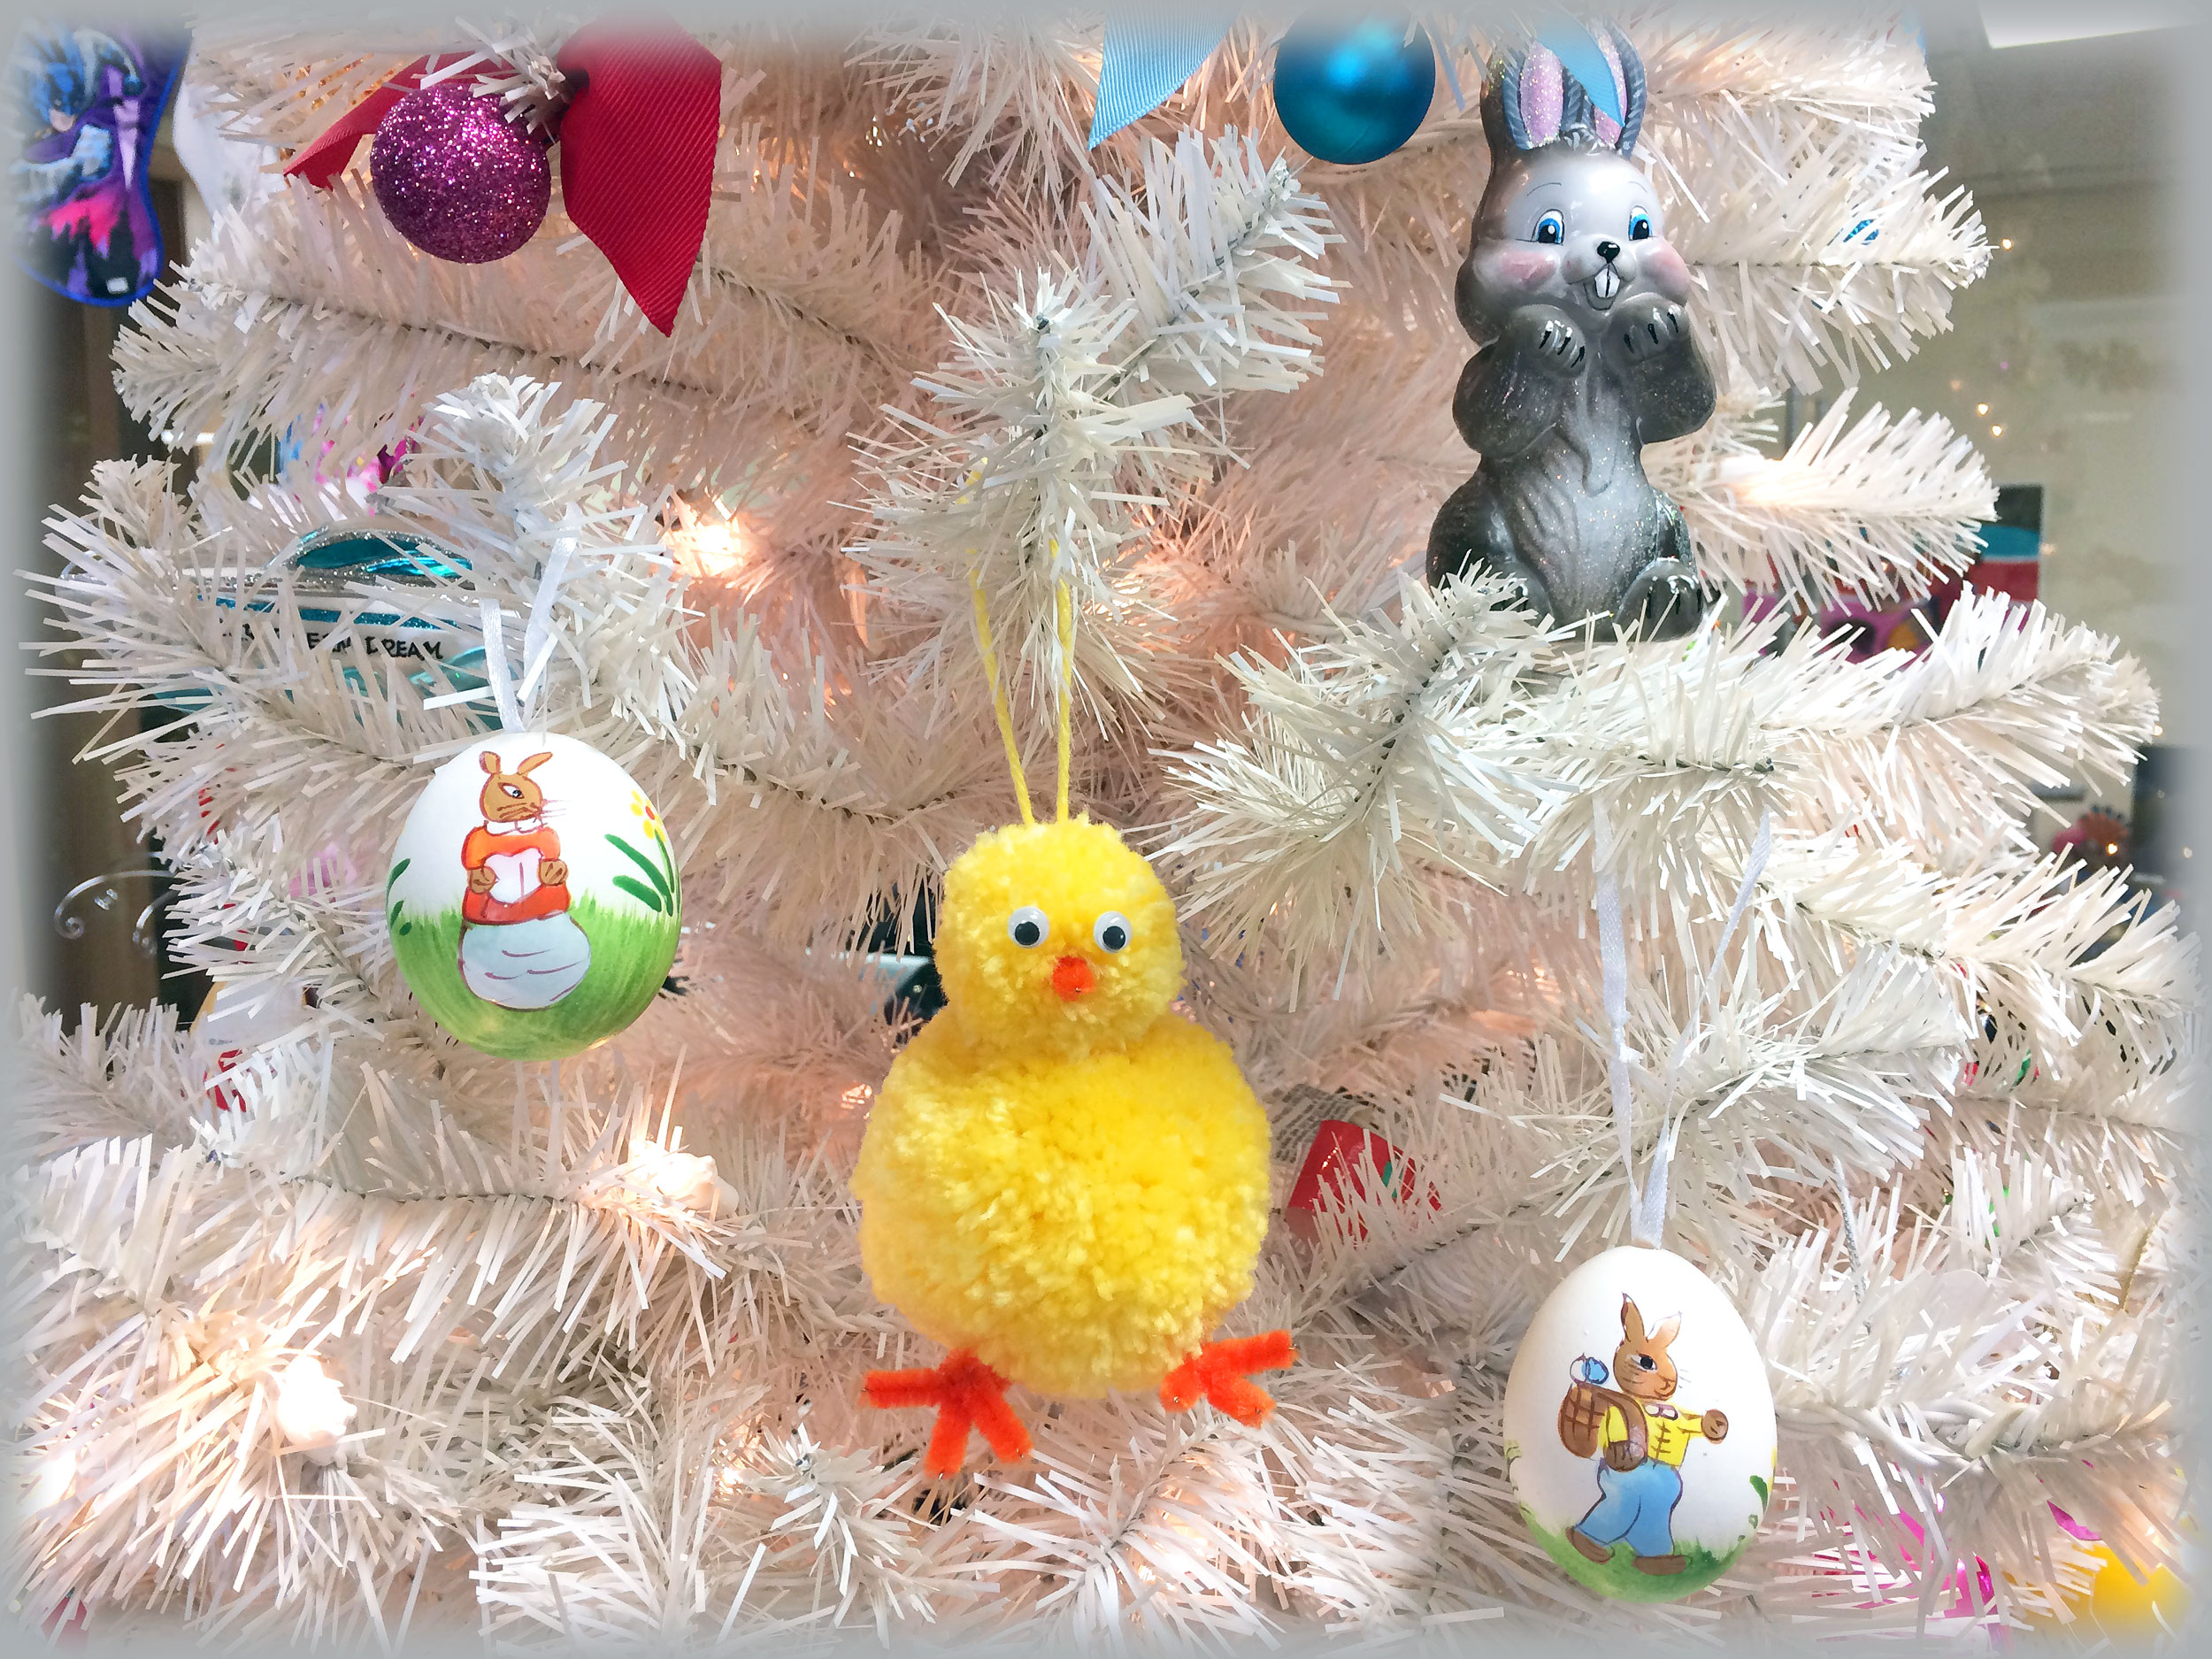
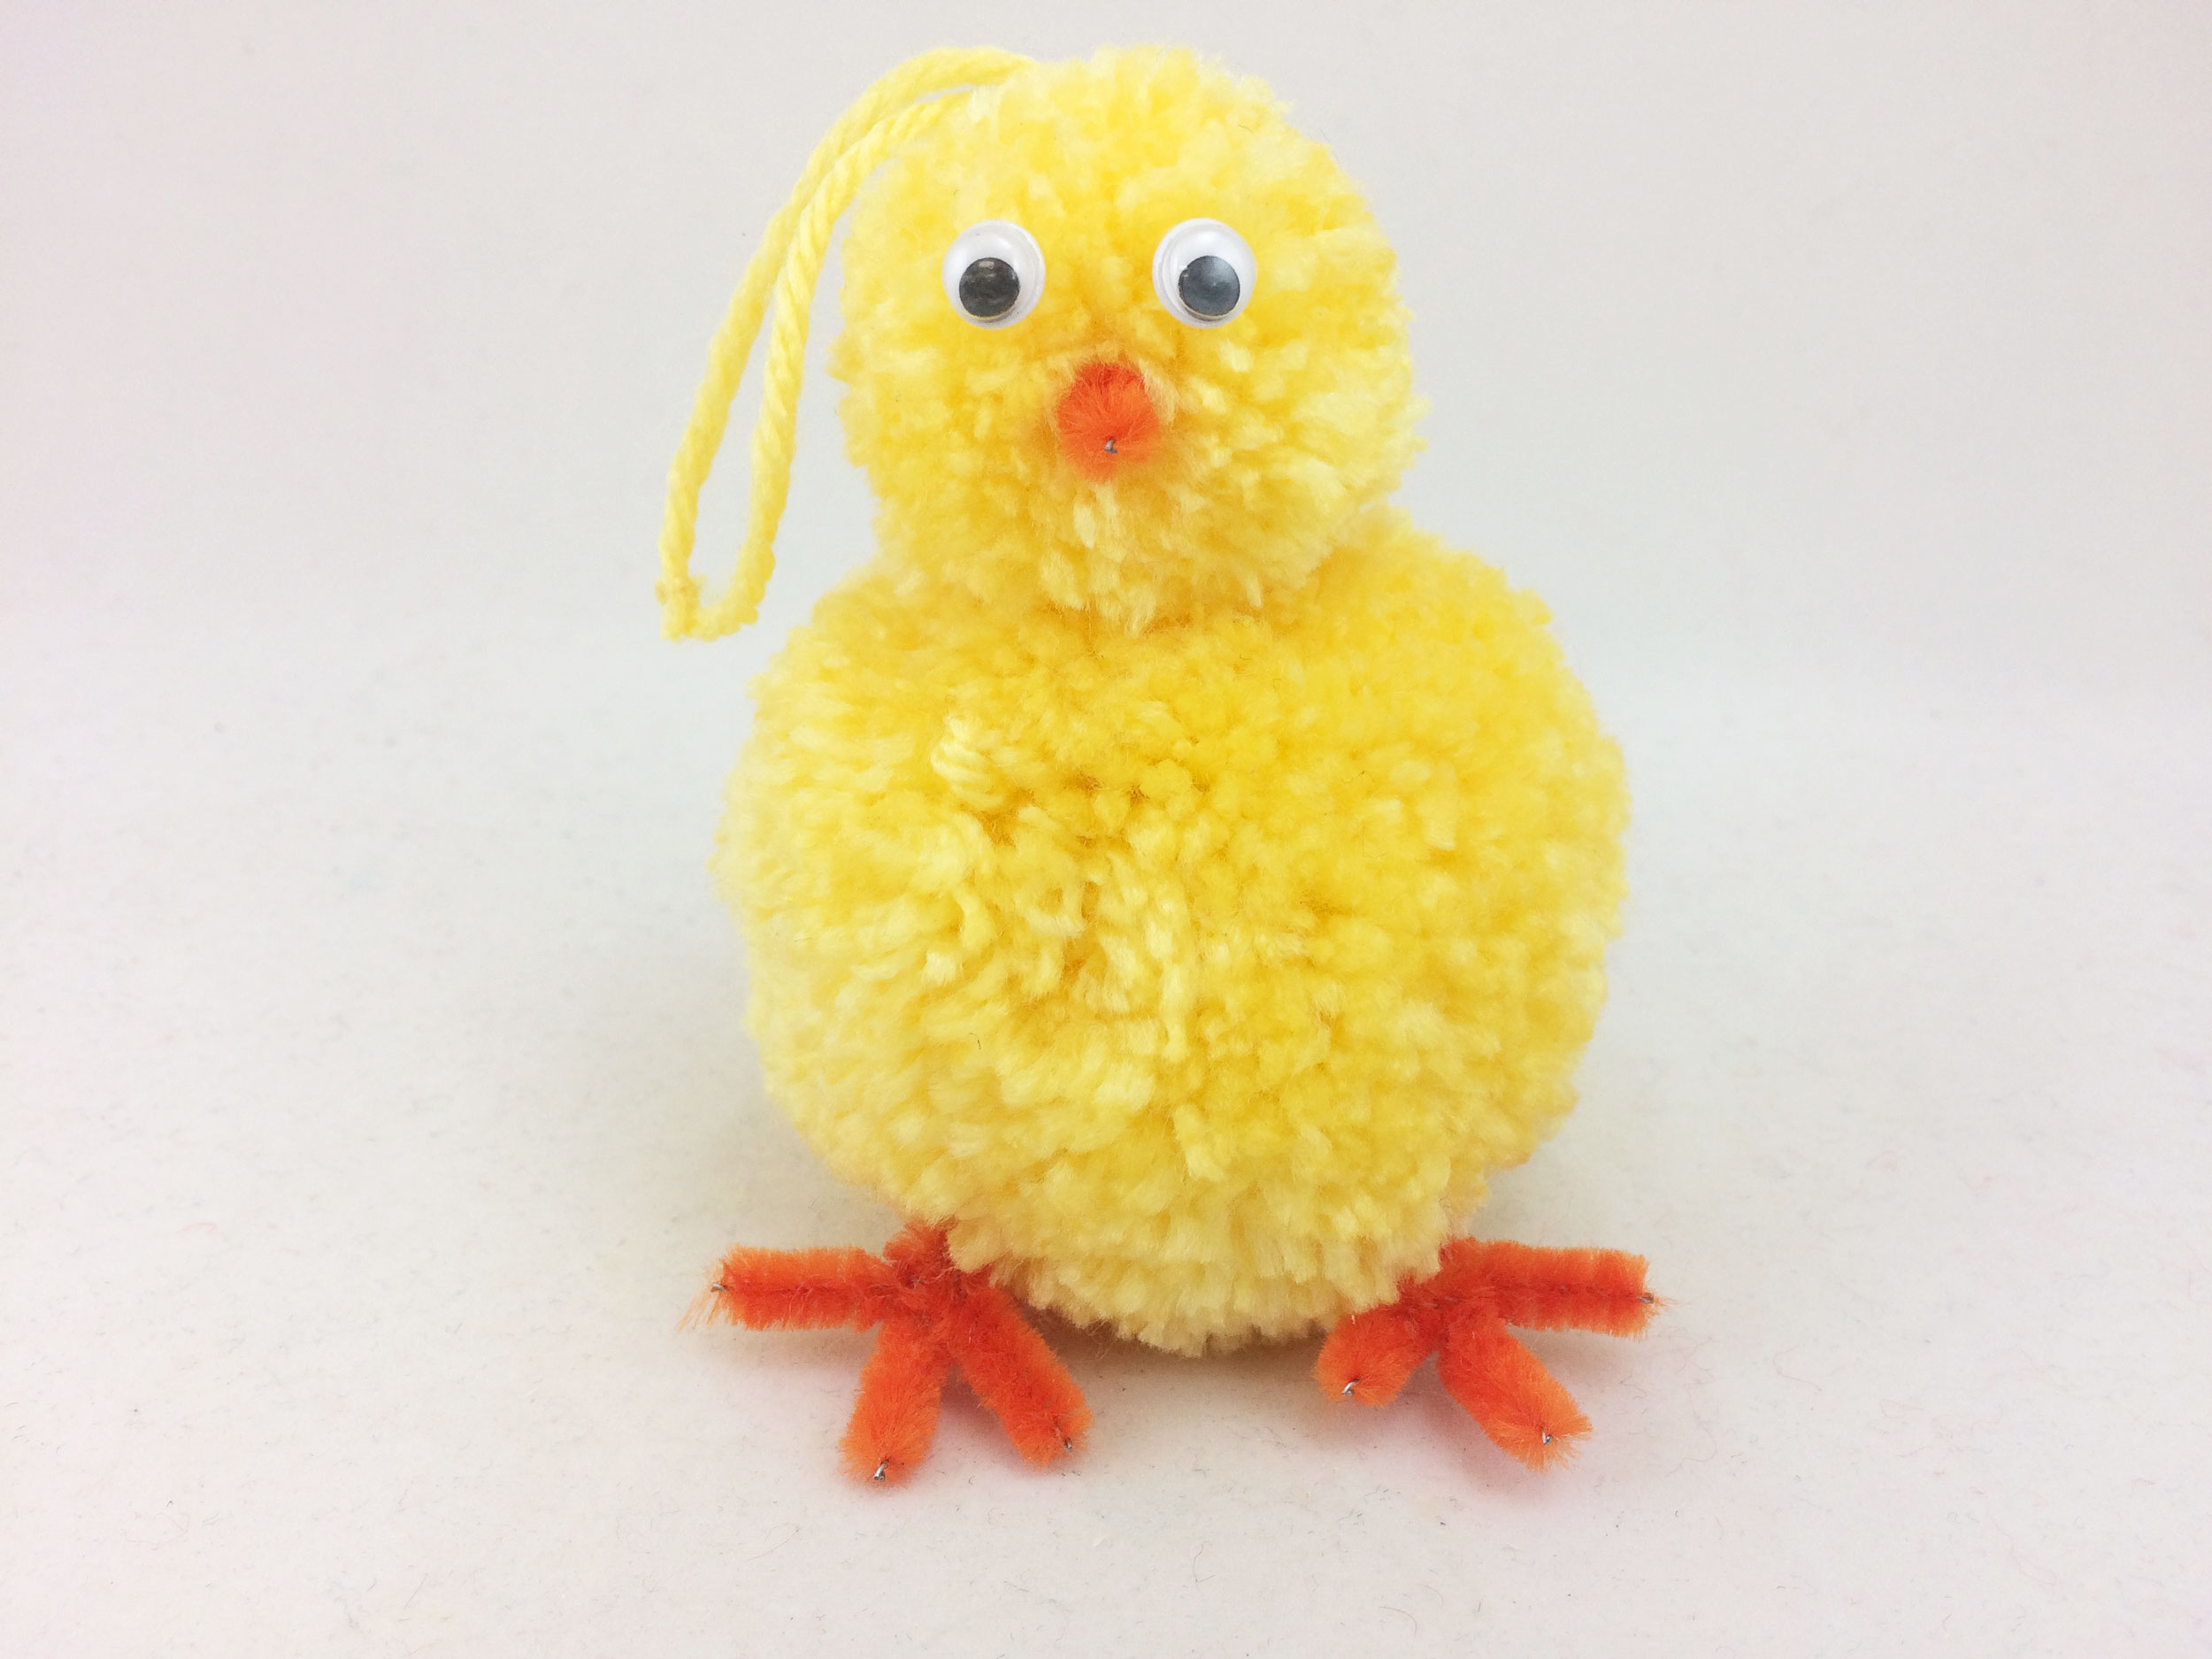
Check out this cheeky little DIY Easter Chick! Isn’t he just the cutest little Easter Decoration you’ve ever seen?! I love to decorate for the holidays, and Easter is no {egg}ception. Whether you’re hosting family and friends for the weekend or for brunch, this little Easter Chick will be the star of the show! Kids will fall in love with his fuzzy yarn body and friendly googly eyes. You may even want to make extras for each child to take one home with them!
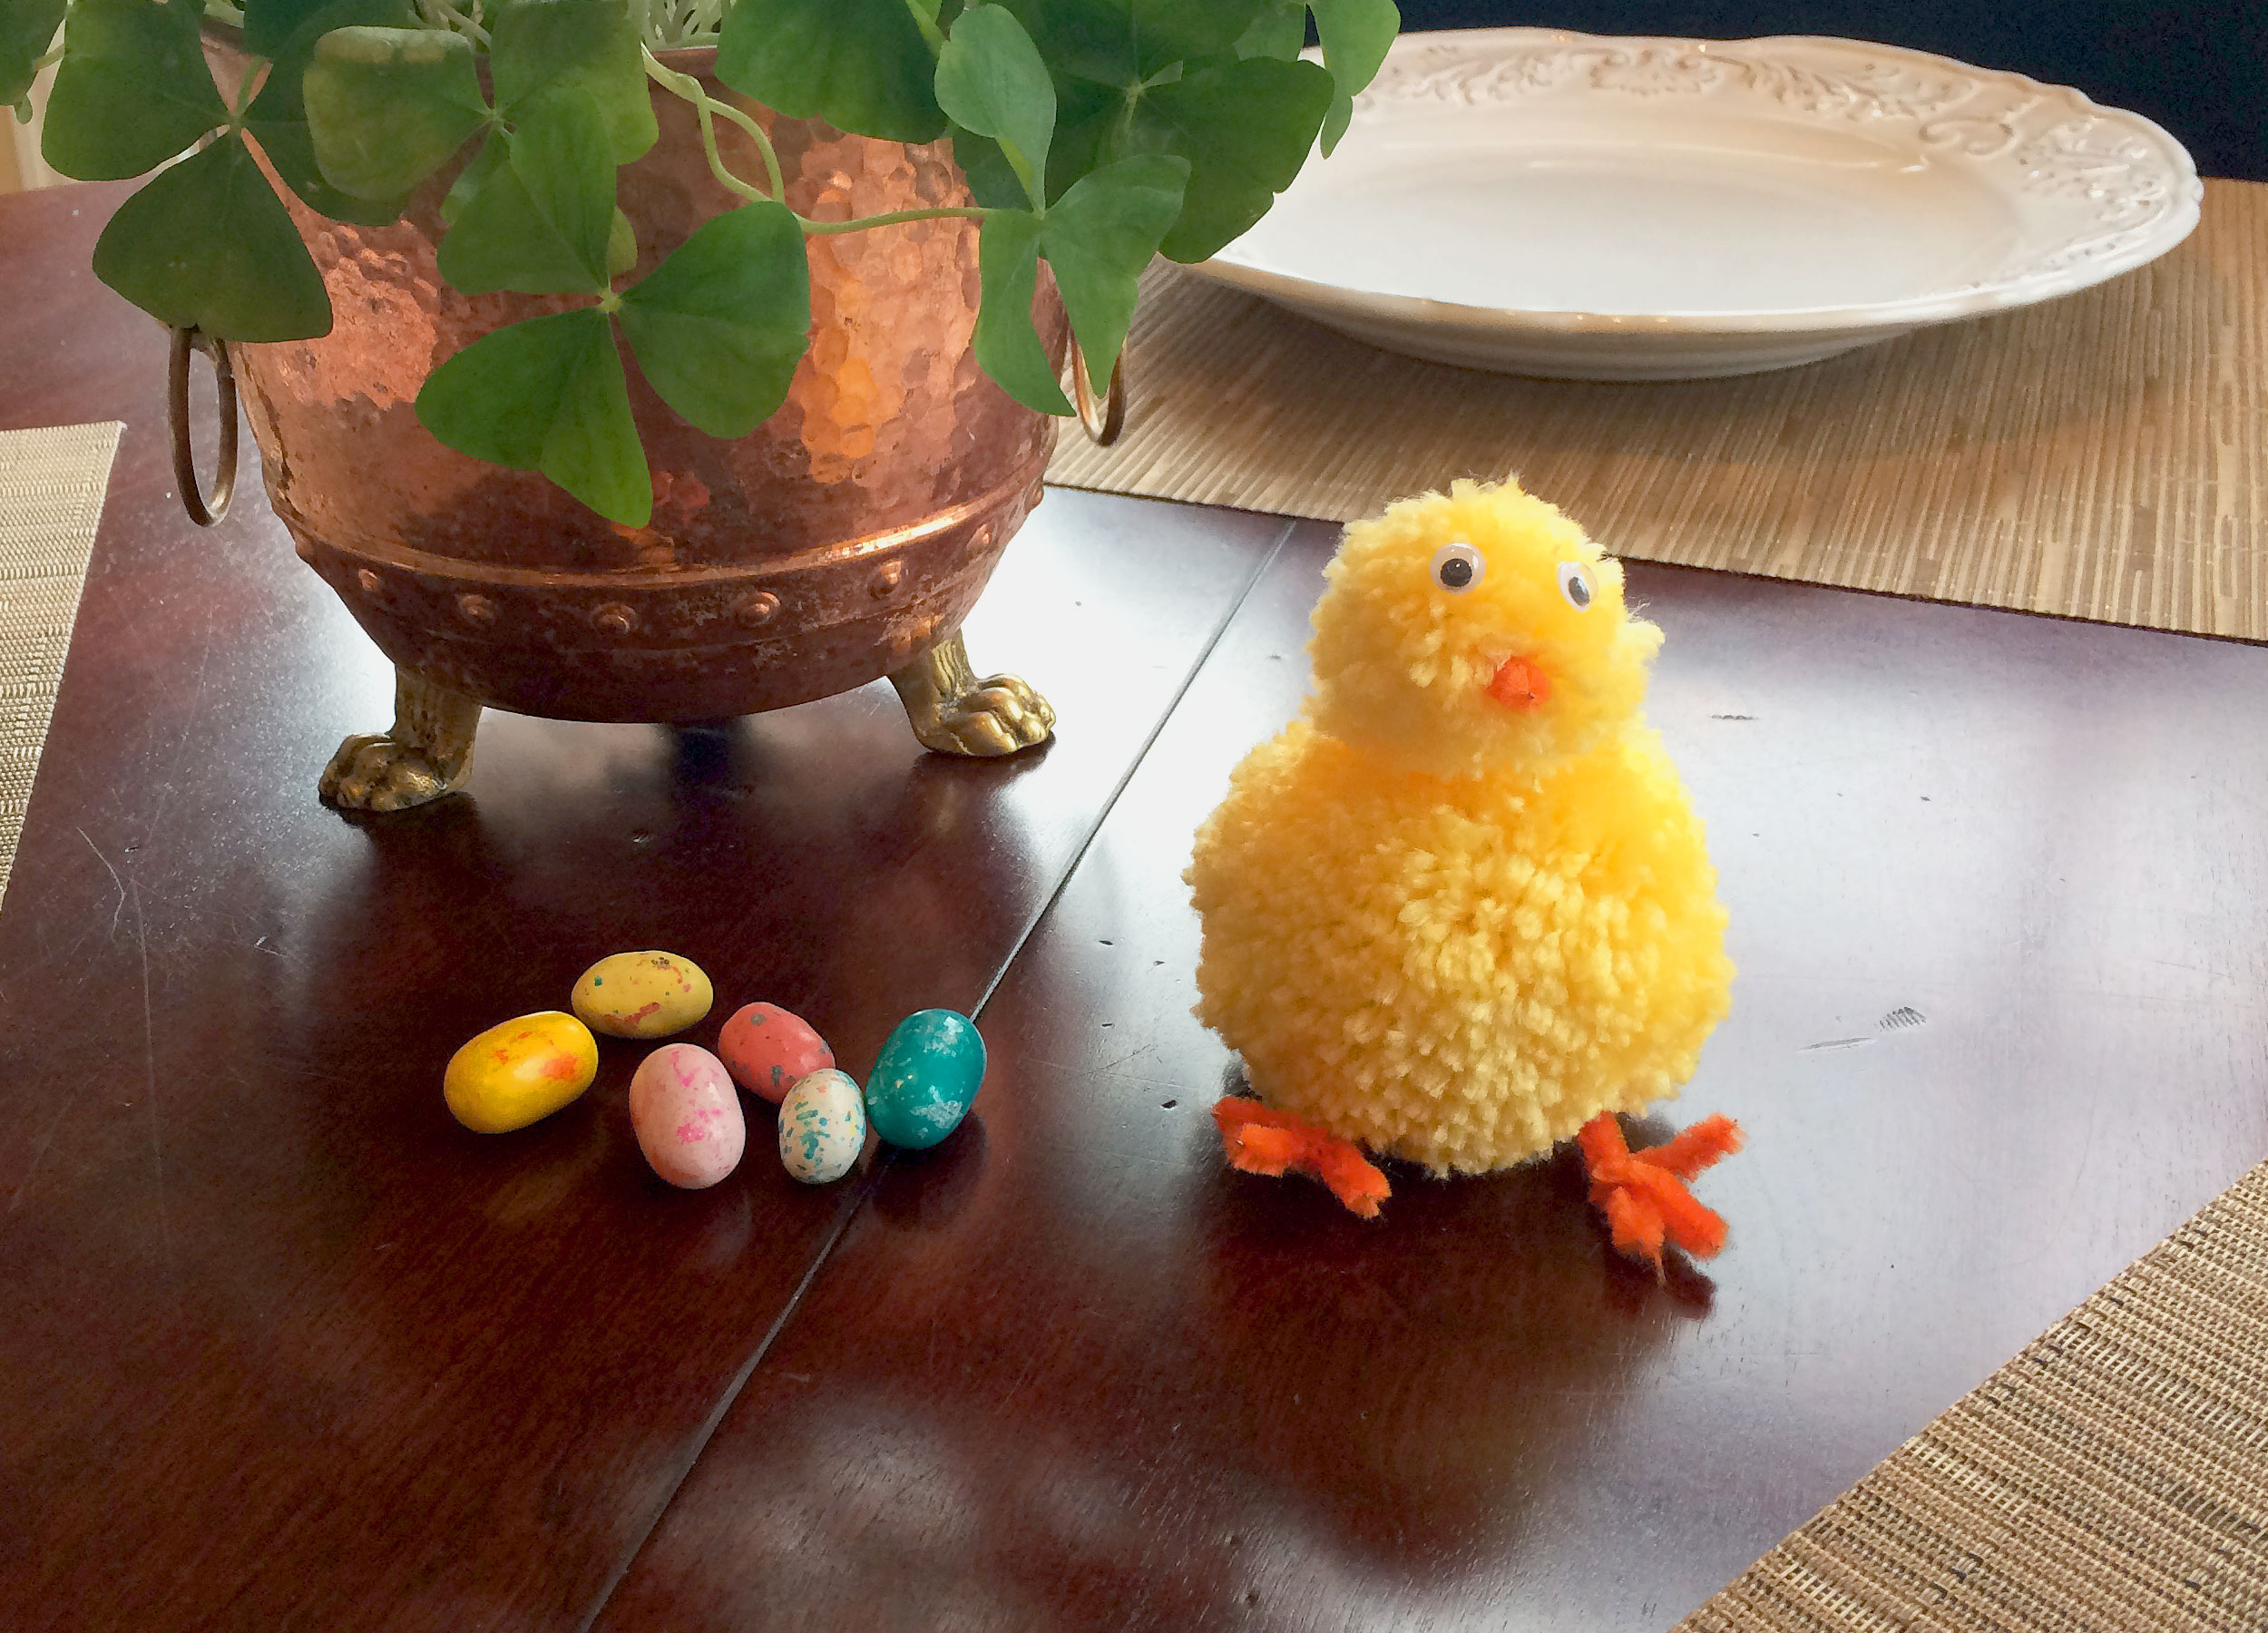
There are so many different ways to incorporate this sweet little chick into your Easter decorations. For example, he looks great as a table top decoration or hanging with Easter Ornaments from a tree.
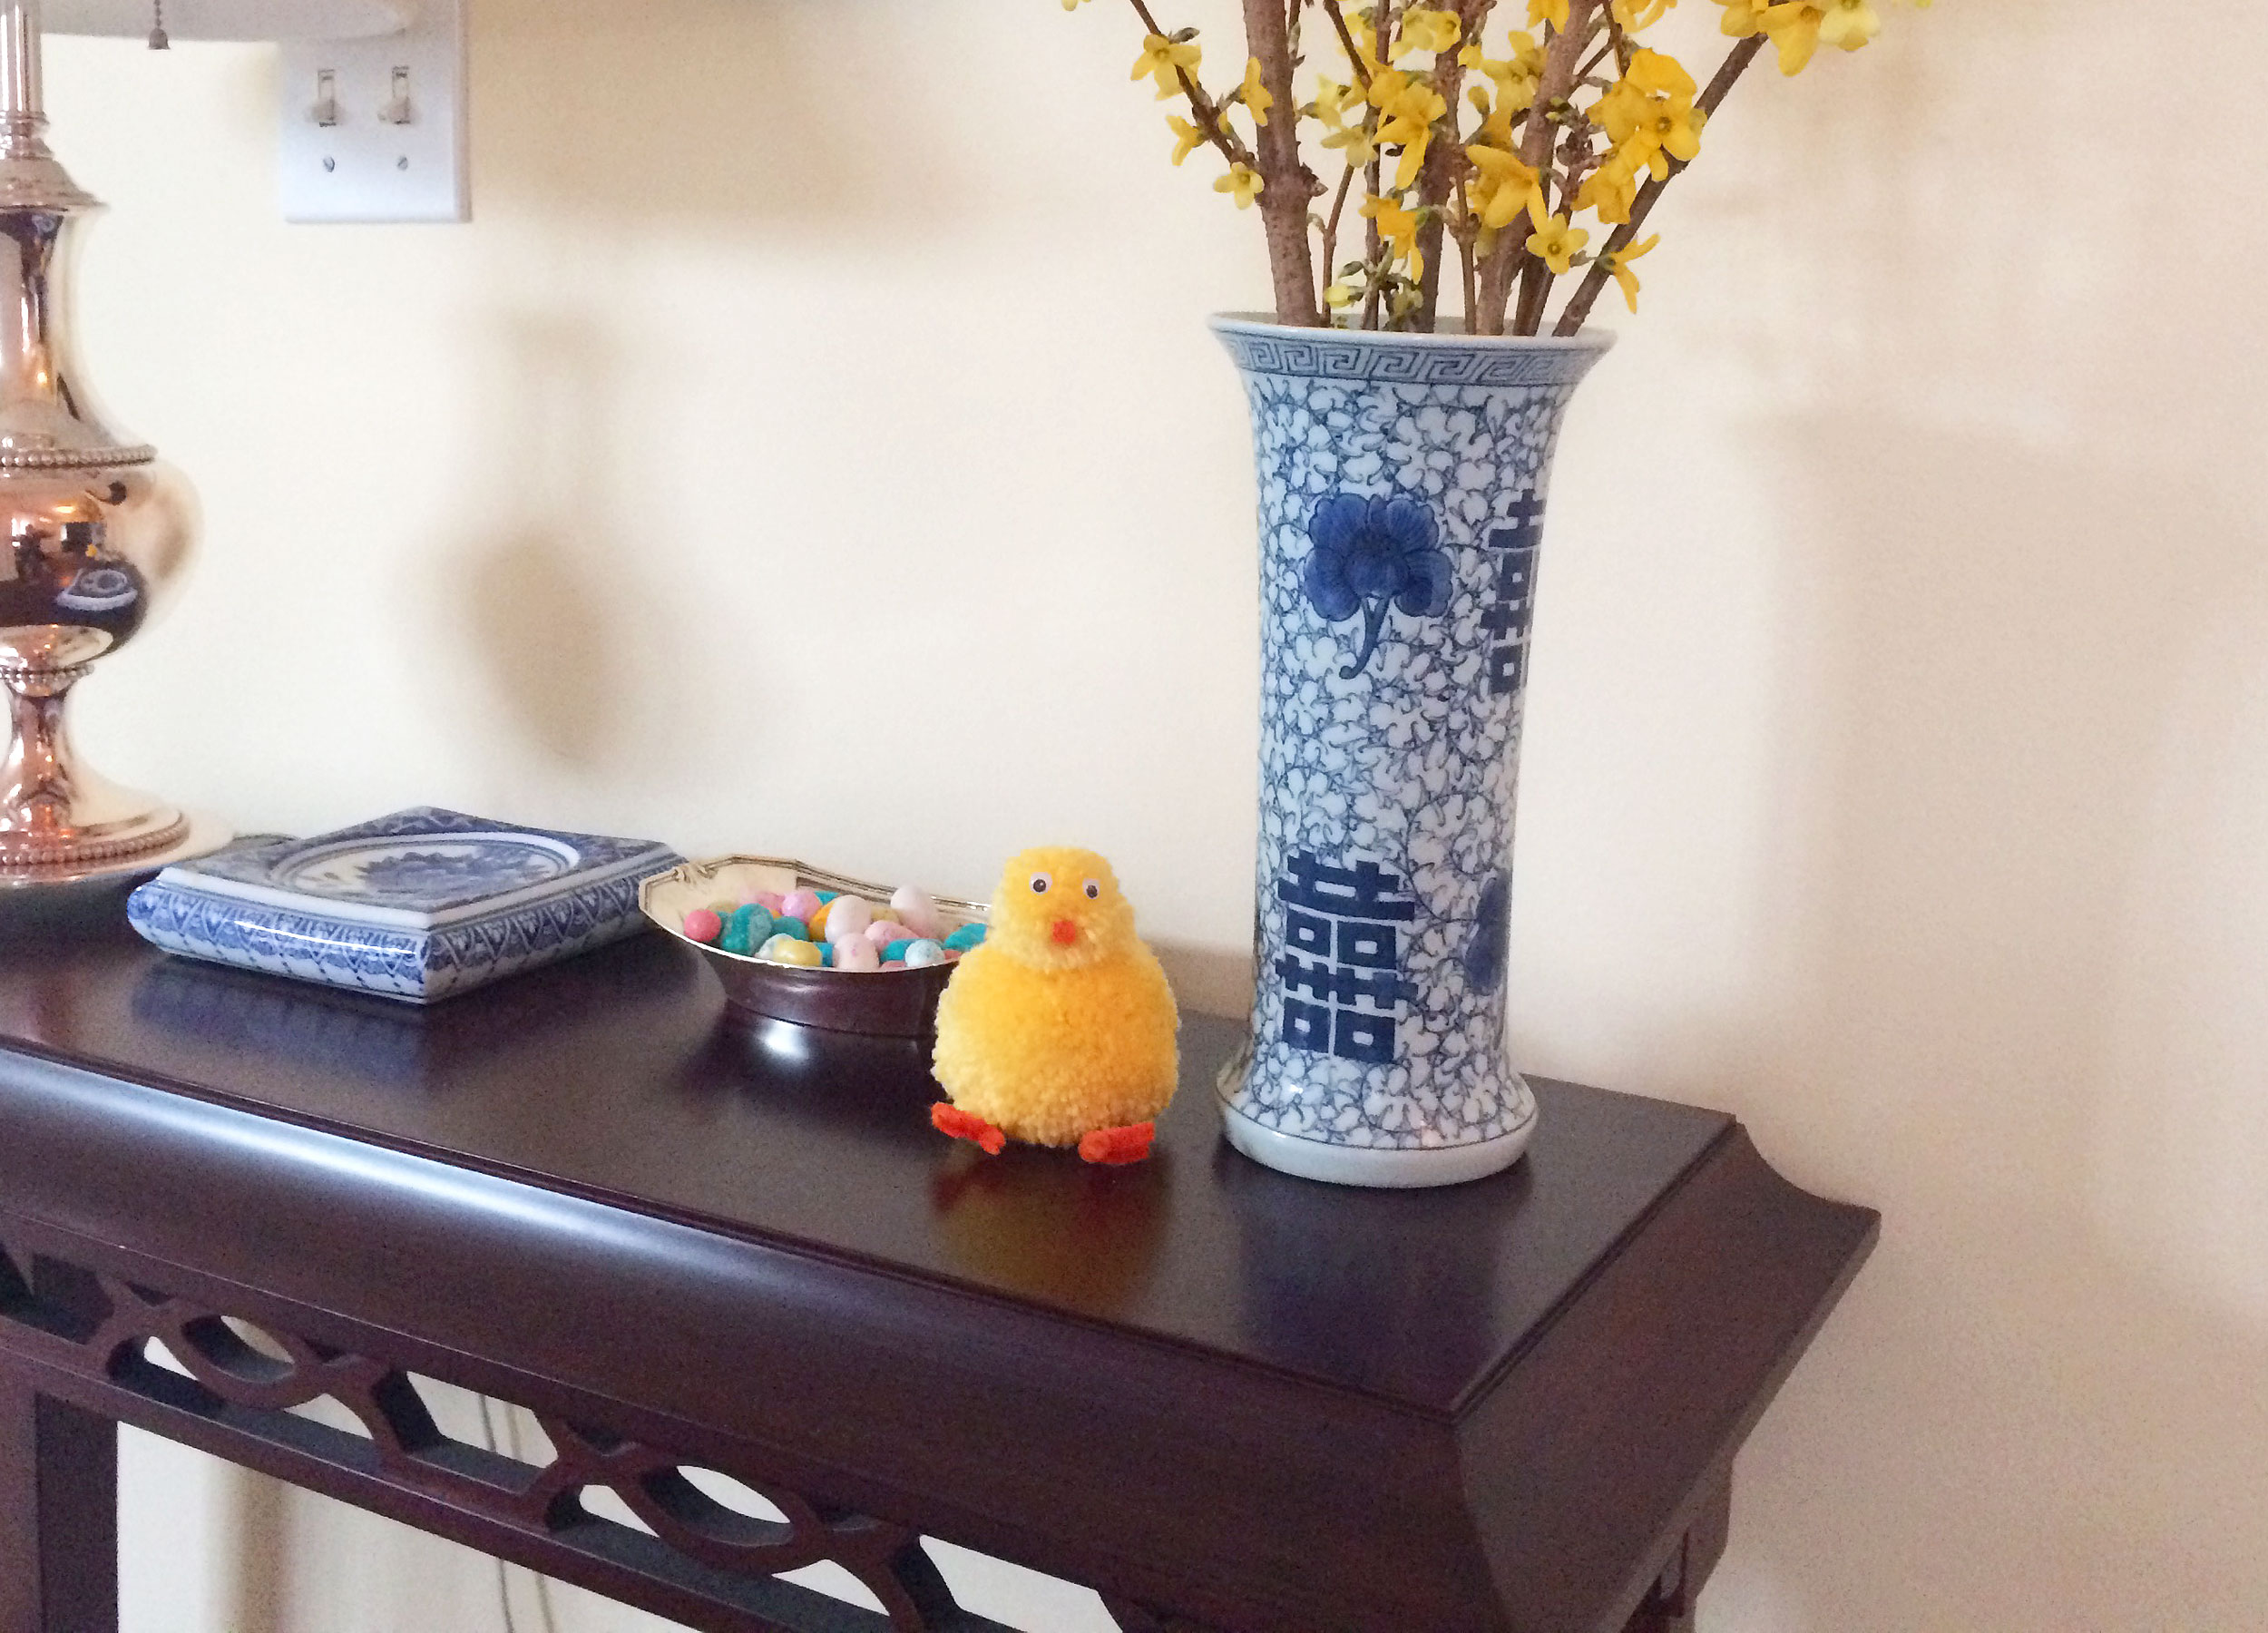
Greet guests as they walk through the door with a warm welcome from this sweet Easter Chick on a console table in the foyer.
Add an ornament loop and this Easter Chick is ready to join your collection of Easter Ornaments where he can hang from a tree.
How To Make Easter Chick Decorations/Easter Ornaments
This DIY project gives you the option to design your Easter Chick as a table top decoration or hanging as an Easter Ornament. With just one simple step, we’ll show you how to add a hanging loop for an ornament. That way your chickie can hang on a tree along with your collection of Easter Ornaments. Ready to get started? Let’s get cracking!
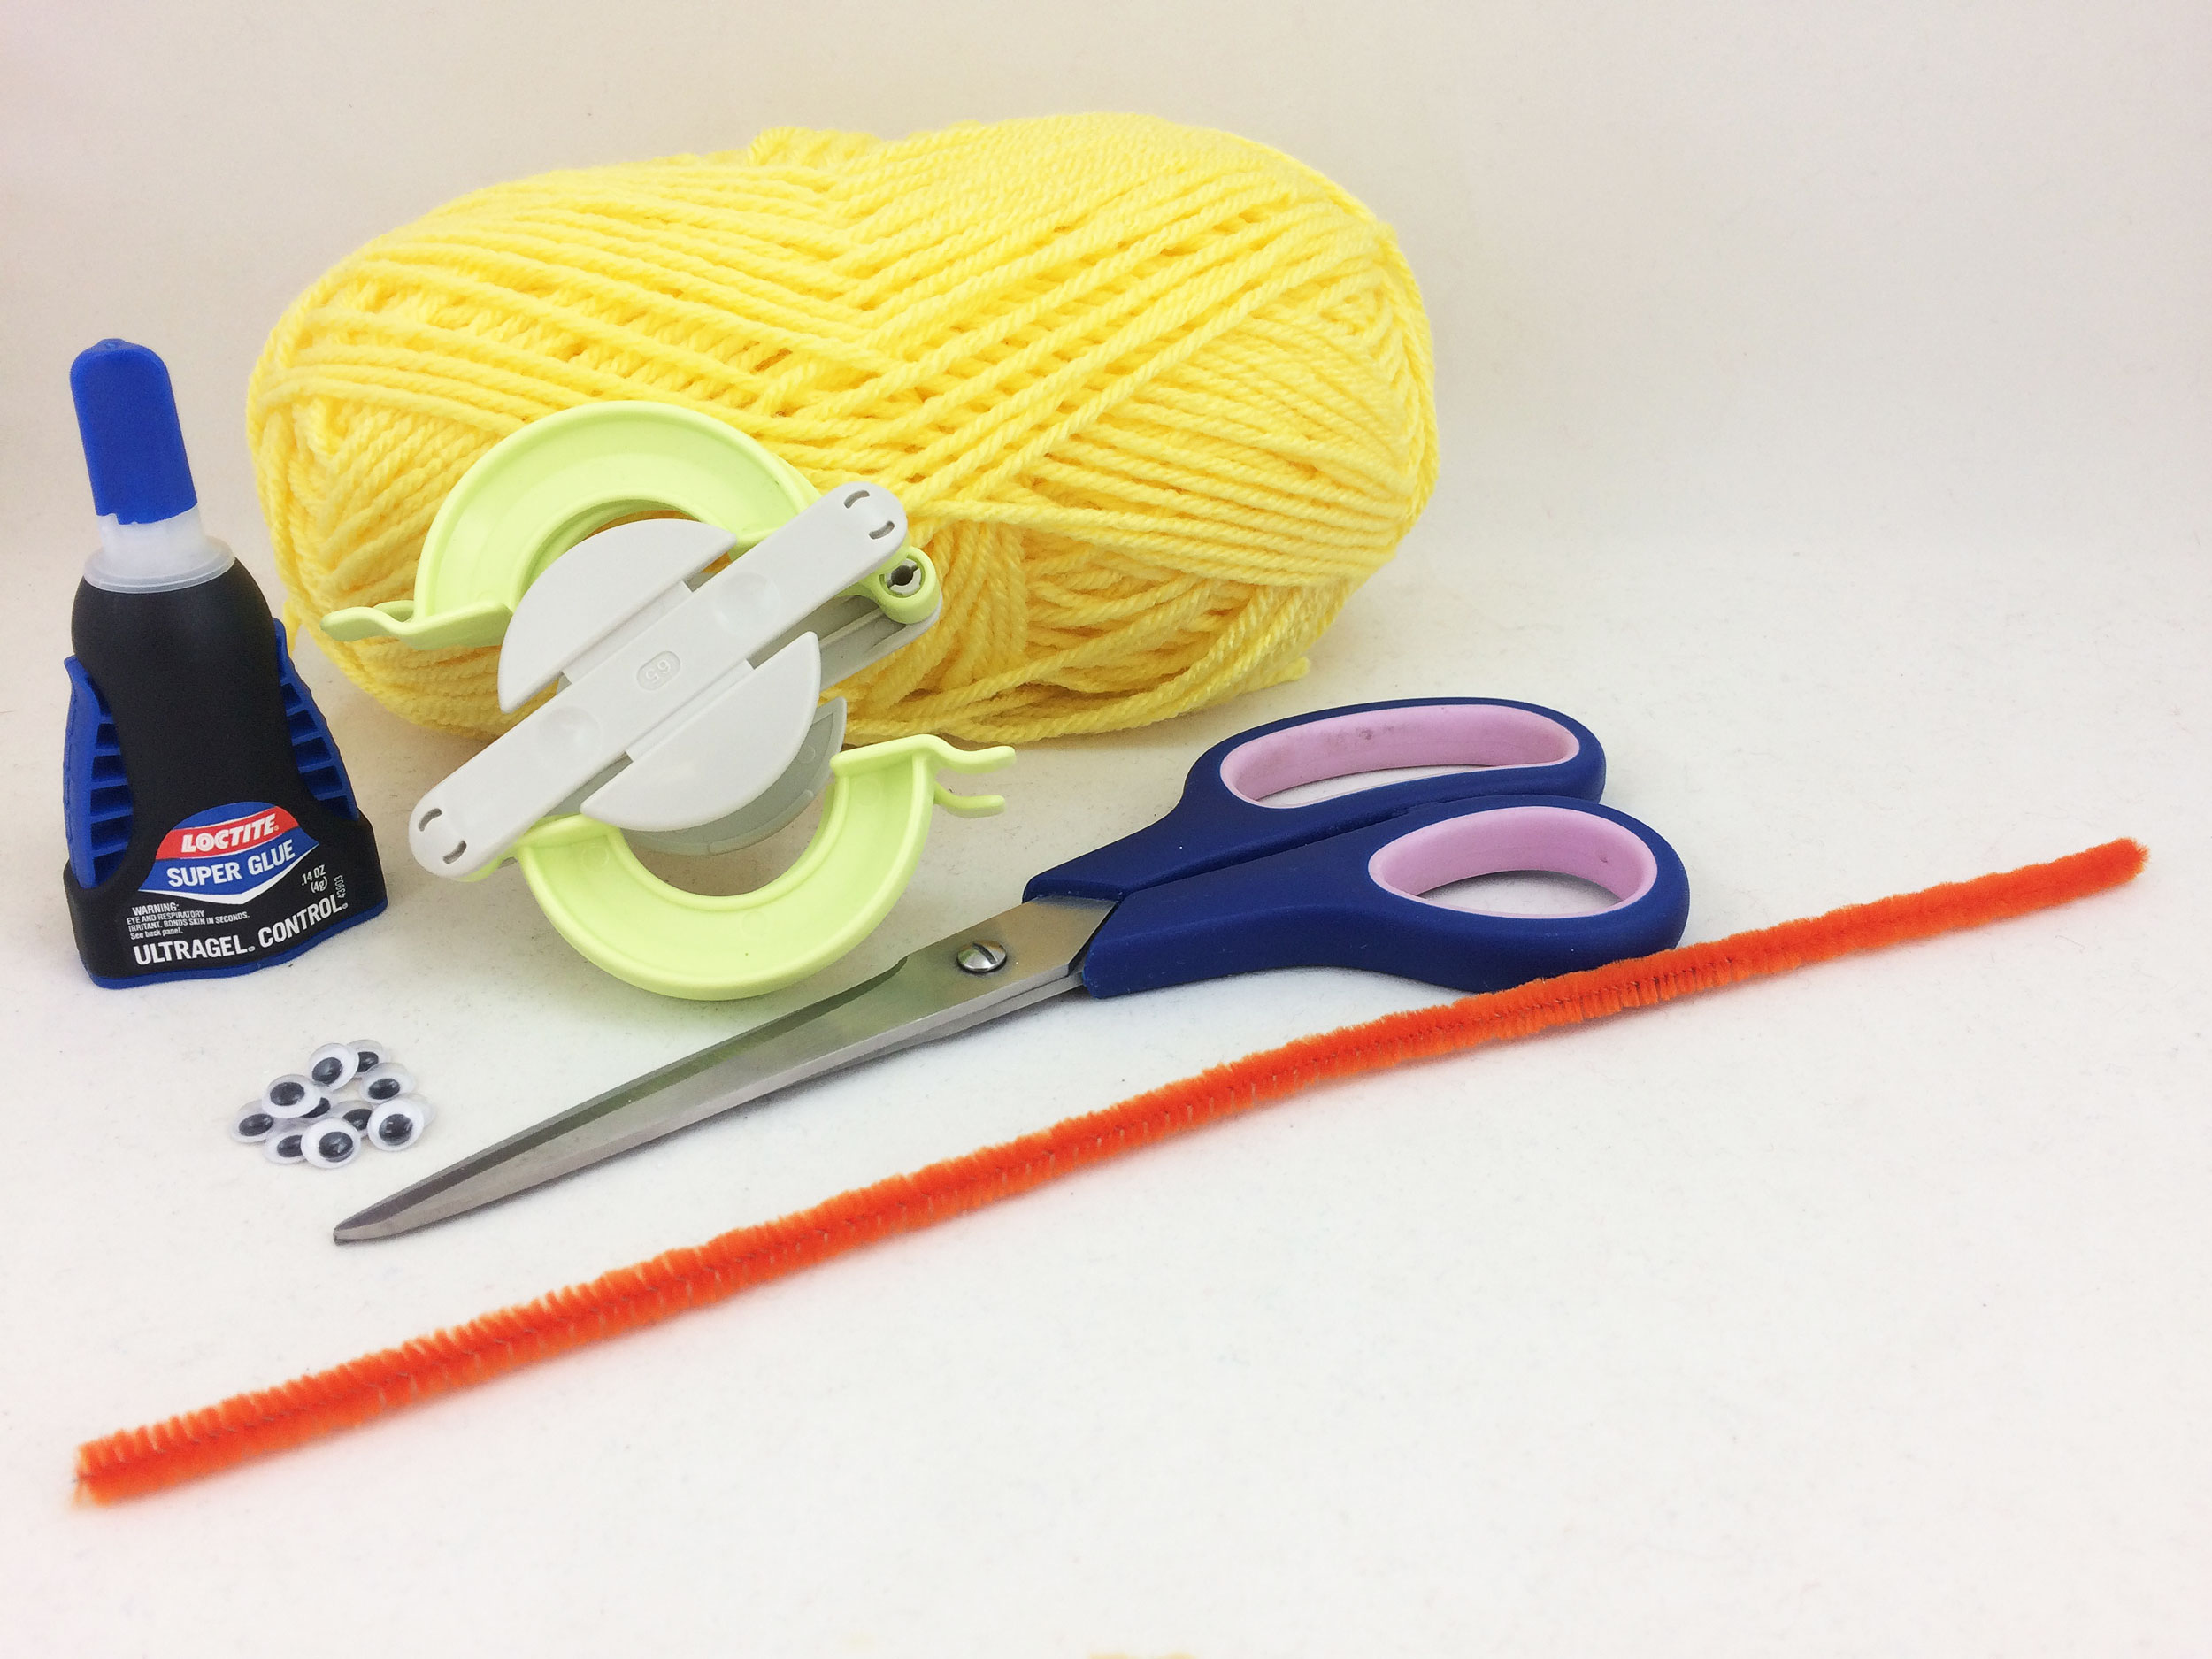
Supplies:
• Yarn (Pale Yellow)
• Pom Pom Maker
• Pipe Cleaners (Orange)
• Googly Eyes
• Sharp Scissors
• Glue
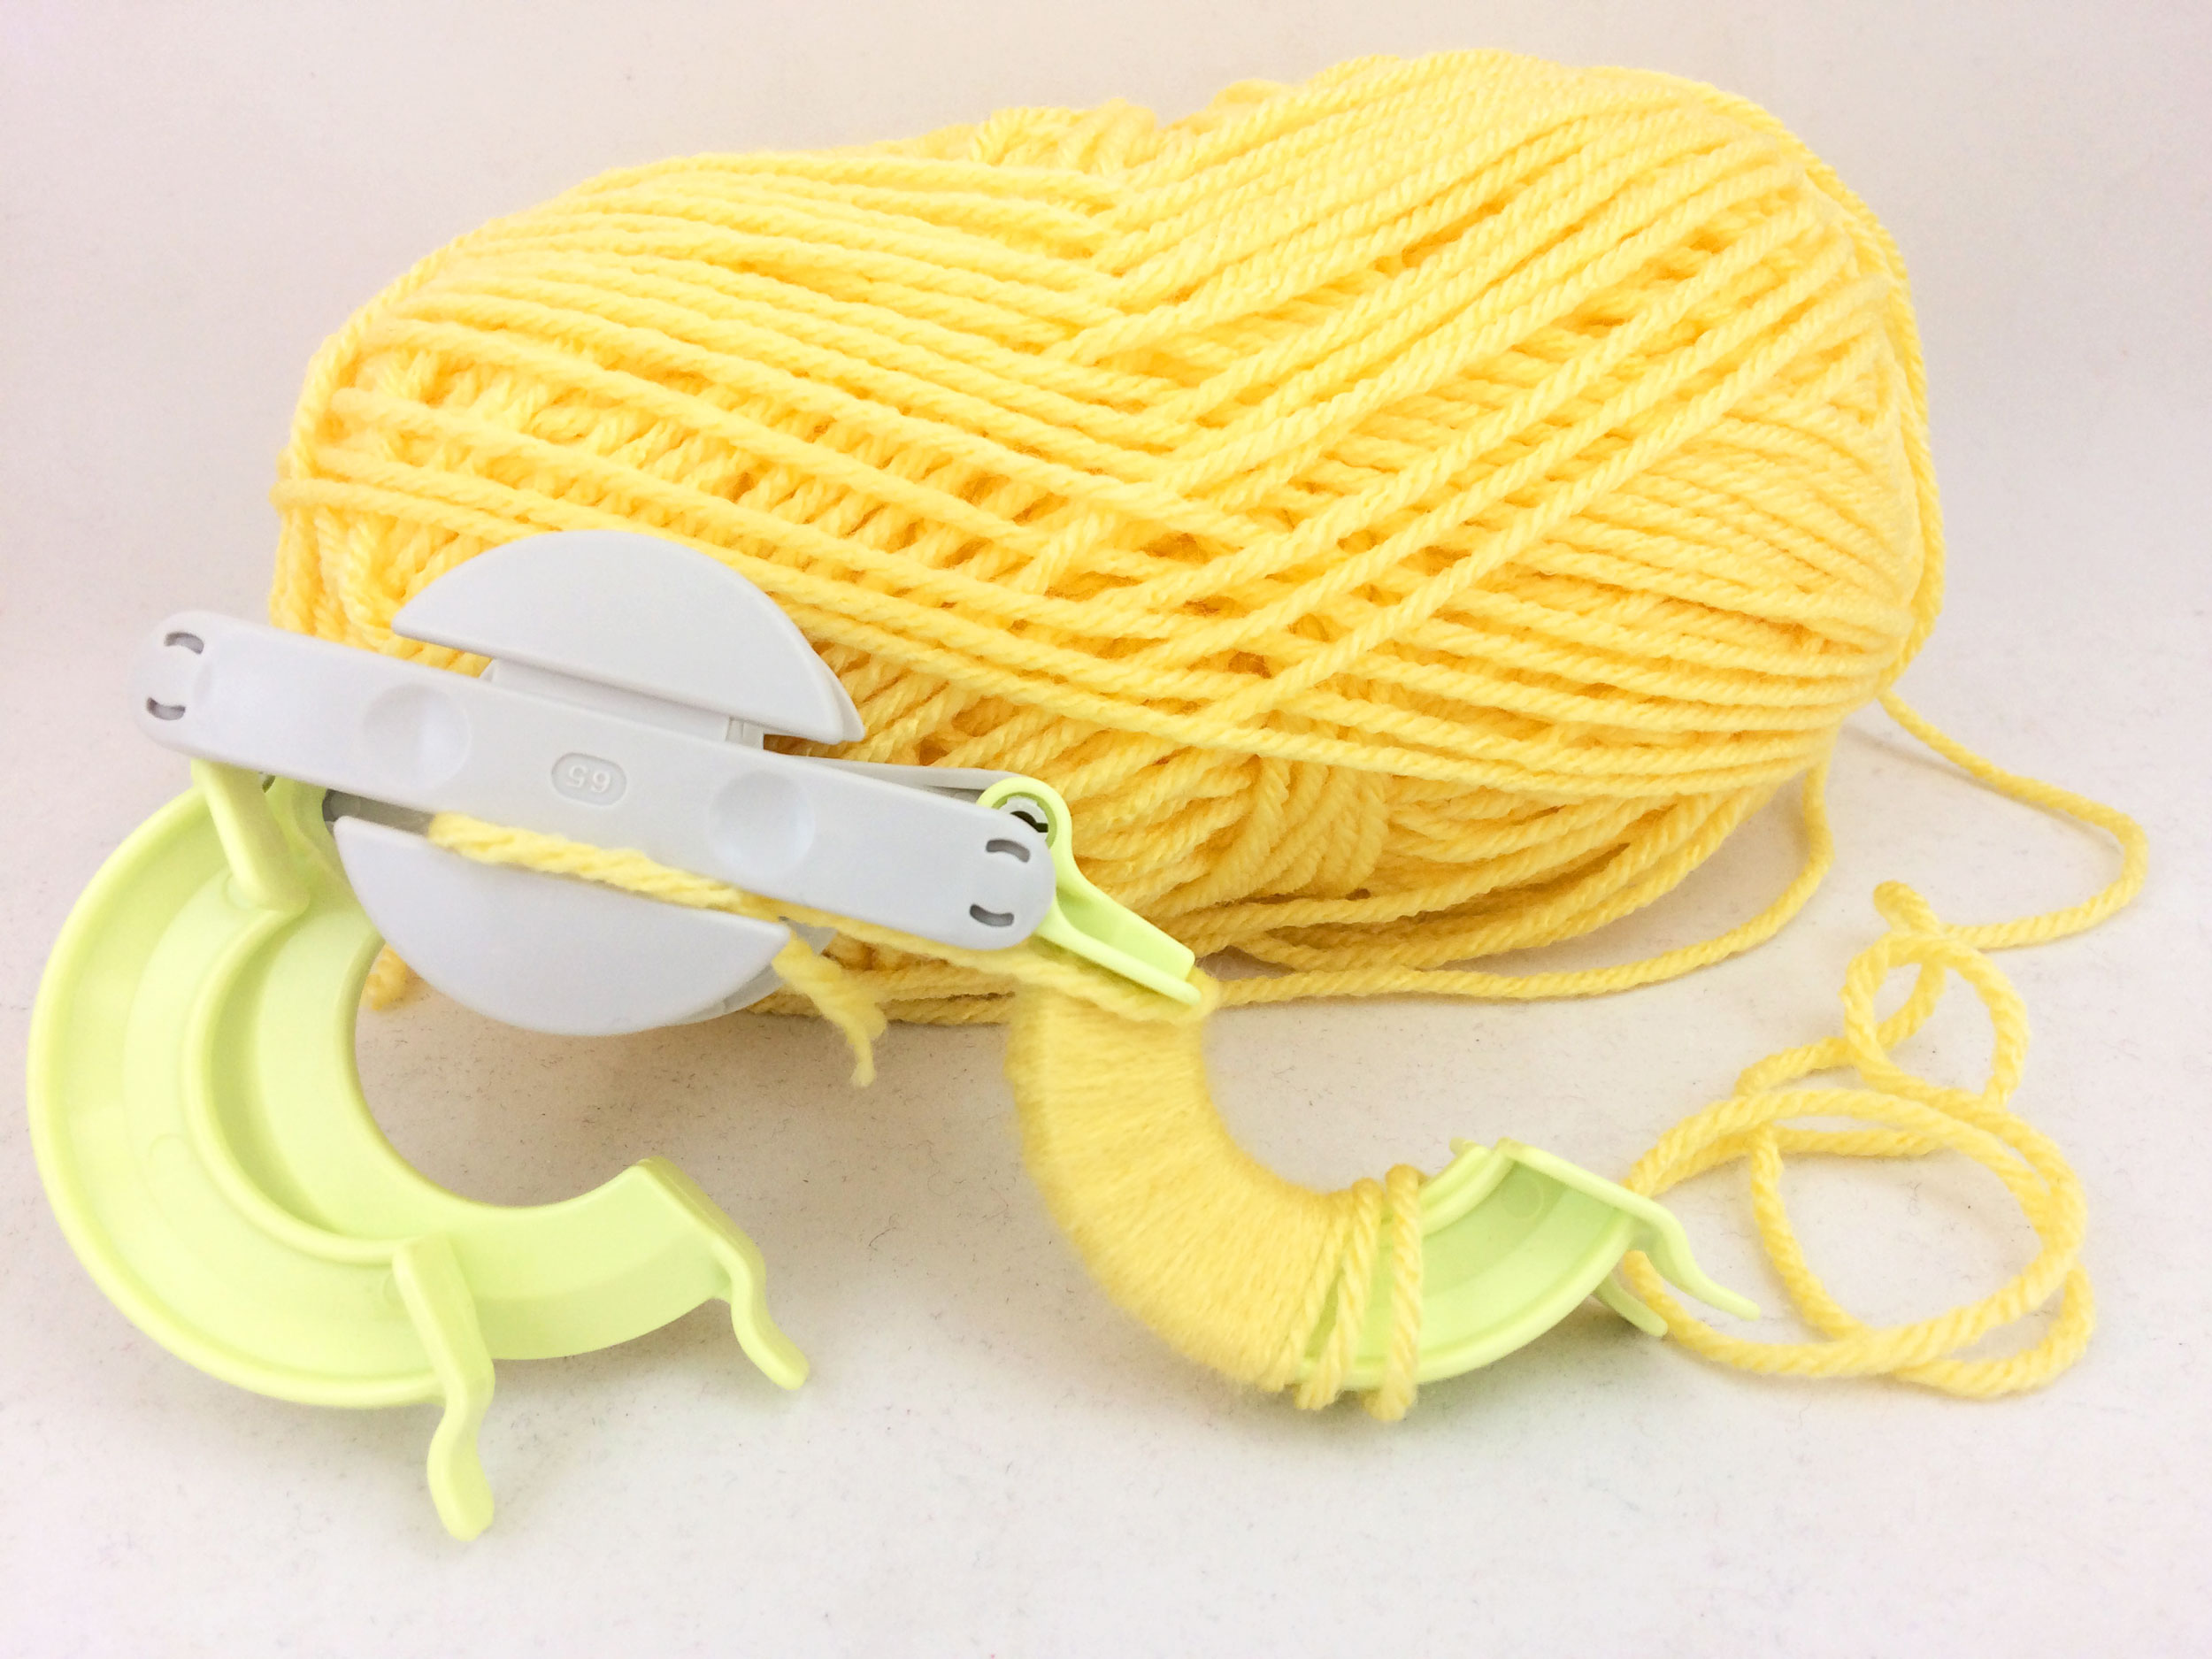
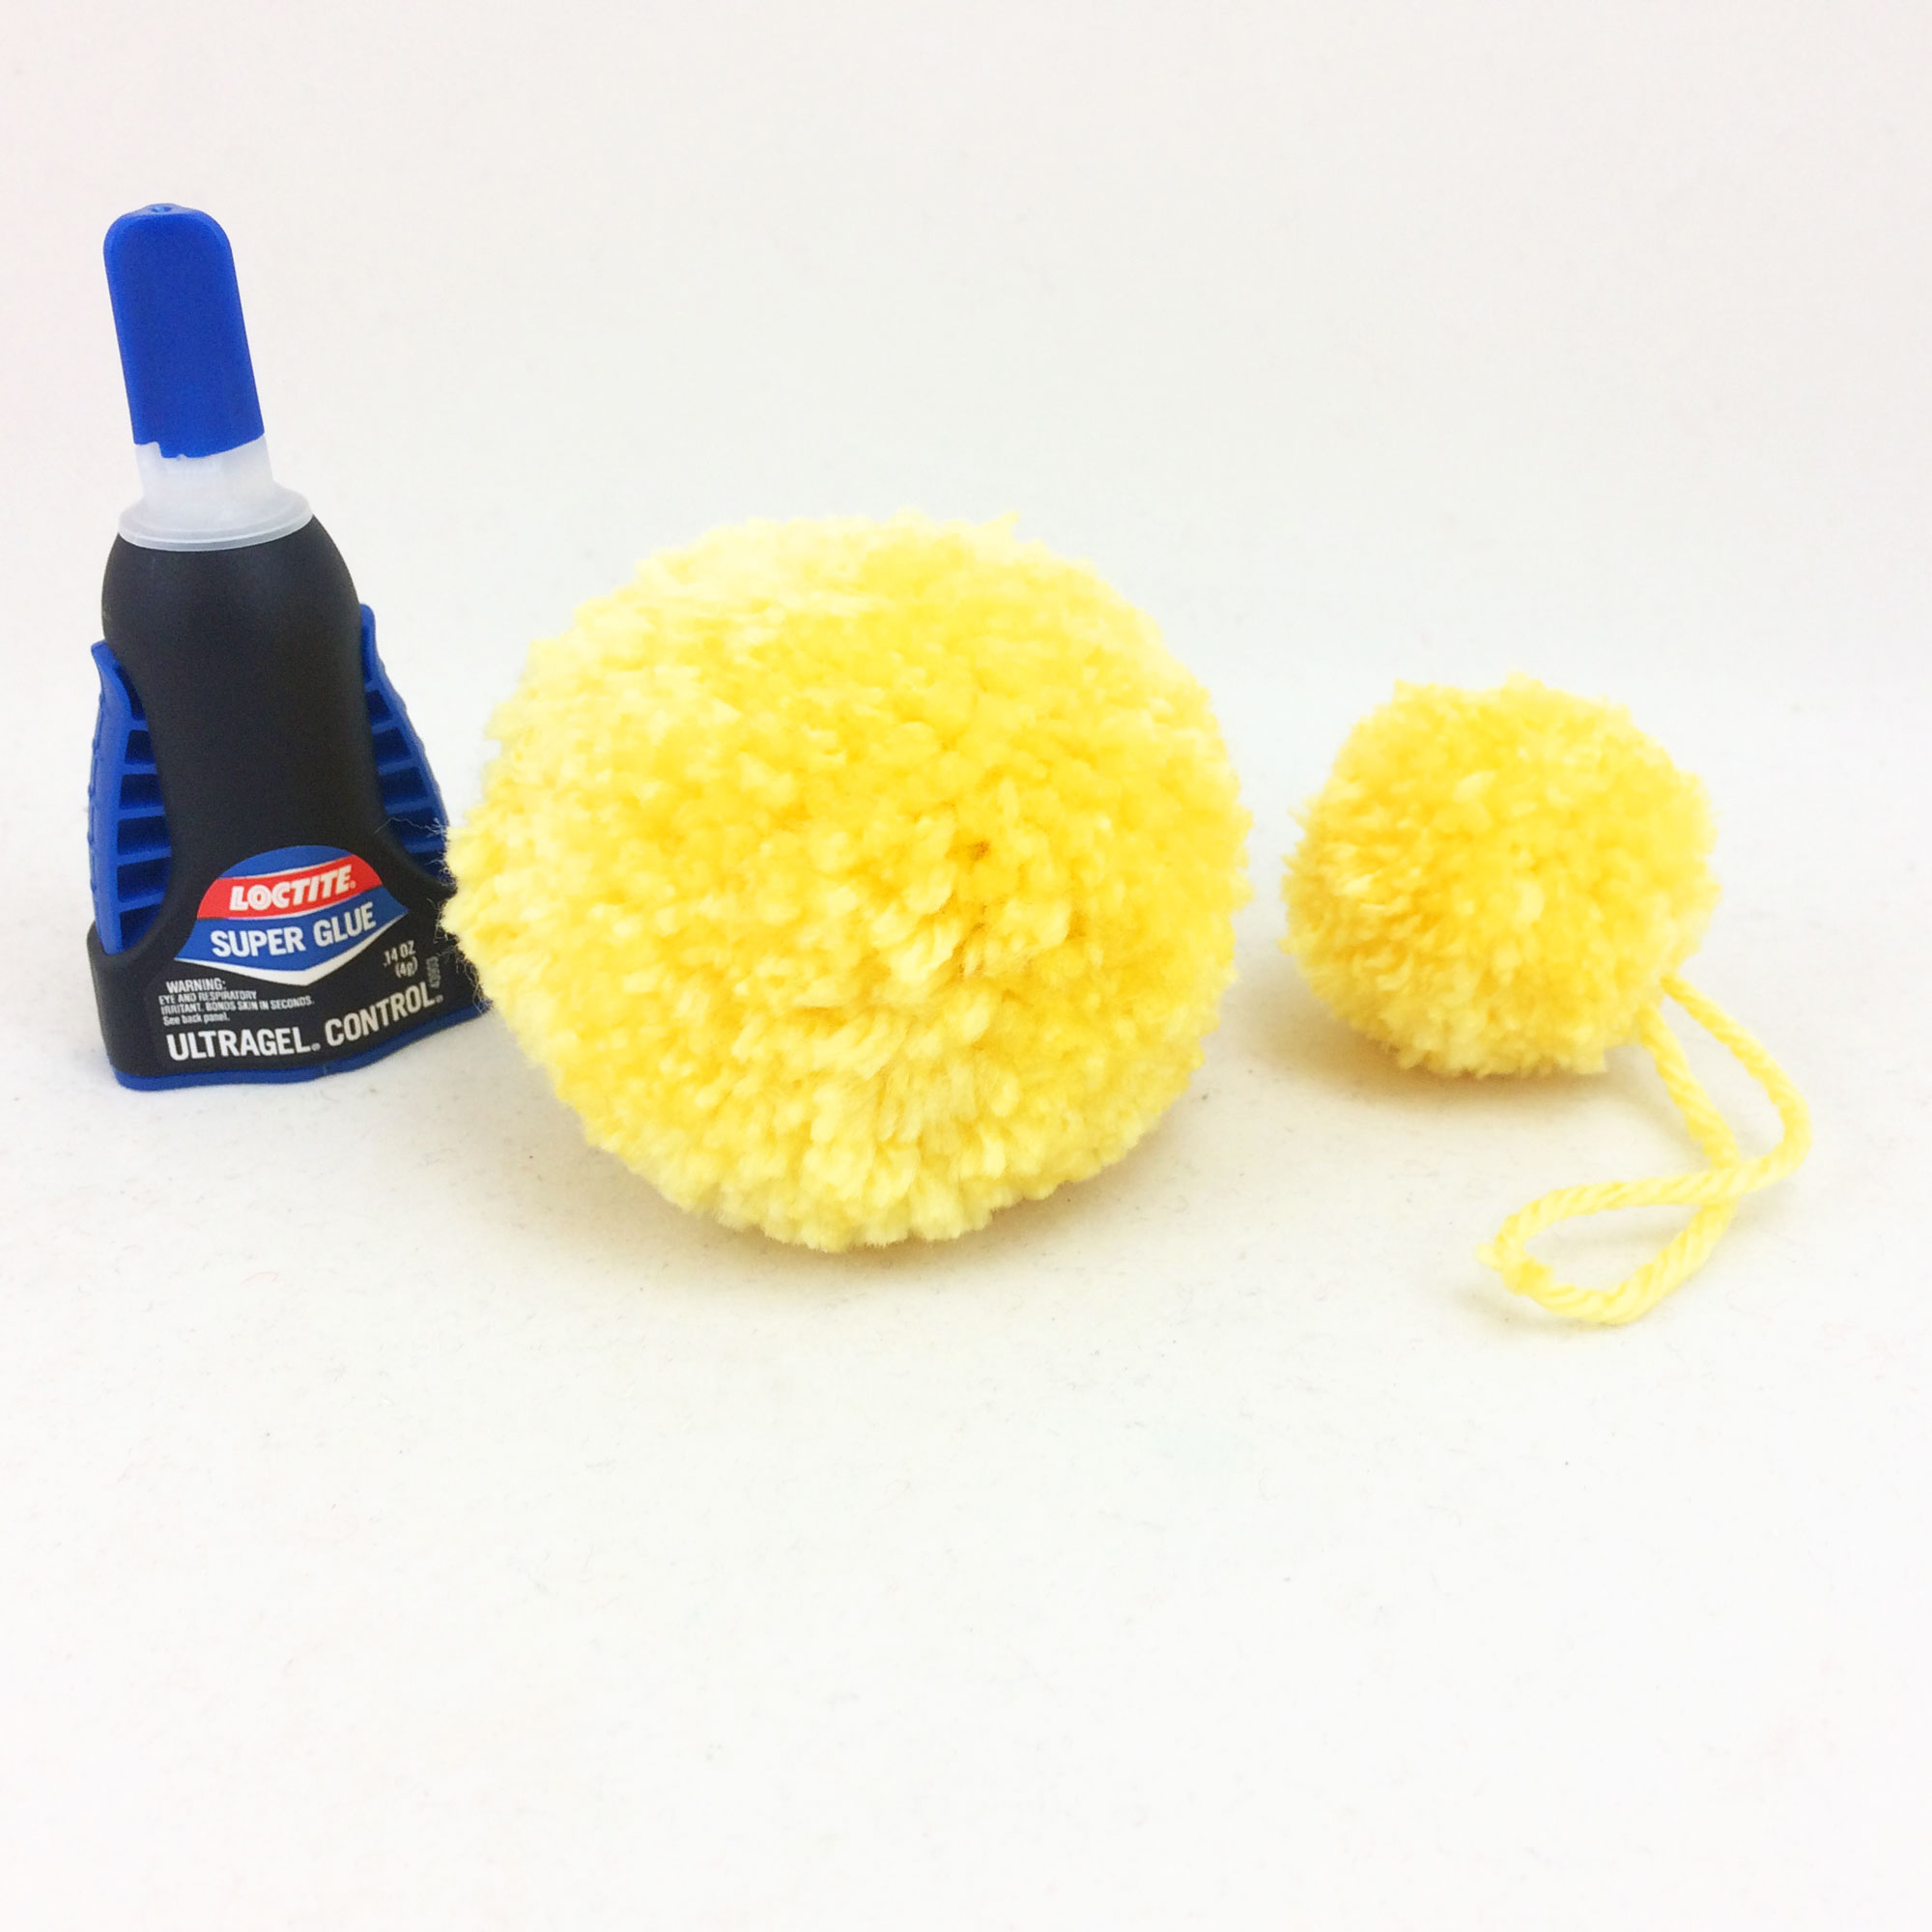
Step 1: To start, we’re going to make two pom poms out of yarn. The large pom pom will be the chick’s body, and the smaller one will be his head.
First, tightly wrap yarn around Wing A and Wing B of the pom pom maker. I used 8 layers of yarn for the body and 2 layers of yarn for the head.
After that, repeat this step on the other set of Wings. Making sure to use the same number of yarn layers on each set of wings. This will ensure that the pom pom is even on both sides.
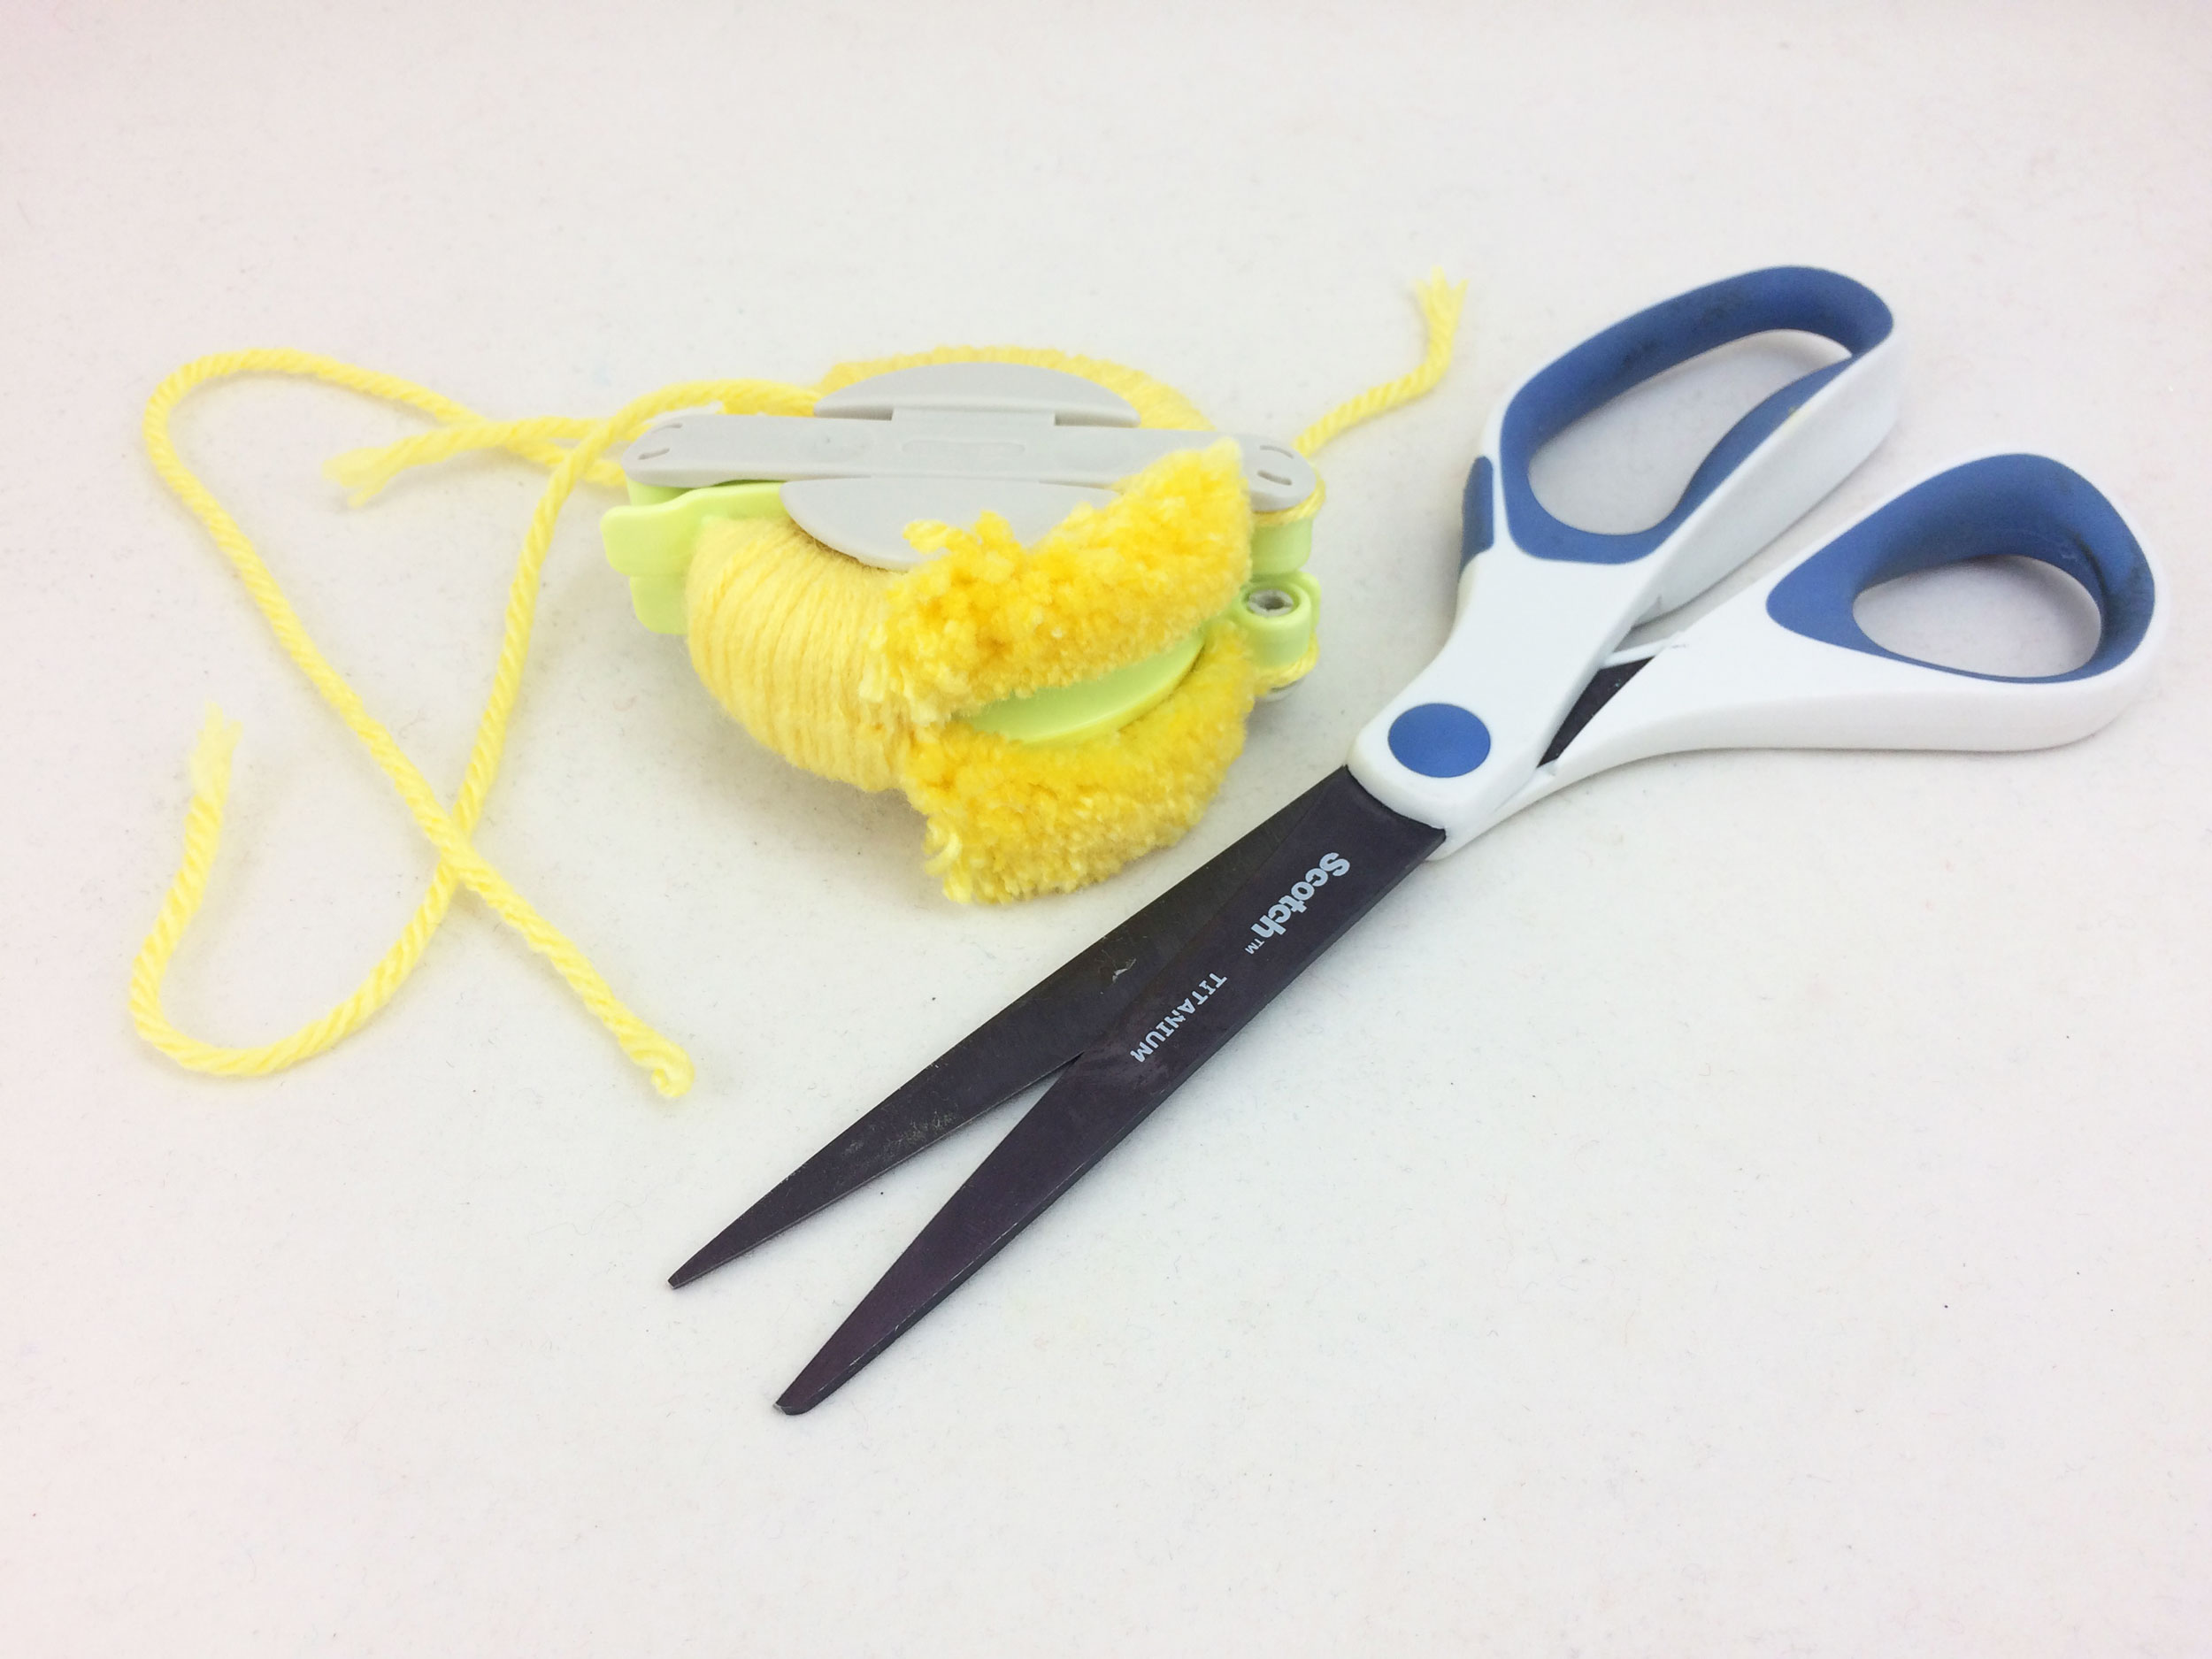
Step 2: Fold both sides of the pom pom maker together to form a circle and carefully cut down the center.
Step 3: Next, cut an 8-inch string of yarn. This will serve two purposes; it will hold the pom pom together and be the ornament loop if you are going to hang this Easter Chick as an ornament.
While keeping the circle intact, wrap the string around the center of the pom pom maker. Secure with a tight double knot.
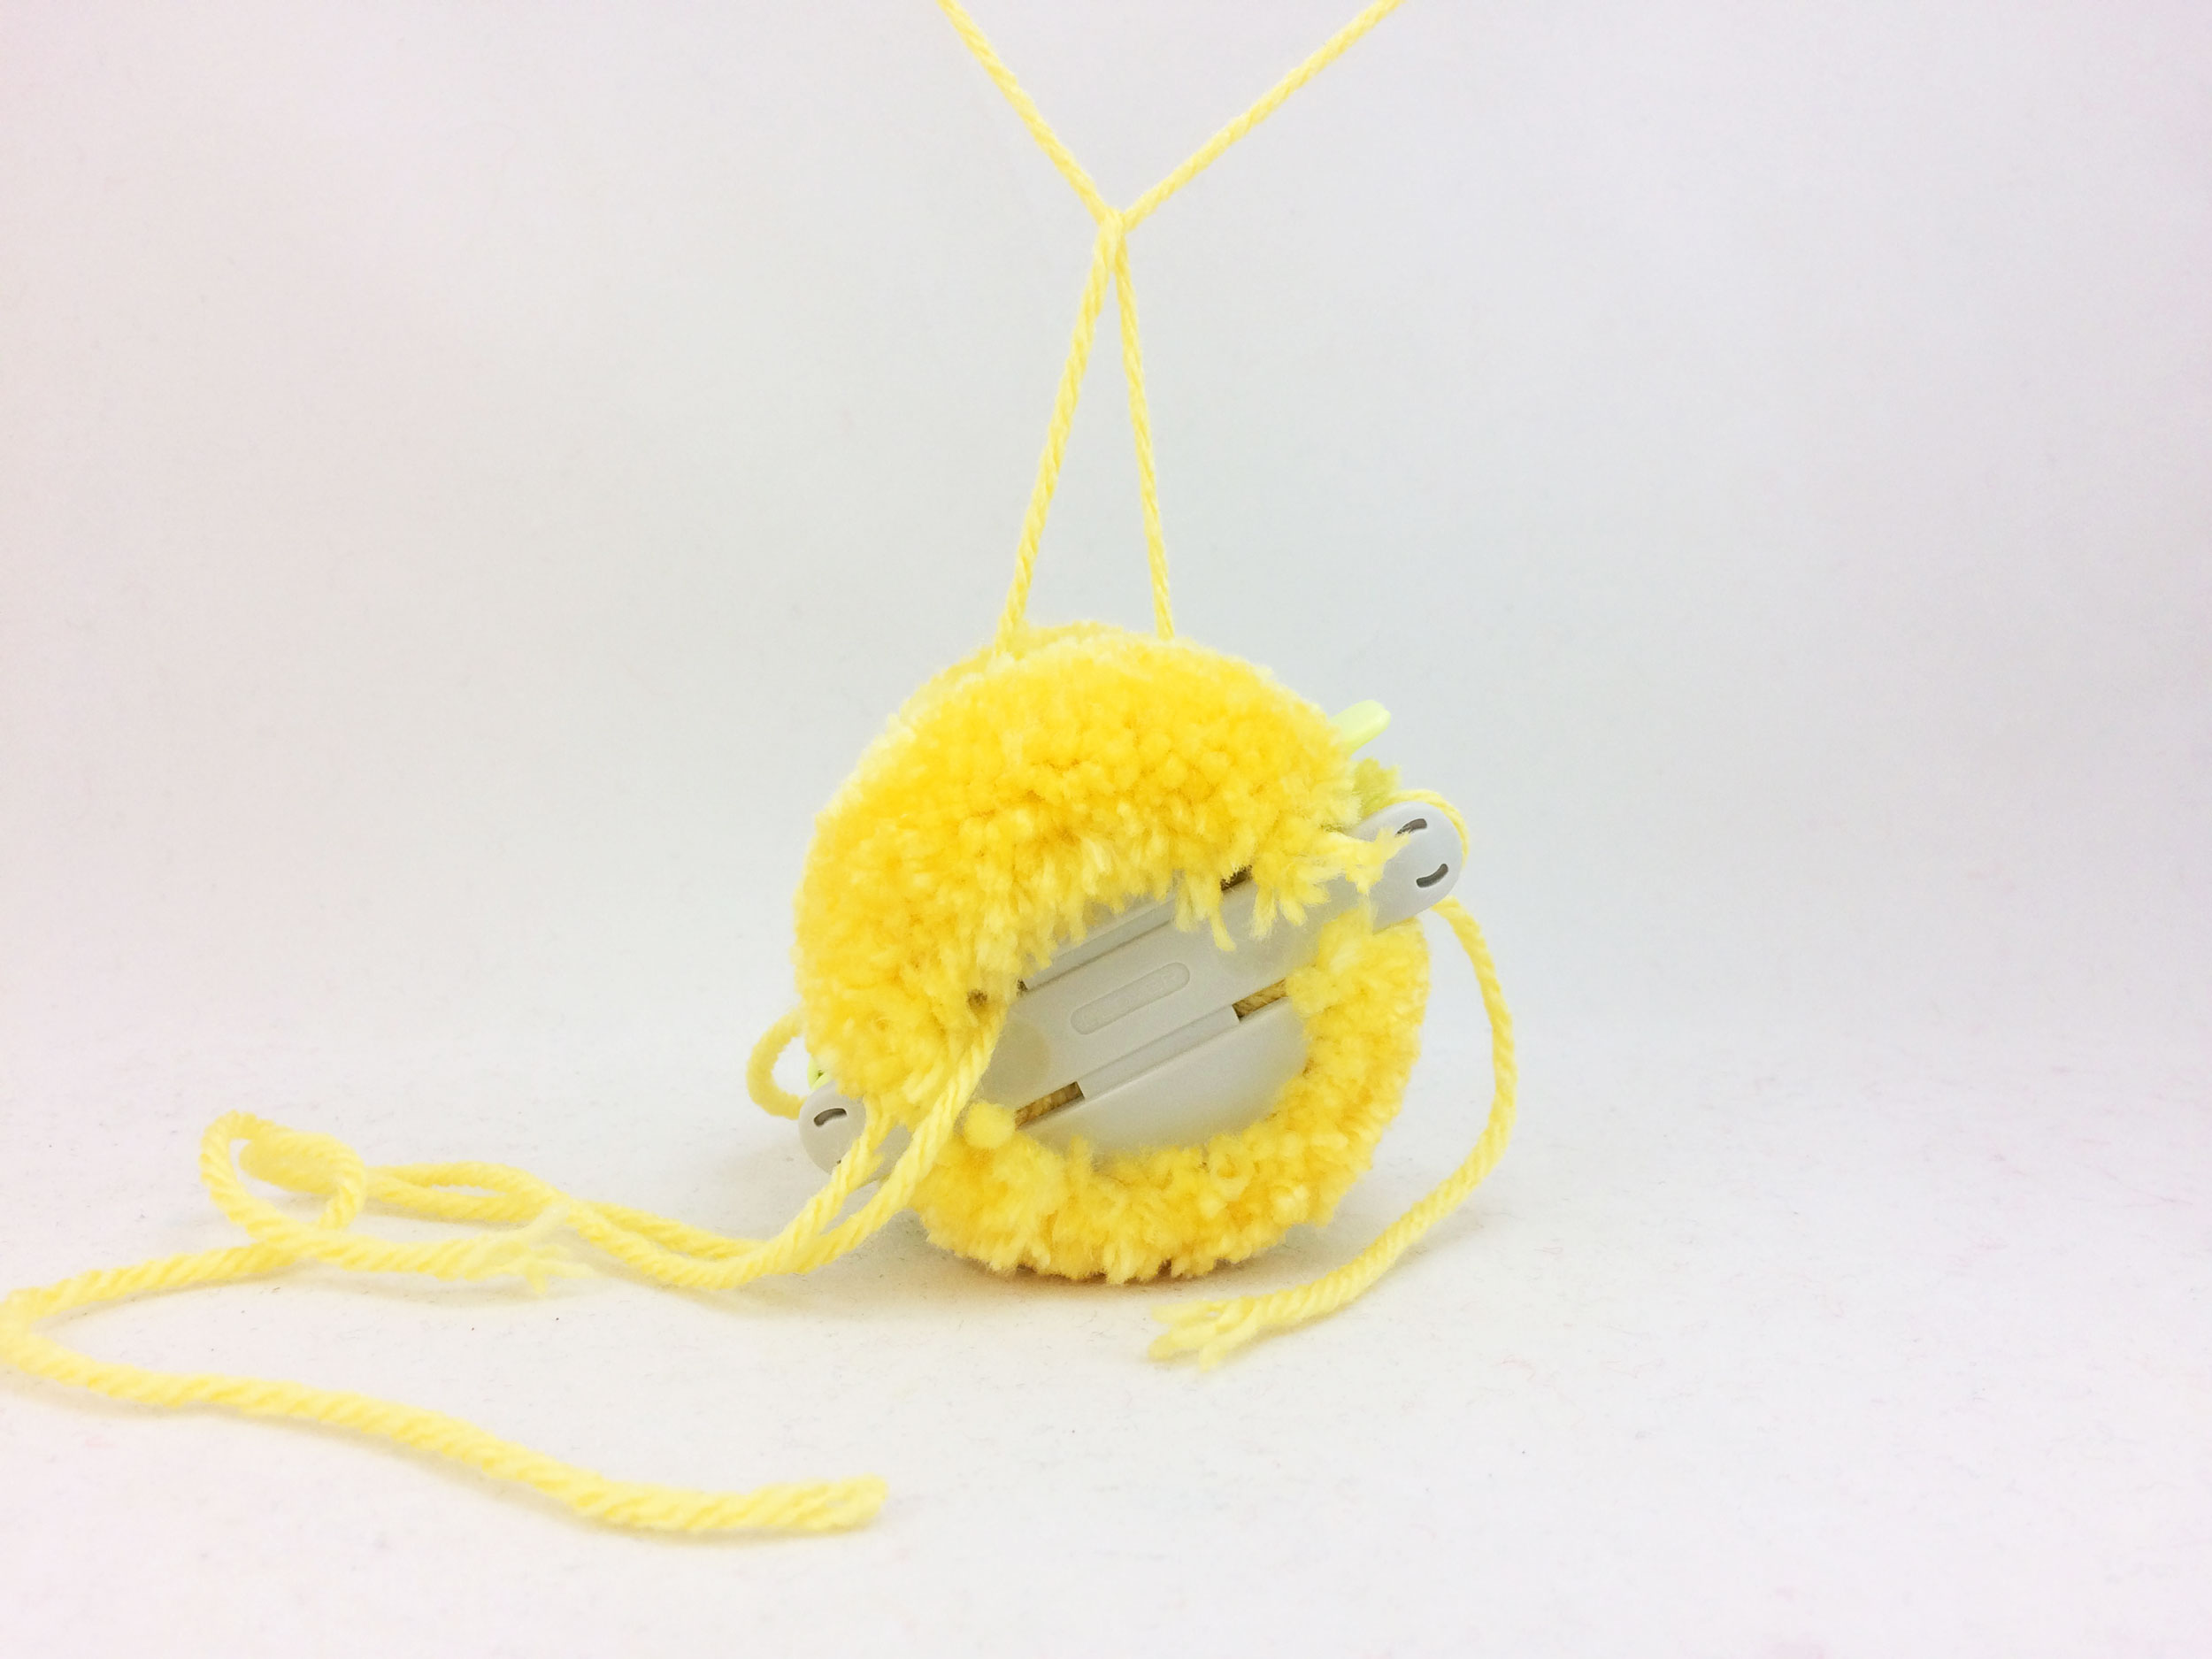
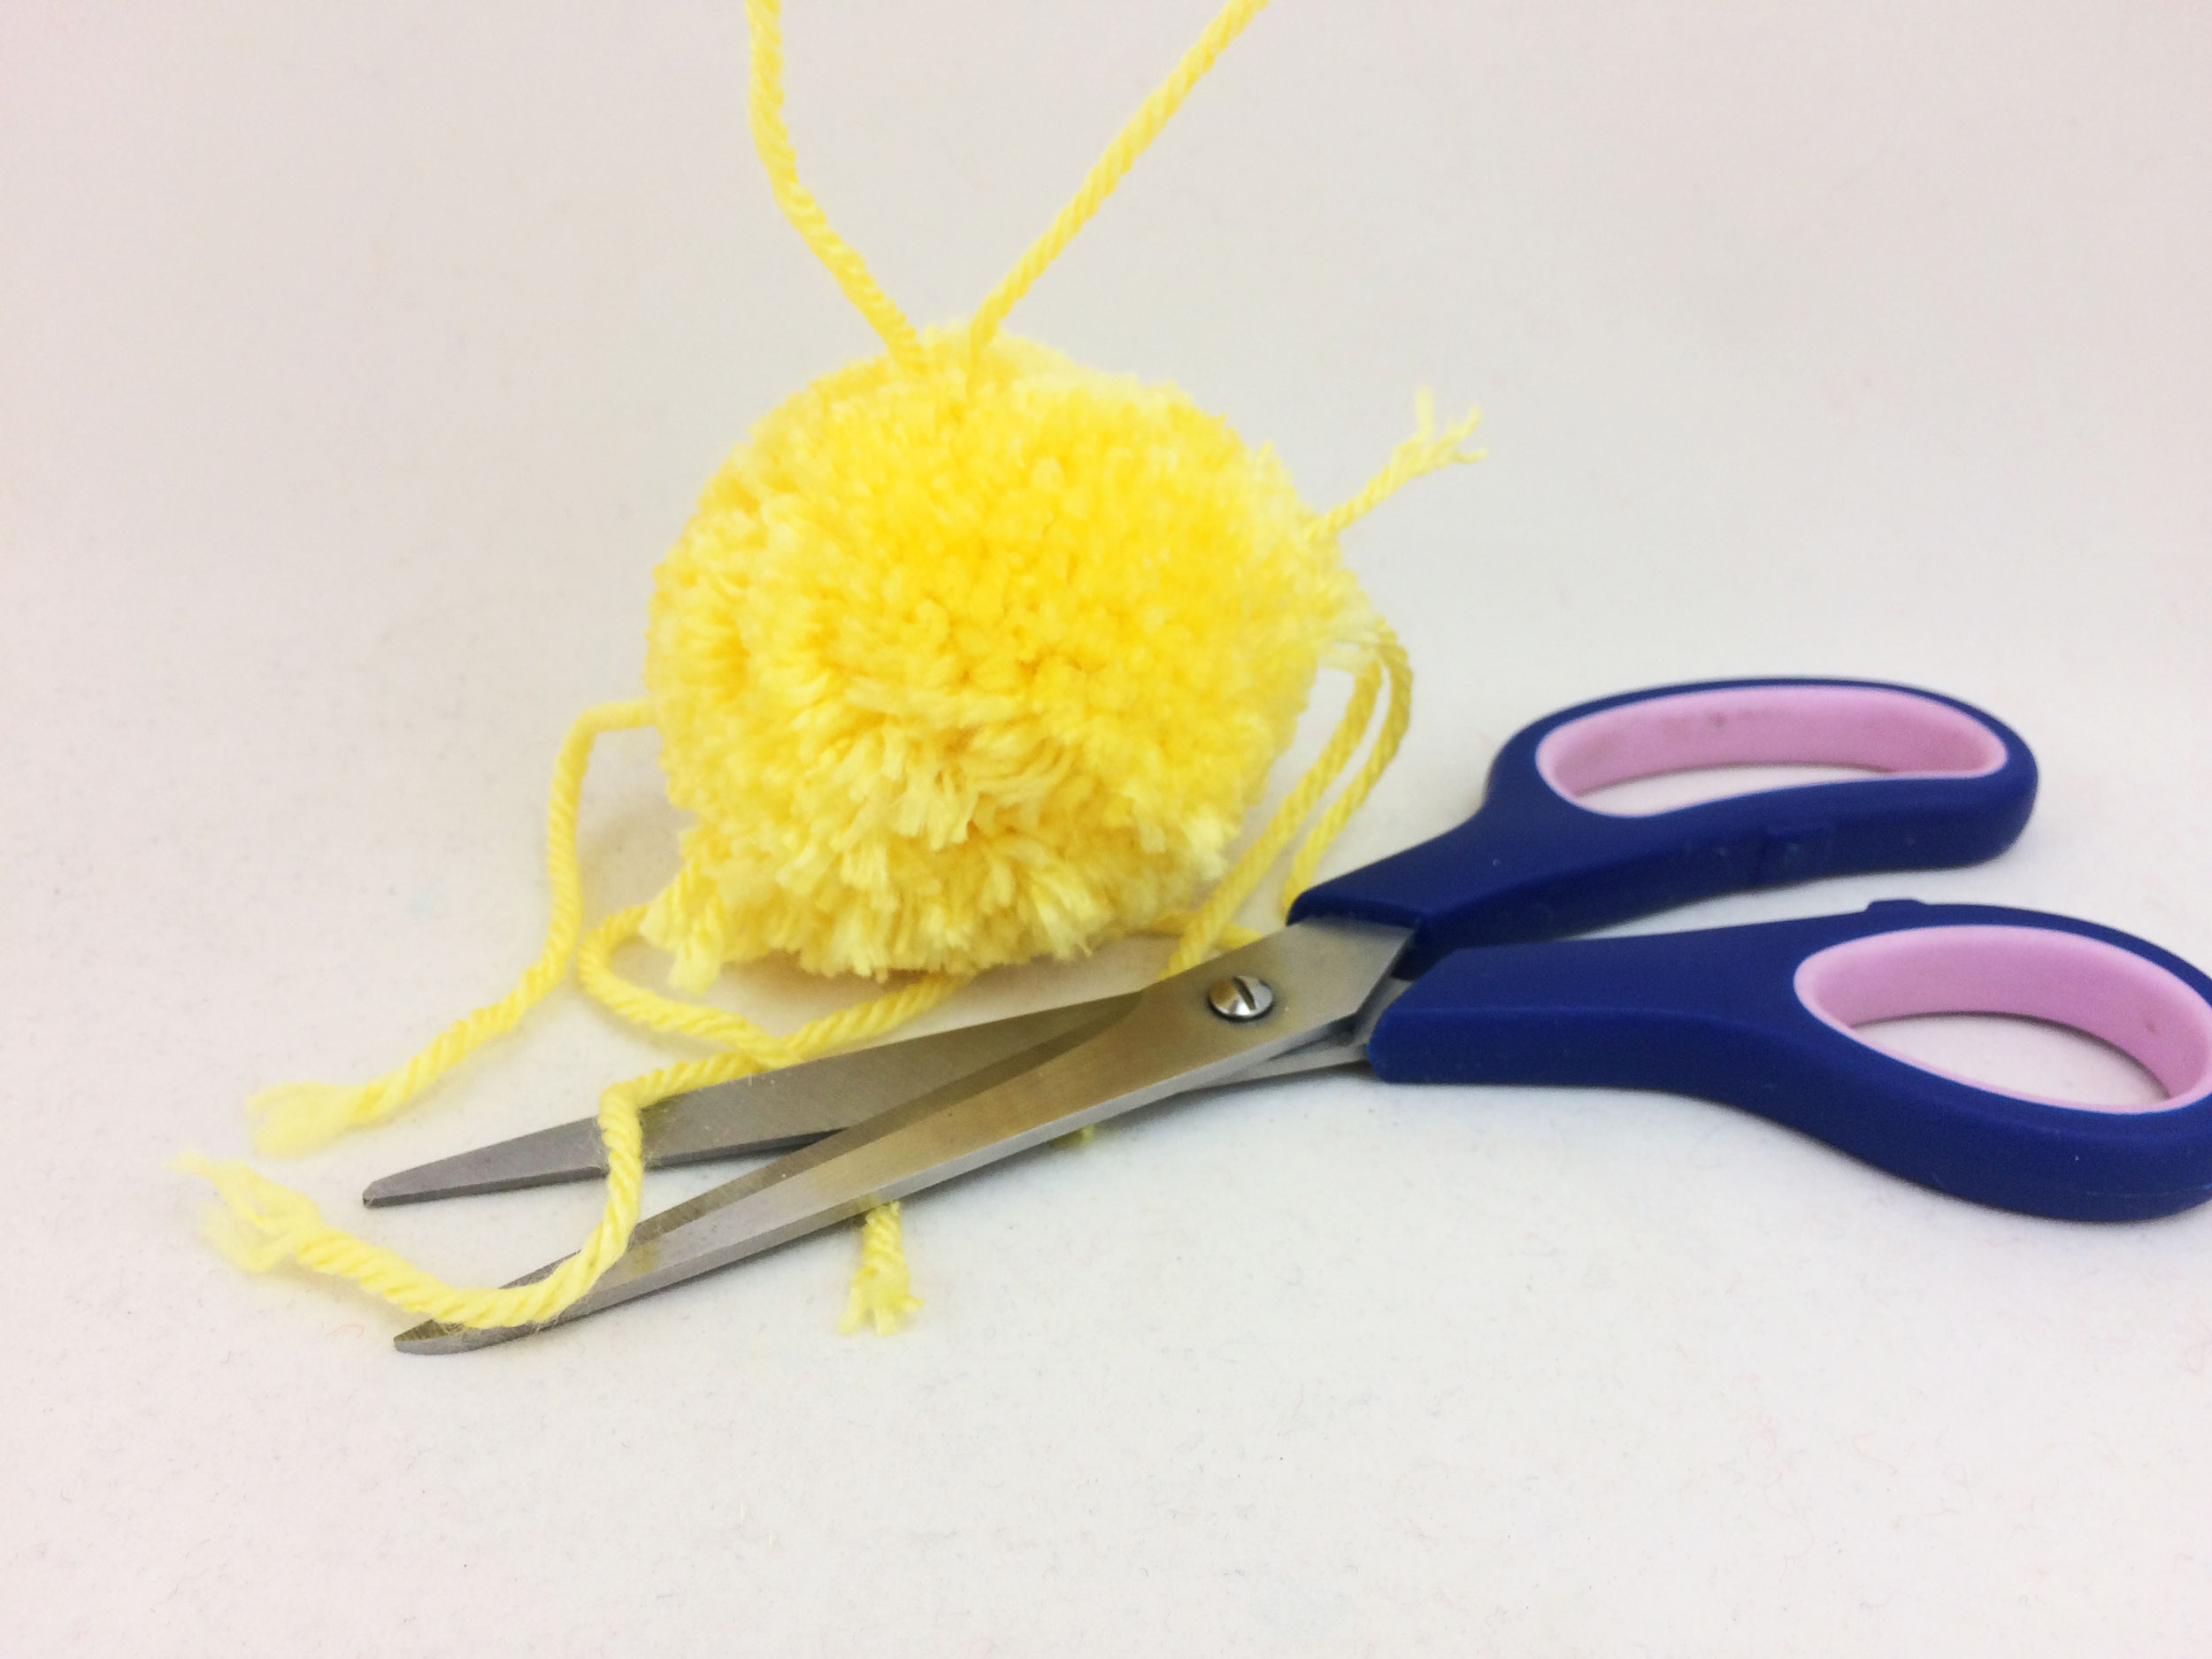
Step 4: Next, gently fold back each wing of the pom pom maker. Then pull Side A and Side B apart in order to reveal the finished pom pom. After that, feel free to fluff and trim any uneven strings.
Meanwhile, if you plan to hang your chick as an Easter Ornament, now is the time to create an ornament loop. On the smaller pom pom (chickie’s head), take the remaining string from Step 3 and tie a knot. While making sure to allow about a 1-inch loop.
However, for a table top Easter Chick decoration, simply trim these two long strings flush with the rest of the small pom pom head.
Step 5: Now, apply glue to the bottom of the small pom pom (head) and attach to the larger pom pom (body). Hold in place for a bit while the glue is drying.
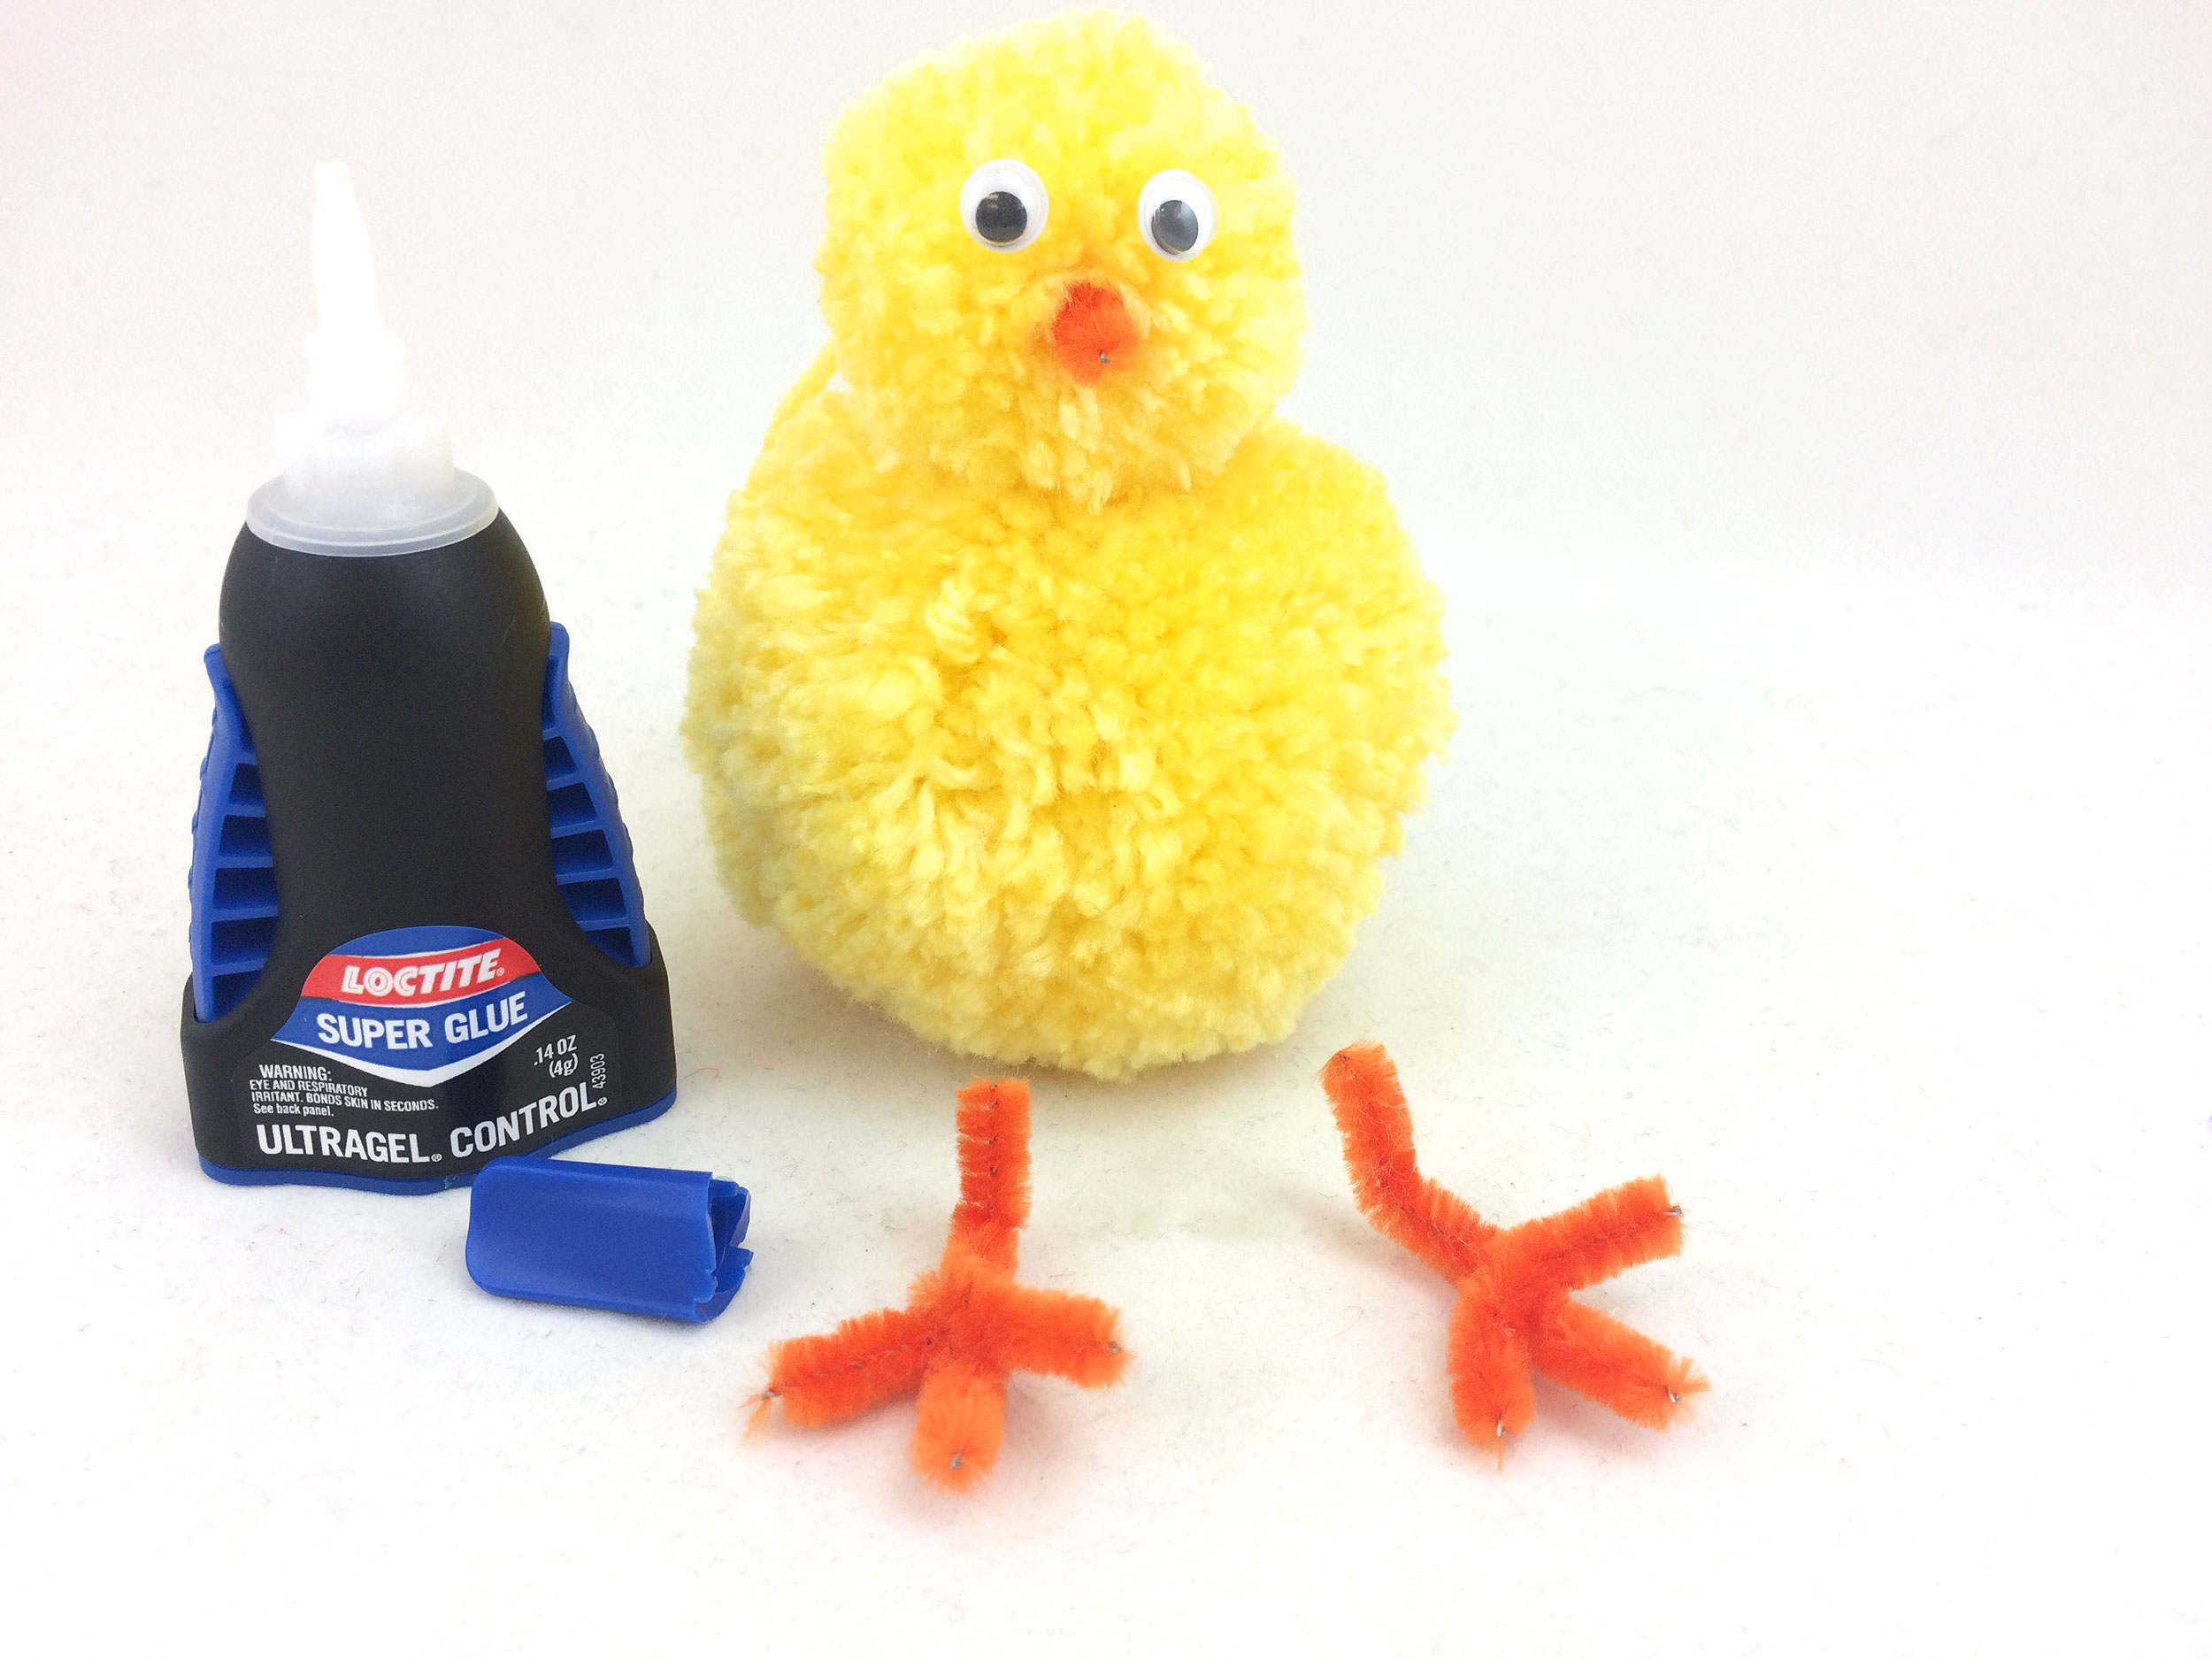
Step 6: Finally, glue on googly eyes and a pipe cleaner beak to the small pom pom (head). And two pipe cleaner feet to the bottom of the larger pom pom (body).
Nothing to bawk at here! You’ve created a versatile Easter Chick decoration that can be displayed on a tree with Easter Ornaments or as a table topper with a quick tuck of the ornament loop. After Easter, this also makes a great gift for a new born baby. This soft baby chick looks great hanging from a mobile over the child’s crib or as a decoration adorning a dresser.
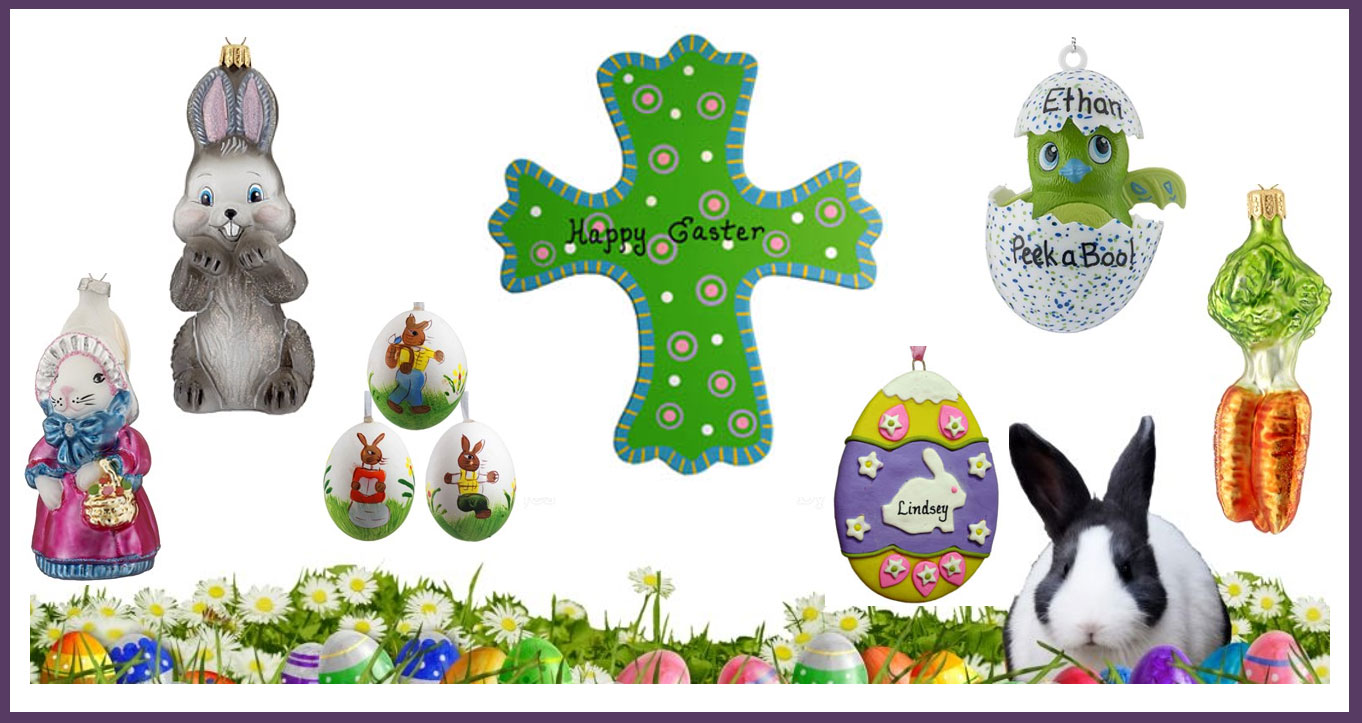
Did this DIY Easter Chick inspire you to start a collection of Easter Ornaments? You’ve come to the right place! Take a crack at our selection of Easter Egg Ornaments. Then hop on over to the Pets & Animals category to check out the Bunnies. No matter your style, your Easter tree will be off to an {egg}ceptional start! Let the hunt begin!