DIY Ghost Ornament: Make a BOO-tiful Ornament for Your Halloween Tree!
Posted October 15, 2019 in DIY (Crafts) by Dianne Weller
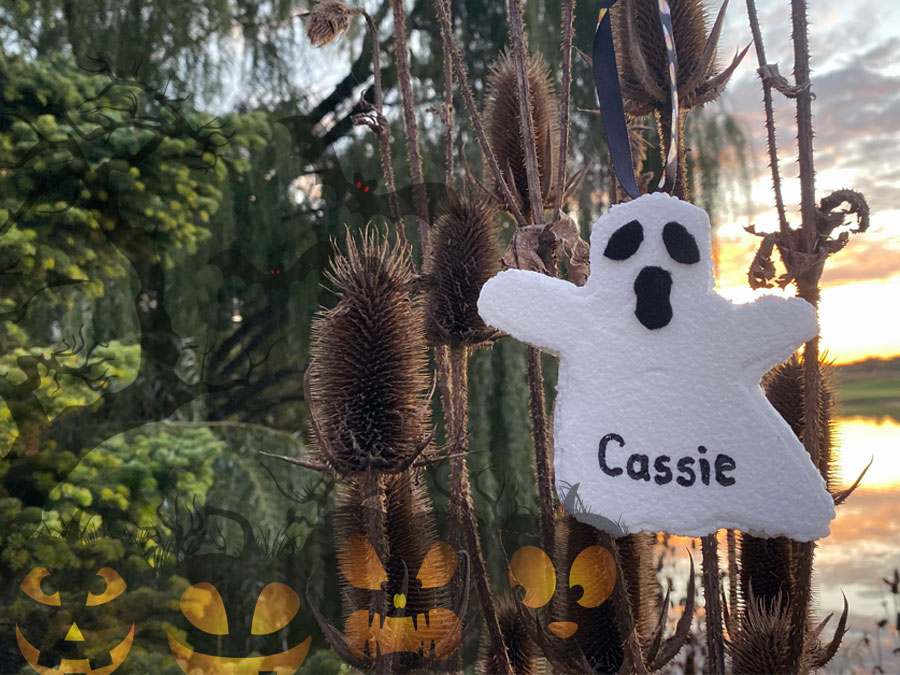
Welcome Halloween with a DIY Ghost Ornament! The spooky white ghost is one of the most recognizable Halloween icons, which is what inspired me to make this Ghost Ornament to hang from my Halloween Tree!
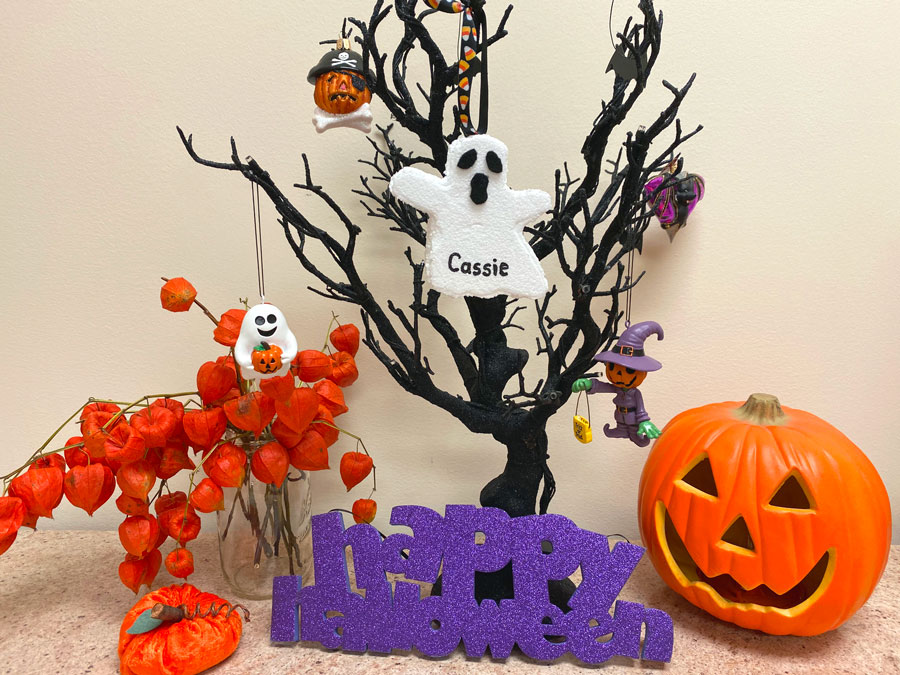
This Ghost Ornament is a great addition to my Halloween decorations! Do you recognize that cute little orange velvet pumpkin in my Halloween display? That’s because it’s from our DIY Velvet Pumpkin Craft – learn how to make it here. I love the way my DIY projects pair together to create a one of a kind decorating style!
How To Make a DIY Halloween Ghost Ornament
Create a cute Ghost Ornament in 4 simple steps using crafting foam and a cookie cutter. This is a great project for kids because it’s easy for them to work with the cookie cutters that they’re already familiar with. And it’s a creative new way to get more use out of the cookie cutters you already have! You can make a foam ornament using just about any shape cookie cutter and some paint. But I like this Ghost Ornament because it’s already white and I don’t have to paint it.
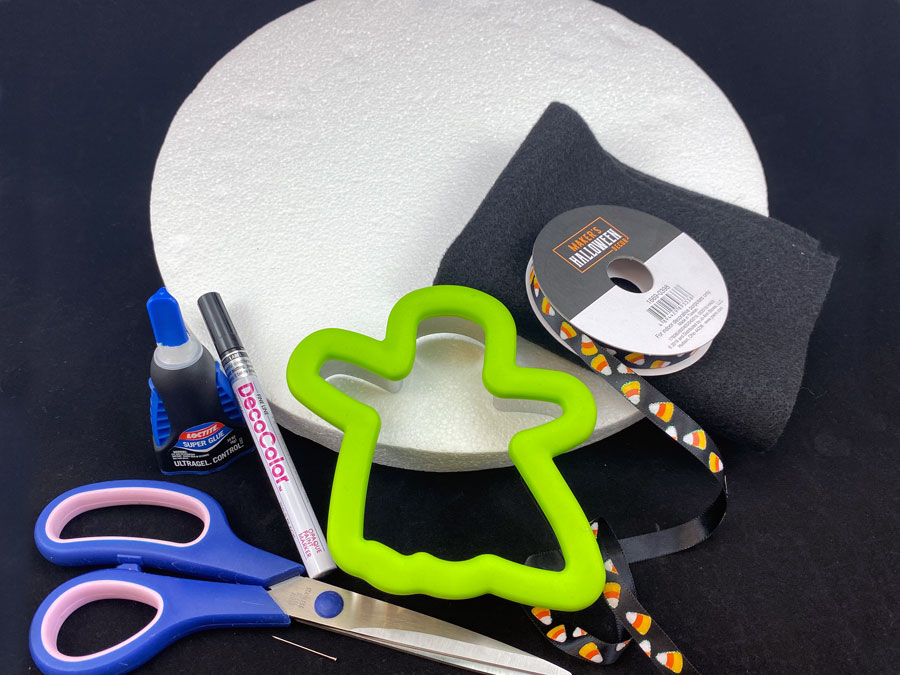
Supplies:
- Foam
- Ghost Shape Cookie Cutter
- Halloween Ribbon
- Flat Head Jewelry Pin
- Black Felt
- Scissors
- Glue
- Black Paint Pen
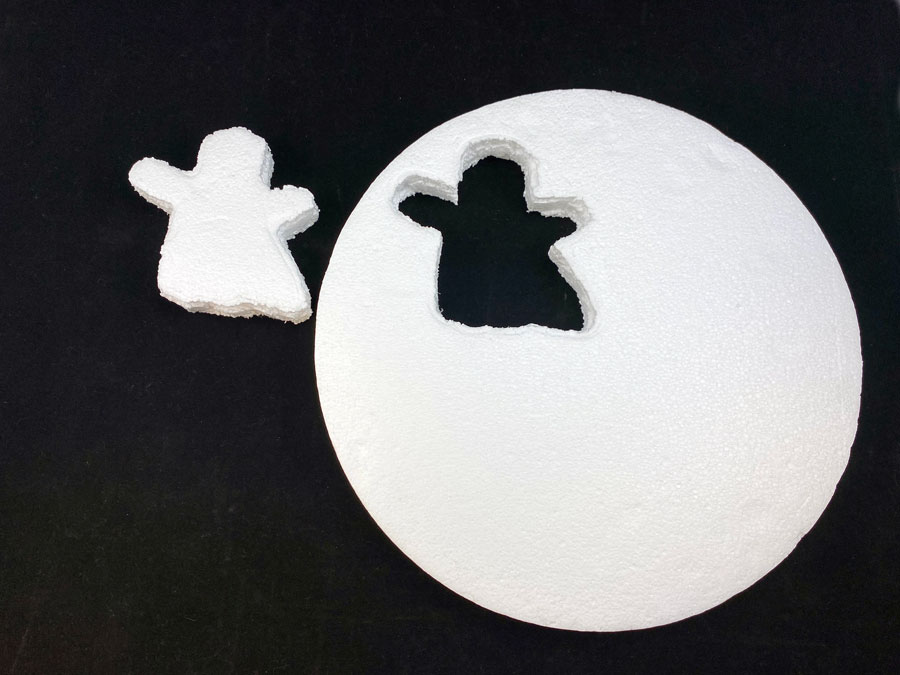
STEP 1:
Slowly and firmly press the cookie cutter shape into the foam. Because the edges of the cookie cutter are dull, and it will take a bit of firm pressure to break through the crafting foam. If the cookie cutter doesn’t go all the way through the foam, you can use a long, thin, sharp knife to carve around the edges to release the ghost shape from the foam.
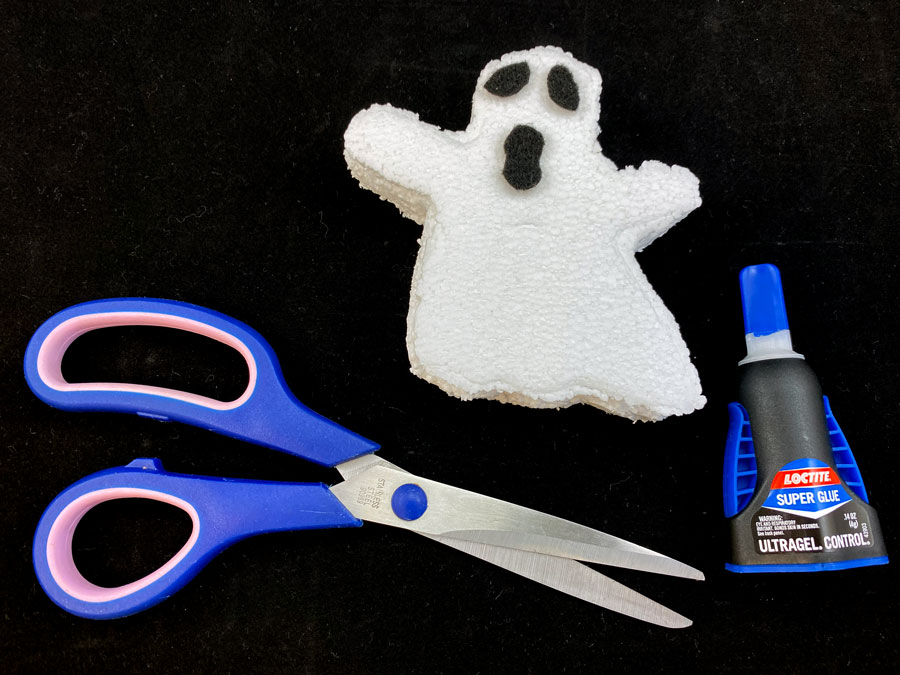
STEP 2:
Next, we’re going to use felt to make the eyes and mouth of the Ghost Ornament. First, cut out two almond shaped eyes and one peanut shaped mouth. Once these are cut out, apply glue to the back of the felt, and secure them directly onto the foam.
Tip: If you want to make this project even more kid-friendly, you can use googly eyes instead of felt, and draw on a mouth using a black marker. The googly eyes will make this a friendly Ghost Ornament that’s kid-friendly too!
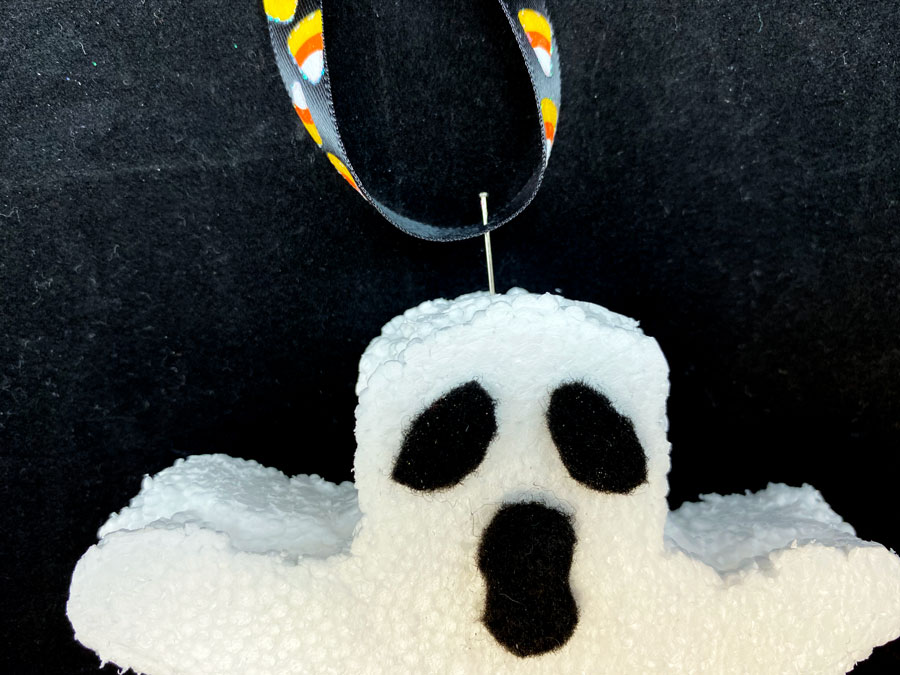
STEP 3:
Next, attach a ribbon loop to the top of the Ghost Ornament so that you can hang it. I chose this fun candy corn print ribbon because it adds some extra Halloween flair!
In order to create the hanging loop, simply fold a strand of ribbon in half and tie the two ends together. Then, take a flat head jewelry pin and pierce it through the center of the ribbon loop and directly into the foam.
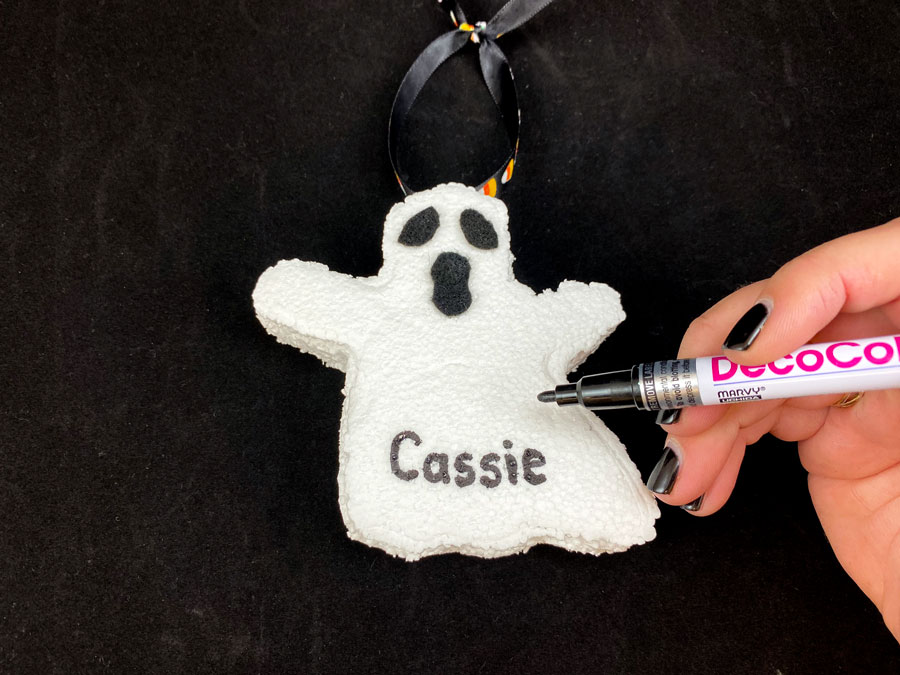
STEP 4:
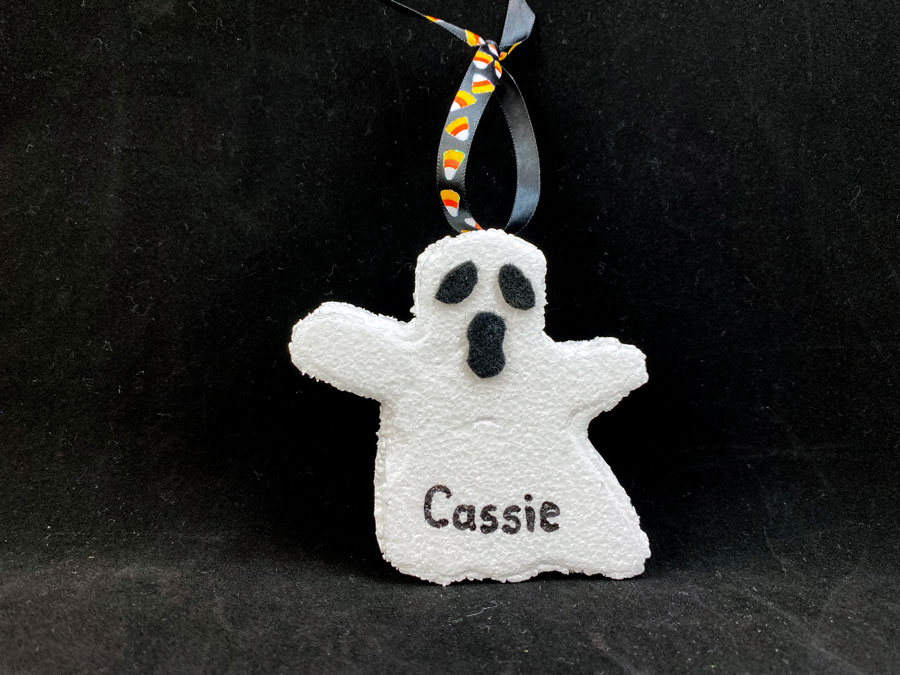
Finally, use a black paint pen to personalize your Ghost Ornament. For example, you could write the first name of a child, or a fun Halloween message such as “Fab-BOO-lous”.
That’s it! Now your Ghost Ornament is ready to haunt your house for Halloween! It’s almost scary how fast and easy it is to make a cute foam ornament for your Halloween Tree.
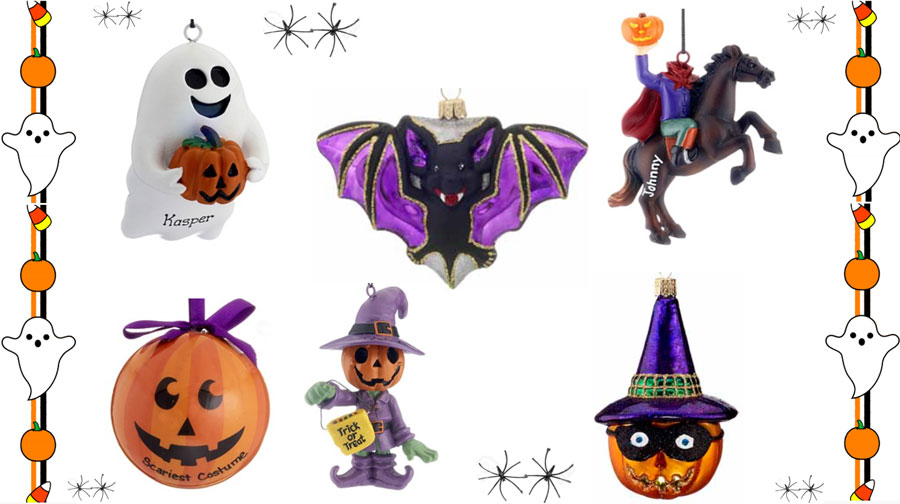
Are you looking for new ornaments to add to your Halloween Tree? We’ve recently added new options to our Halloween Category, including a new Friendly Ghost Ornament! Personalized Halloween Ornaments are great gifts for anyone who loves Halloween!