Our DIY Glitter Rainbow Craft Ornament Will Brighten Anyone’s Day
Posted April 19, 2018 in DIY (Crafts) by Dianne Weller
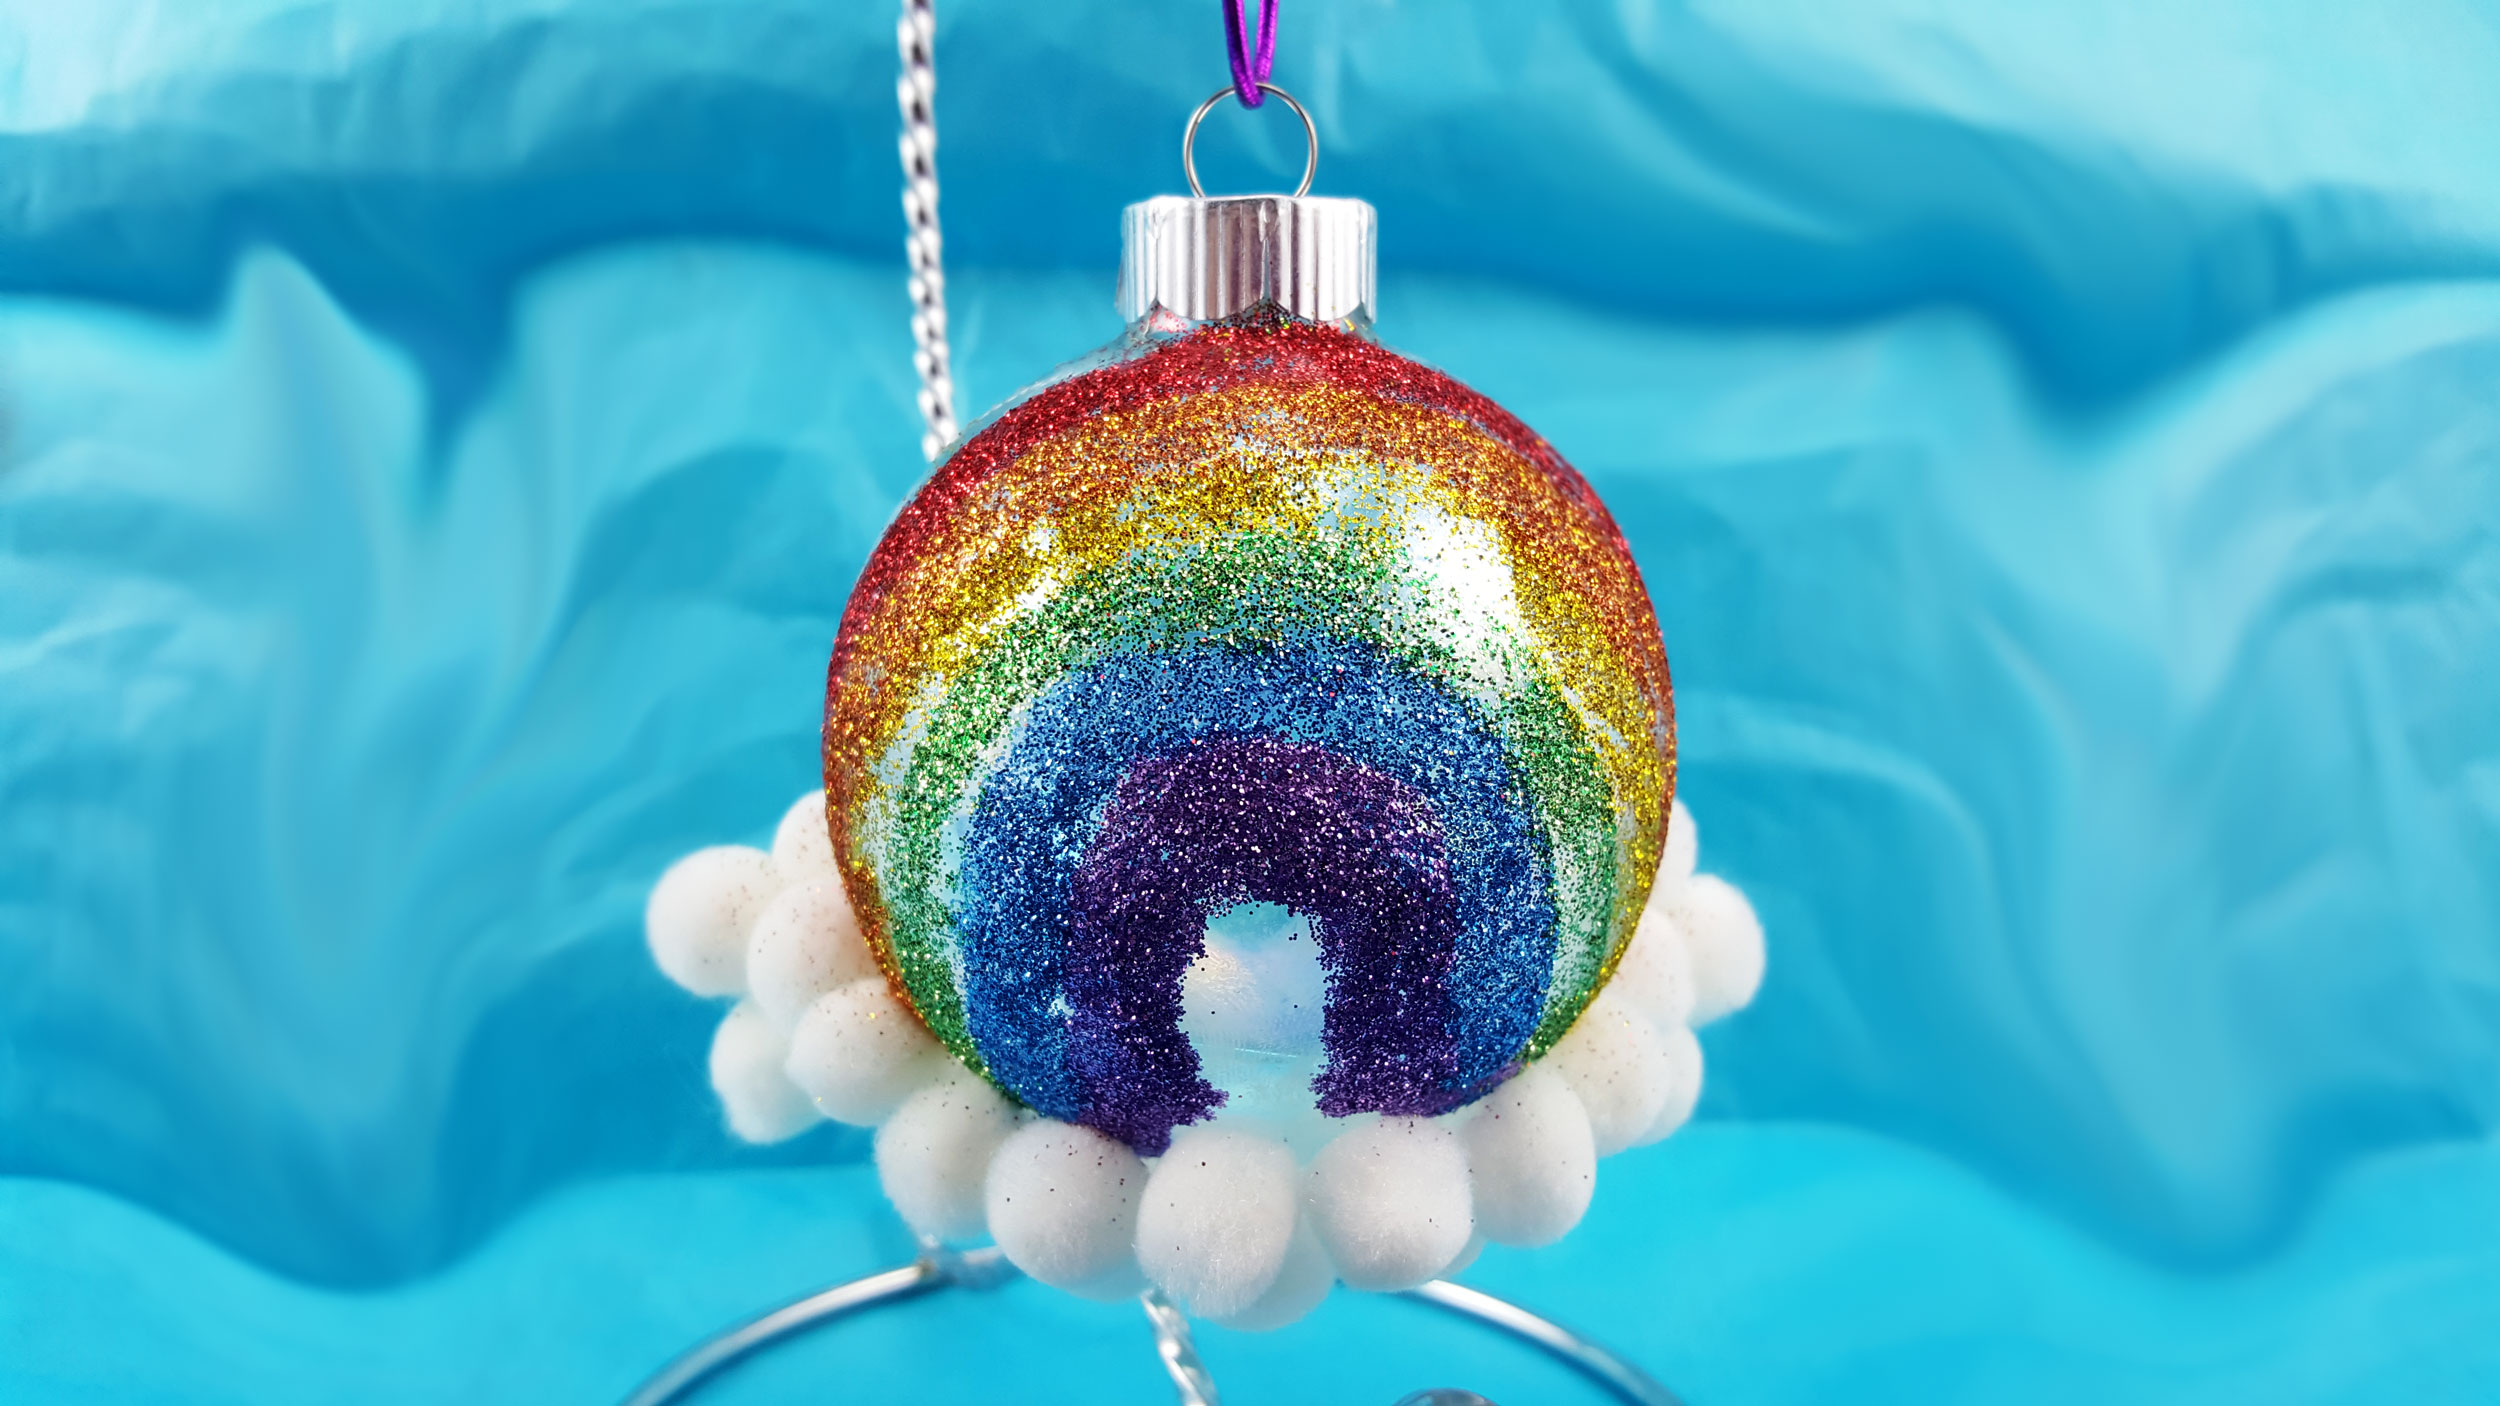
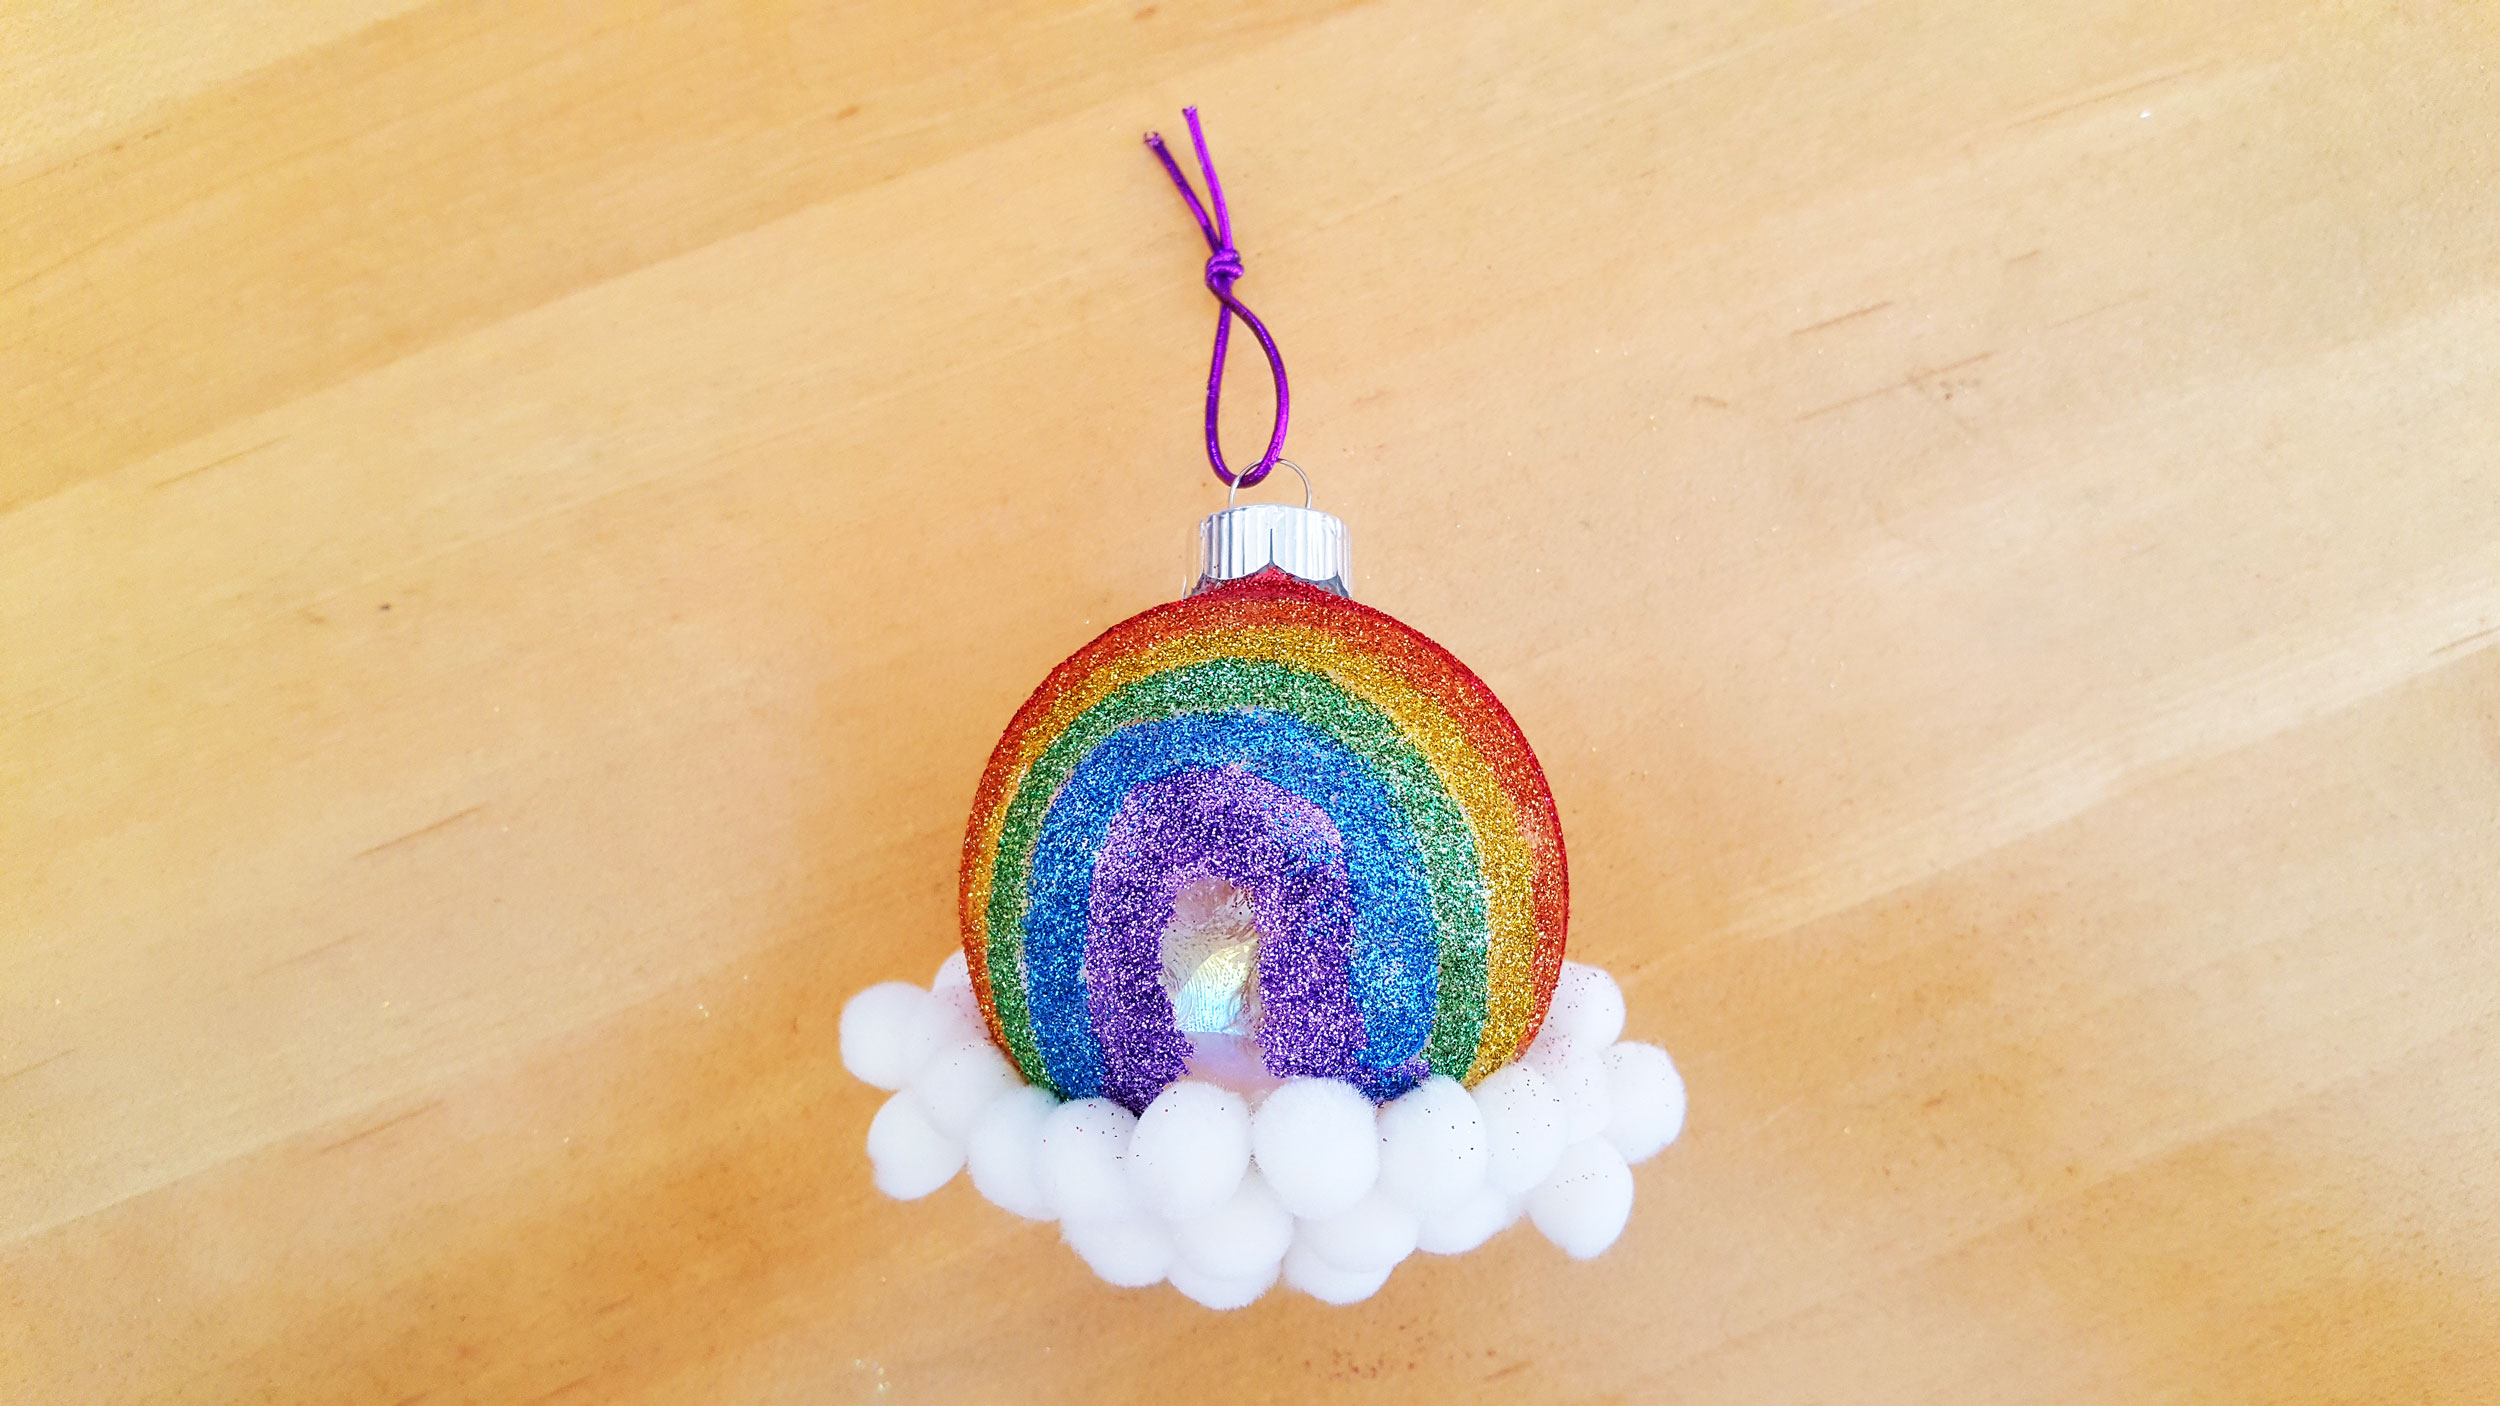
There is just something about making a Rainbow Craft that is sure to bring a smile to anyone’s face. In this example, we used pretty glitter and pompoms to transform a simple glass ball ornament into a wonderful spring decoration for your home!
A rainbow craft is a fun indoor project on a rainy day or it also makes a great classroom activity for grade school children. The sparkly glass ball ornaments look pretty hanging in windows or from an ornament stand on a shelf. Guaranteed to brighten someone special’s day!
How To Make Rainbow Craft Glass Ball Ornaments Step By Step
Here, we show you how to make this glass ball ornament rainbow craft in 5 easy steps with minimal supplies.
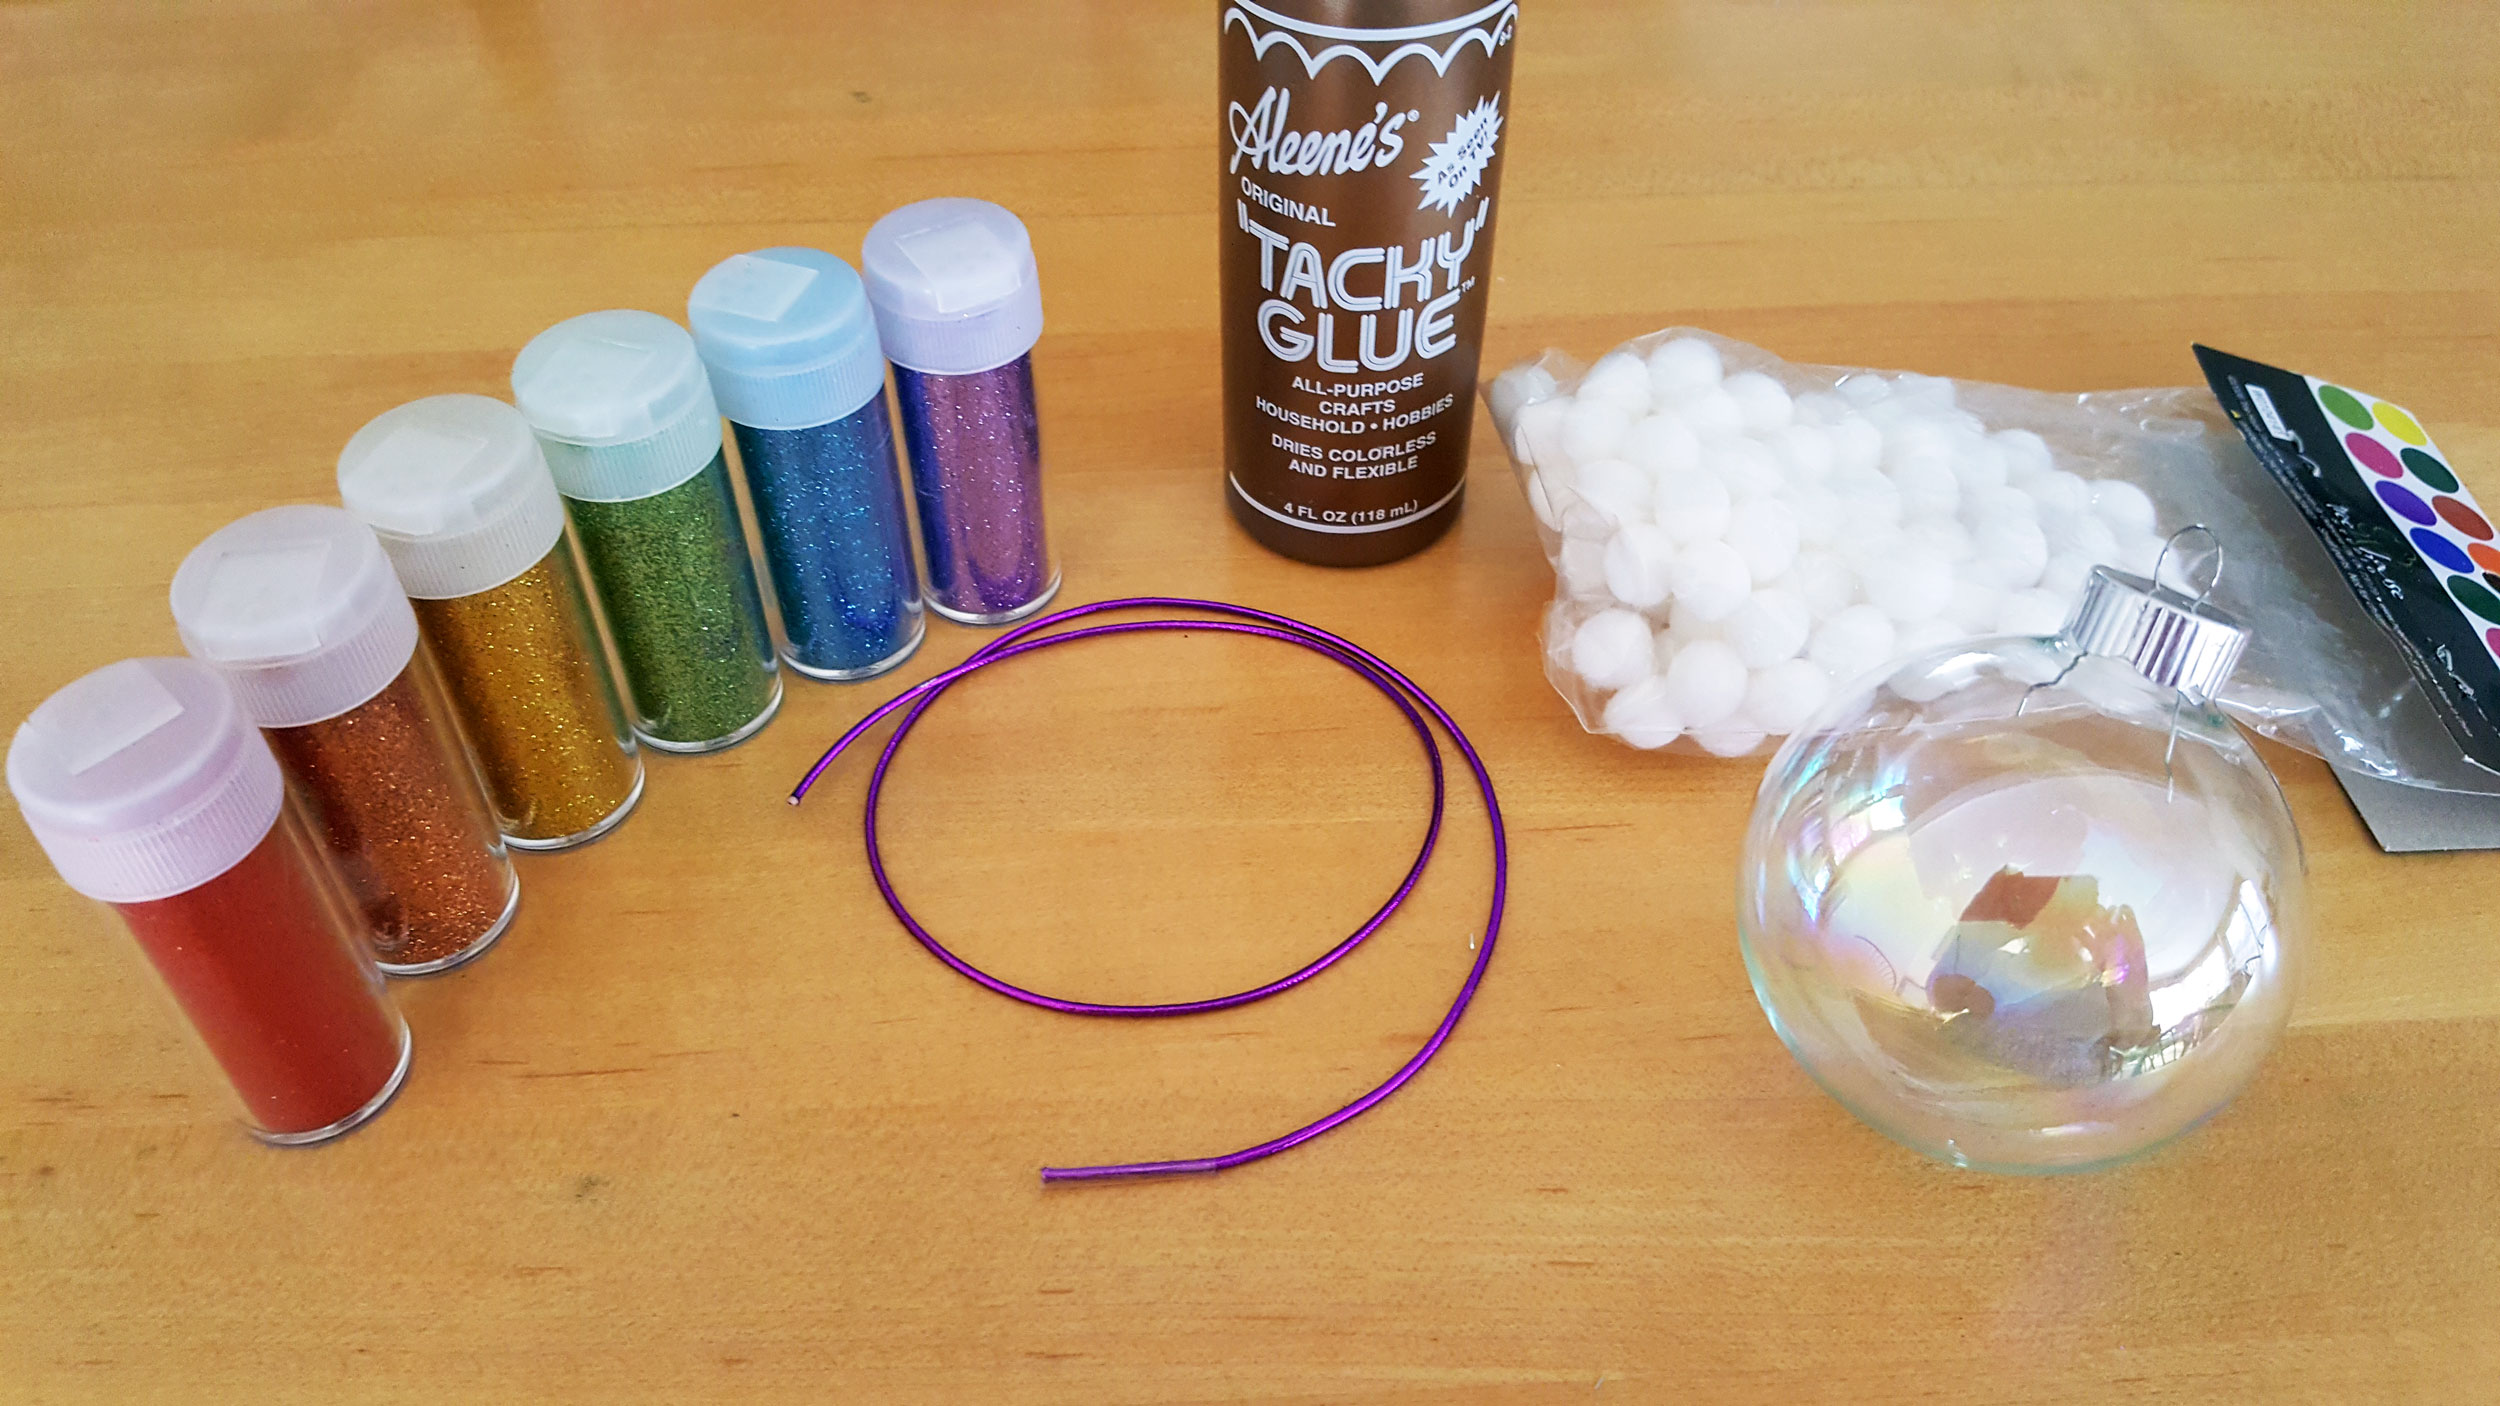
Supplies:
- Clear glass ball ornament
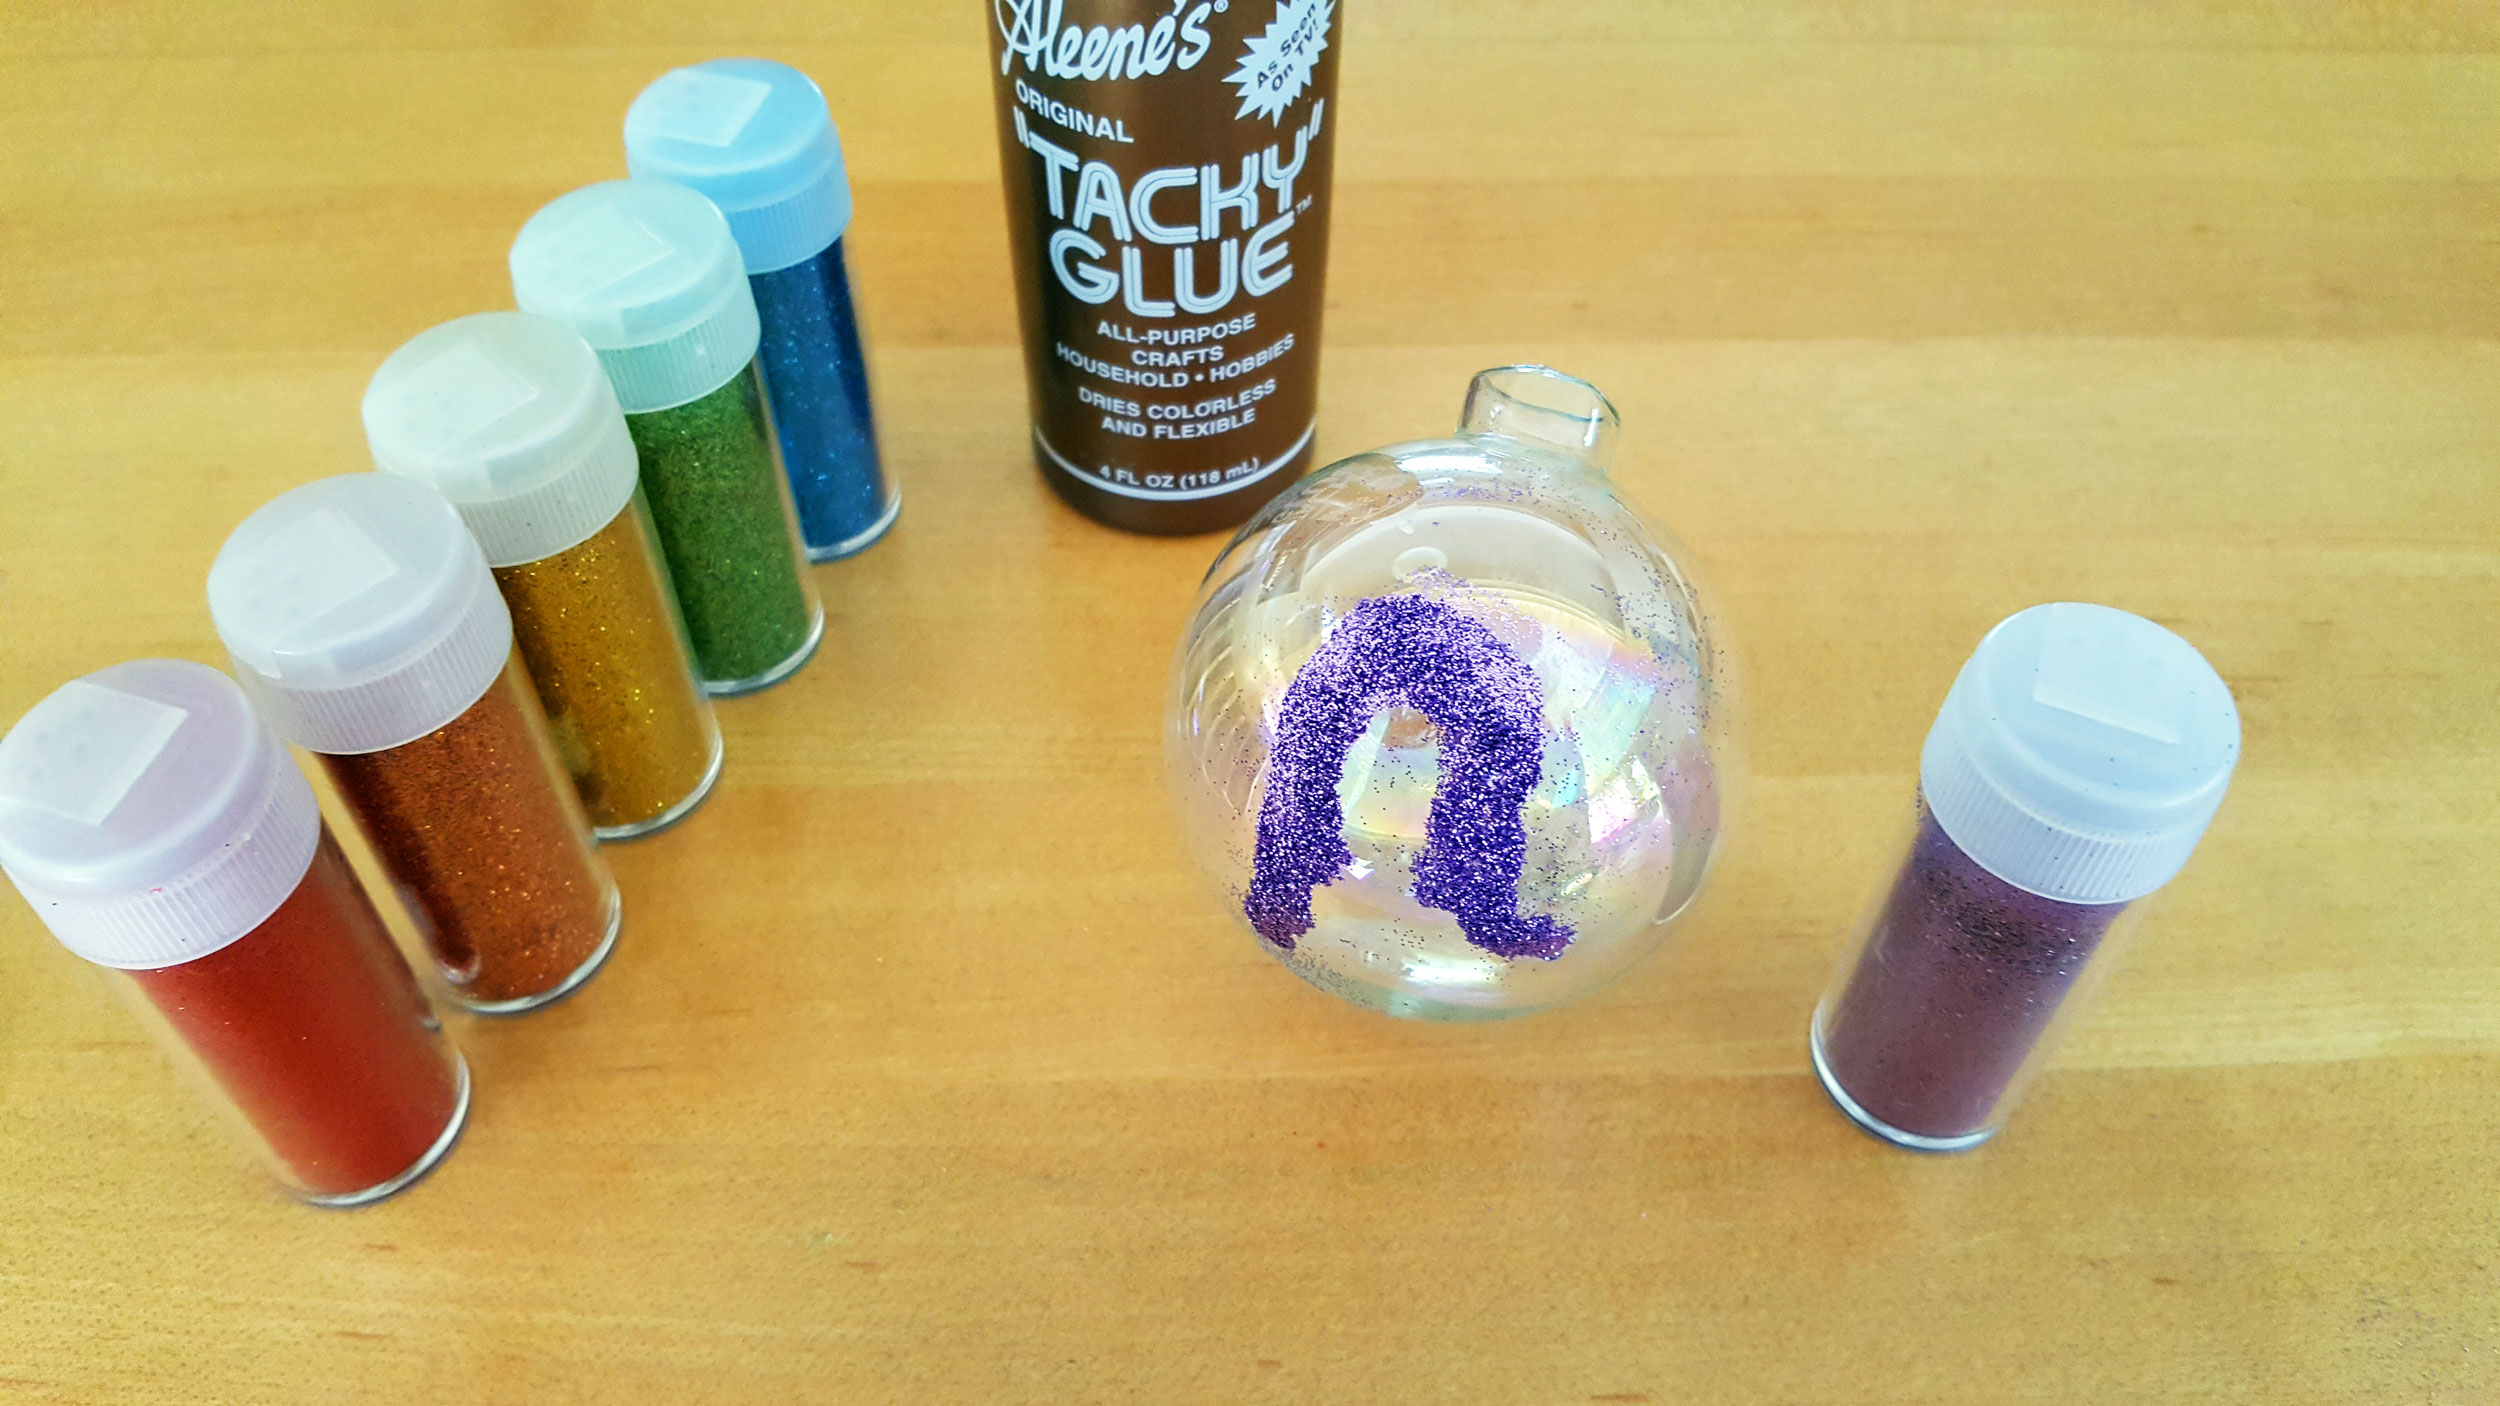
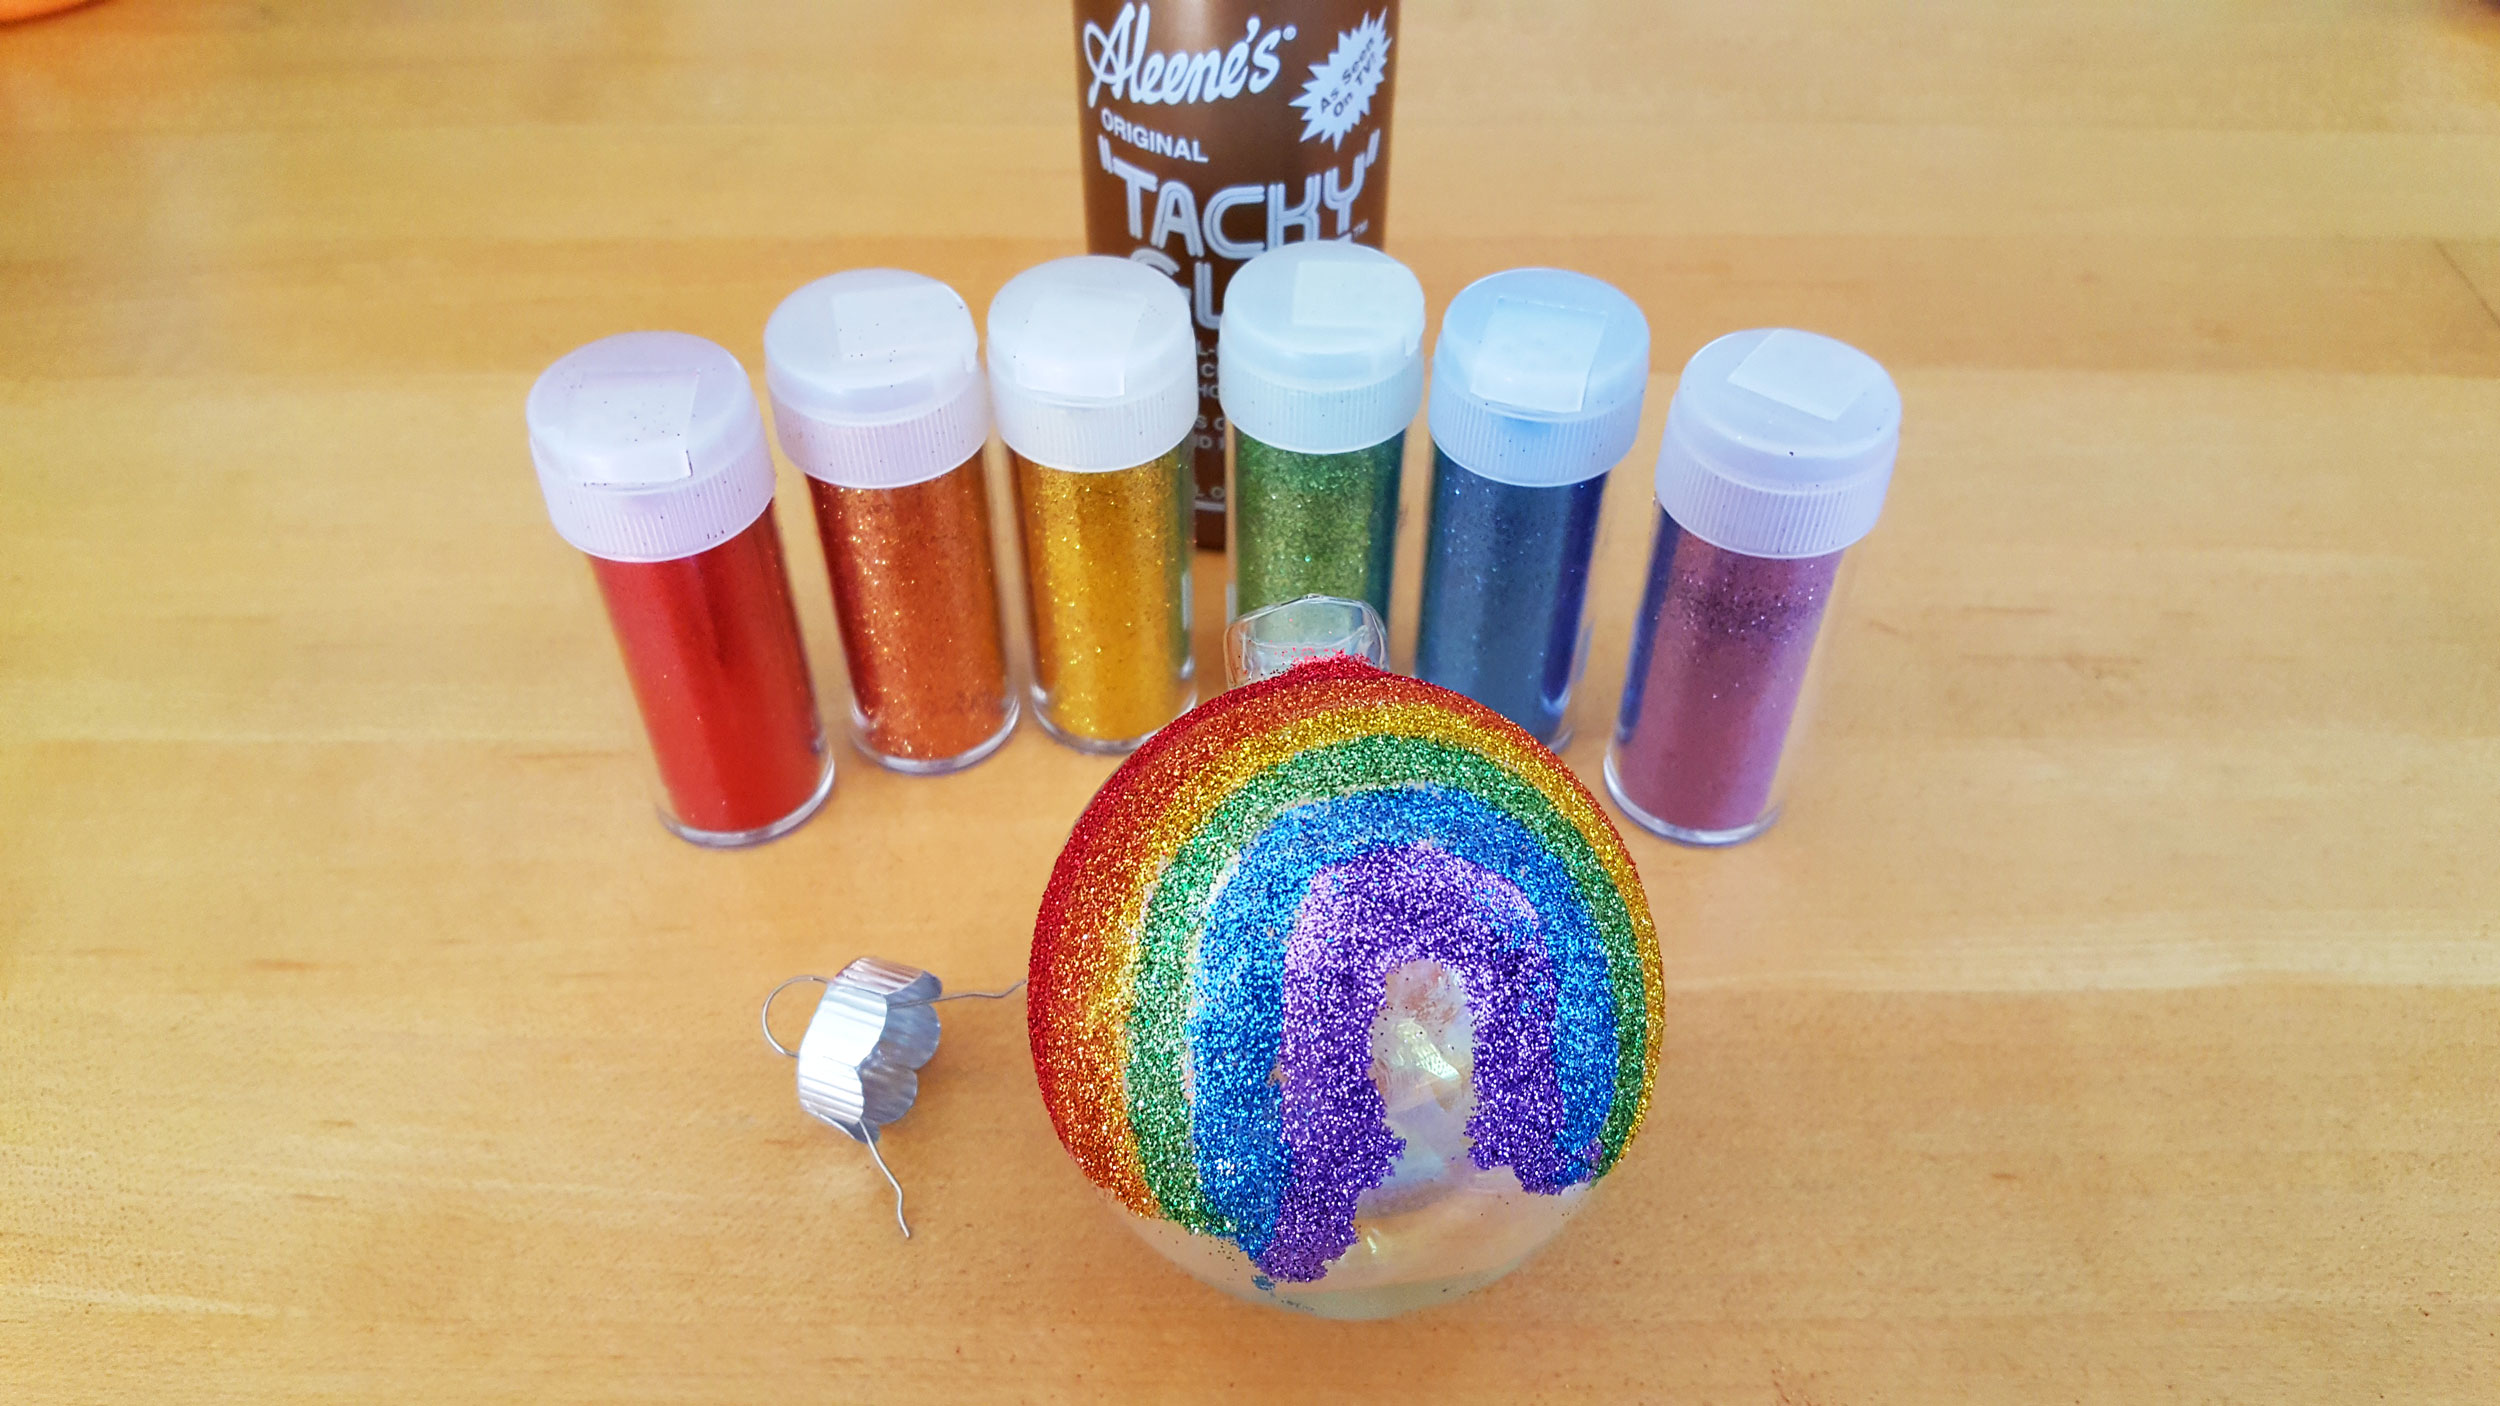
- Rainbow colored glitter (Red, Orange, Yellow, Green, Blue, Violet)
- Glue
- White pompoms or cotton balls
- Ribbon or string
- Scissors
Step 1: Draw the innermost arch using a thin coat of glue to the glass ball, and then shake the purple glitter to cover the glue. Tap off any glitter that doesn’t stick and let it dry. It’s OK if the glue and glitter runs down a bit, because your “clouds” later will cover up any flaws.
Step 2: Next, follow the inner arch with another arch and shake glitter over it, using another color. Continue to do more arches until you get to use all of the colors. It is important to remember to let the glue dry in between, so that the colors don’t bleed together.
Step 3: Now it is time to make the cloud underneath your rainbow. Using the glue, carefully add the individual pompoms to the bottom of your rainbow and out to the sides.
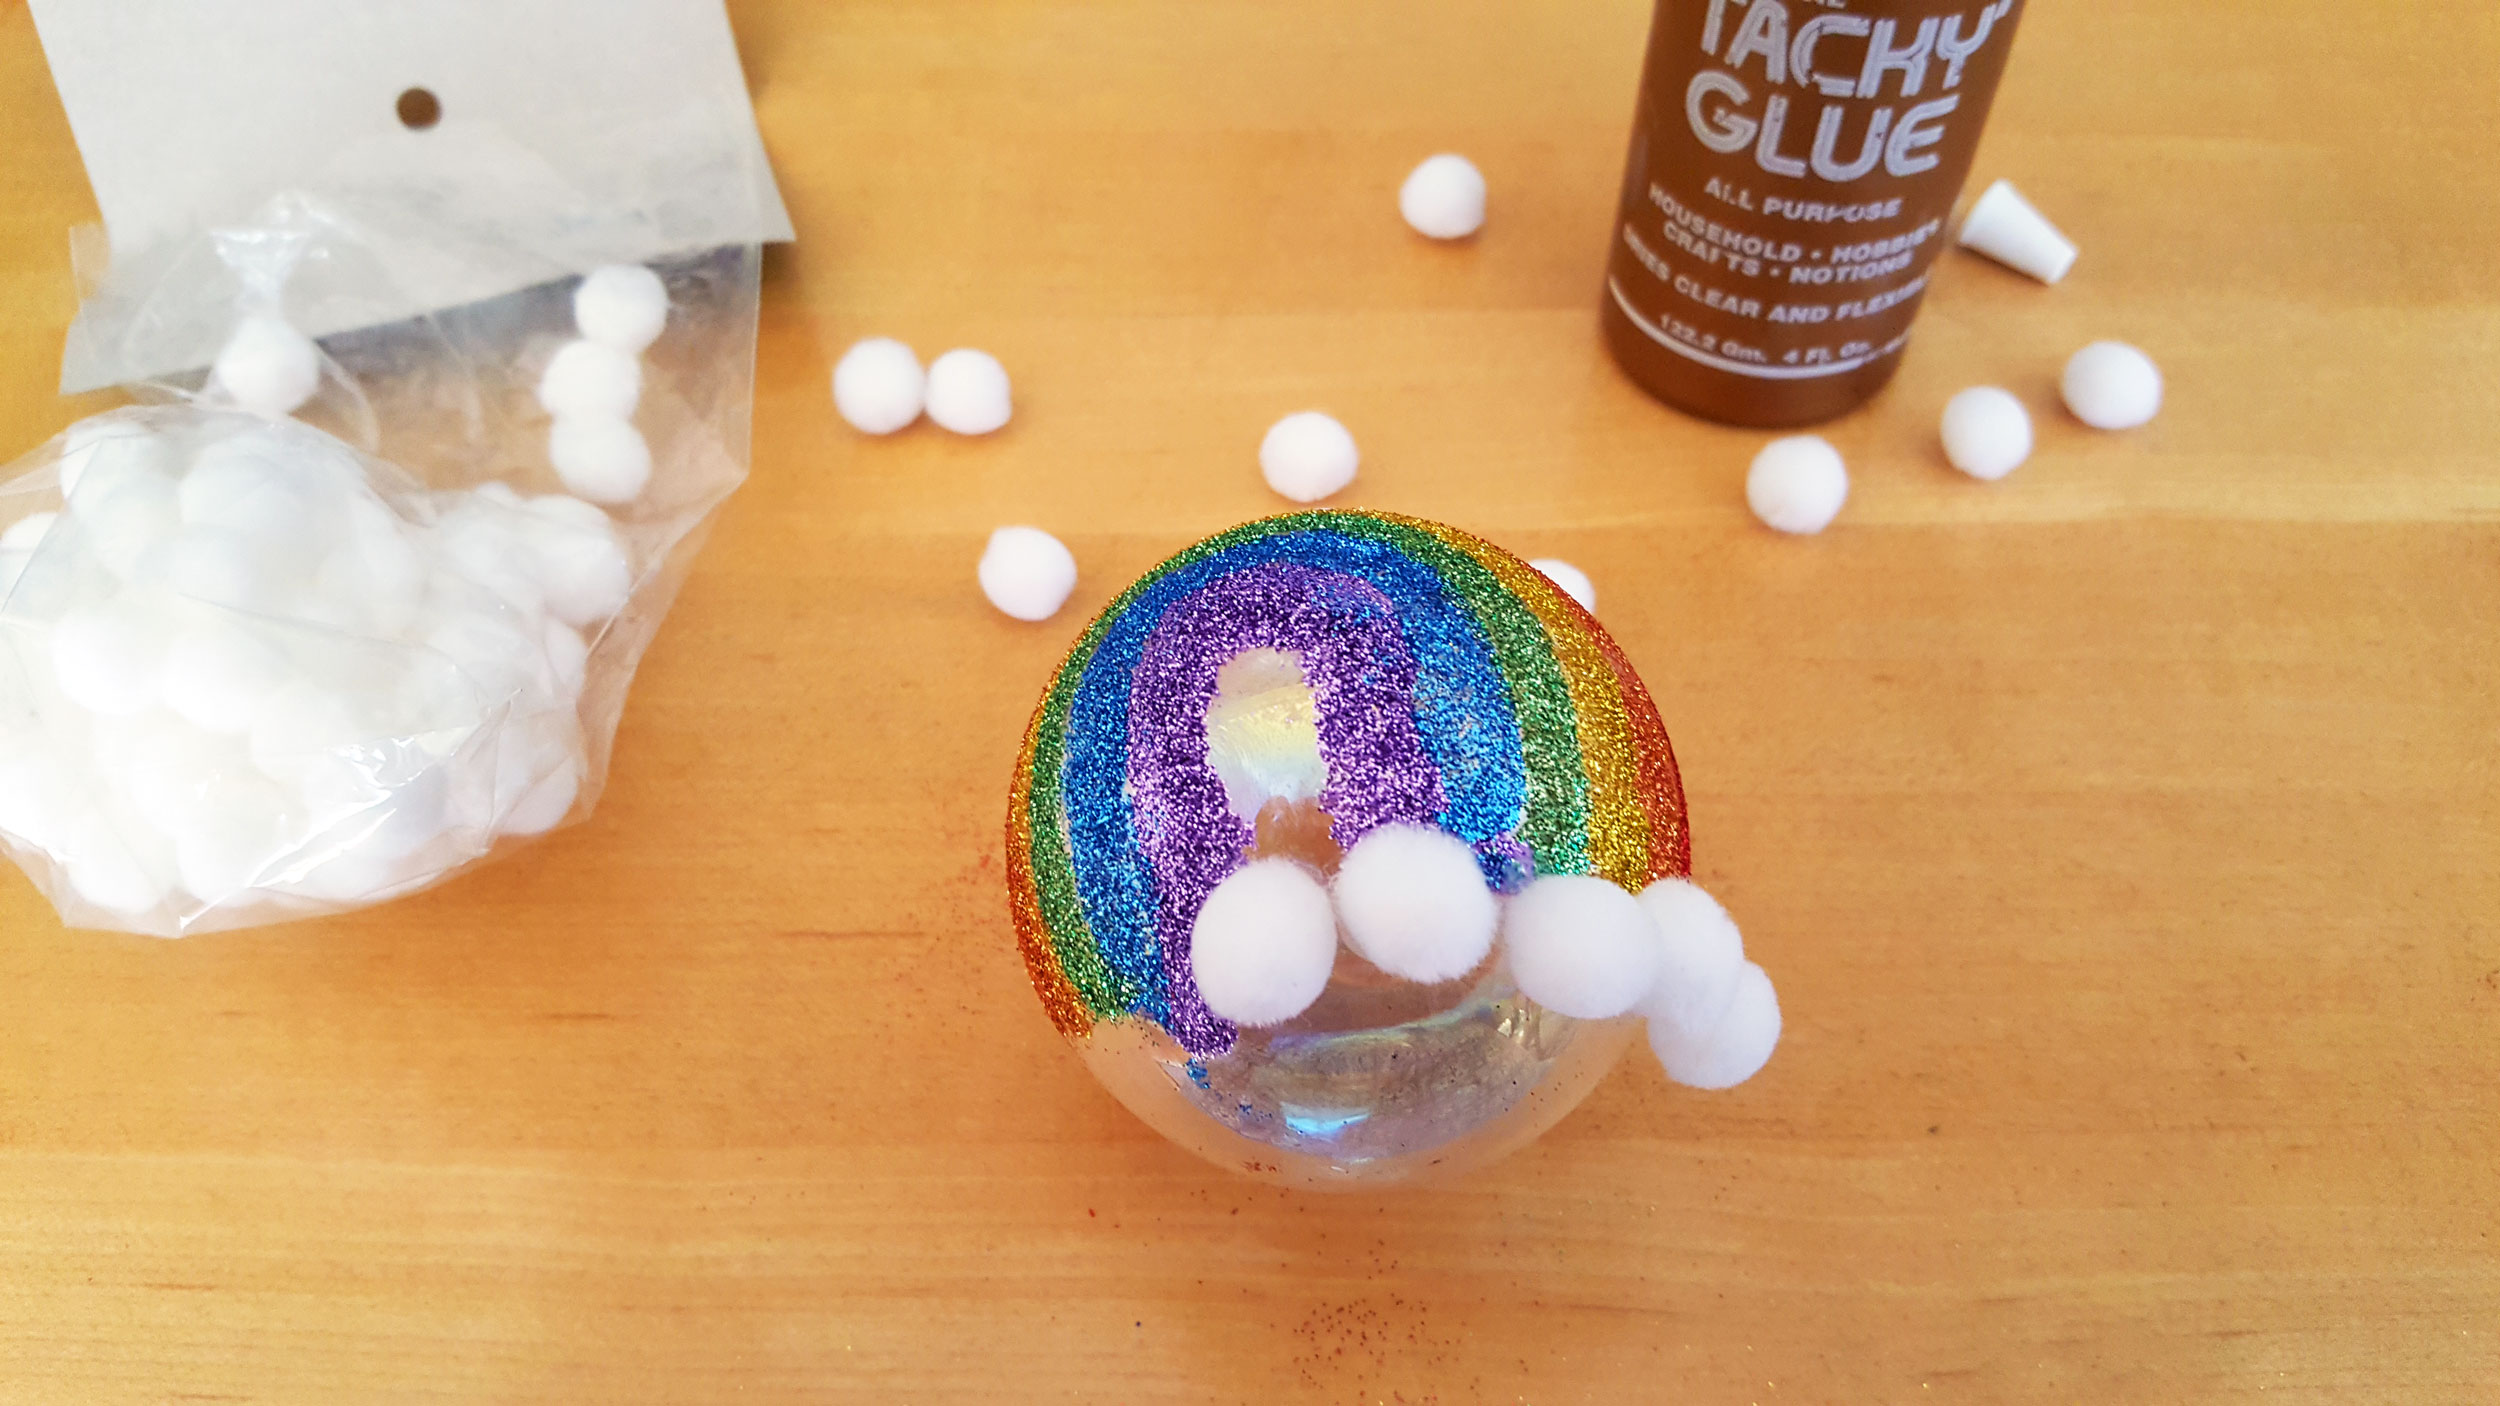
Step 4: Fill in any missing holes along your cloud line. You may want to “stack” some of the pompoms to get the shape you desire.
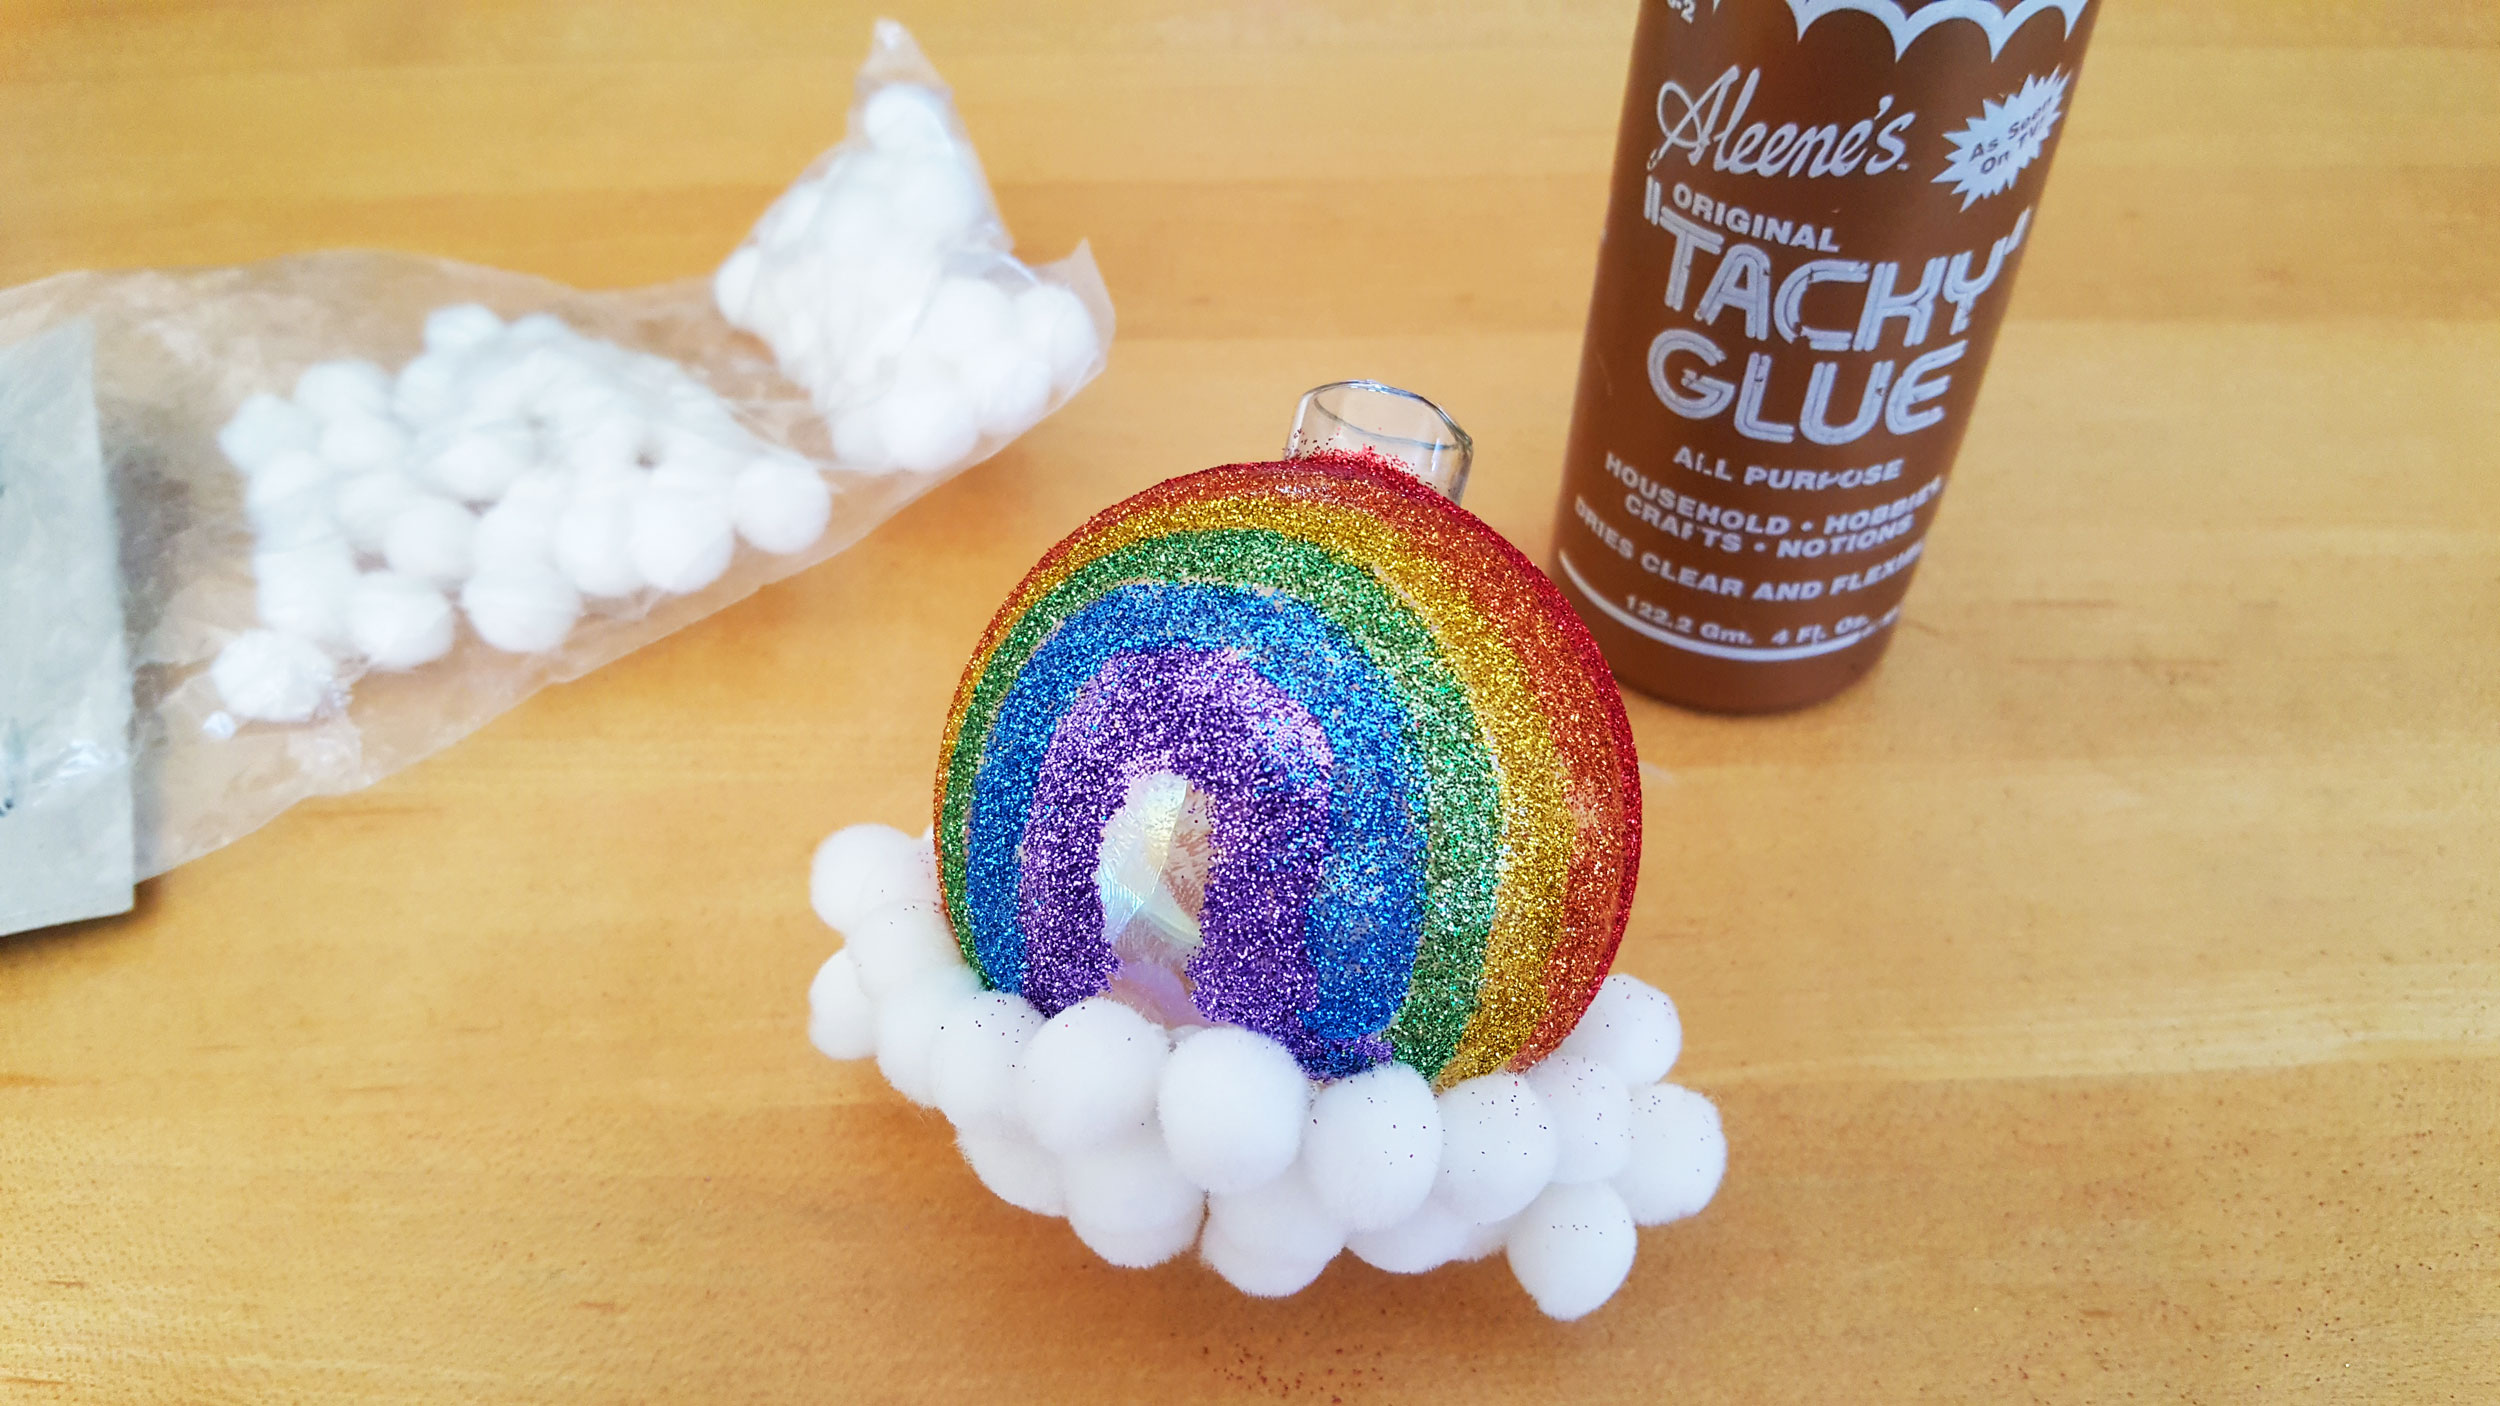
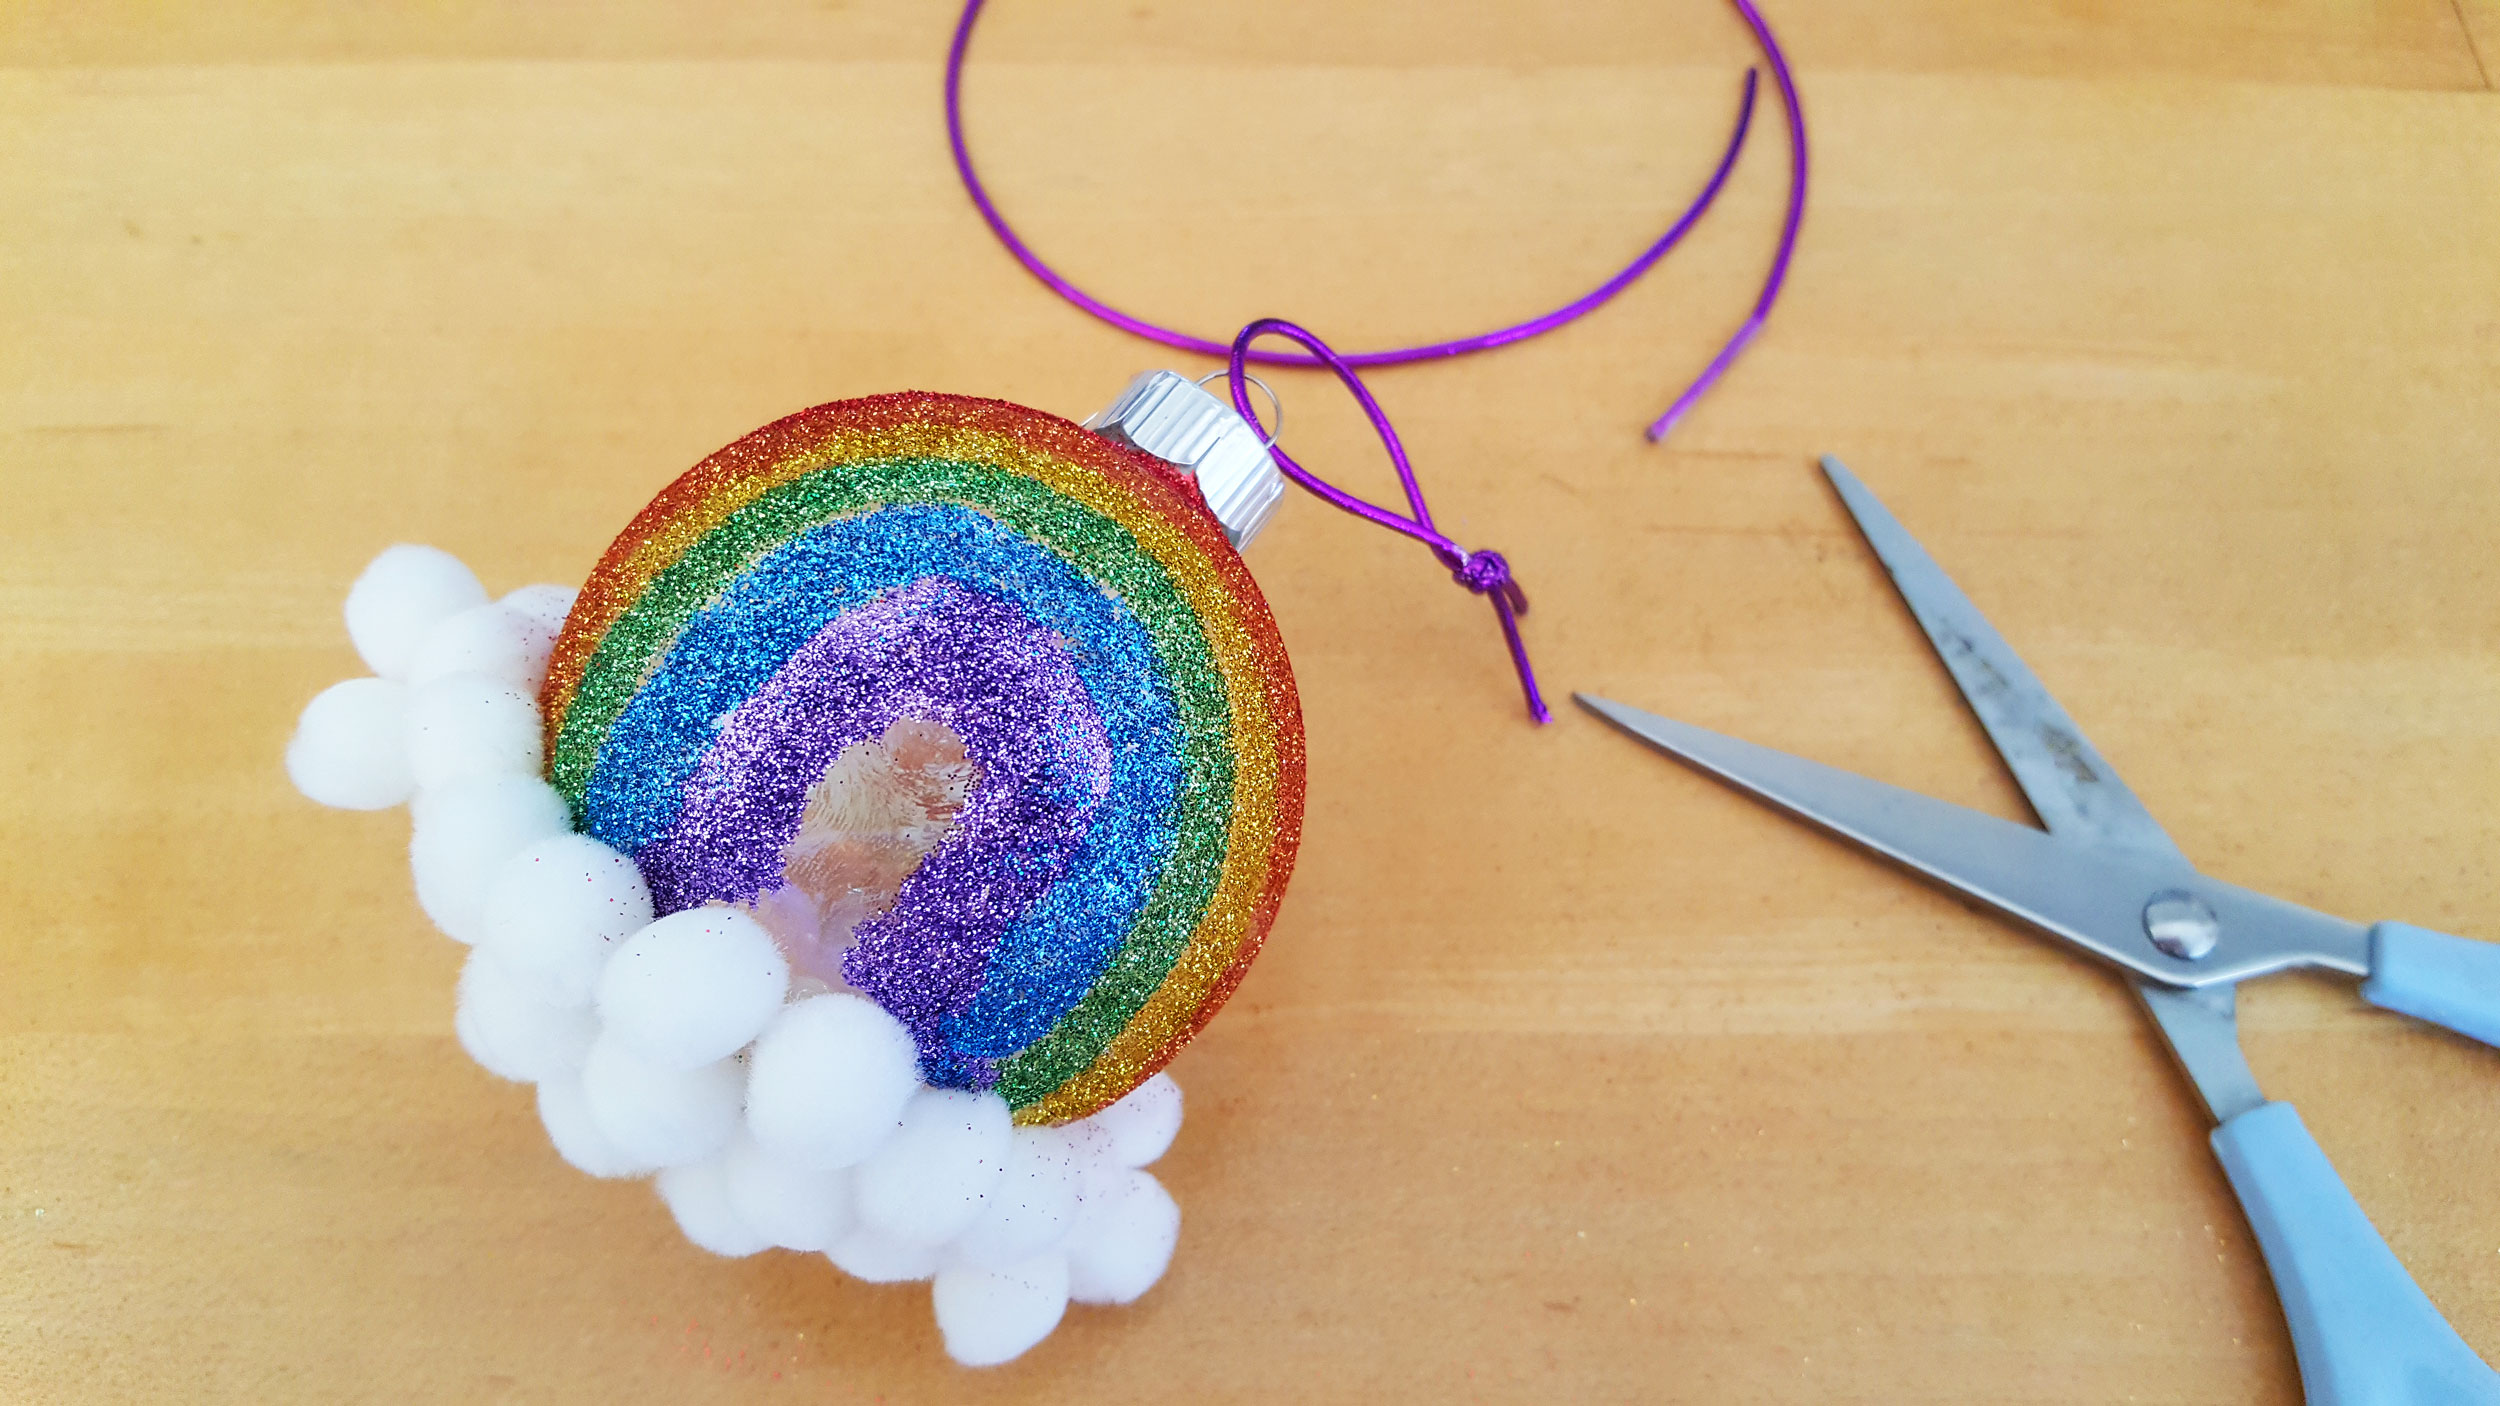
Step 5: Once the pompoms are dry and completely set, replace the ornament cap. Cut a piece of string and tie to the top of the ornament for hanging.
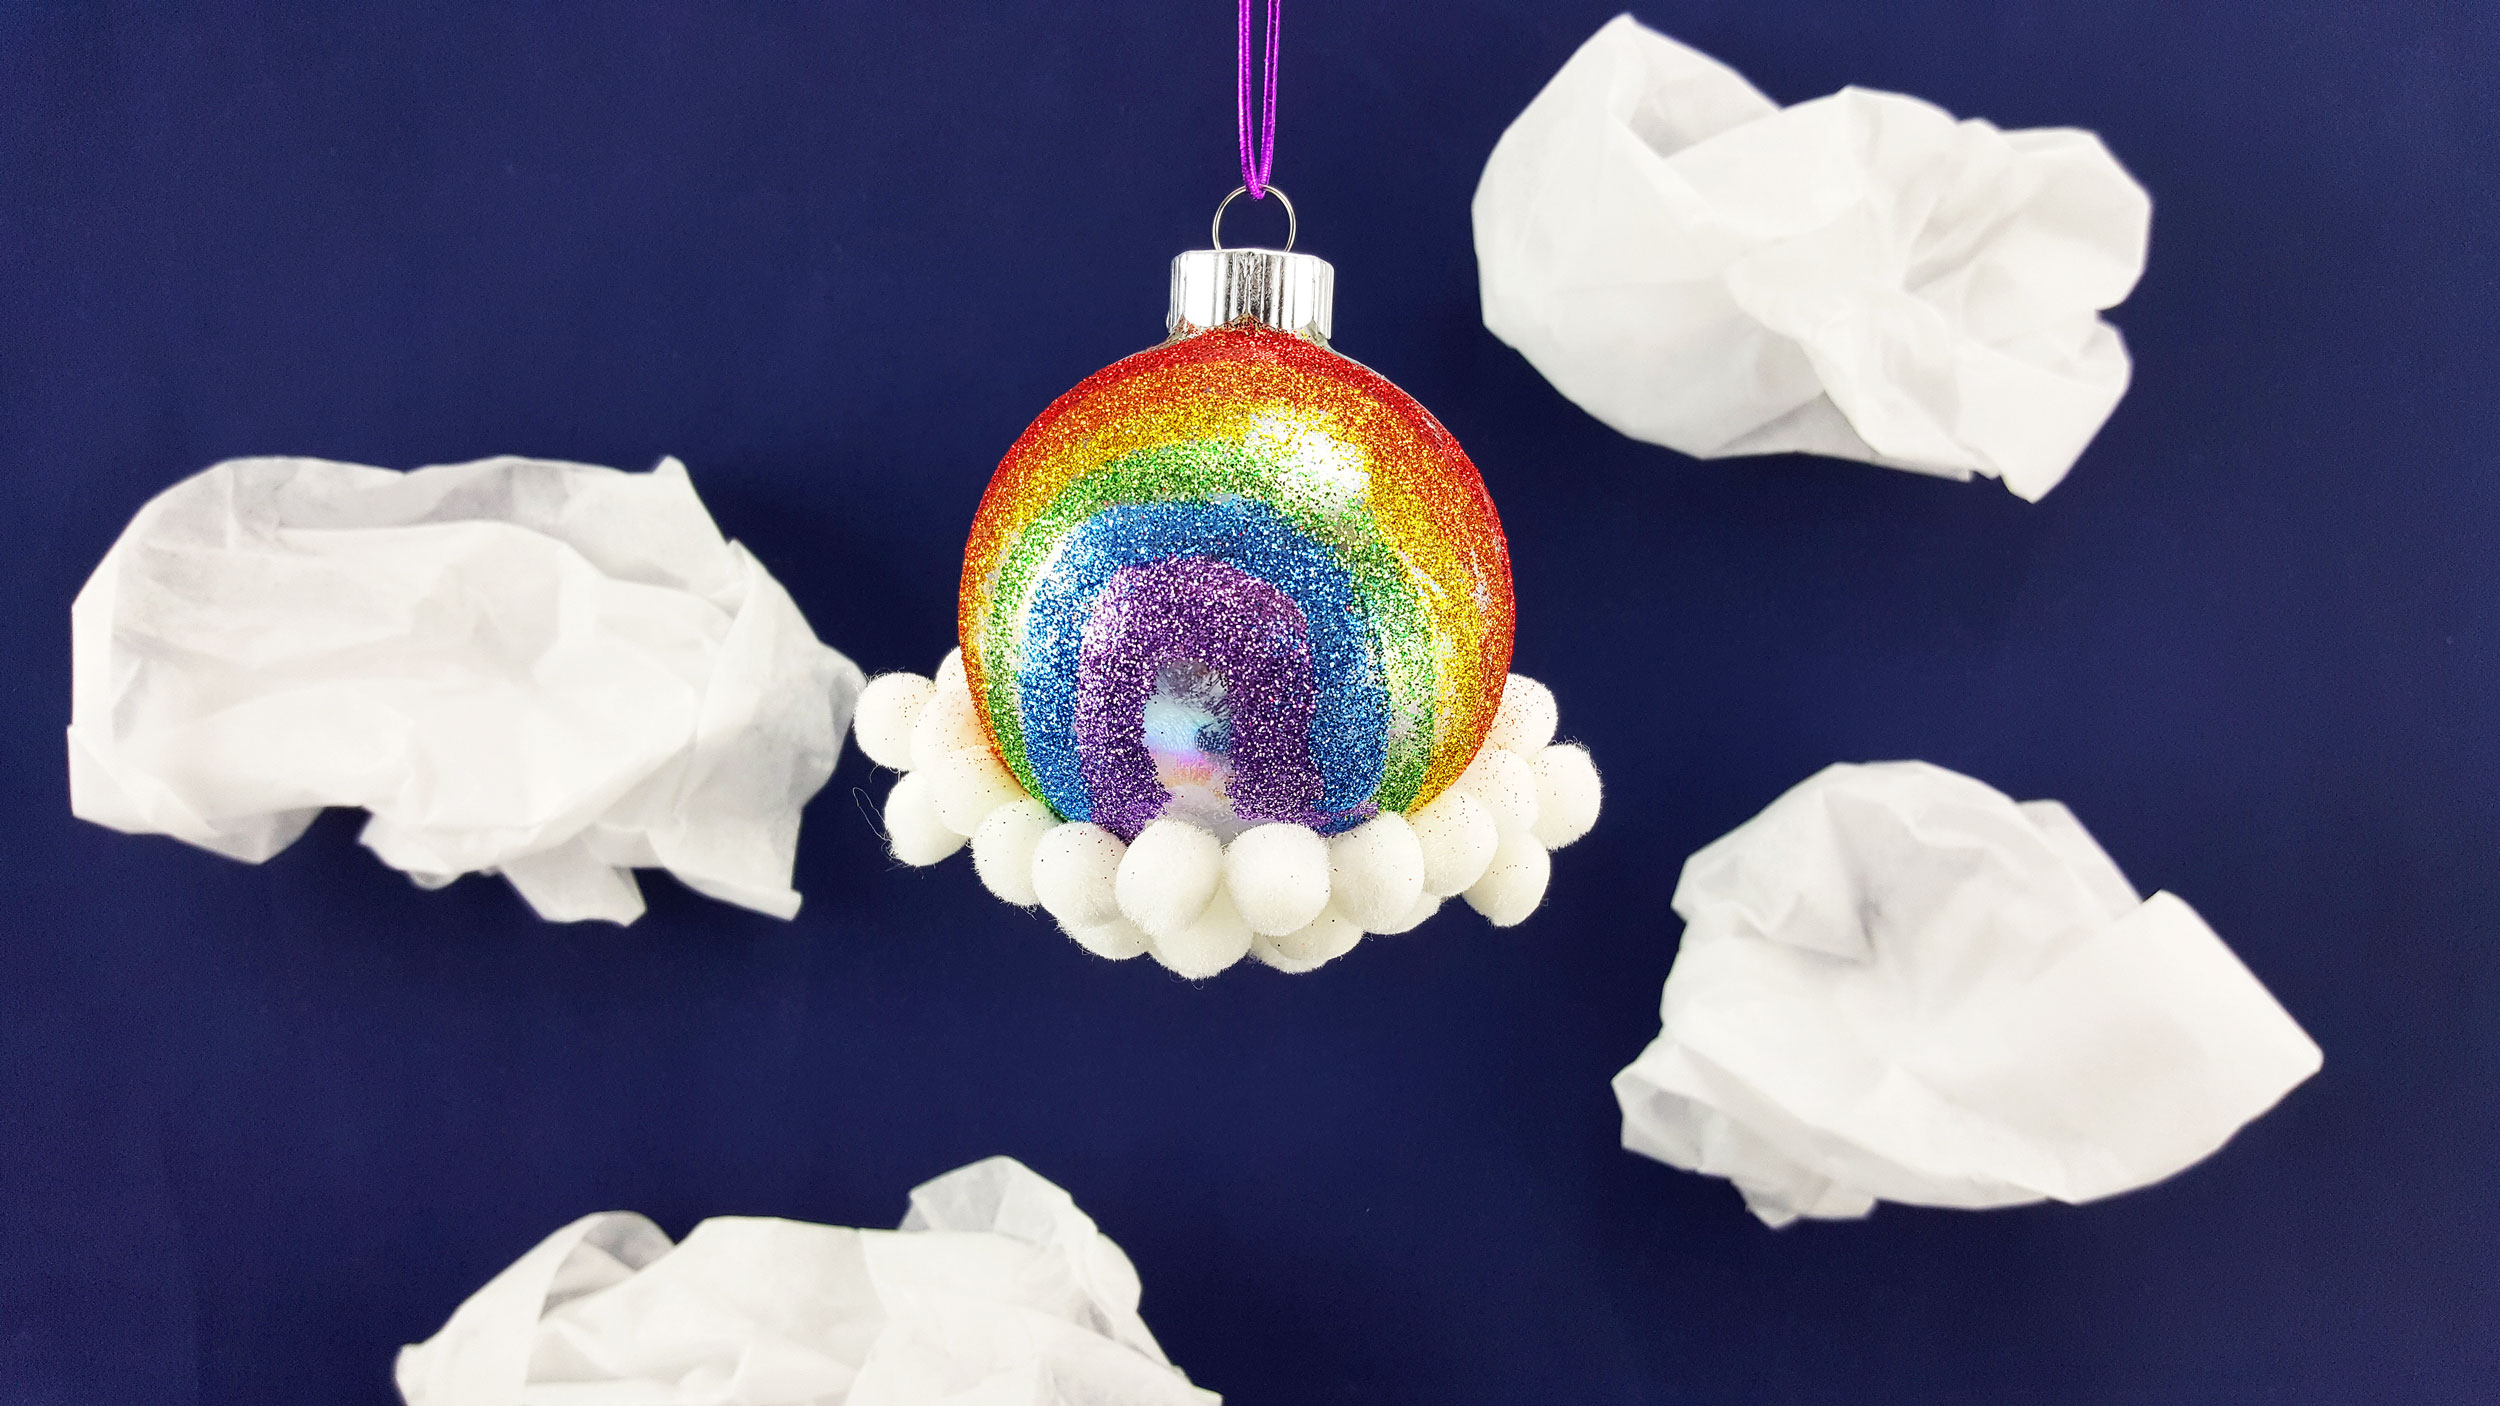
That’s it! Now your have a colorful rainbow craft that you can hang in your home from a window or ornament stand. Make a bunch of these and hang from an ornament stand. Fill the empty space at the bottom of the stand with plastic gold coins, so that it looks like the pot of gold at the end of the rainbow!
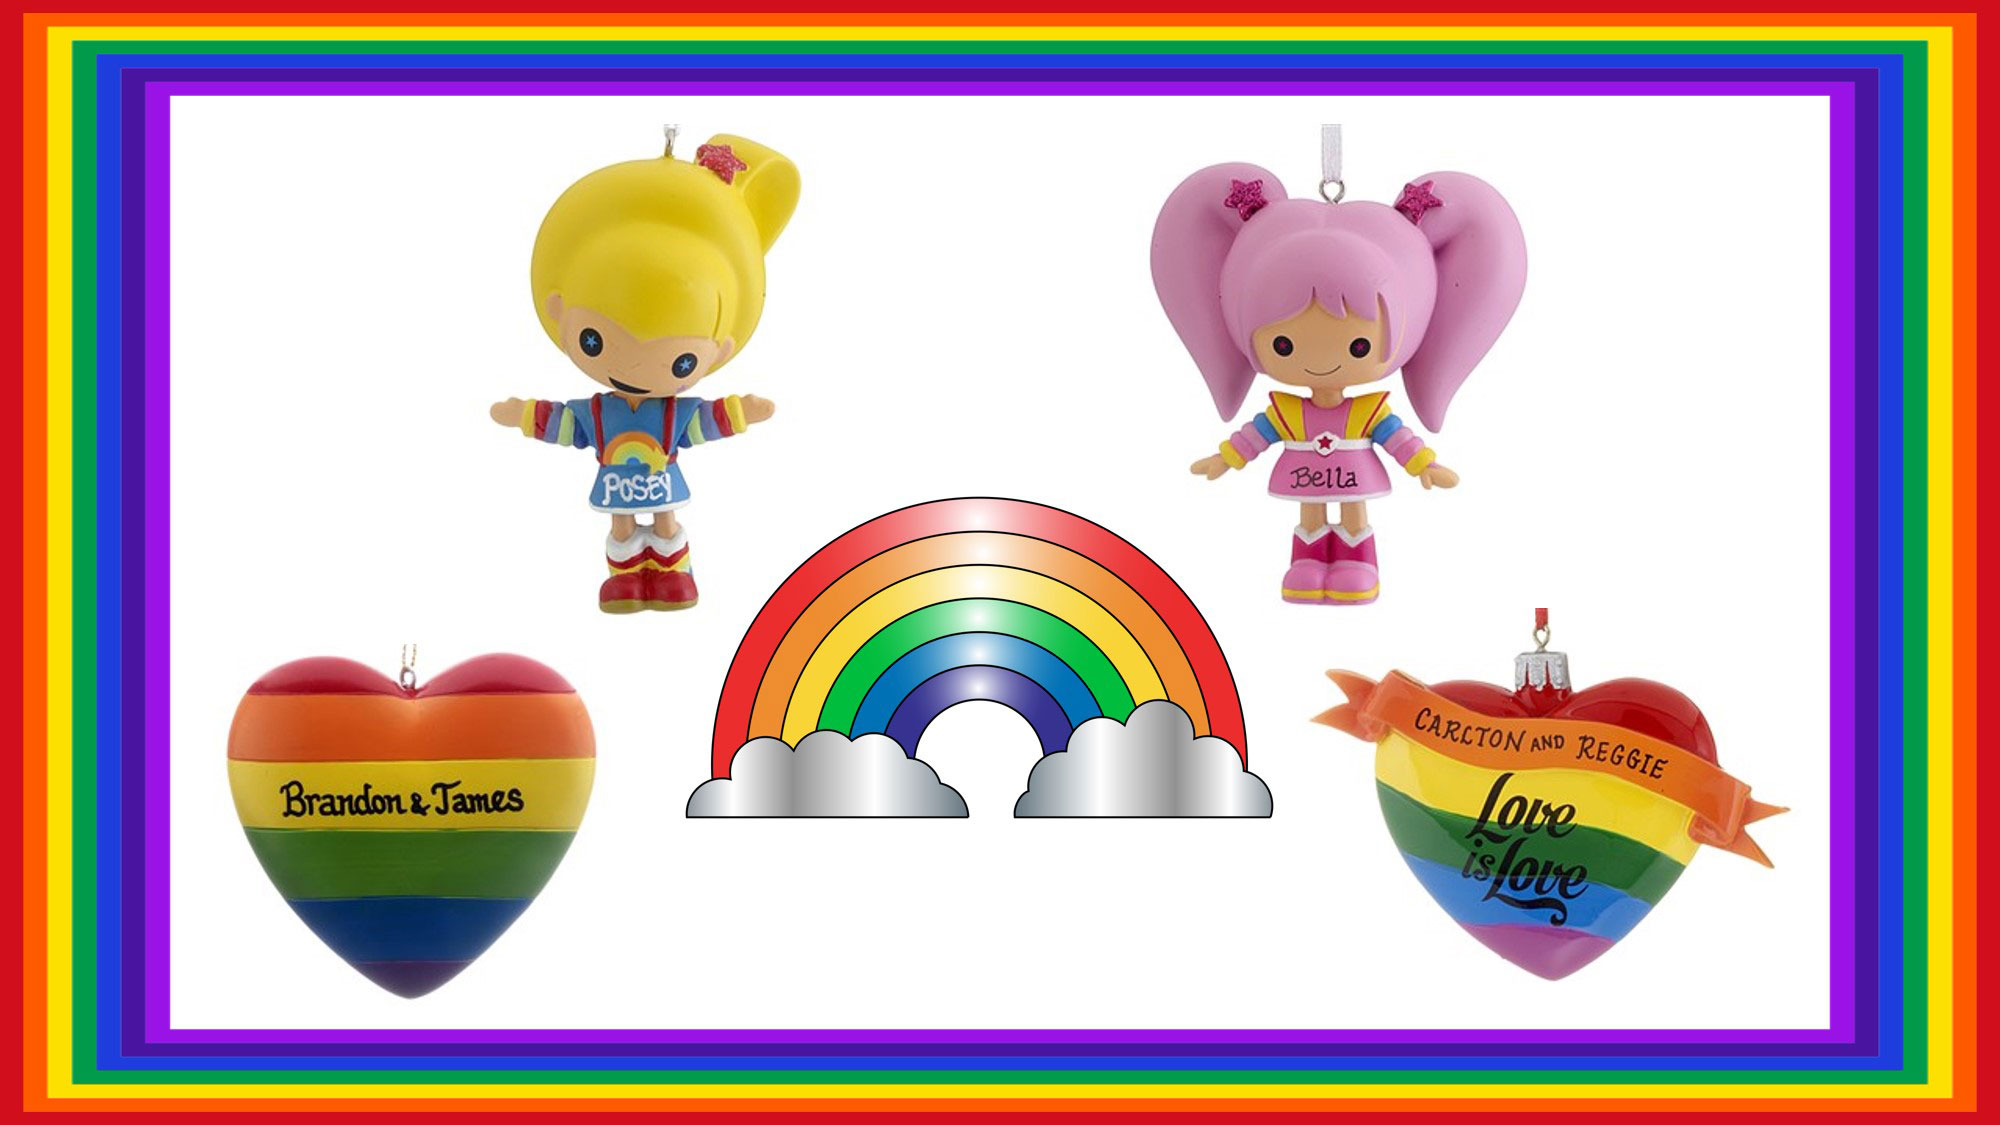
Do you love all things rainbow? If you are not into making a rainbow craft, but you love Rainbow Brite, check out our personalized rainbow ornaments that are guaranteed to make you smile!