Celebrate the Spring Season with Our DIY Sand Art Ornament!
Posted March 28, 2018 in DIY (Crafts) by Dianne Weller
Sand Art projects have been a classroom favorite activity for children for decades. Children color in pictures using glue and colored sand. Sand art has even become popular with adults who use this simple technique to decorate and embellish artwork in their homes.
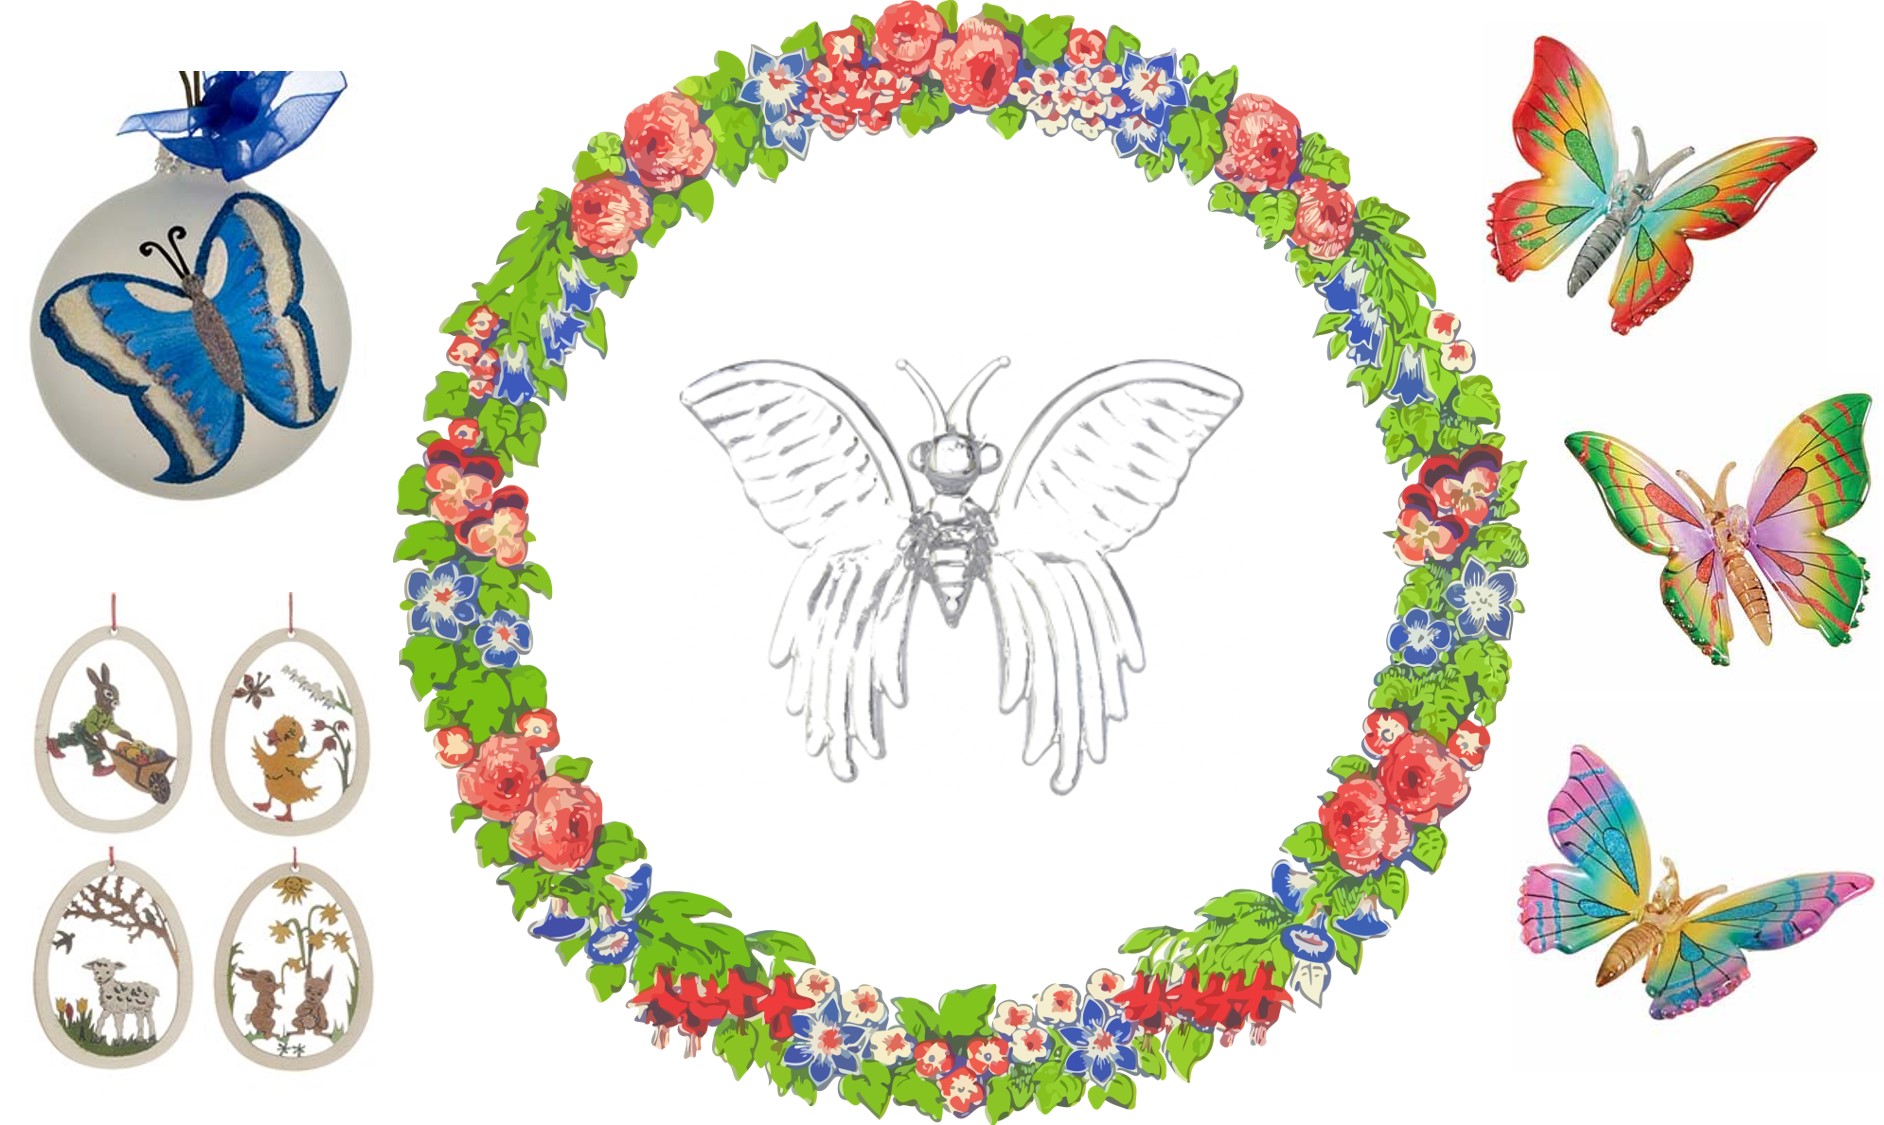
Since there are only so many places you can hang your sand art masterpieces, we came up with idea to hang them on your tree as Christmas ornaments. You can do all shapes and colors for the holidays and your children will enjoy getting creative. Even spring or Easter trees can use some sand art ornaments in bright colors to fill in around the bunny ornaments and egg ornaments!
DIY Sand Art Ornaments Are So Easy To Do!
Here, we show you how to make a sand art butterfly ornament that is perfect for hanging around your home now that spring has sprung, or you can wait and save them to decorate your Christmas tree in the winter. There are very few supplies needed and each one you make is a work of art. Sand art is a great family craft activity or even a fun classroom project!
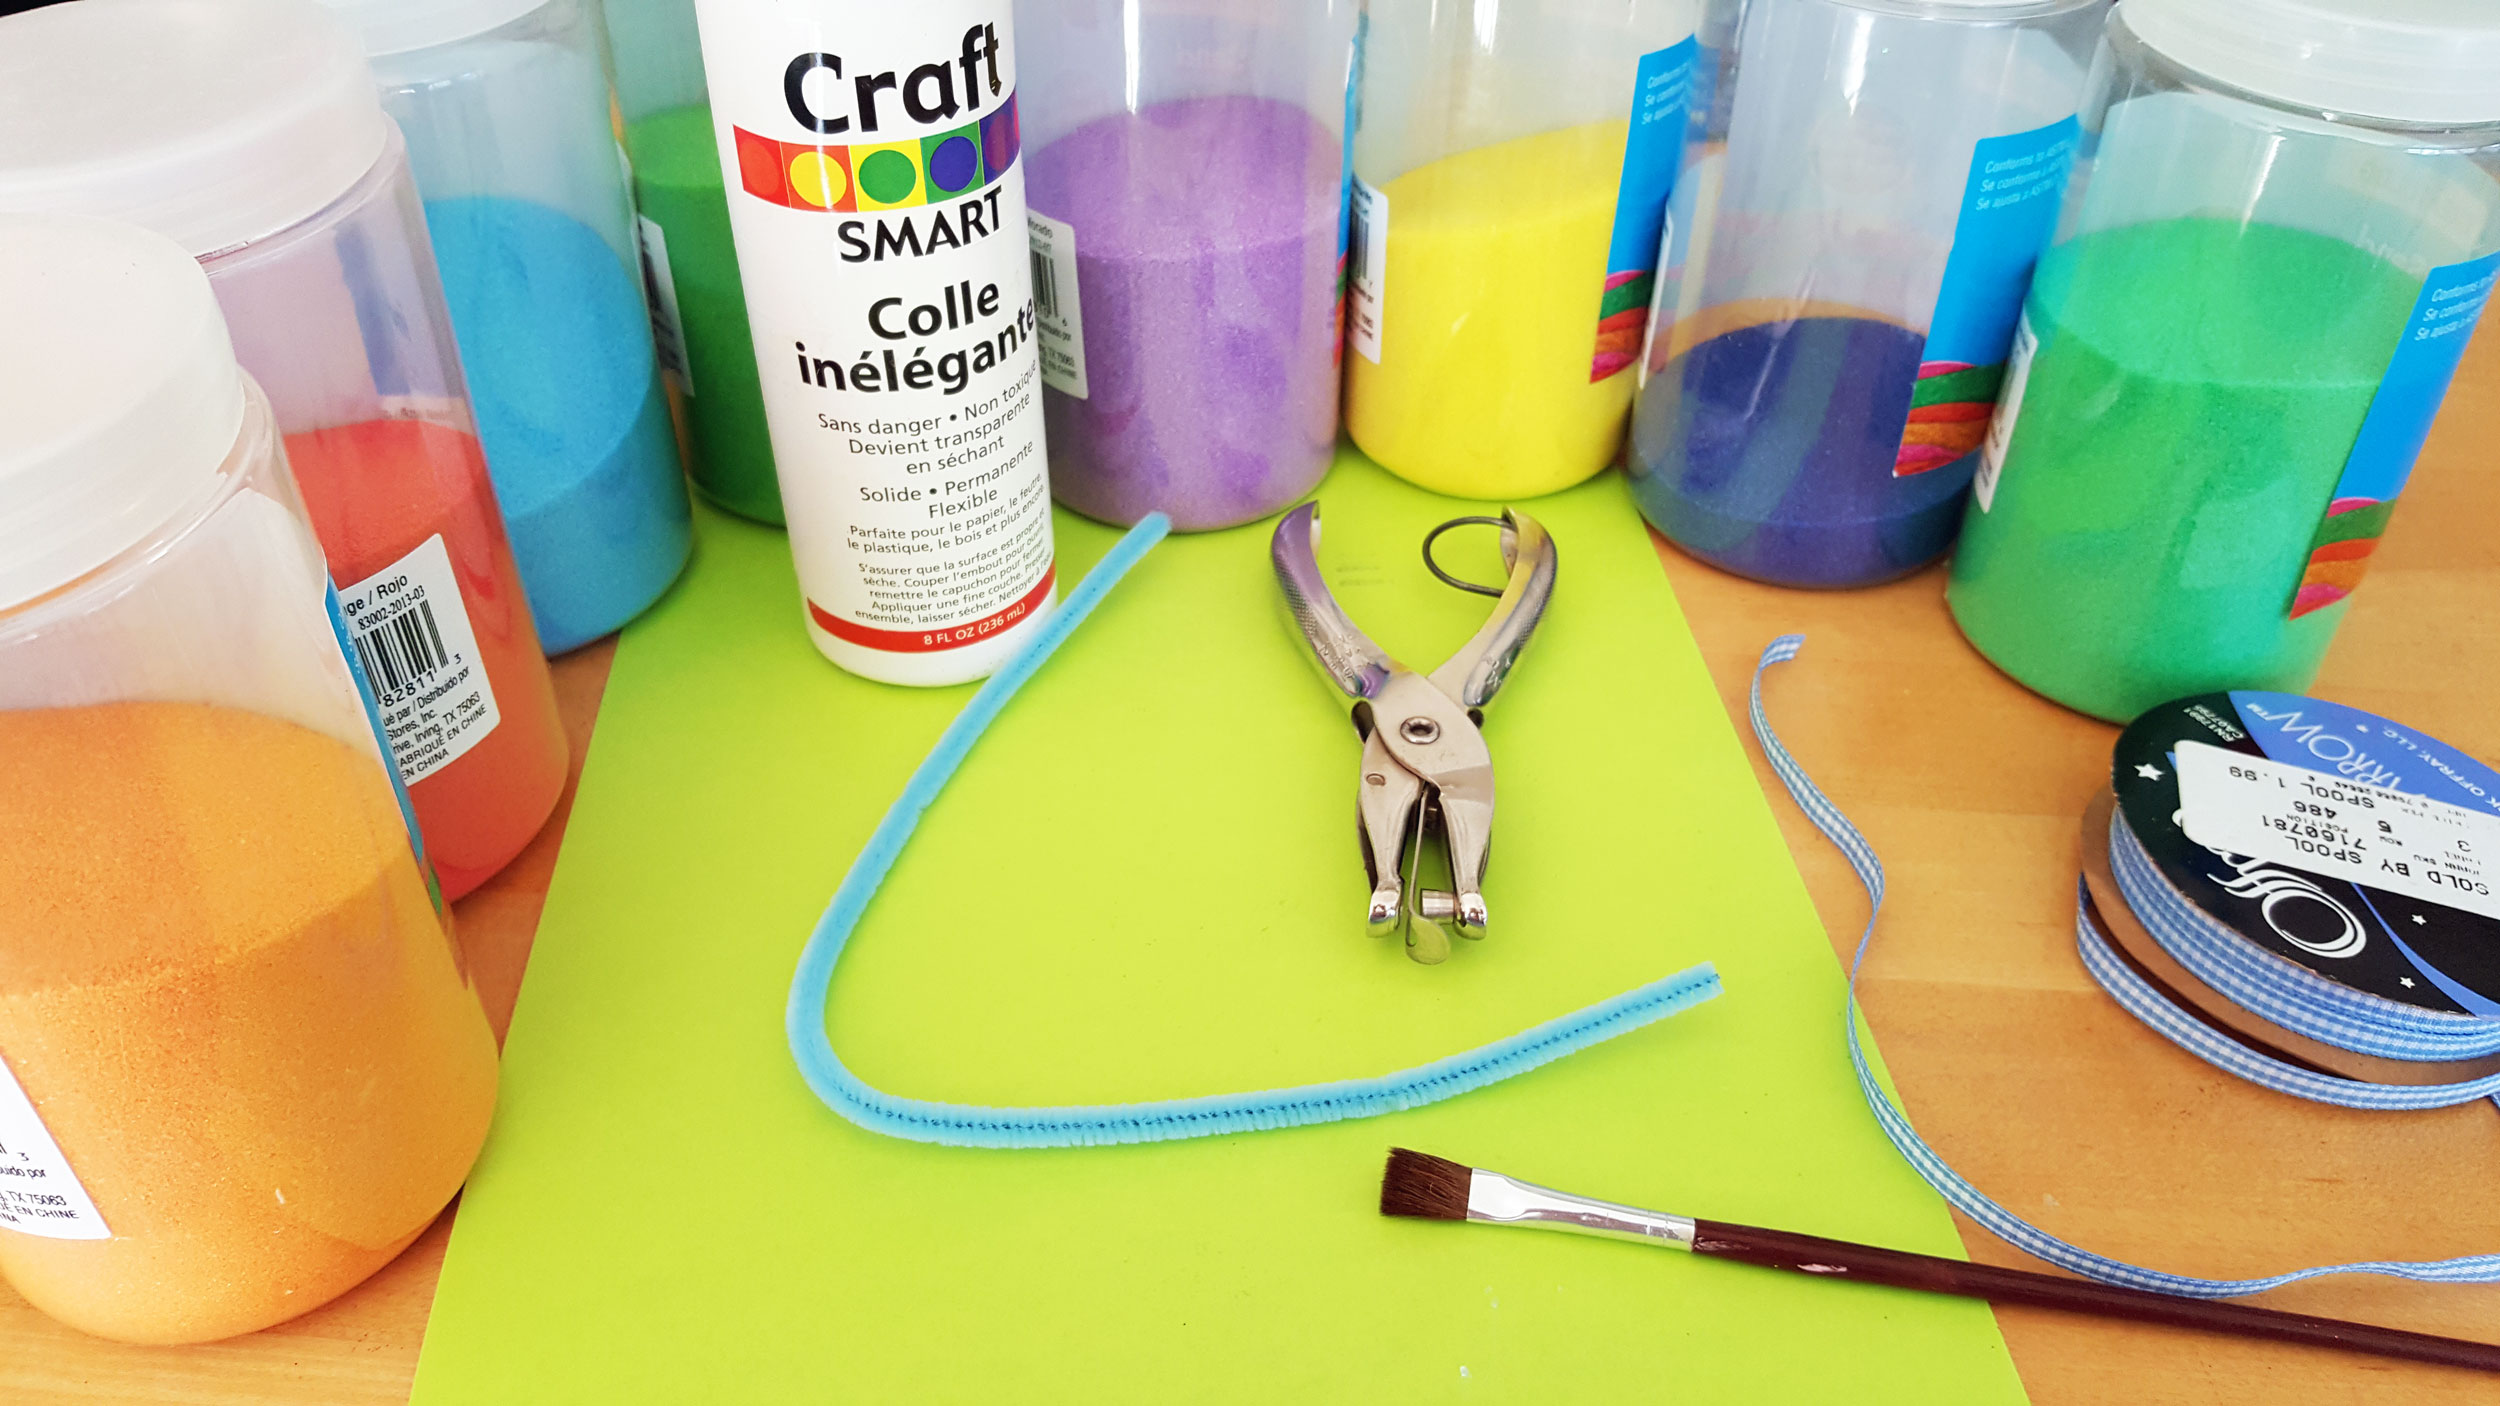
Supplies:
- Cardstock paper
- Scissors
- Colored sand
- Glue
- Paintbrush
- Hole puncher
- Pipe cleaners
- Ribbon
Sand Art Ornament Steps 1-5
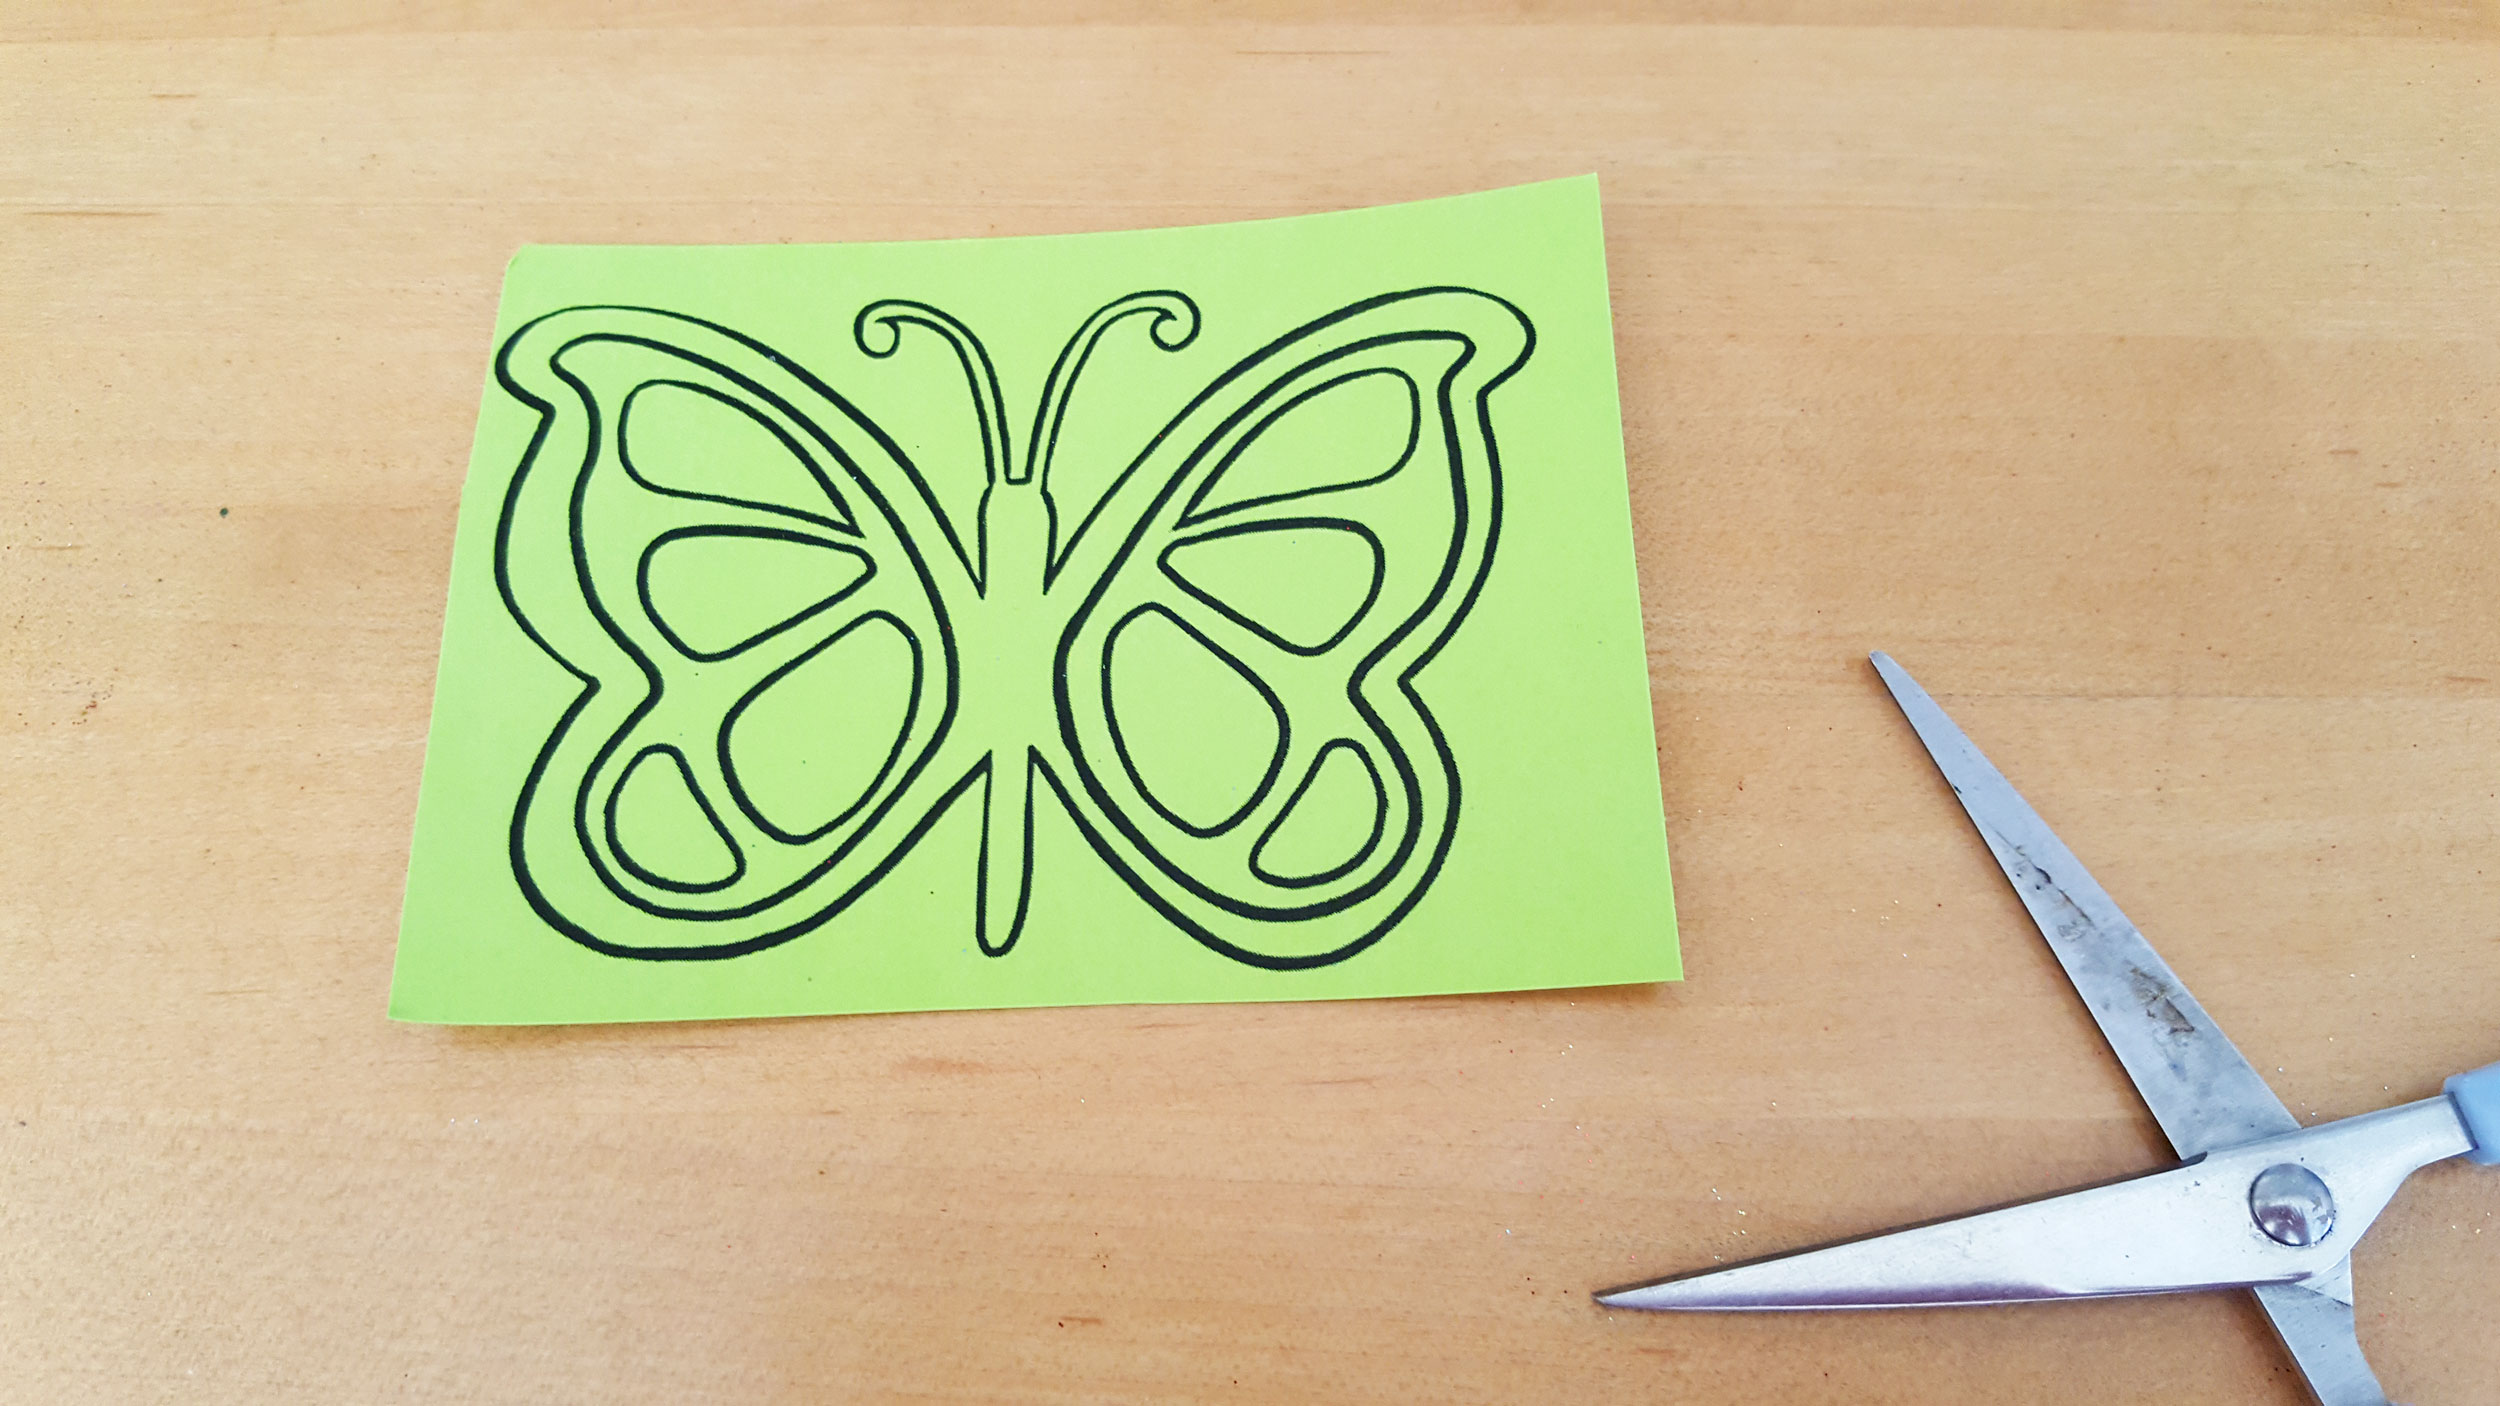
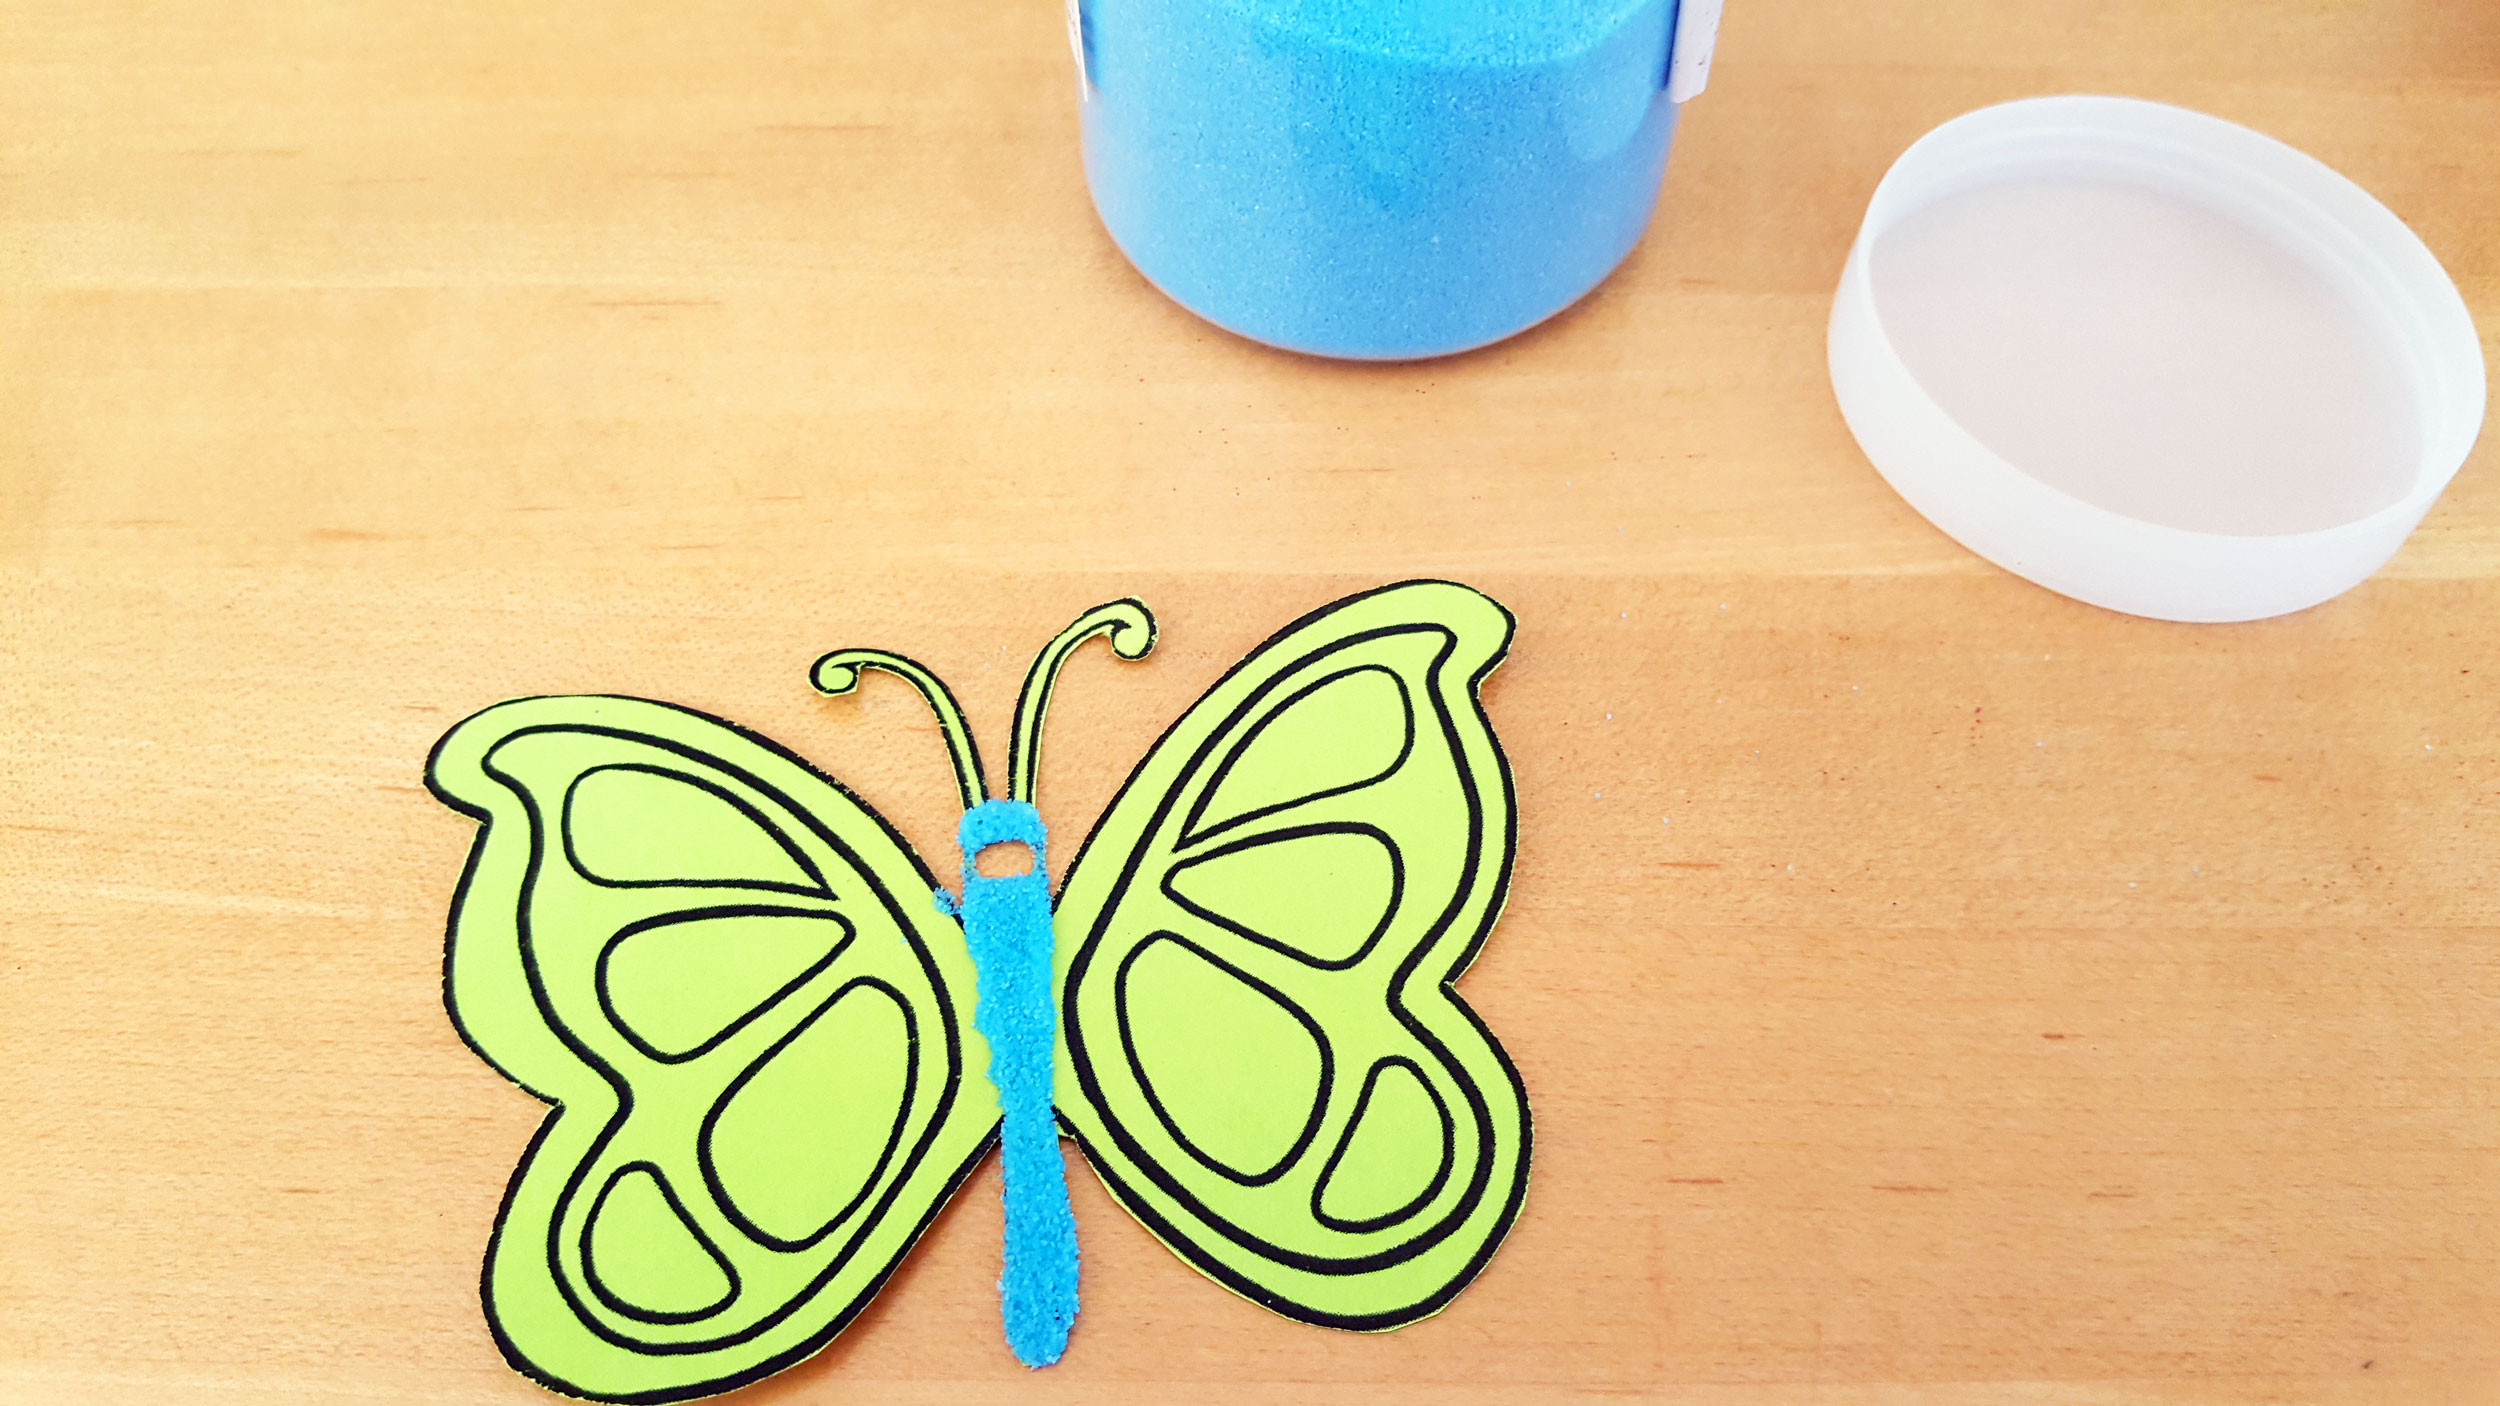
Step 1: Go online and find a coloring page image of the shape that you want to make for your ornament. We chose a simple butterfly design. Then, print the design out on the cardstock paper.
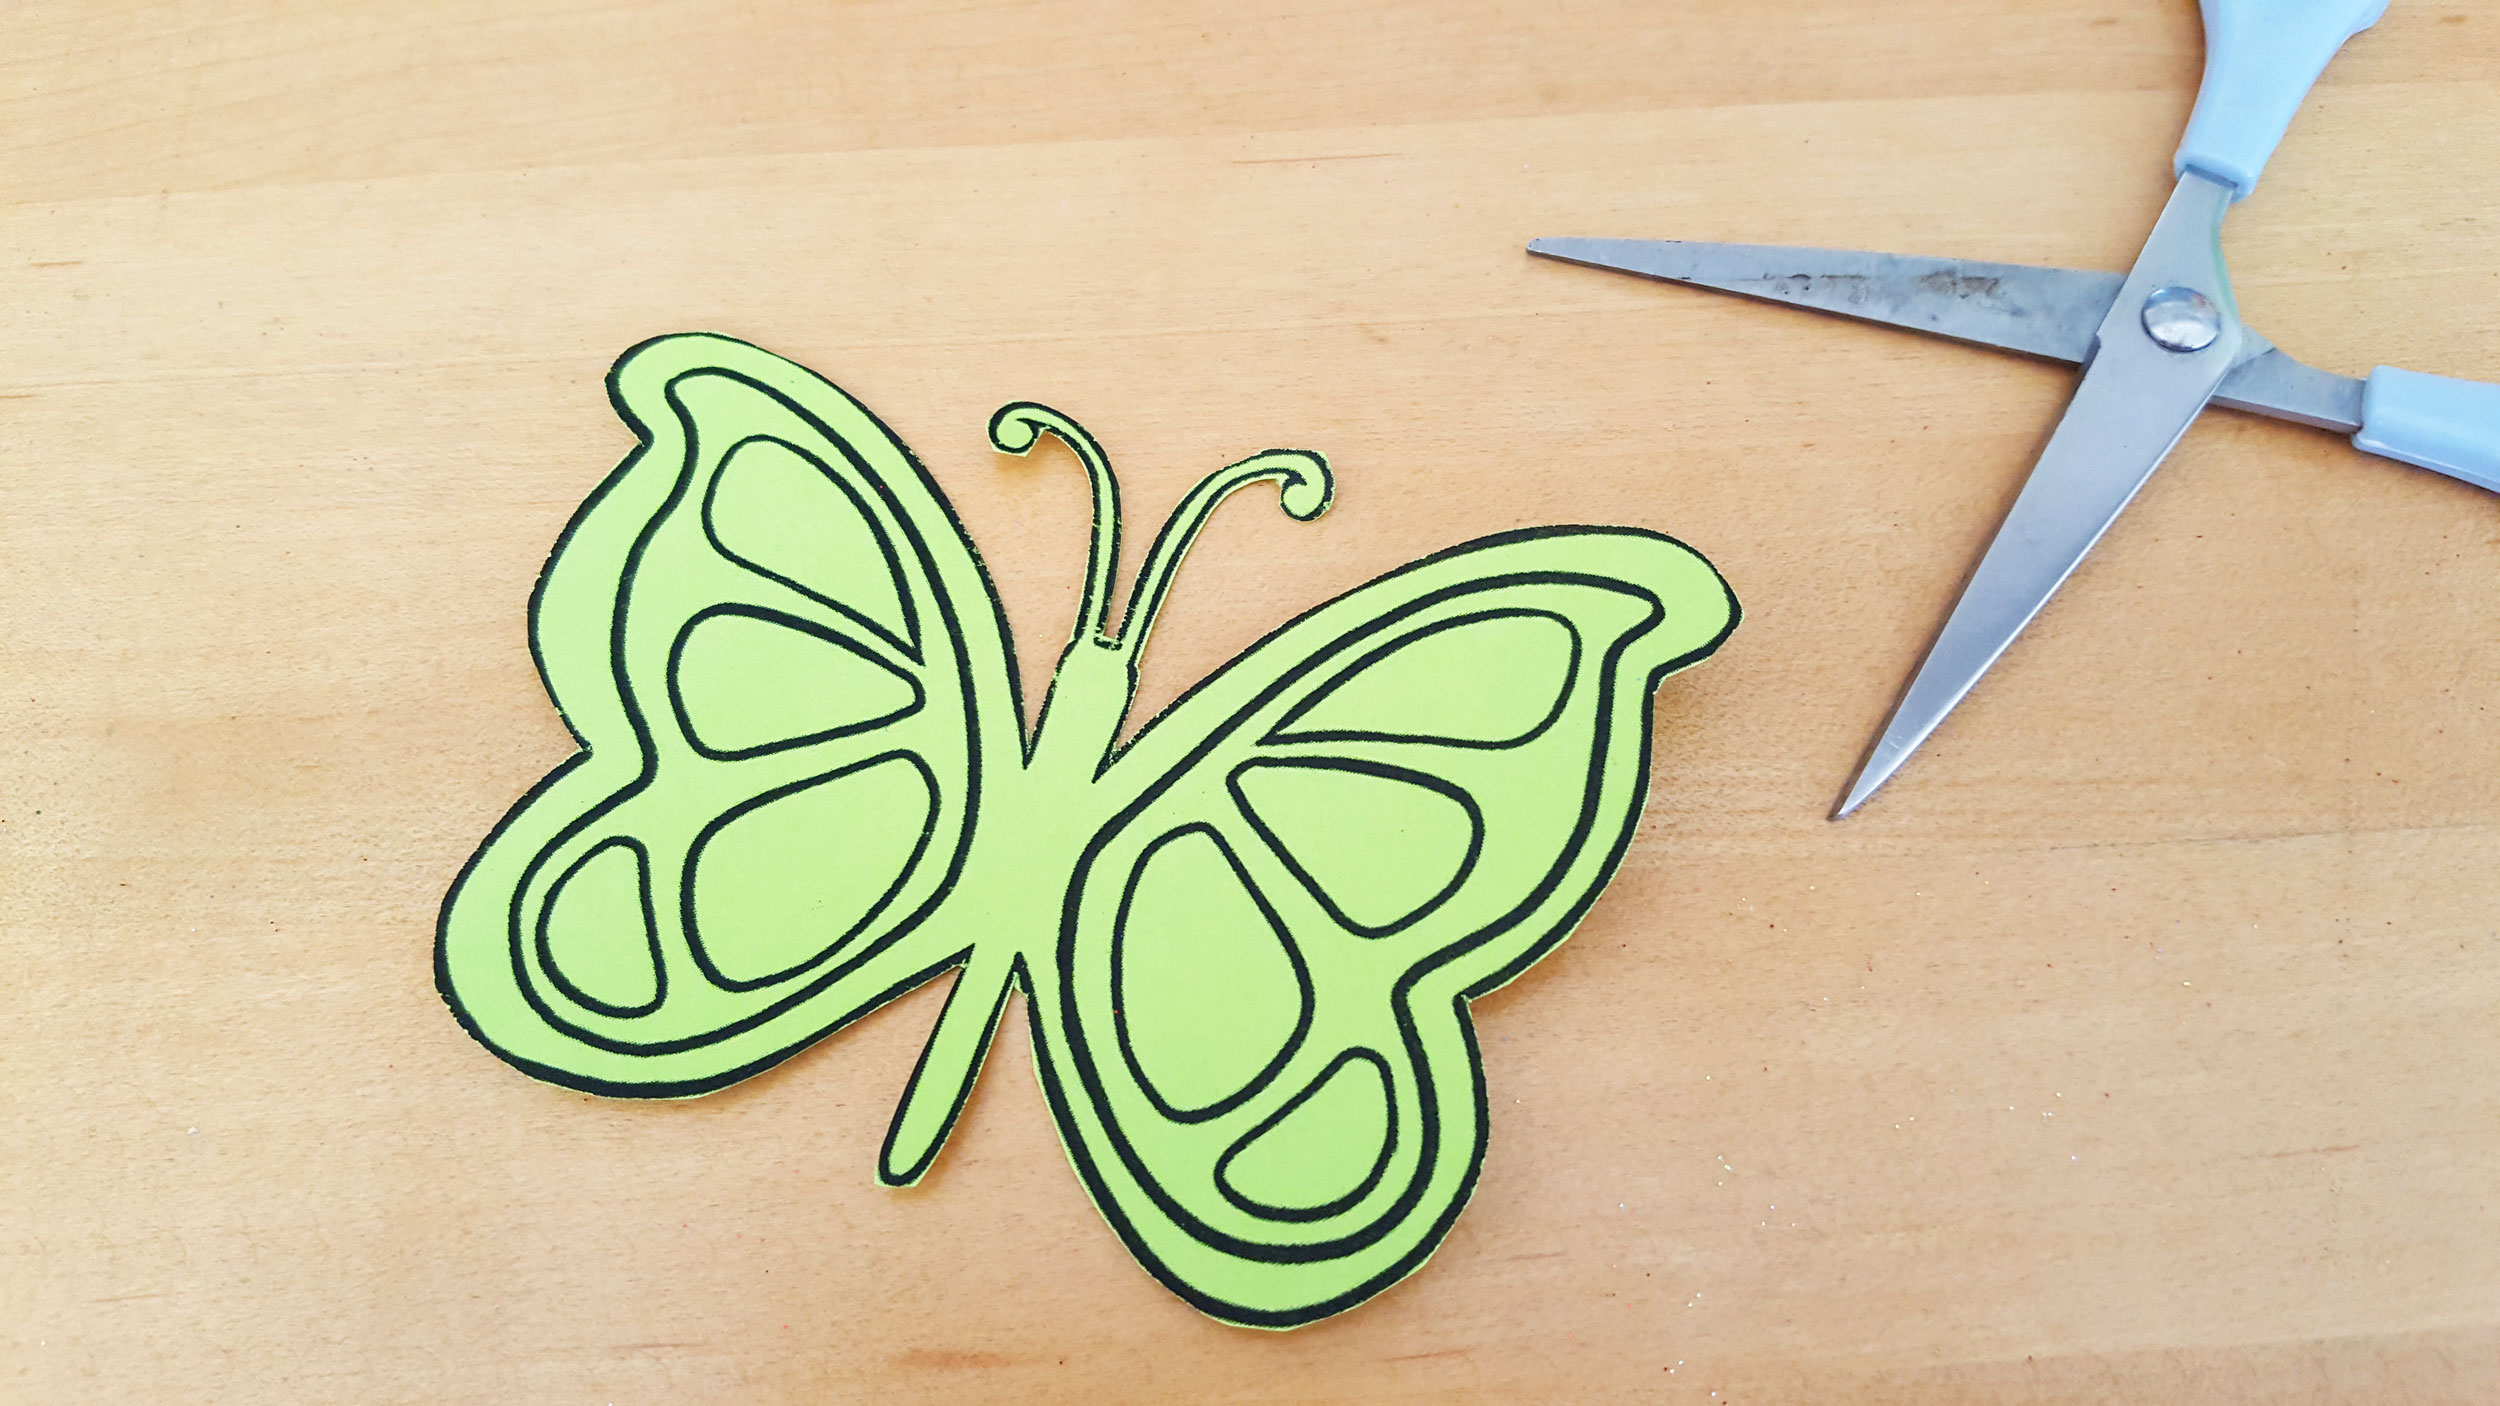
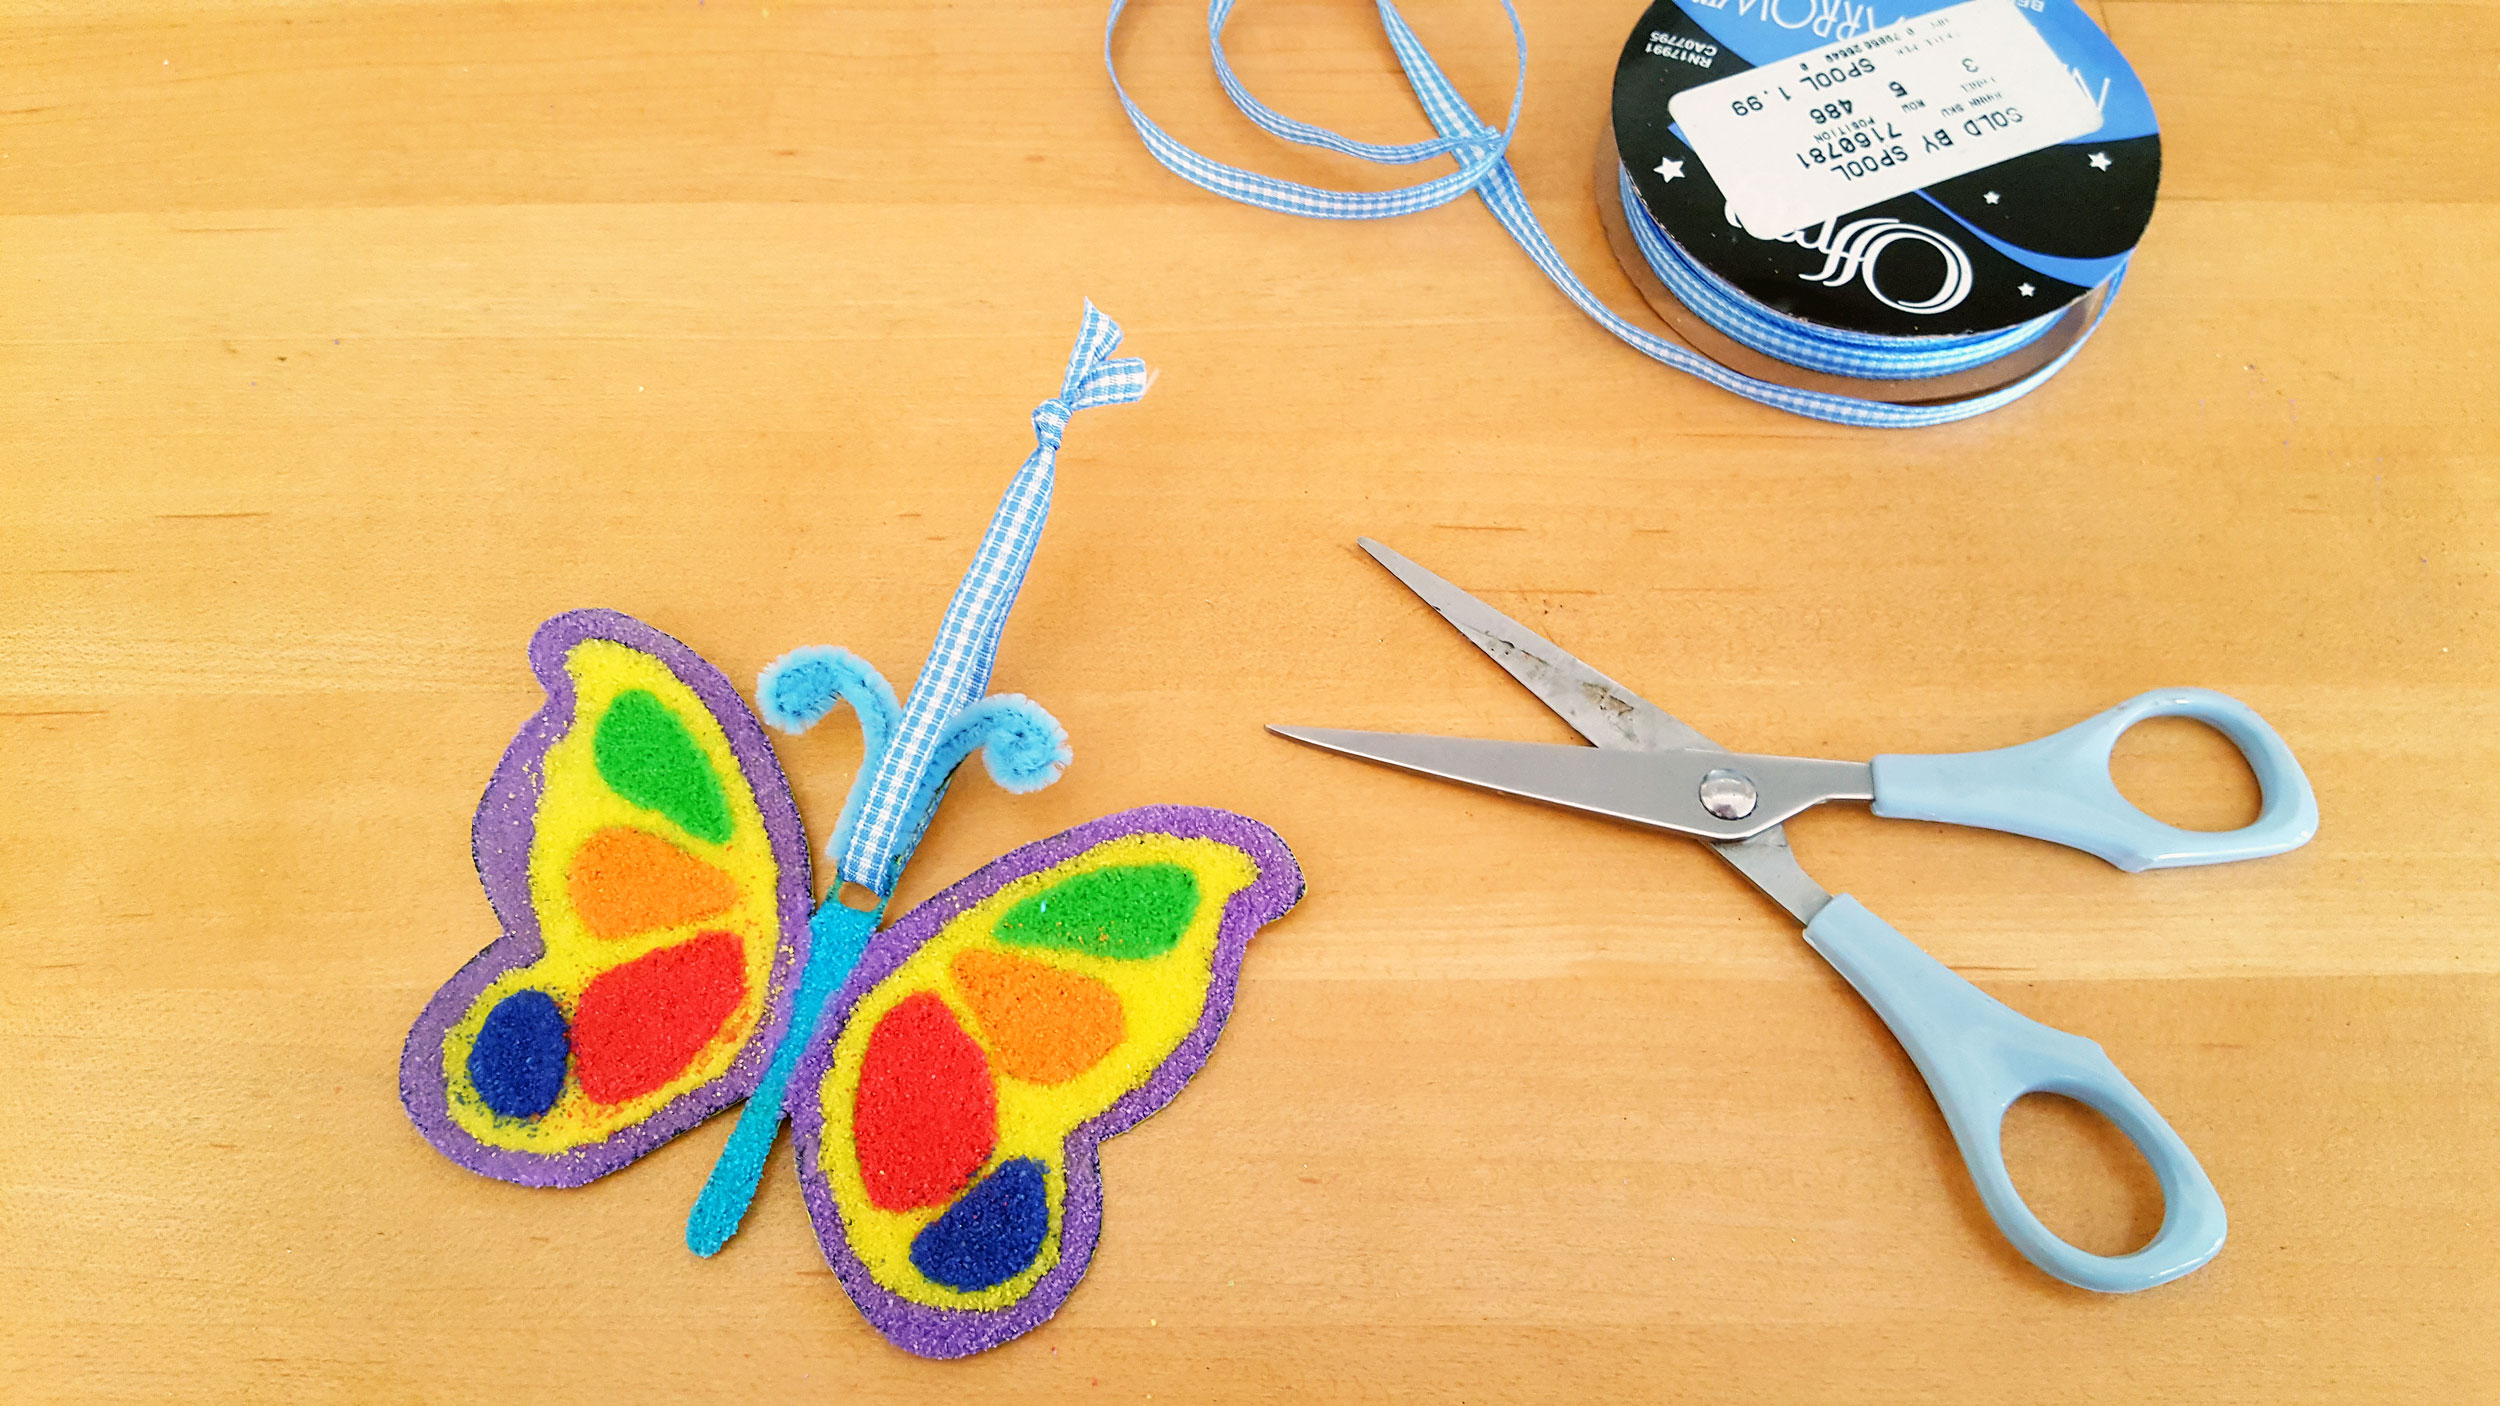
Step 2: Next, carefully cut out your design with scissors. If the design you selected has small pieces that stick out and are difficult to cut around (such as the butterfly antennae), you might need to help young children.
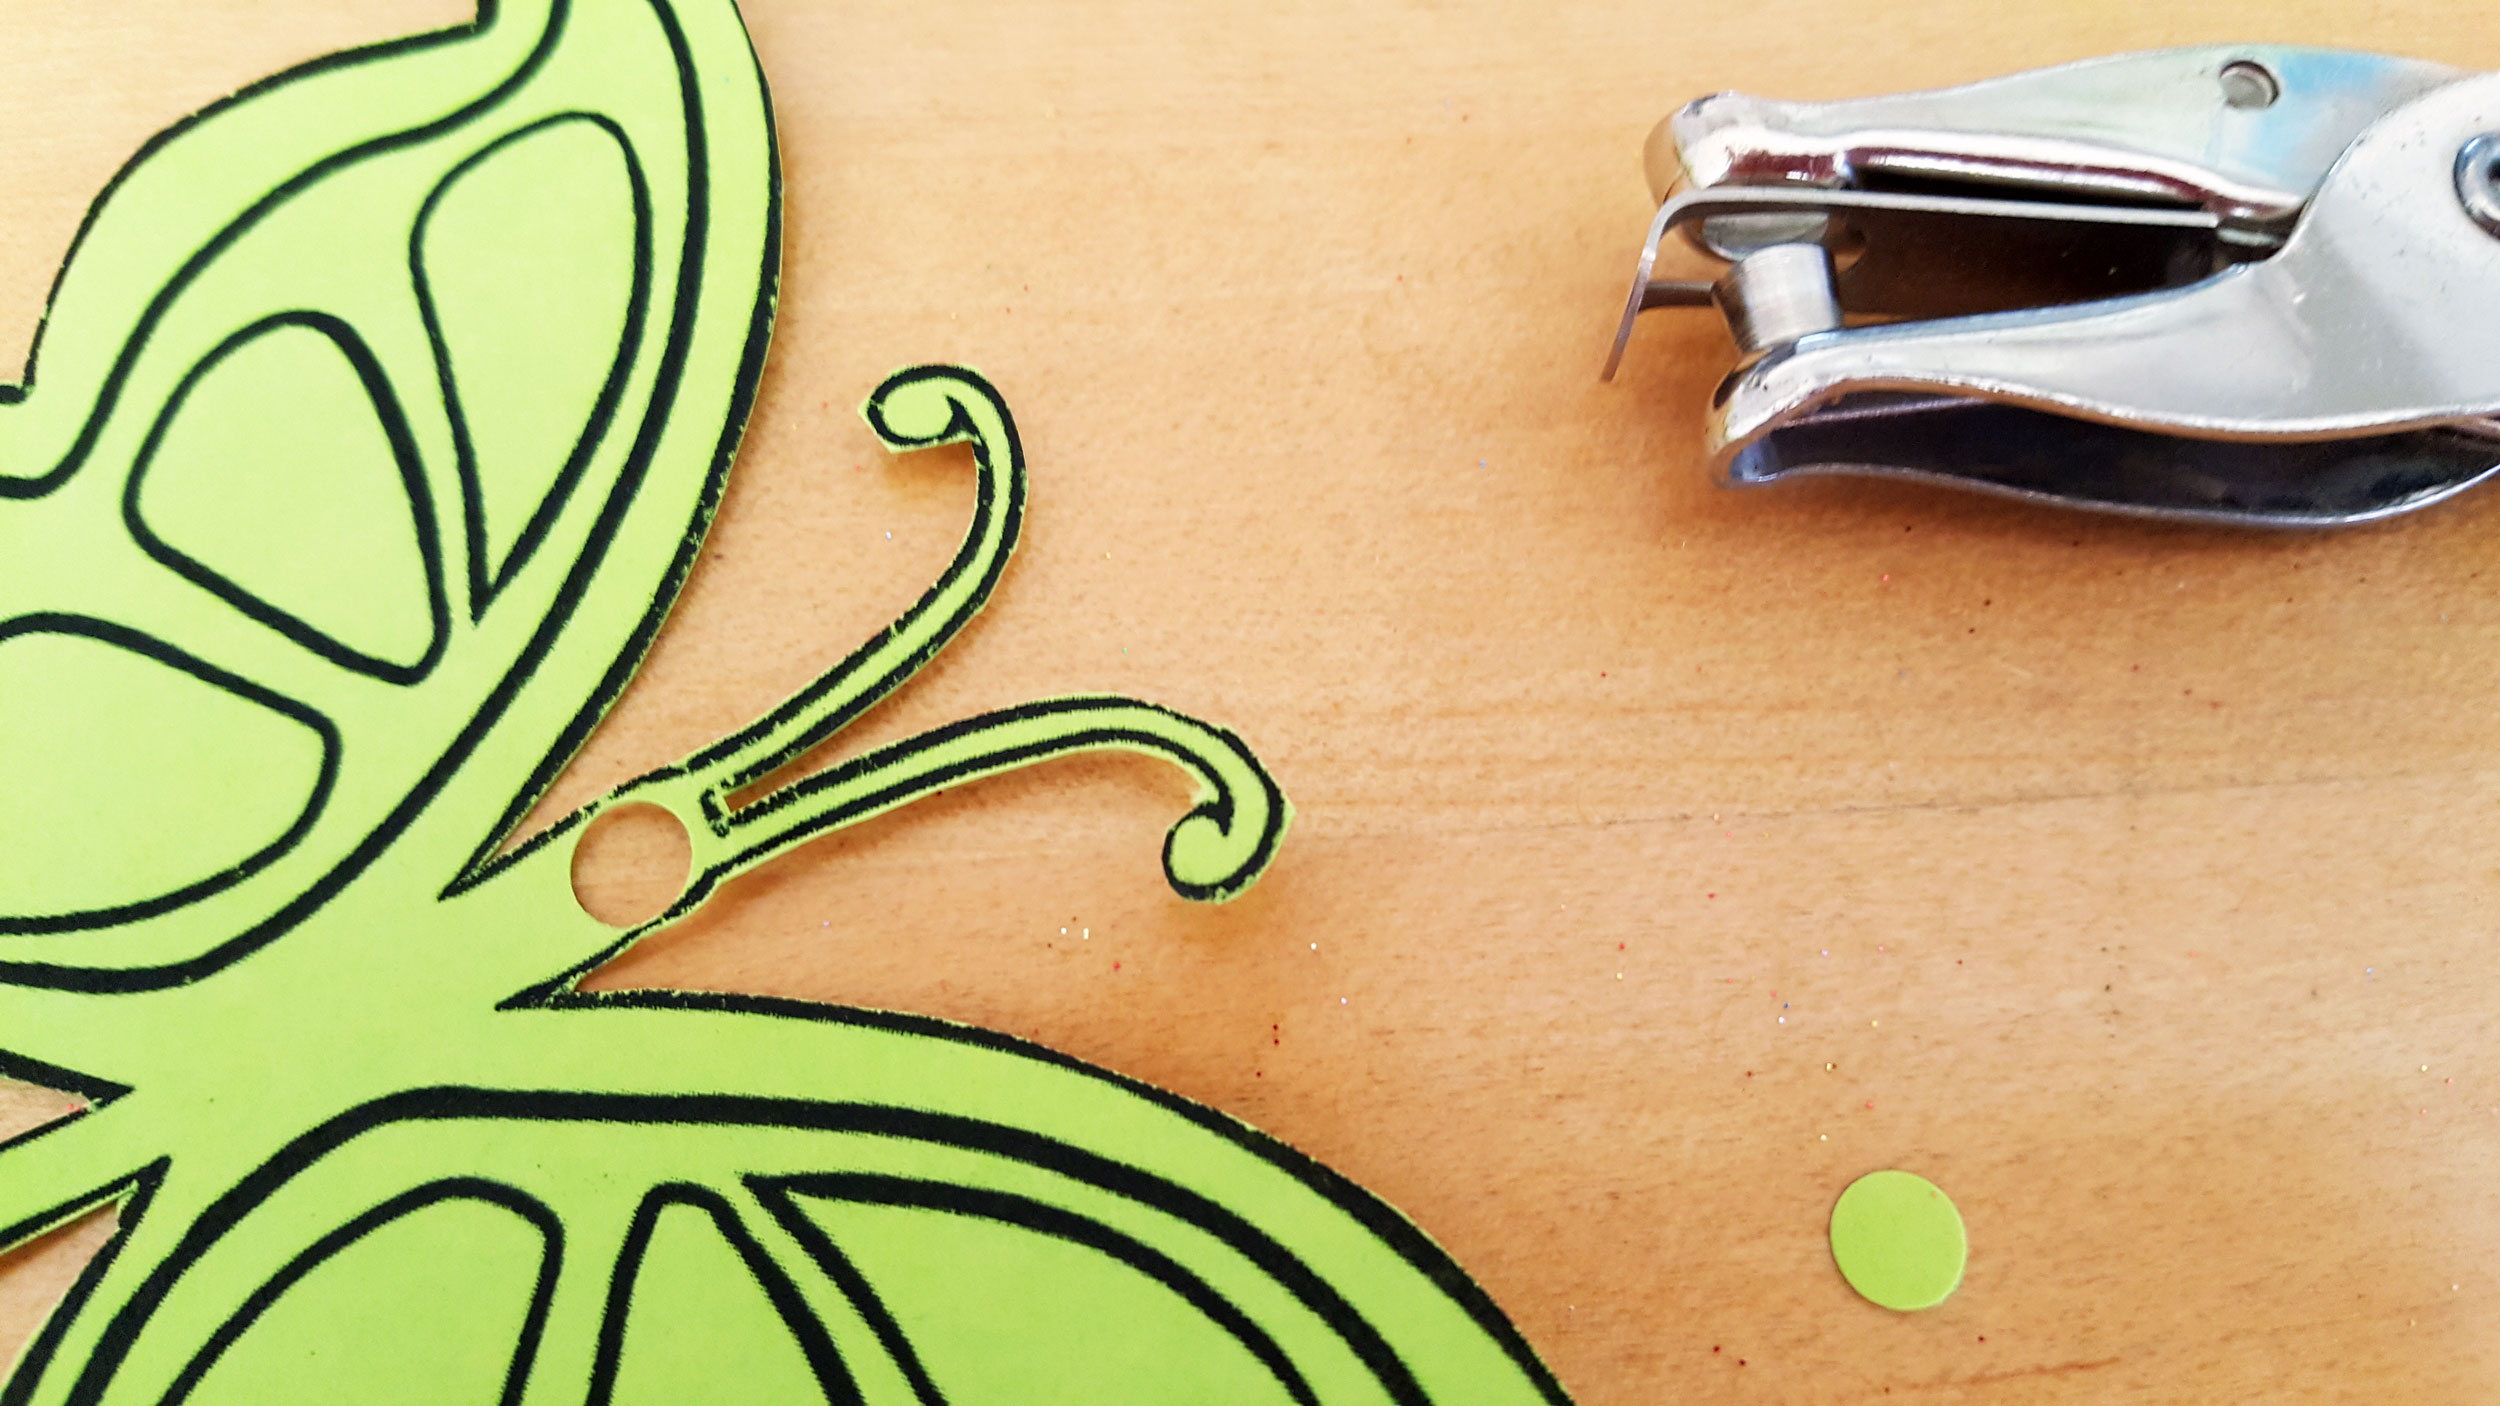
Step 3: Since this is an ornament, you need to make sure to use the hole puncher to create a hole that will hang your ornament later. It is important to punch this now as it will be difficult to do once the sand is dry.
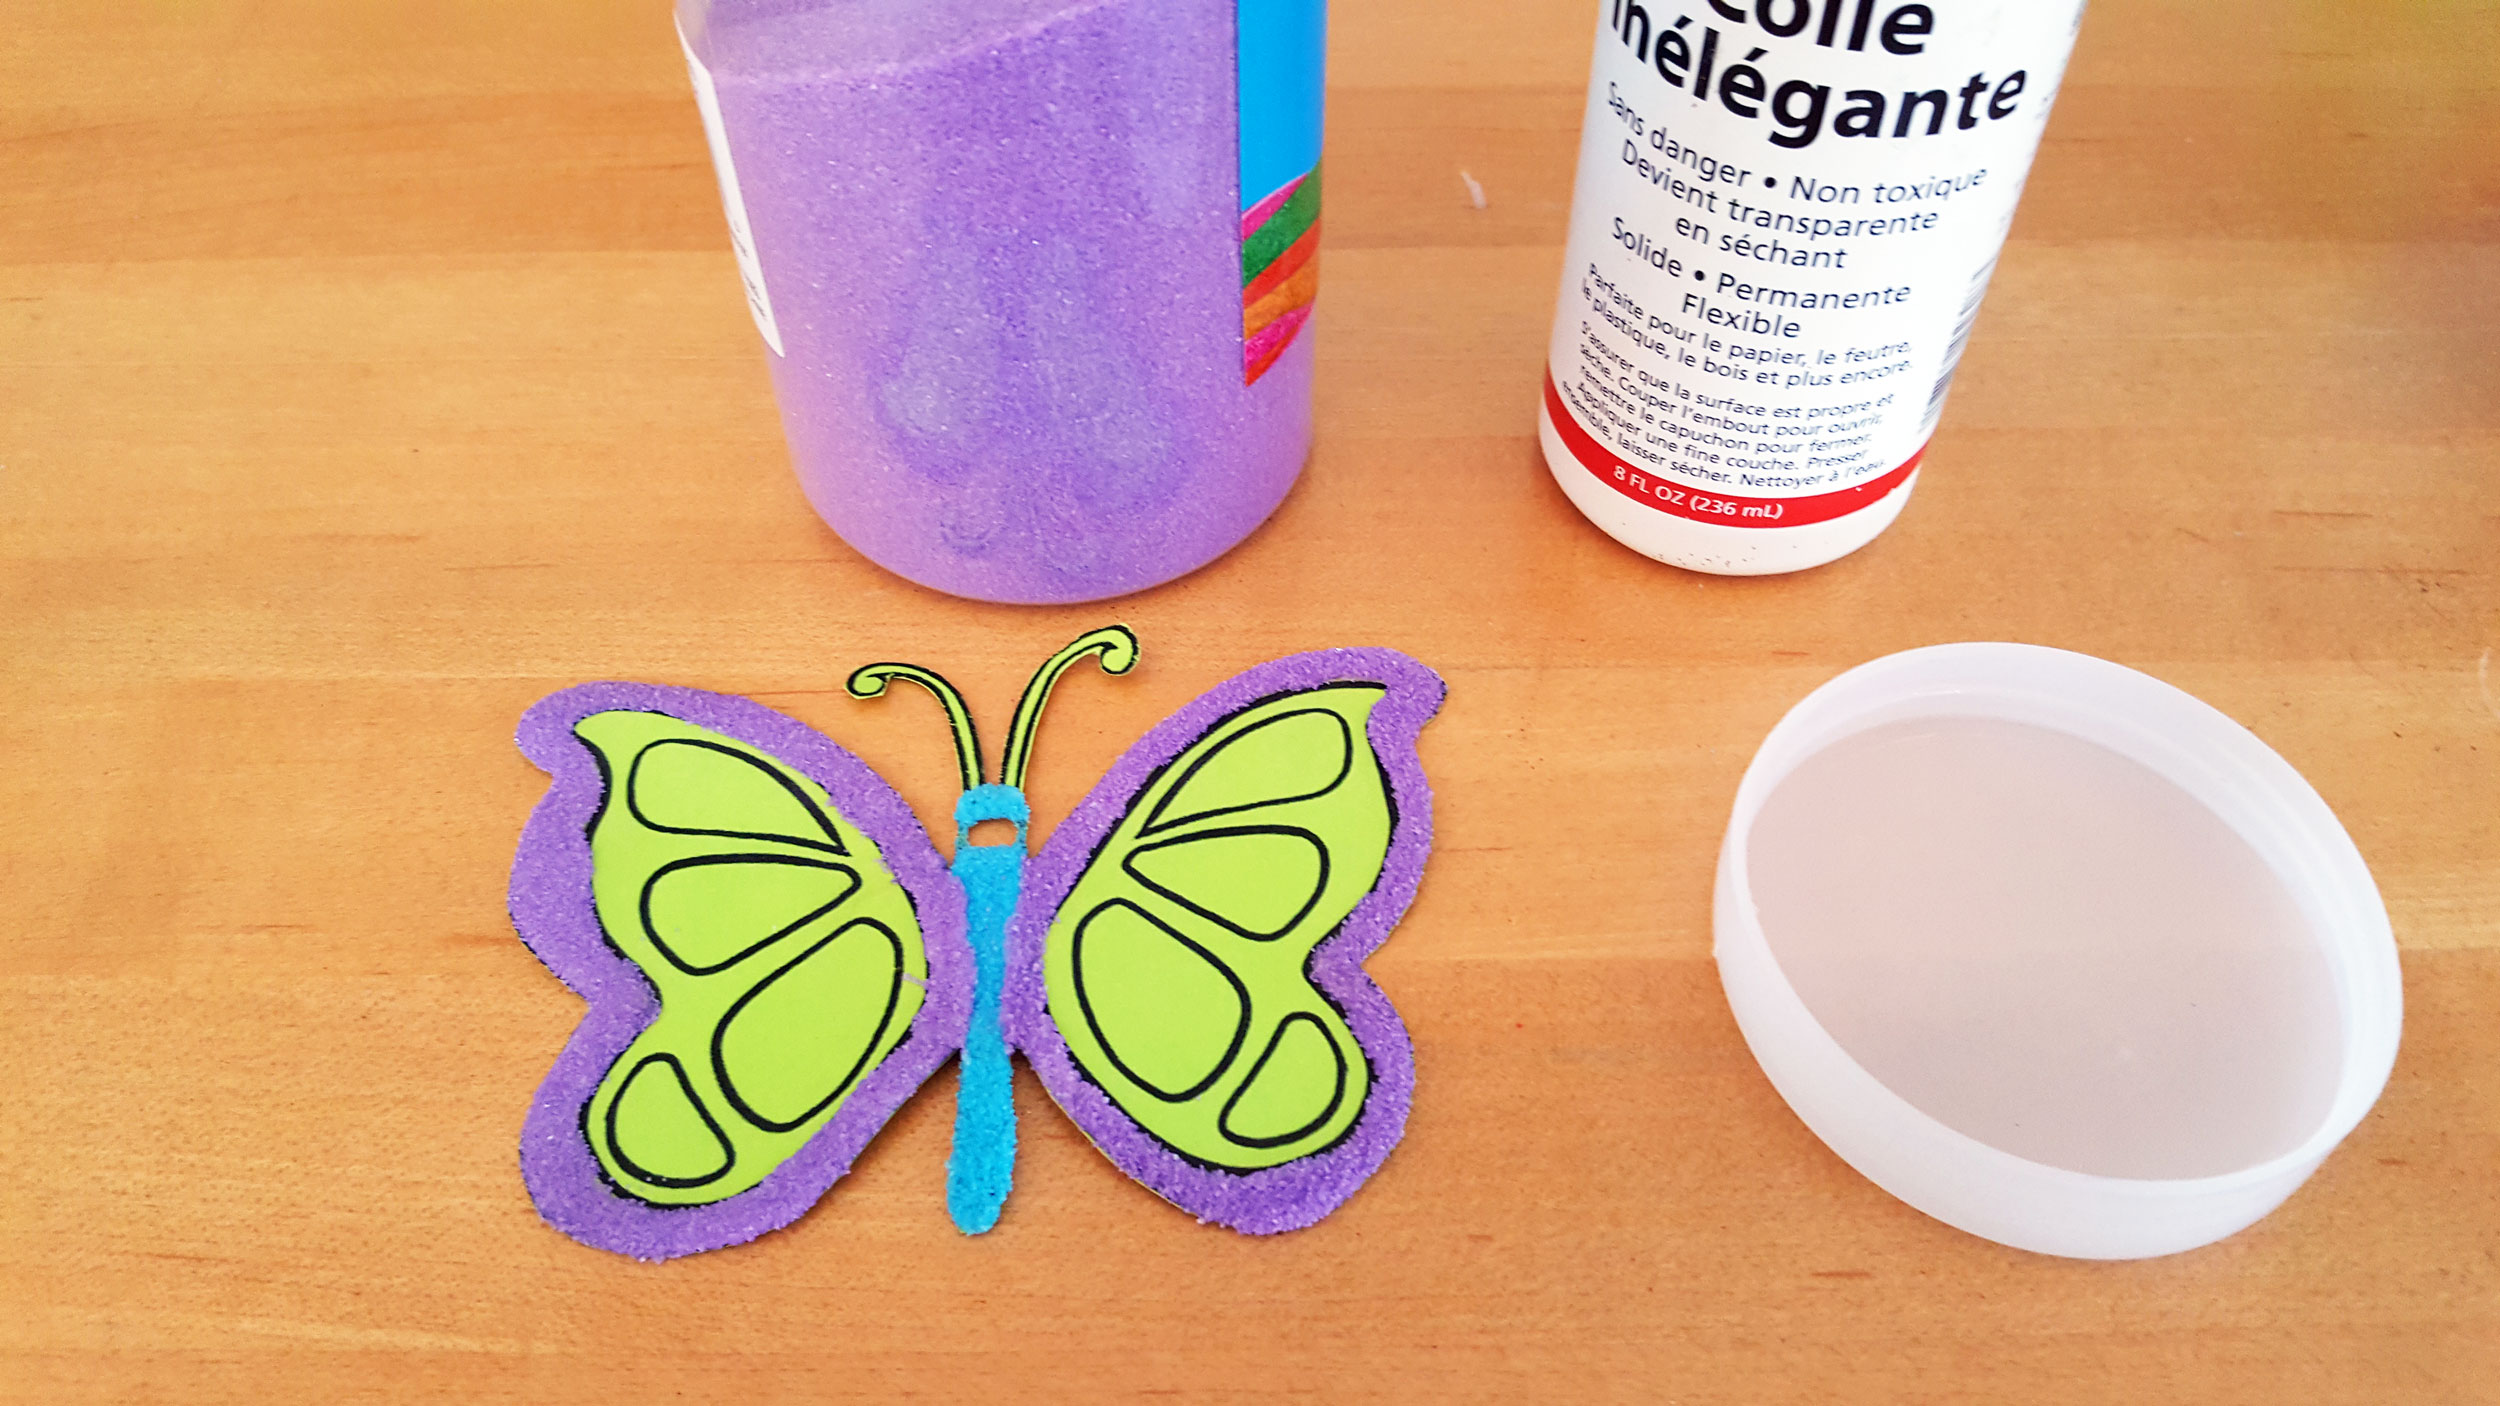
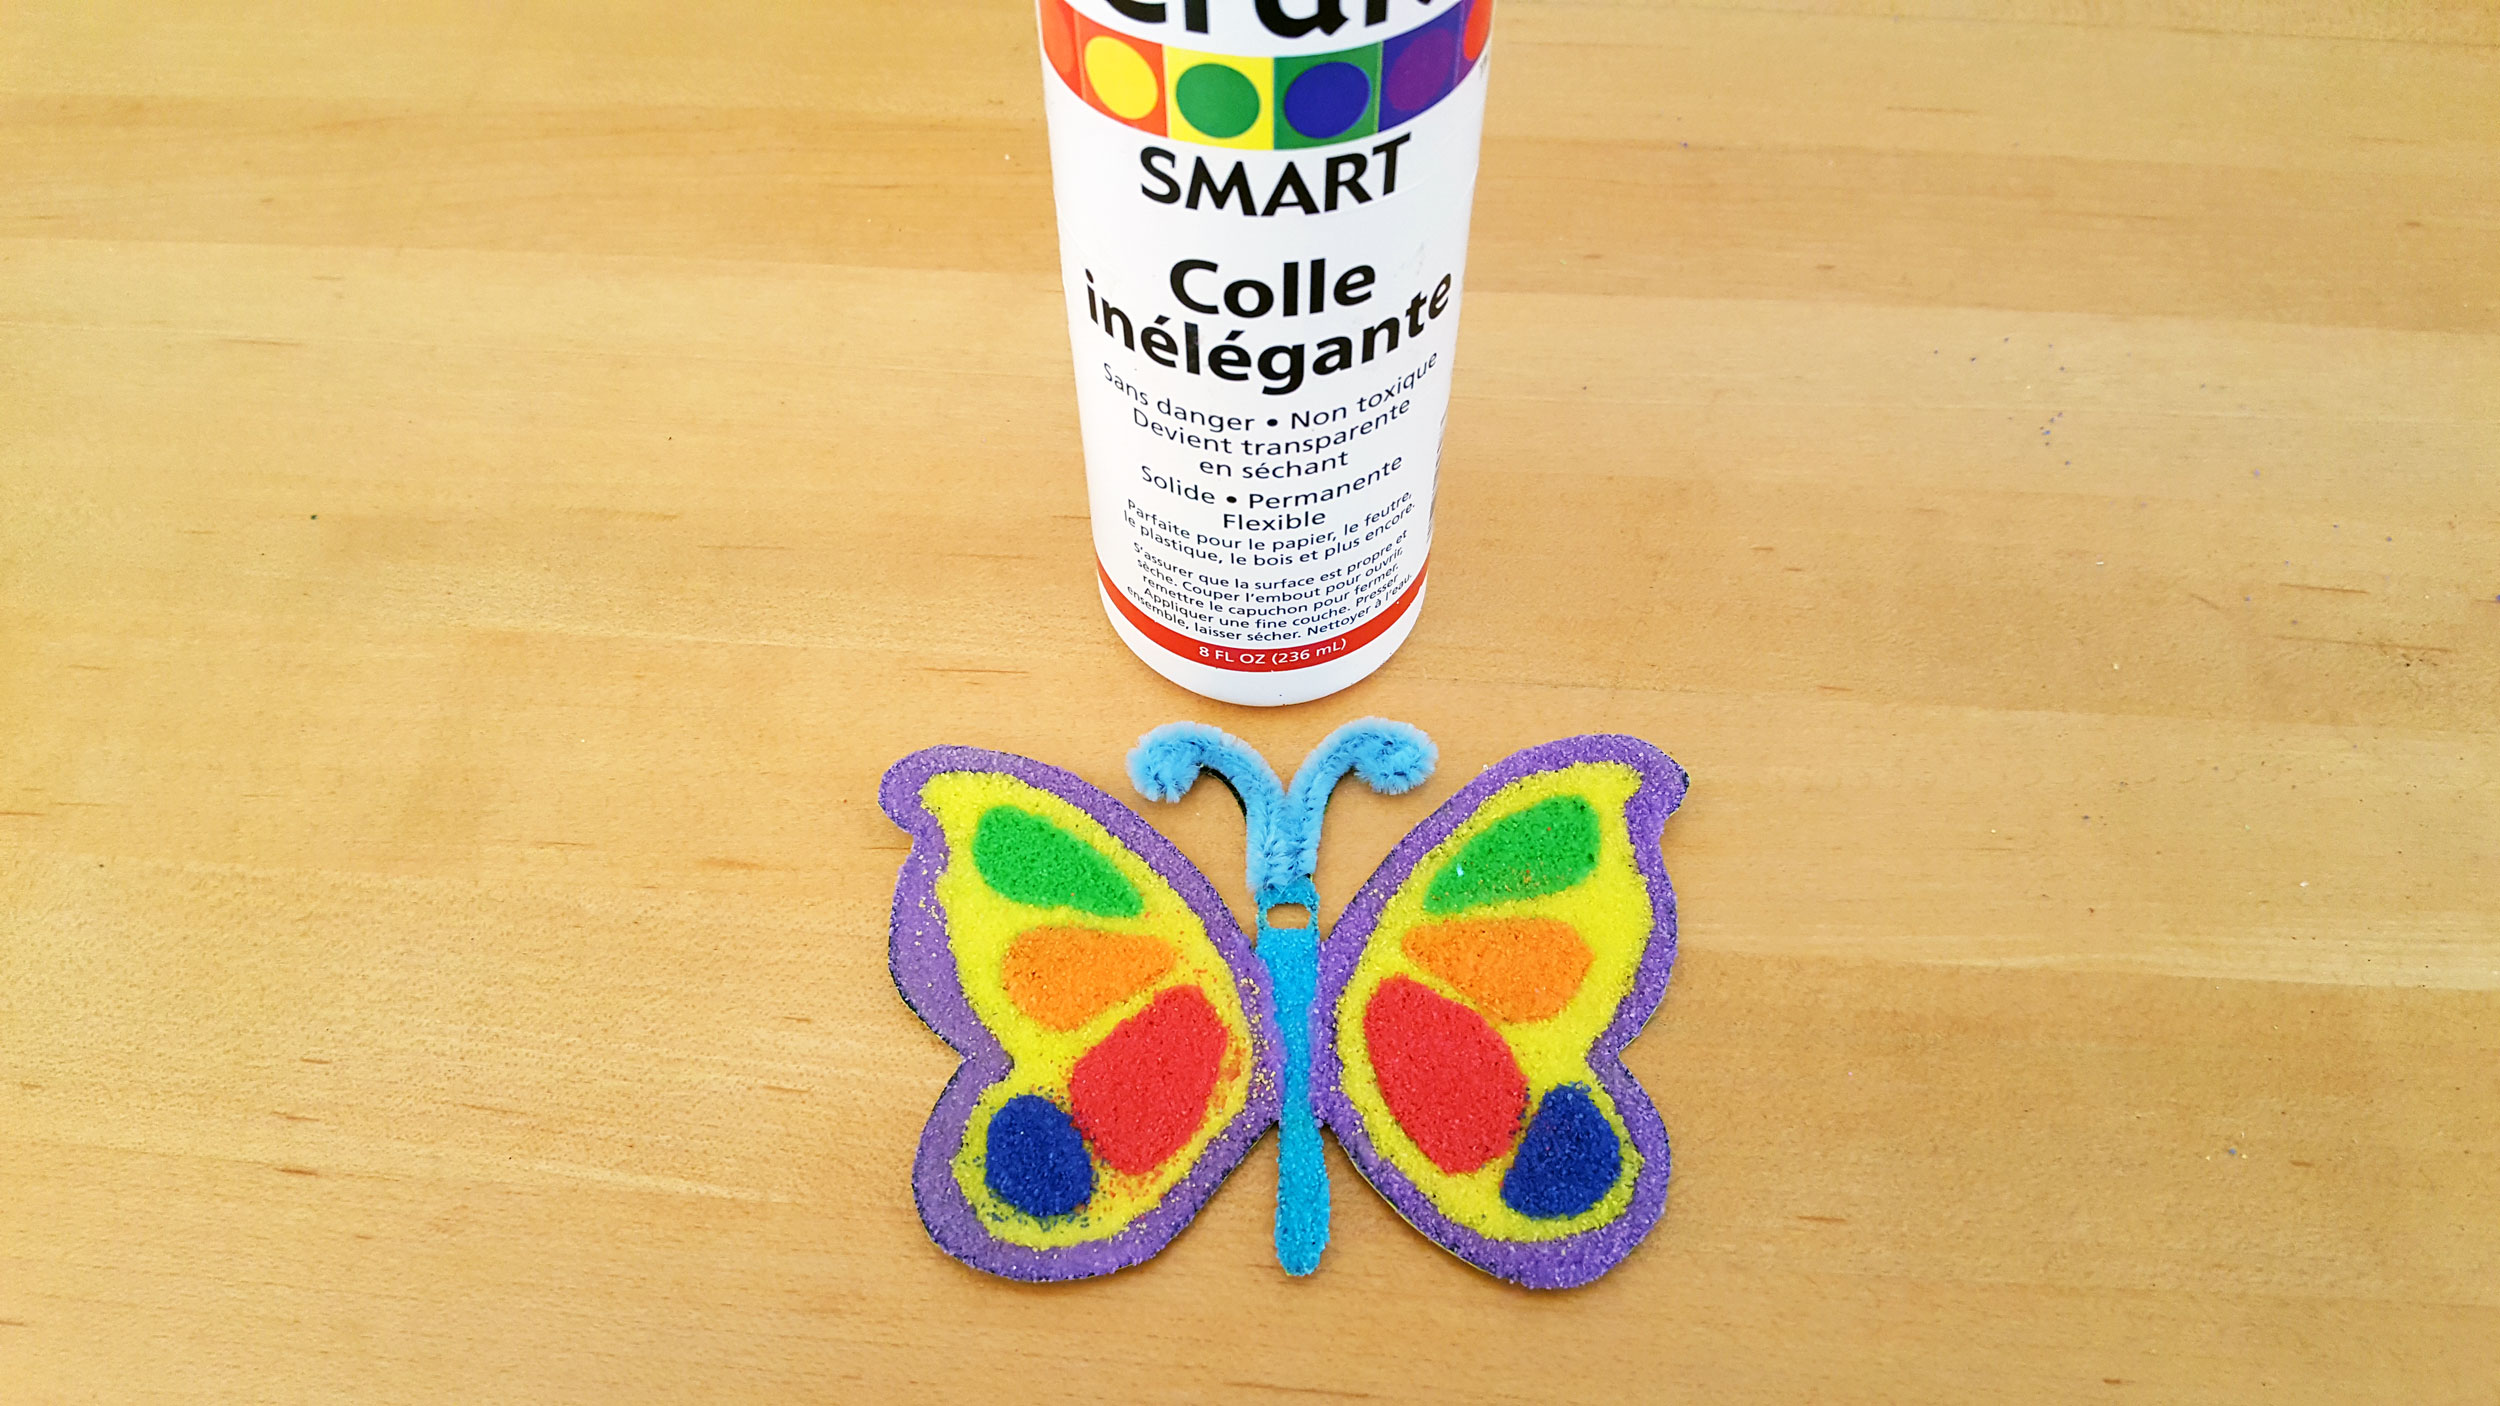
Step 4: Now we are ready to start our sand art! First, work with one small area of your design, and using a paintbrush, paint glue within the area you want to work.
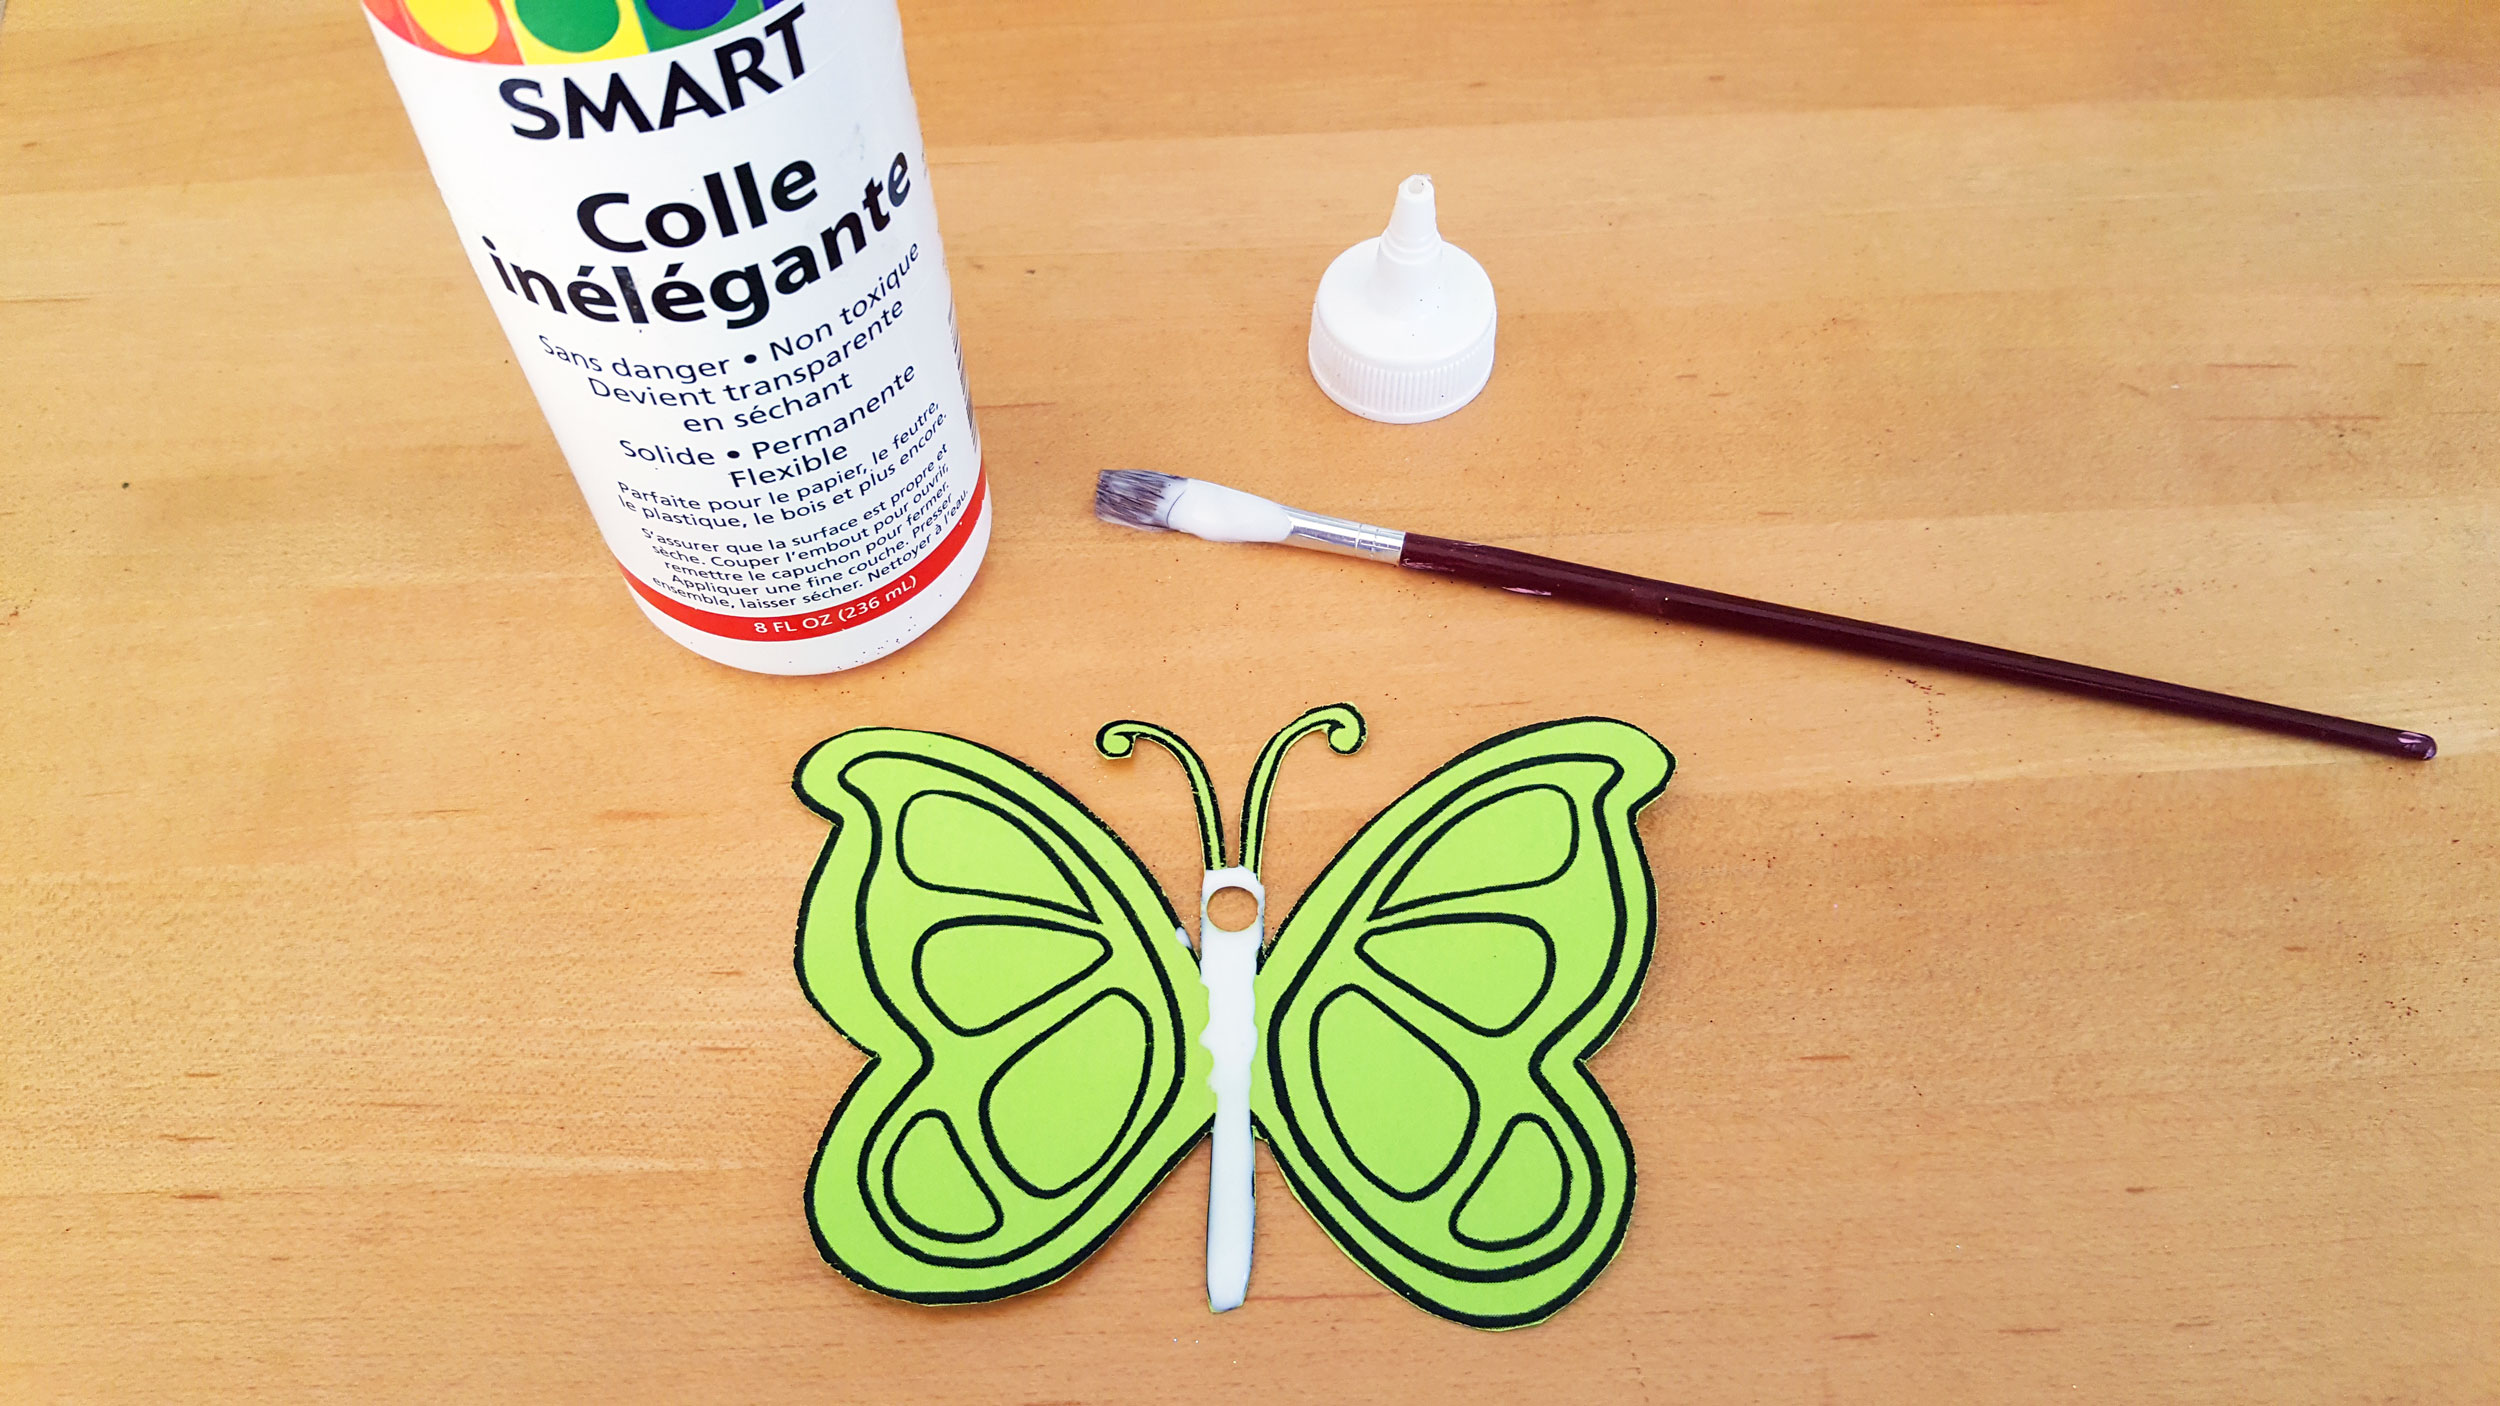
Step 5: While the glue is wet, pour sand over the area to be colored. Shake excess sand off and let the glue dry.
Note: It is important that you only work with one color at a time and that you LET IT DRY in between colors. If the glue isn’t dry, the sand could bleed into another color as you work.
Sand Art Ornament Steps 6-10
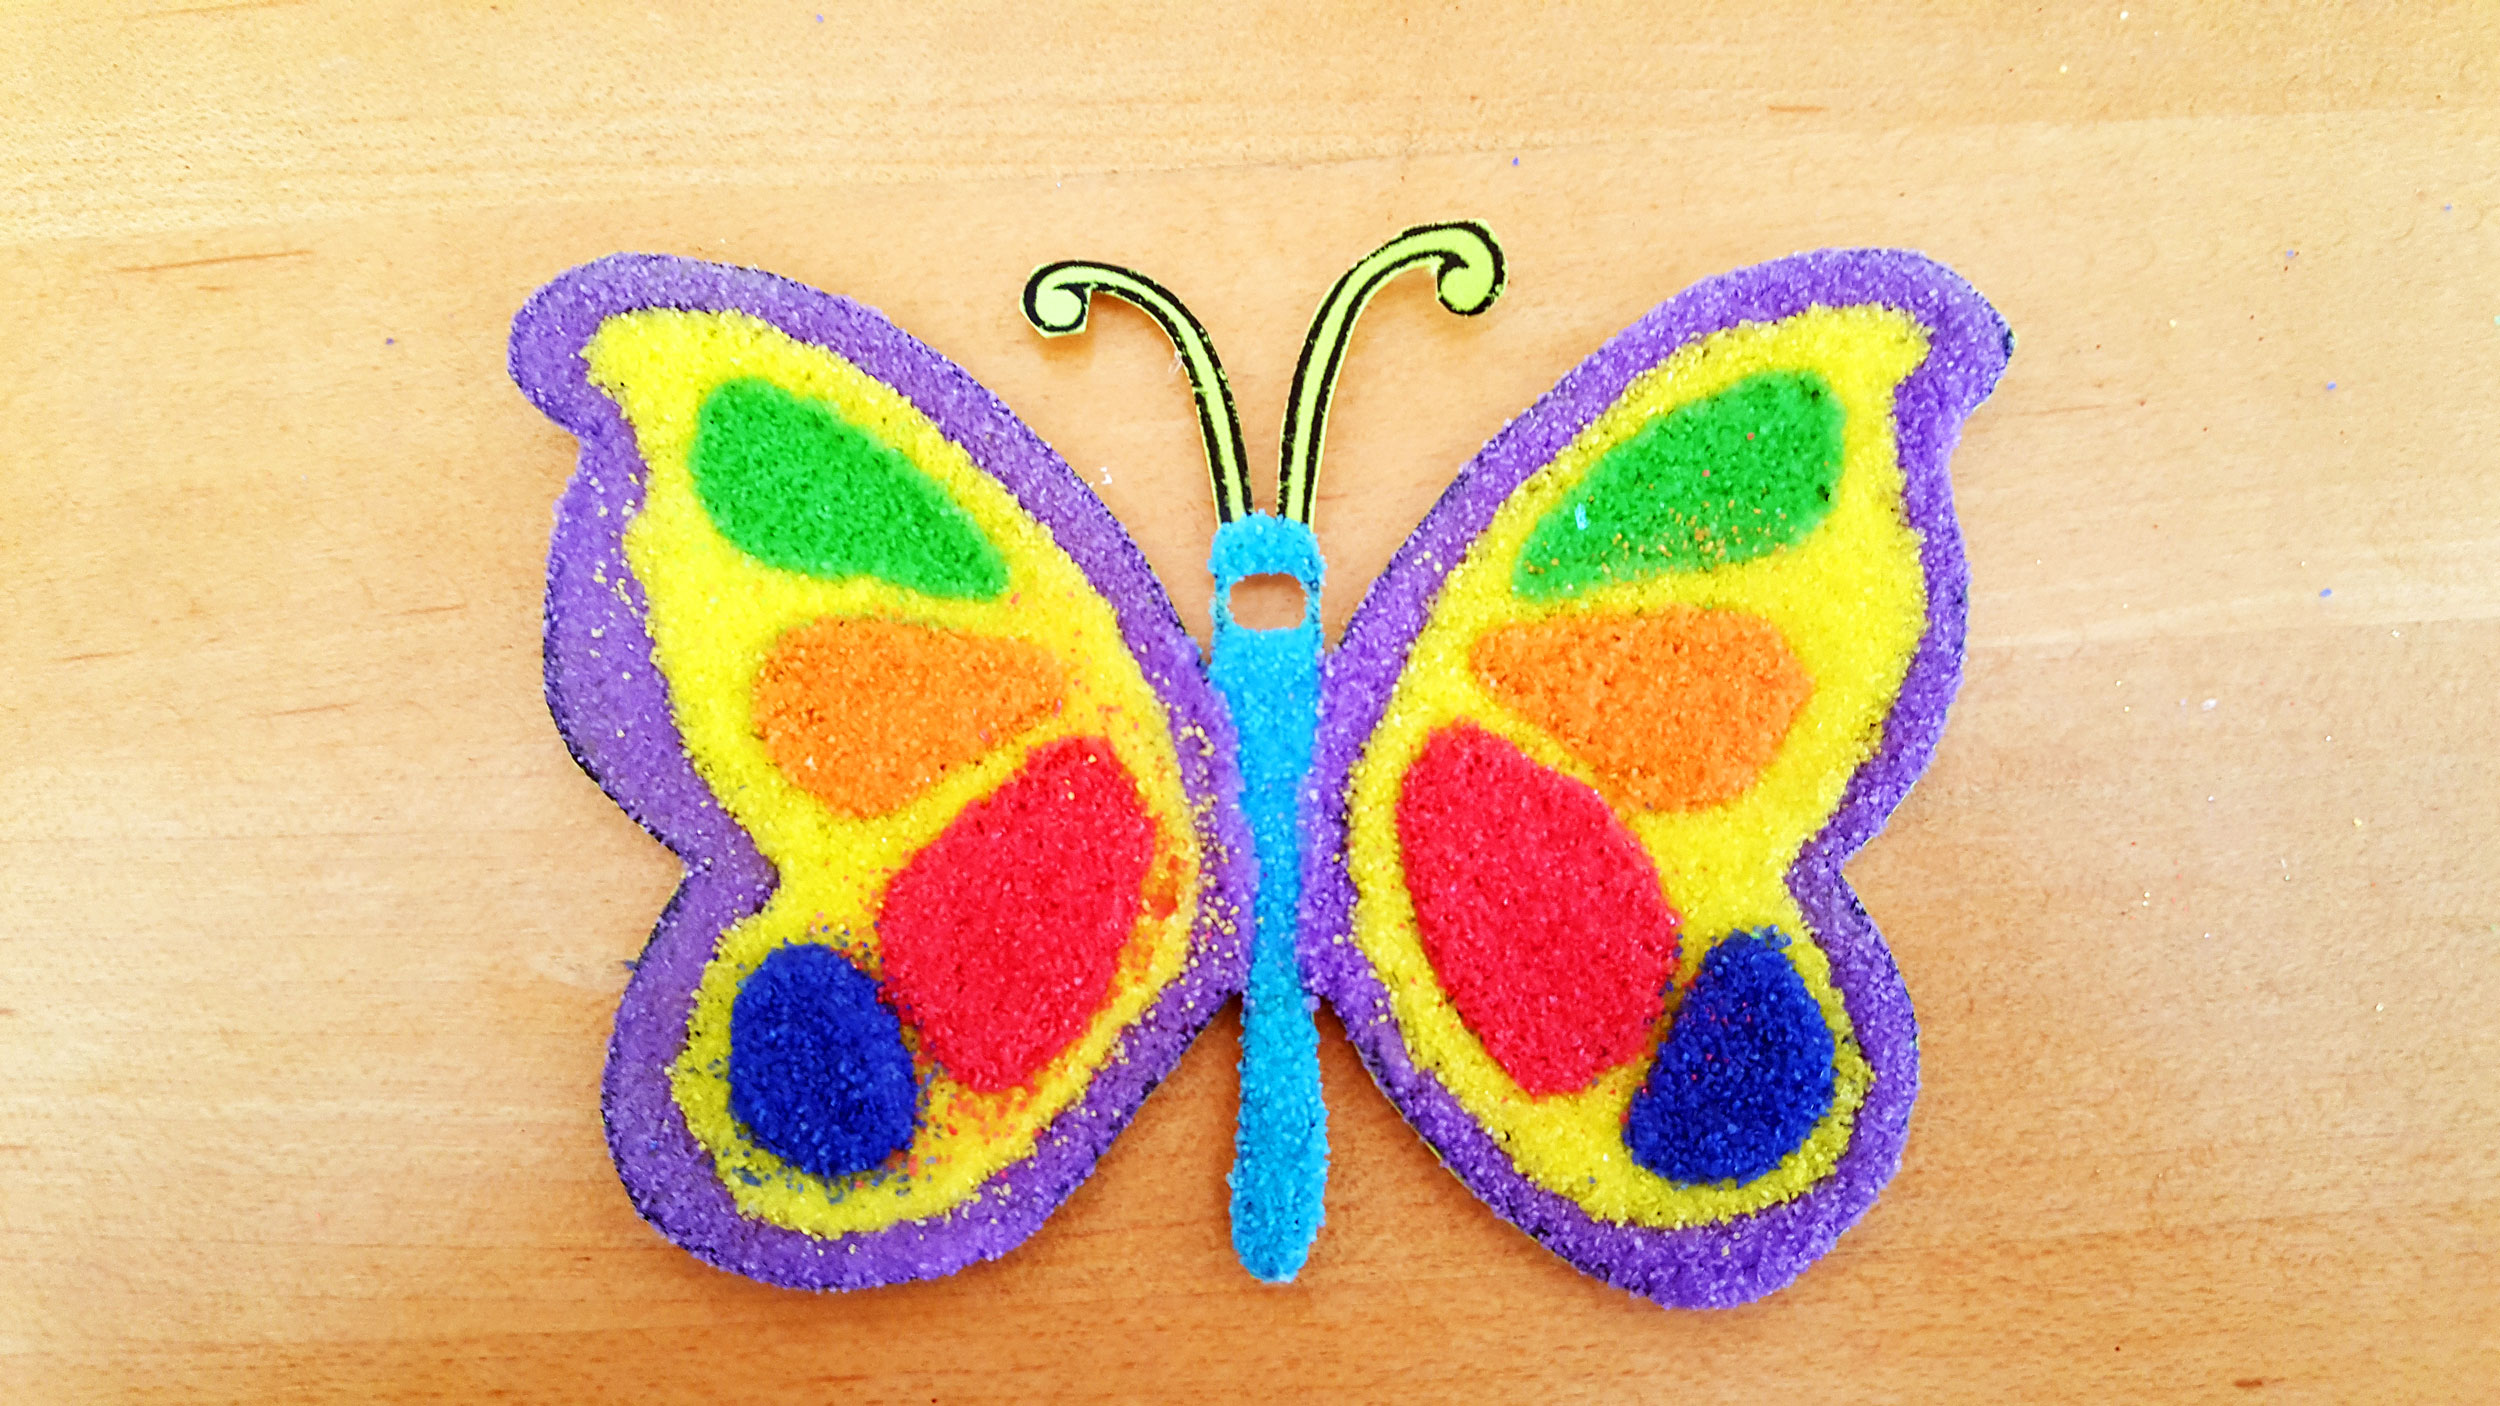
Step 6: Once the first color is dry, move onto another section with glue and sand, and let it dry.
Step 7: Continue to follow this procedure until your sand art ornament is complete. Leave it out to completely dry. Once it is dry, the paper will harden and the ornament will be easy to handle. Until the glue is completely dry, please note that your cardstock paper will be flimsy and difficult to hold.
Step 8: Now, cut the pipe cleaners into the antennae, curling the ends. Make sure that these antennae fit exactly to the proper space on the cardstock.
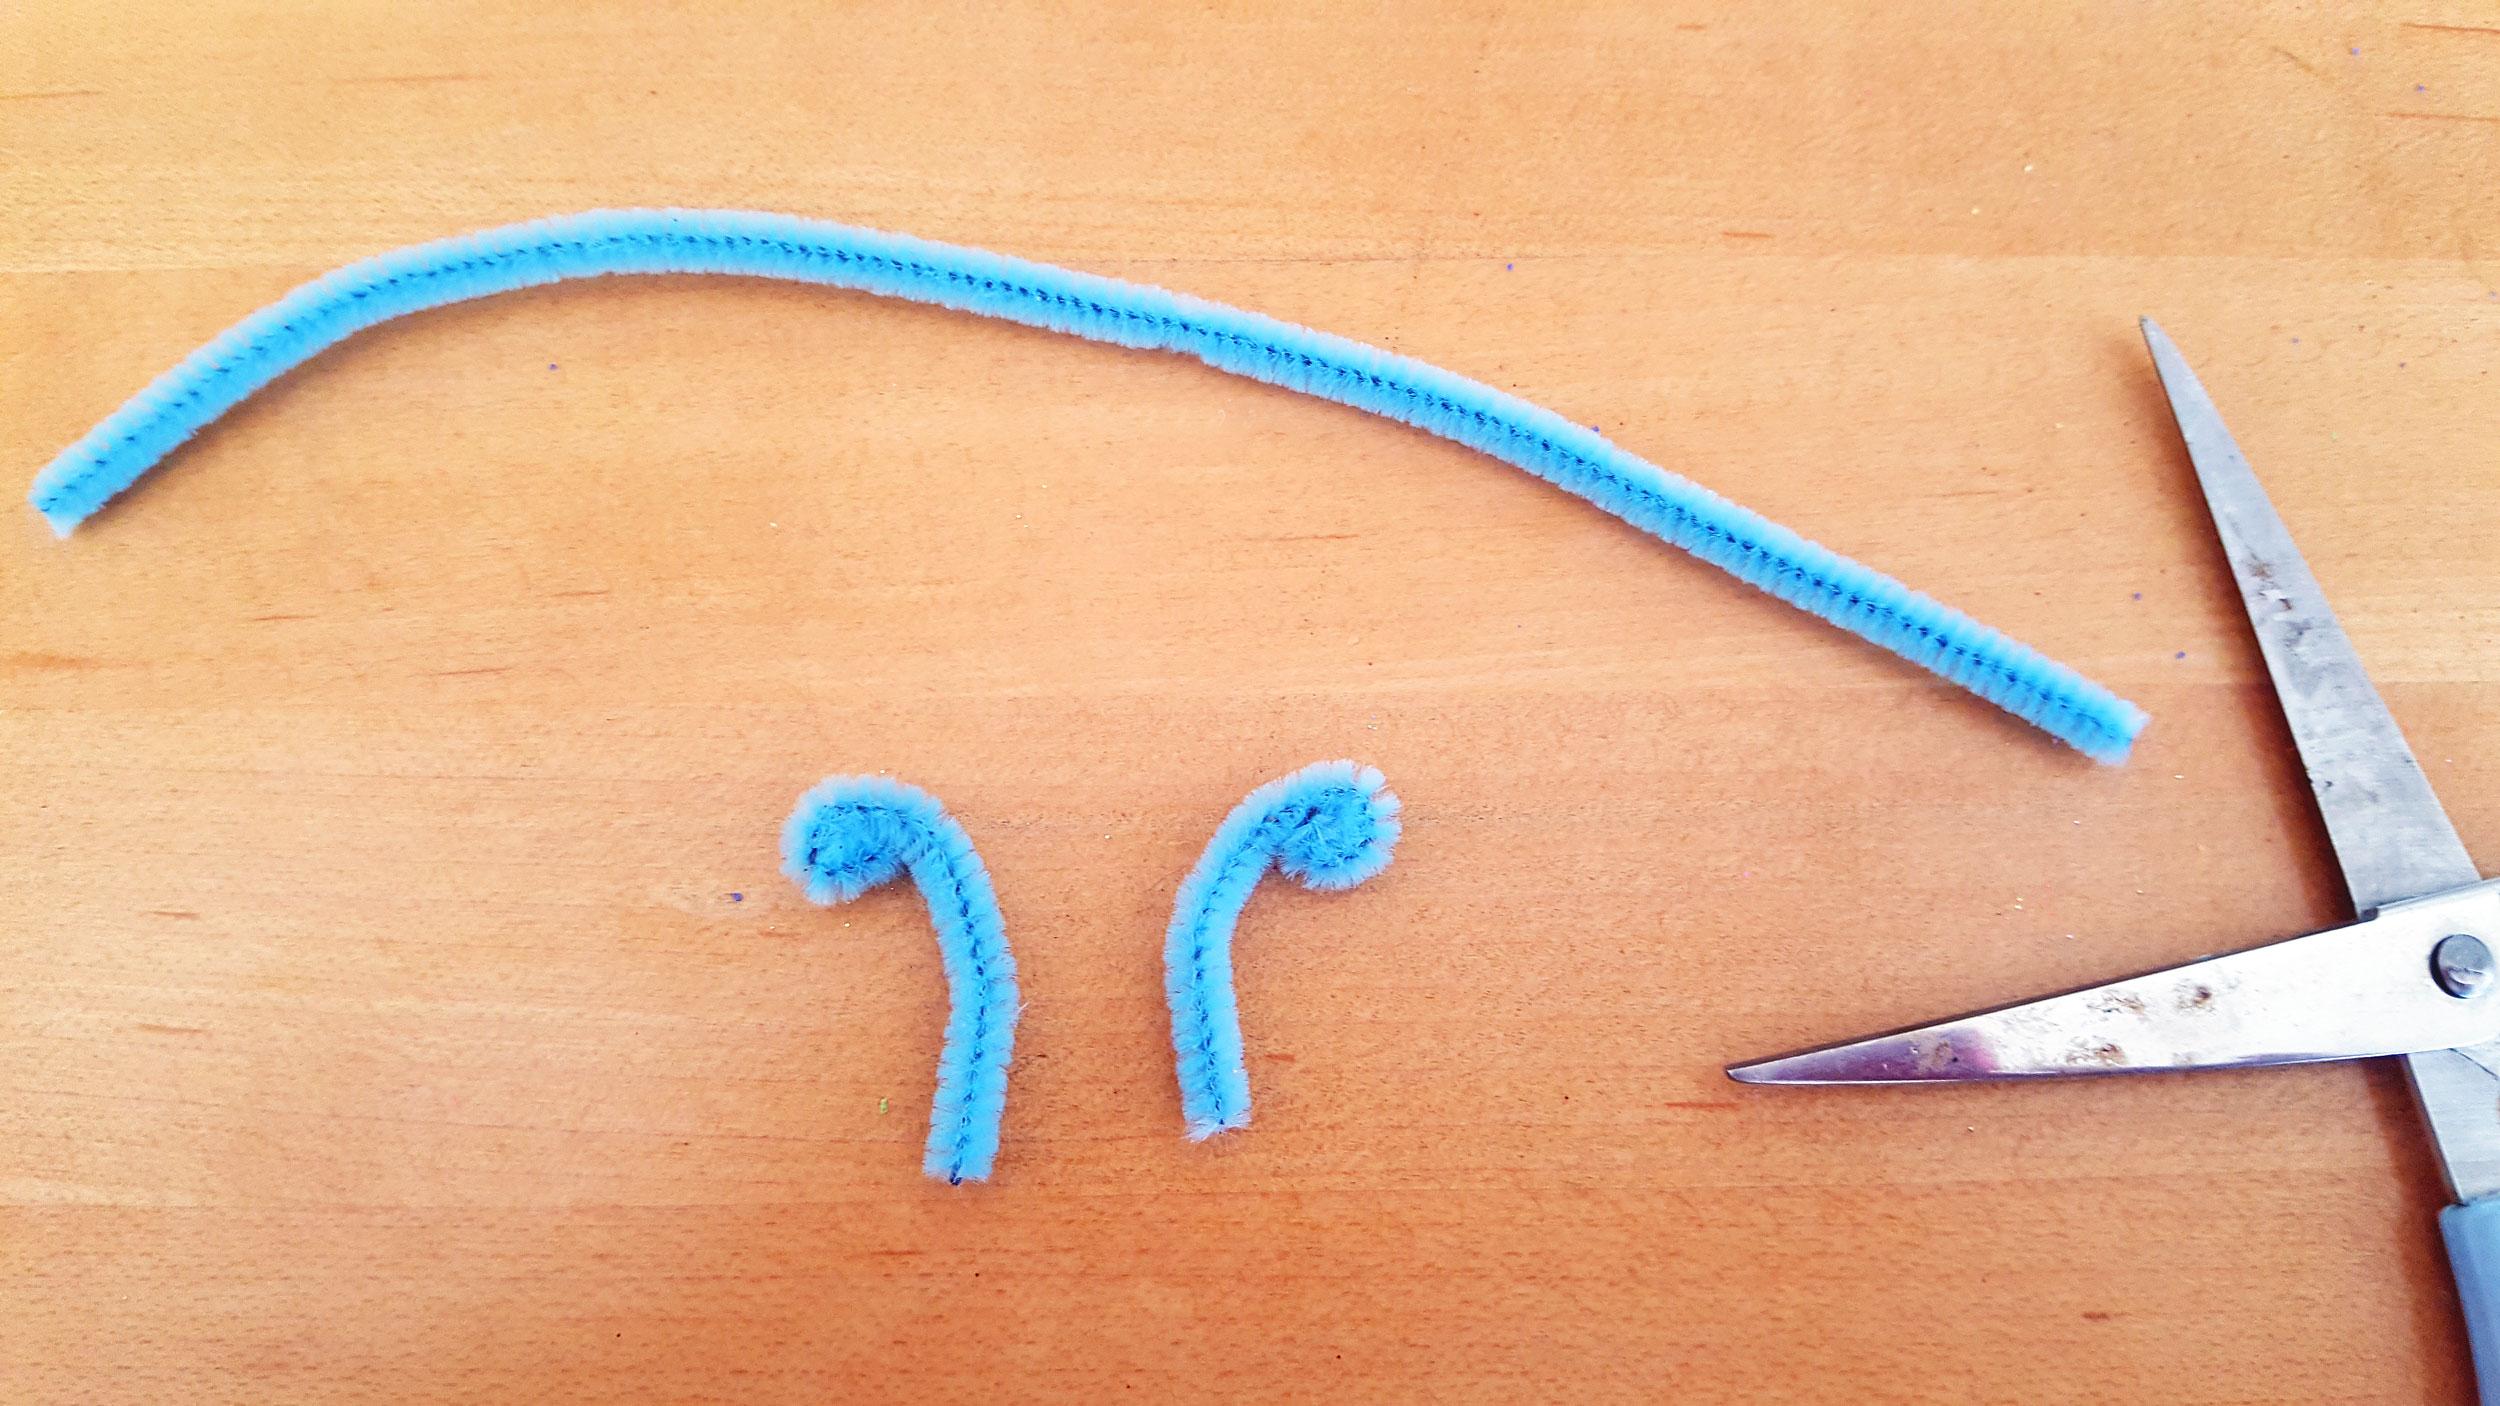
Step 9: Glue on the antennae and let the glue dry.
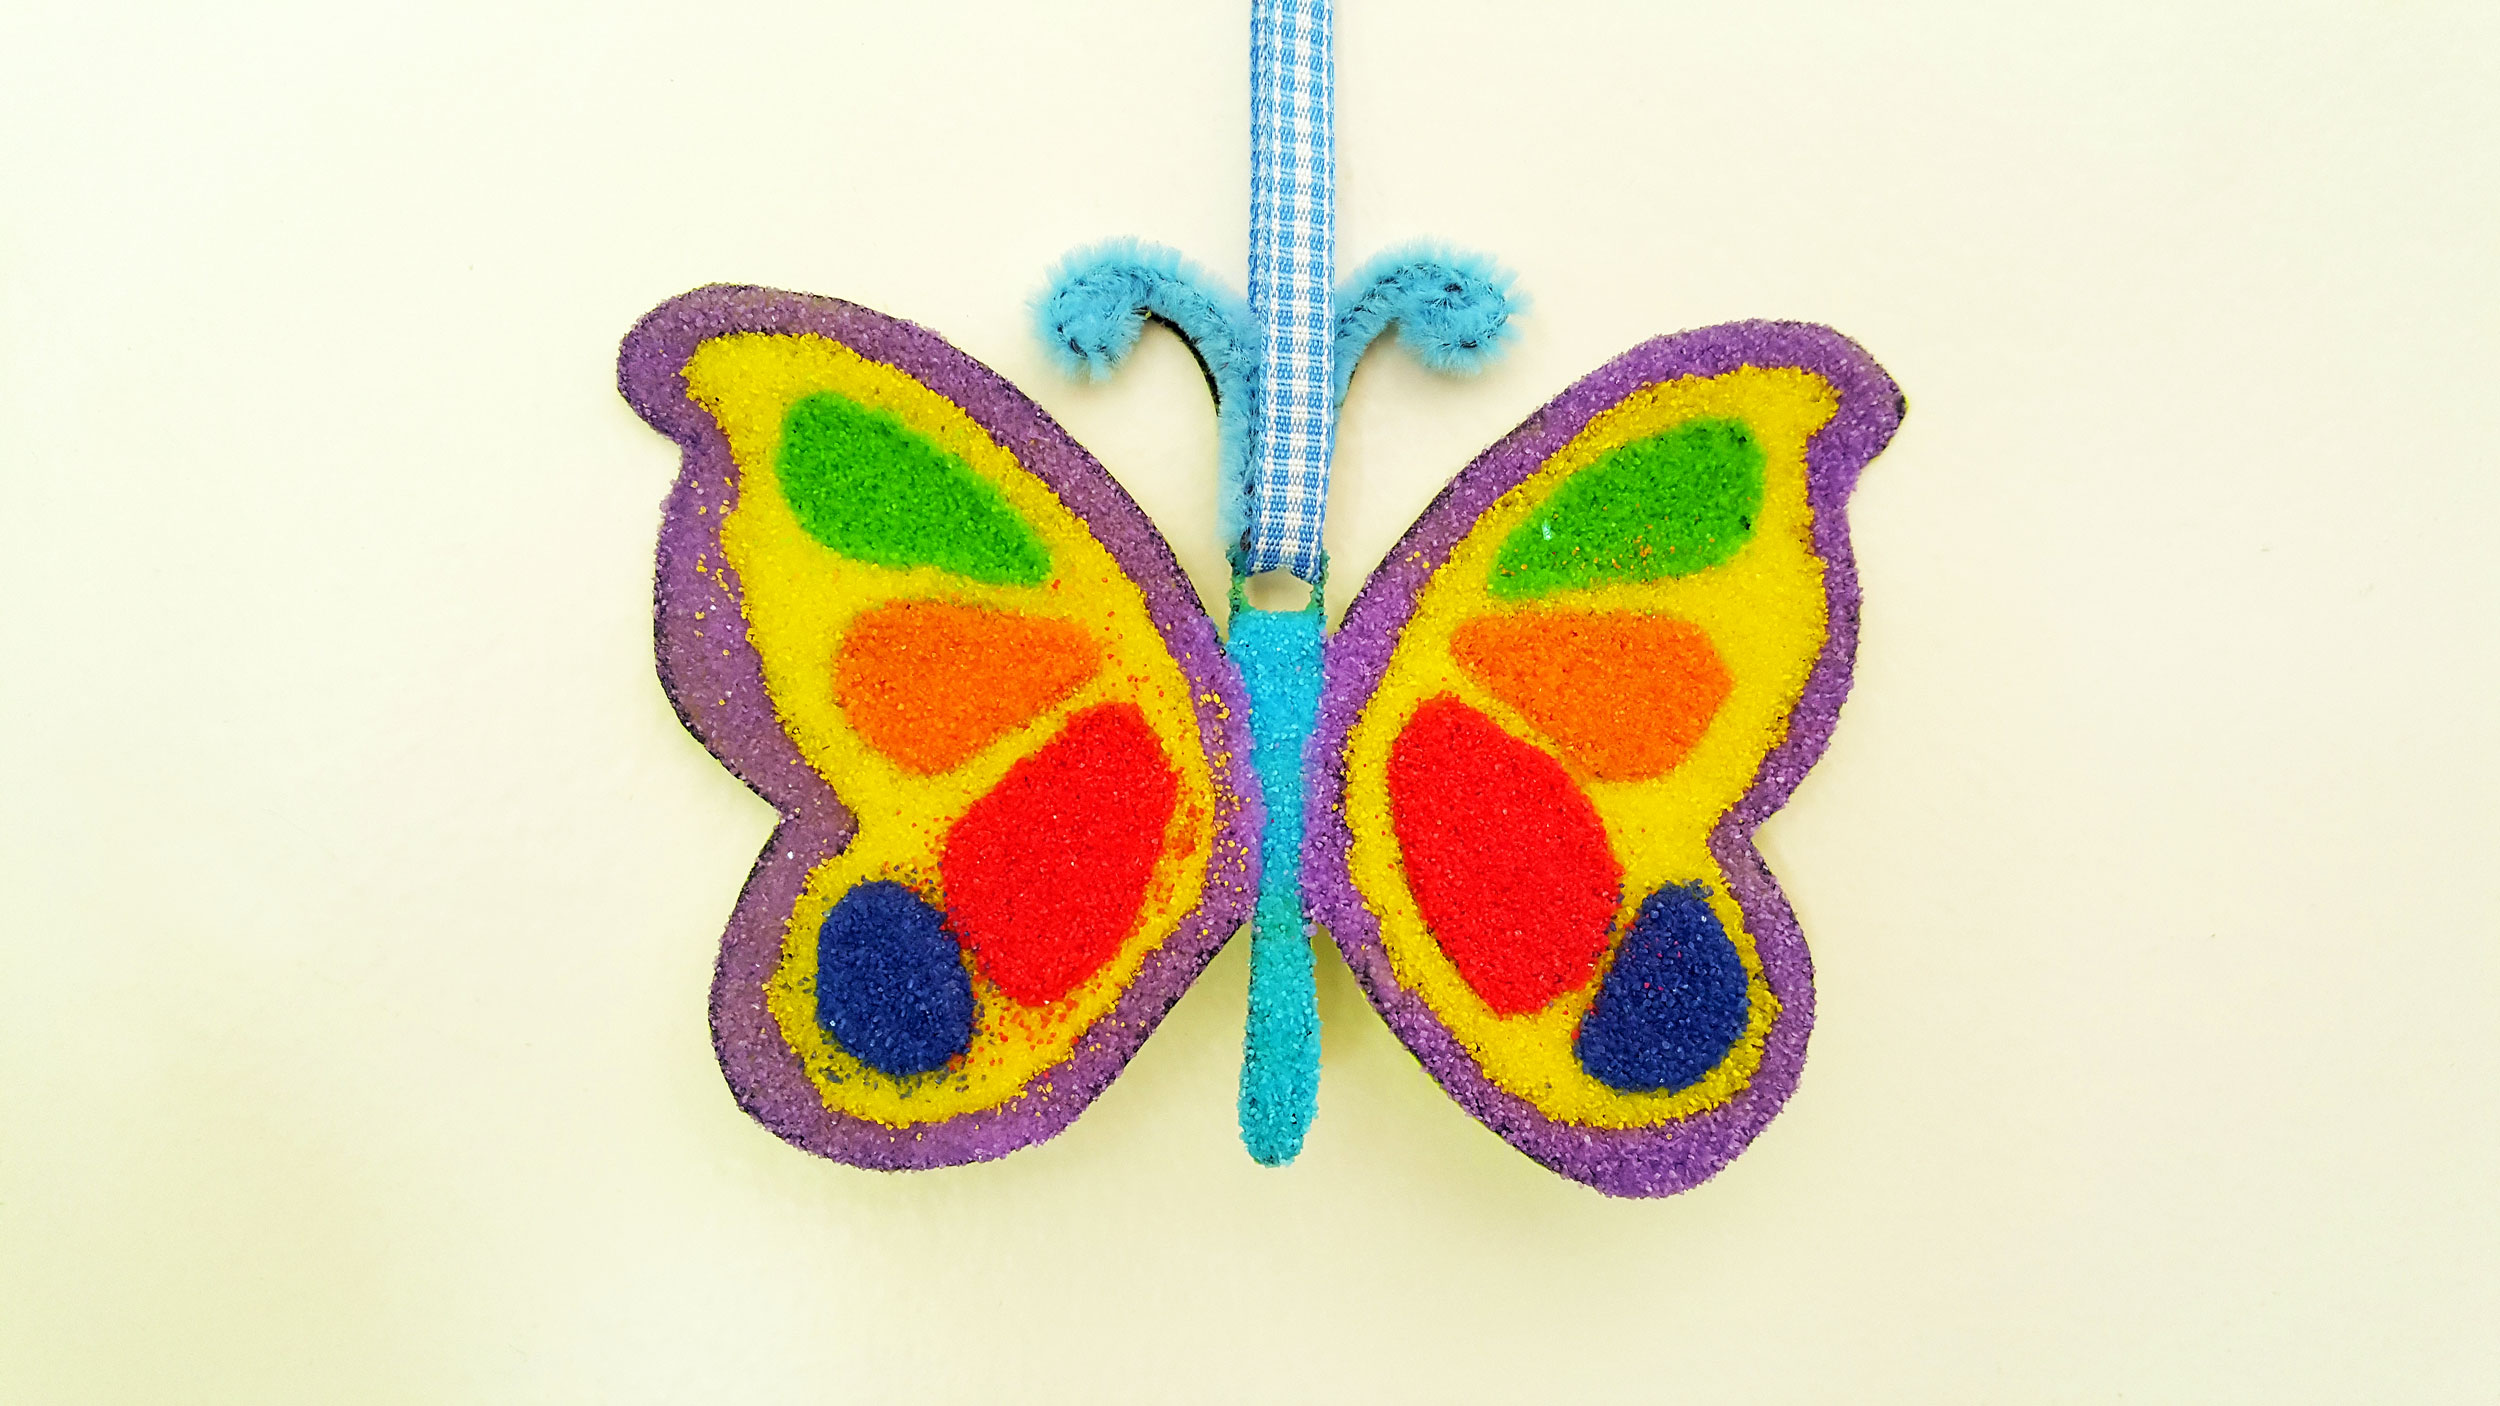
Step 10: Cut a piece of ribbon and thread through the hole that you made with the hole puncher and knot the top.
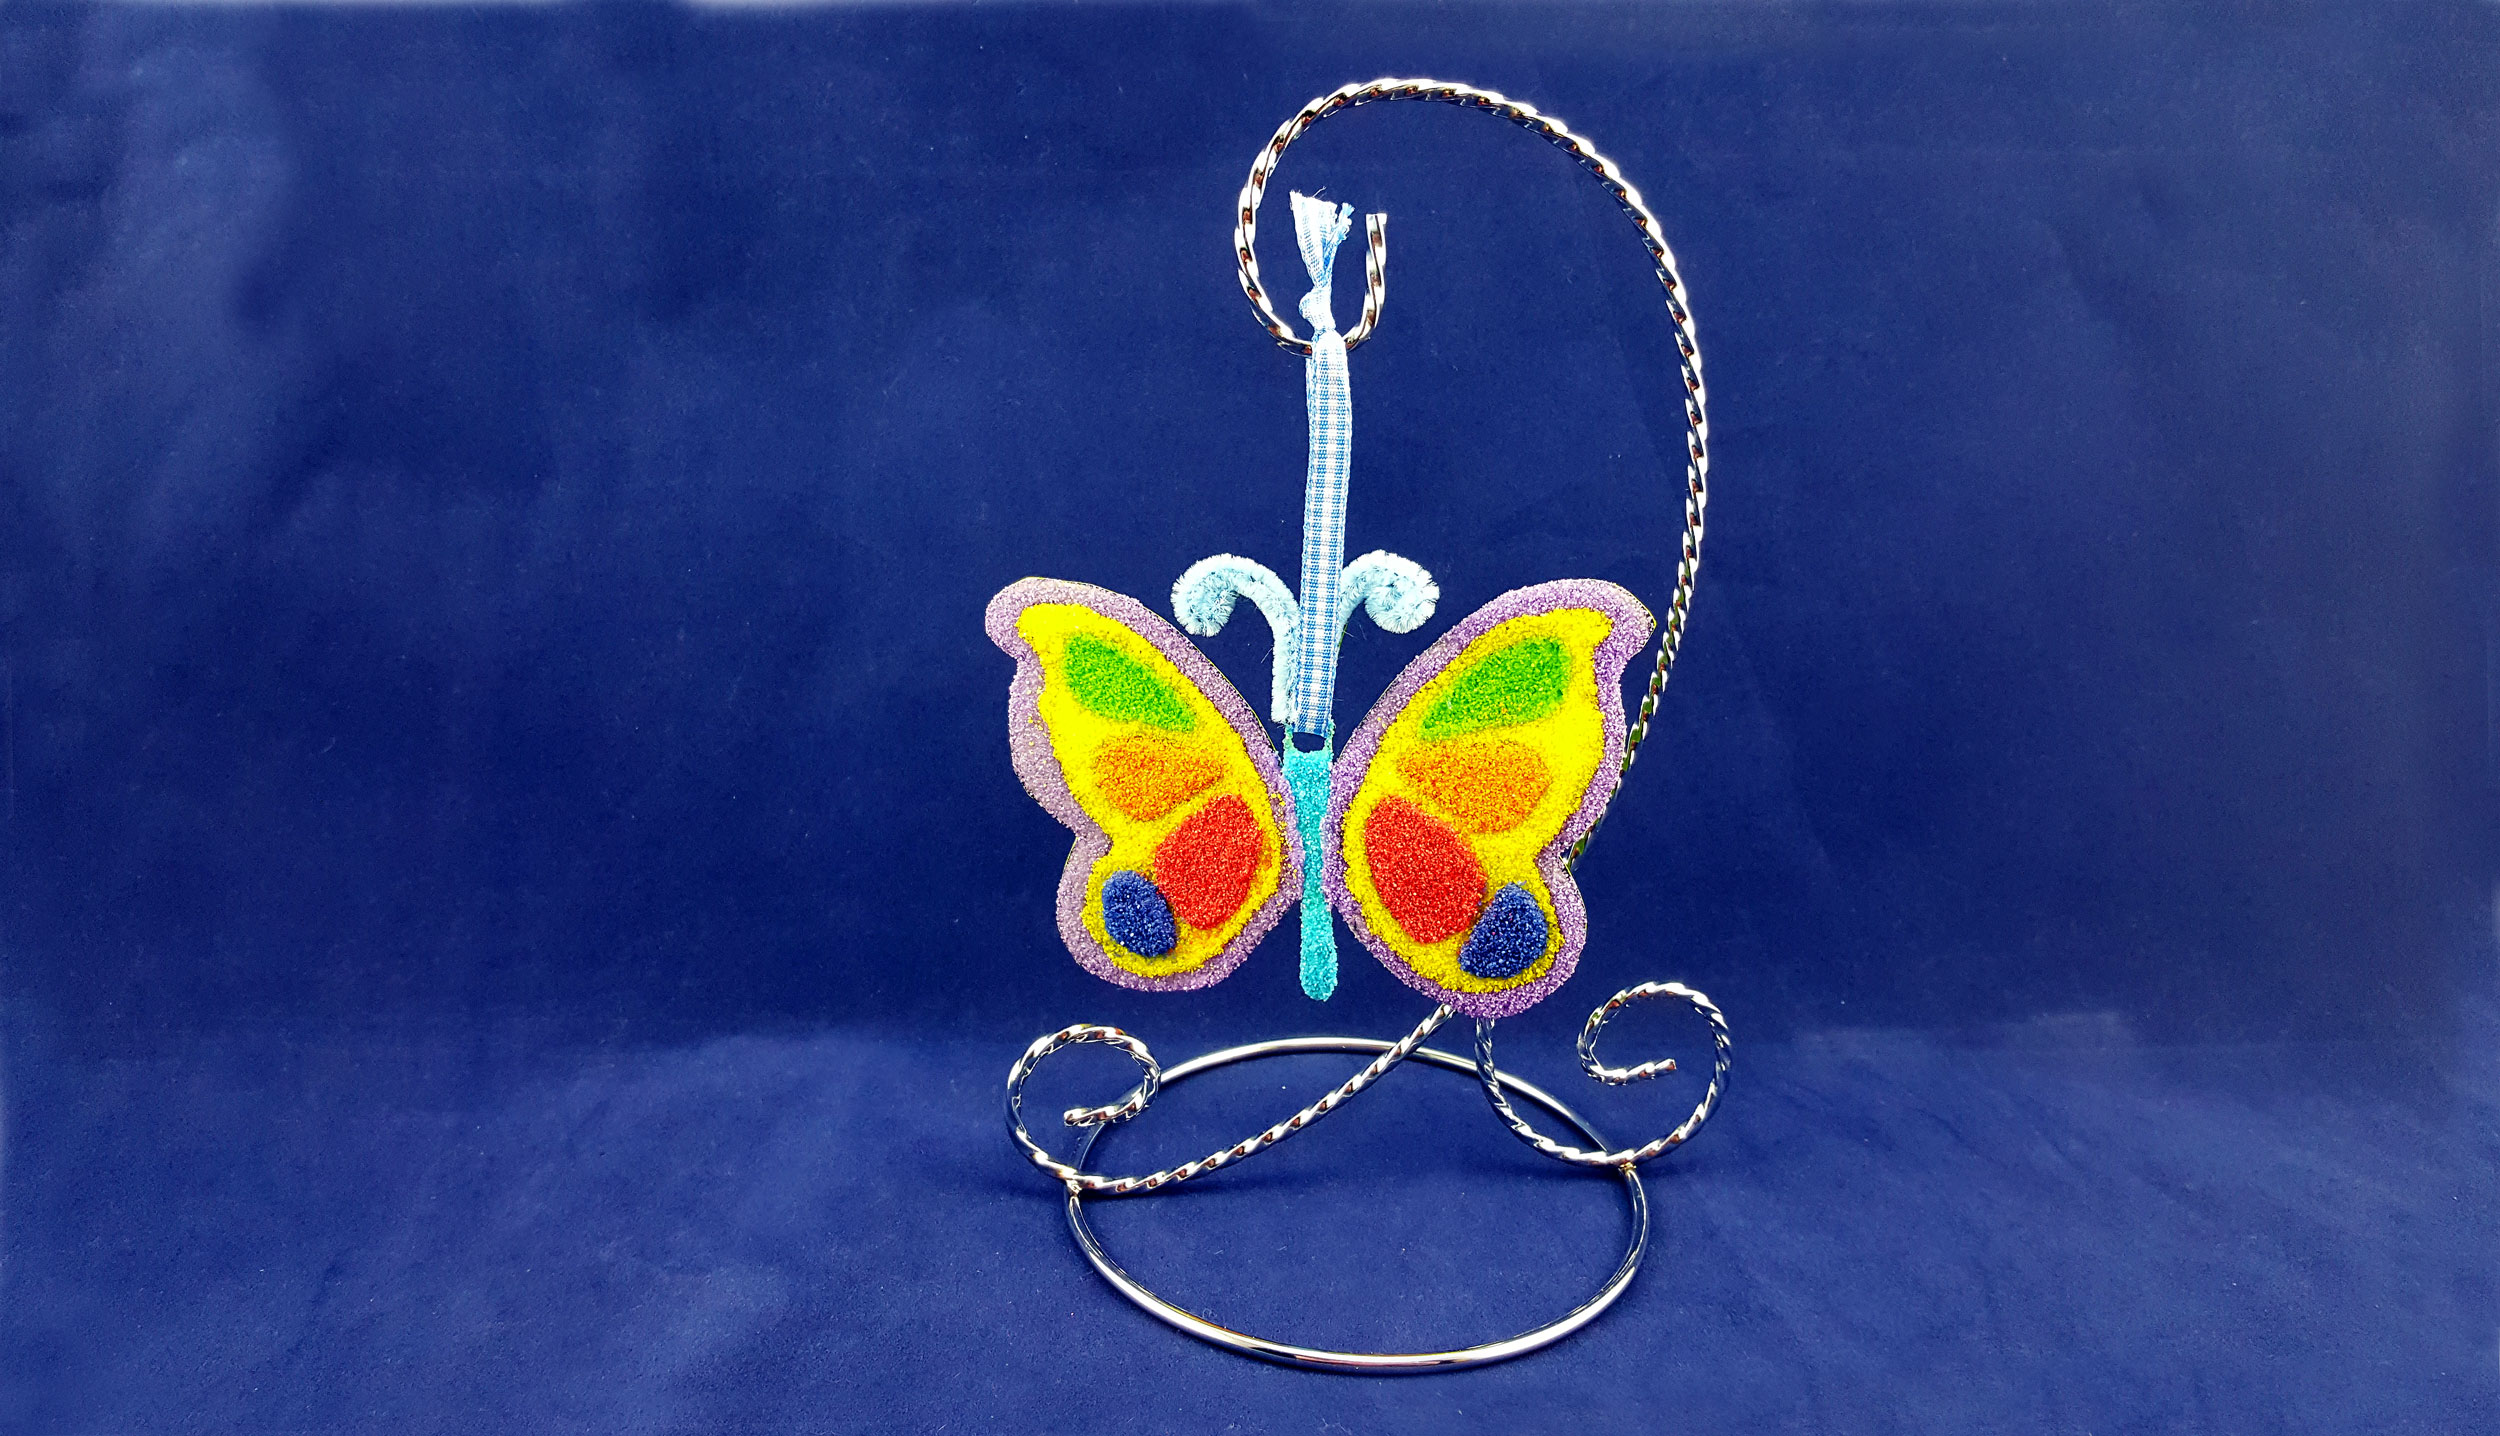
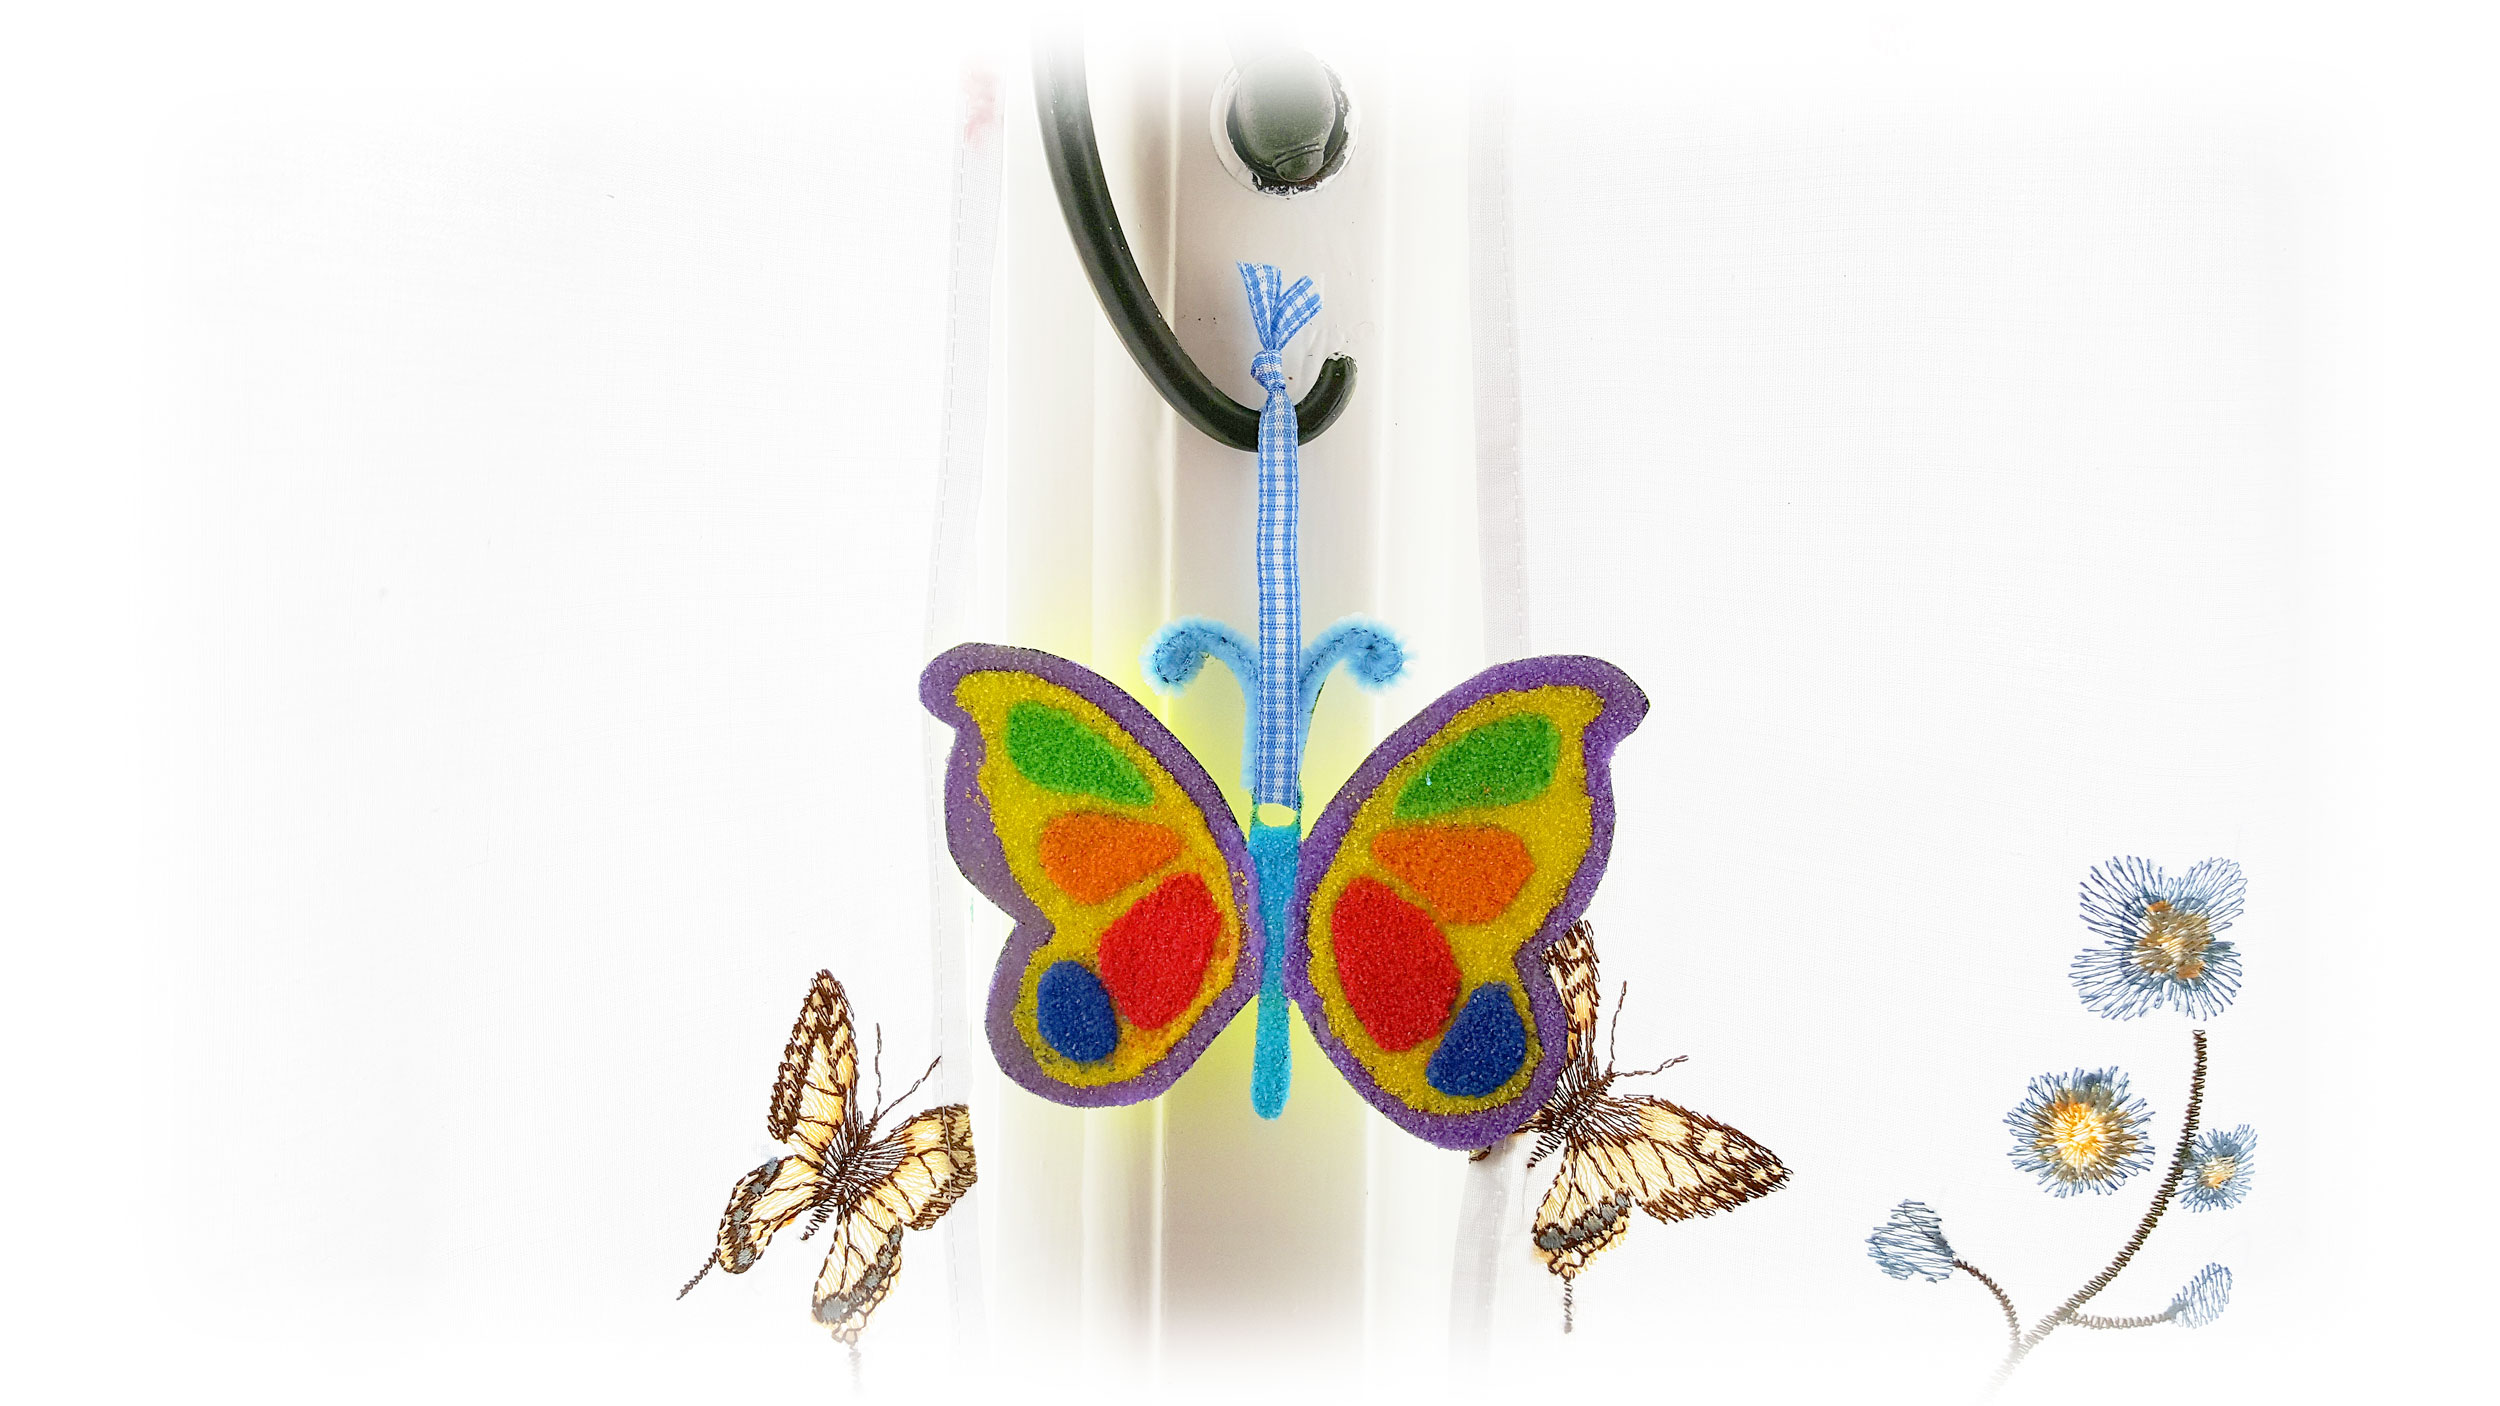
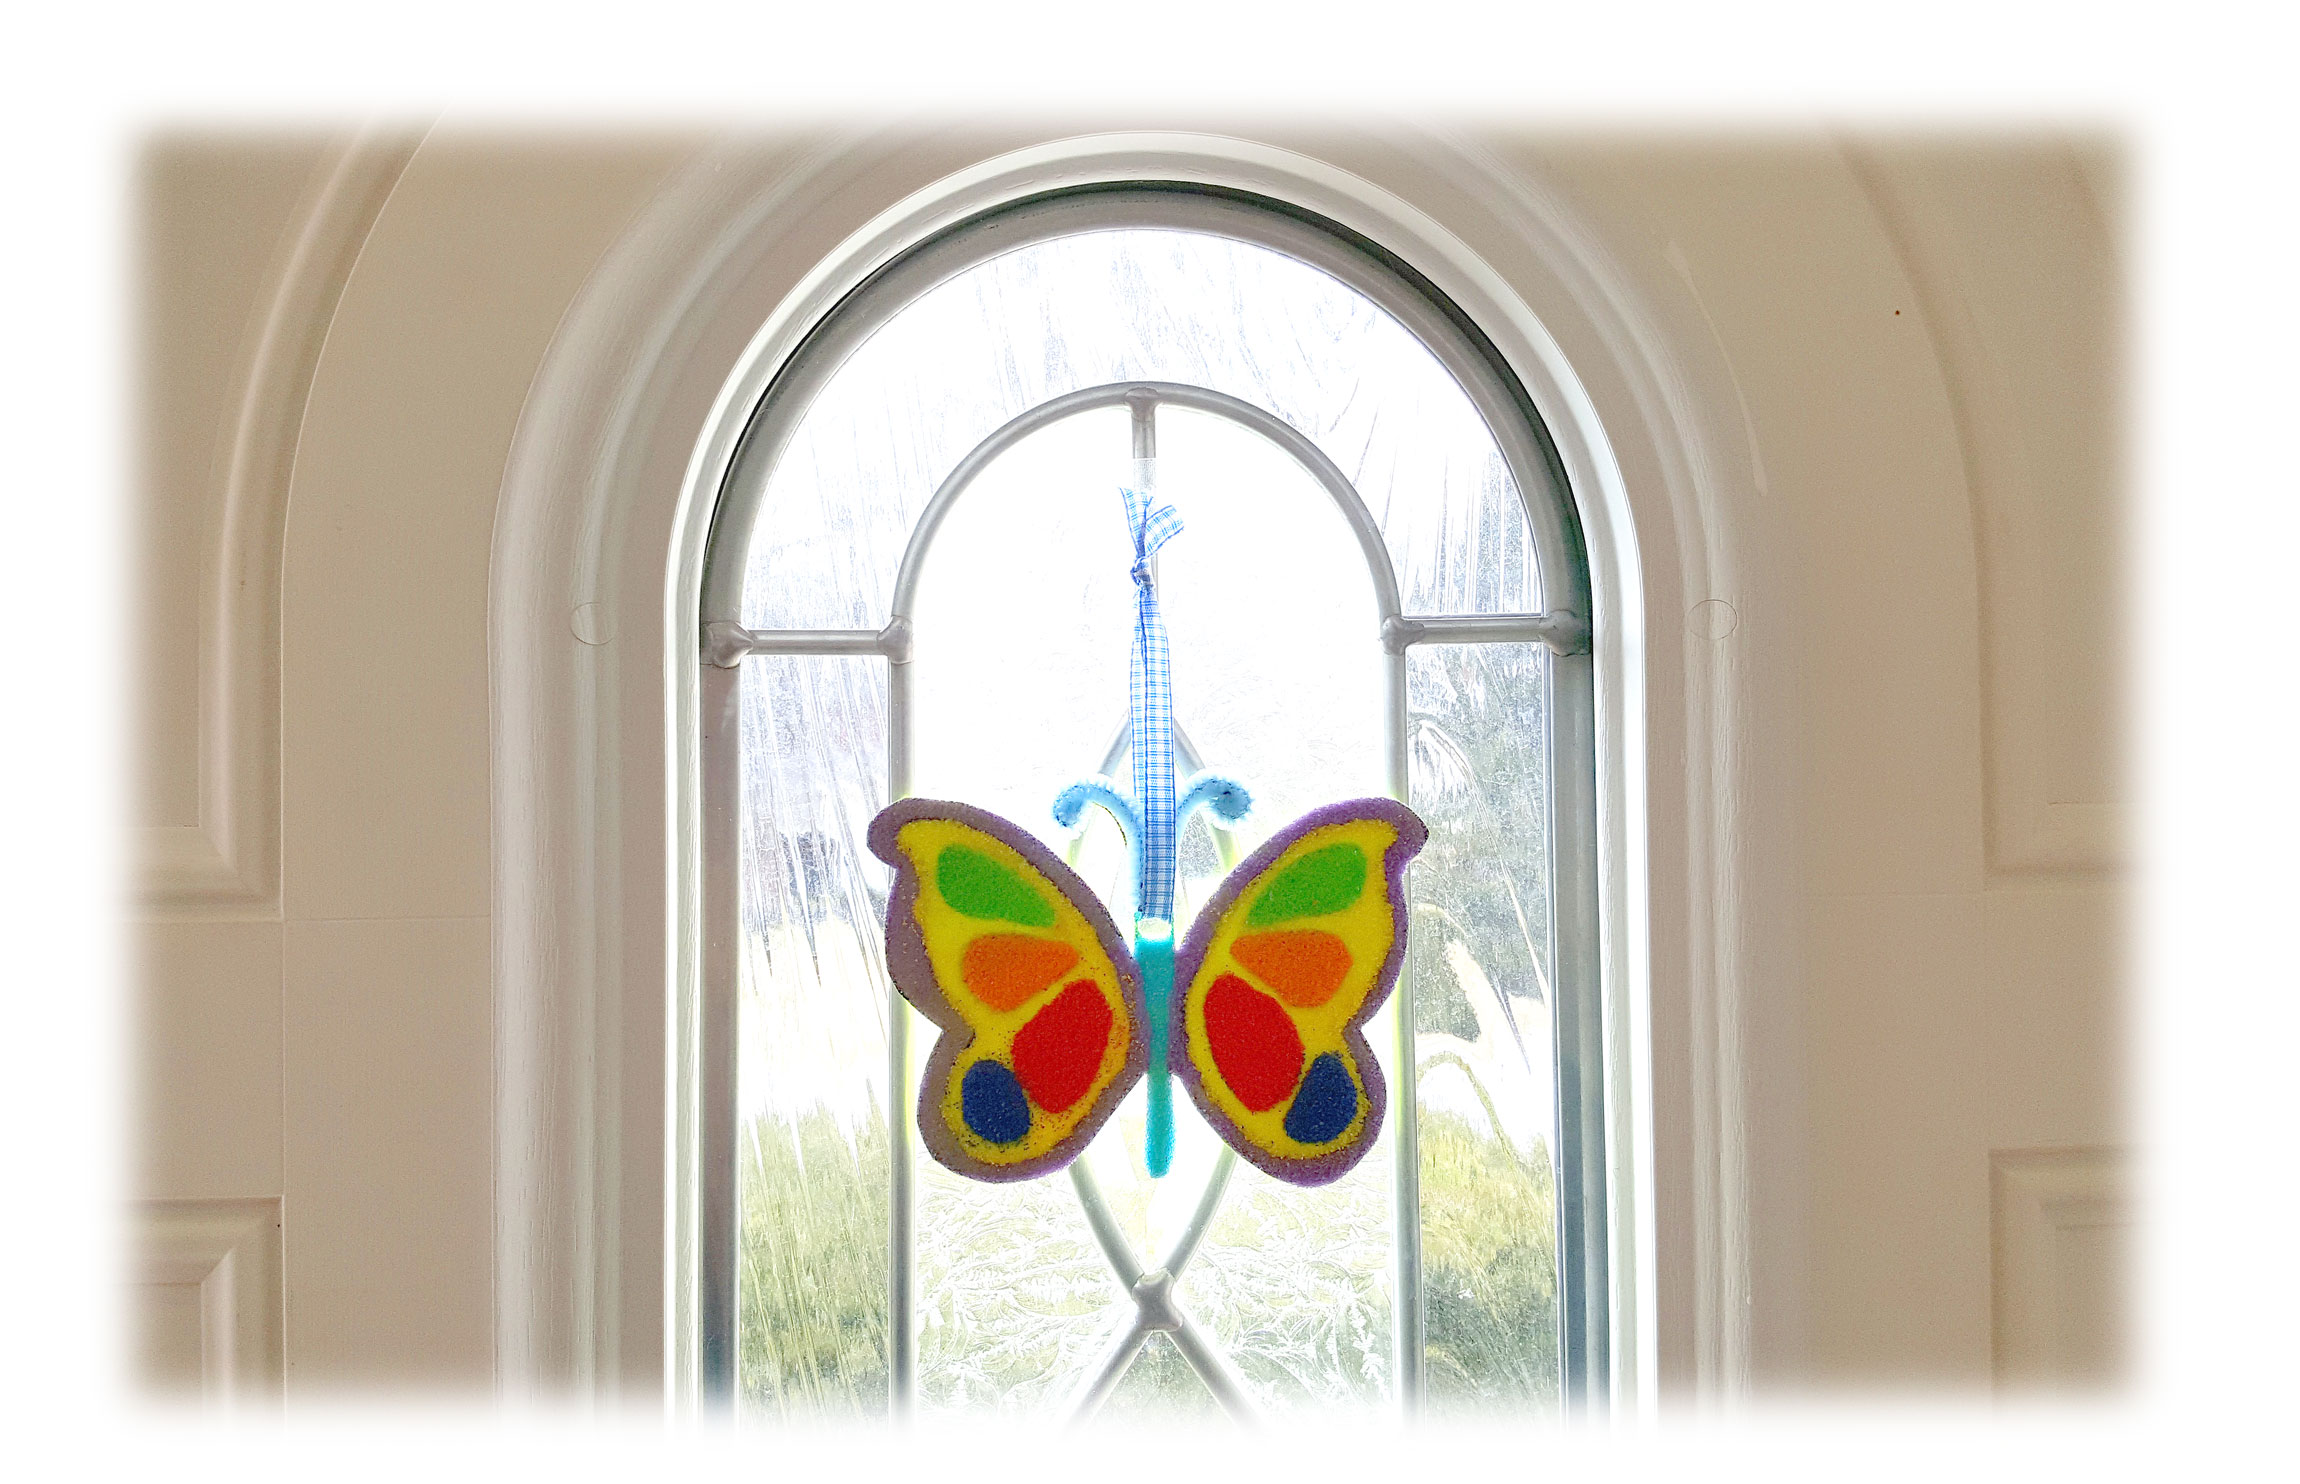
That’s it! Your sand art butterfly ornament is ready for hanging or displaying.
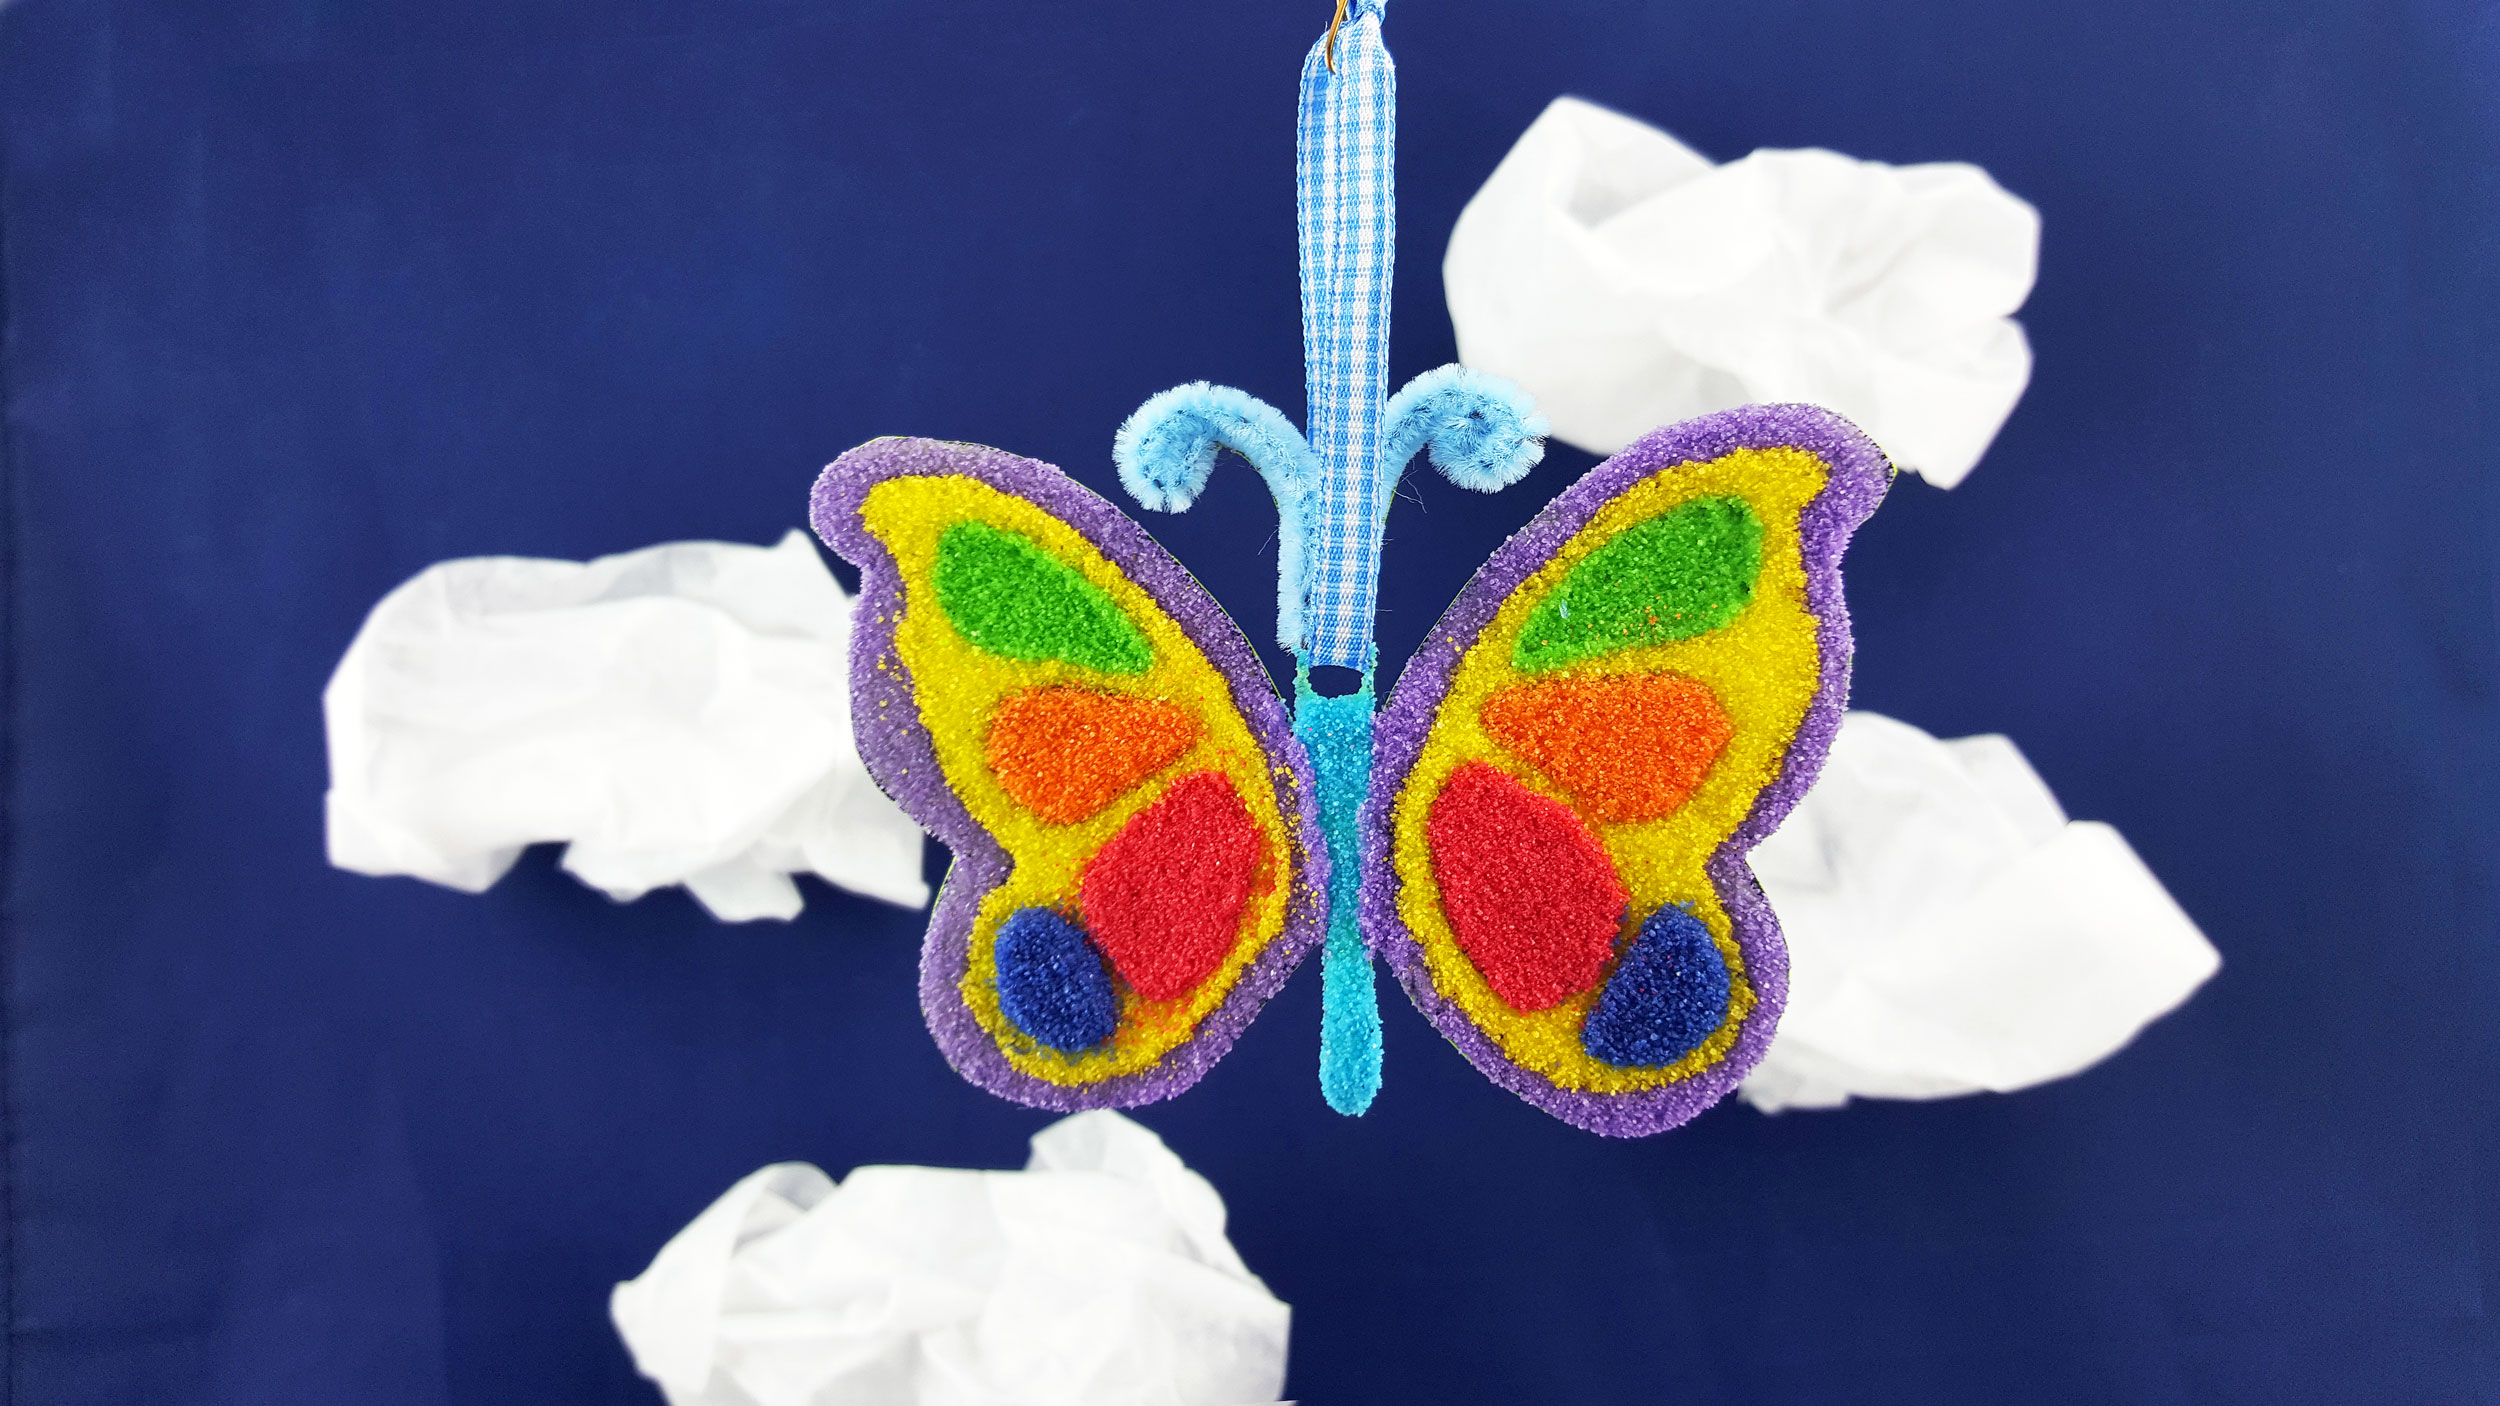
Here are 3 different ways that you can display your sand art ornament. First, you can hang it from a decorative ornament stand. Second, you can hang it in a window. Or, third, you can even hang it from your doorway.
Do you love spring ornaments but are not crafty? We carry a variety of personalized butterfly ornaments that can help you decorate for spring! They will certainly add a pretty touch to your spring decorating!