Create Your Own DIY Spring Season Shadow Box Ornament!
Posted April 10, 2018 in DIY (Crafts) by Dianne Weller
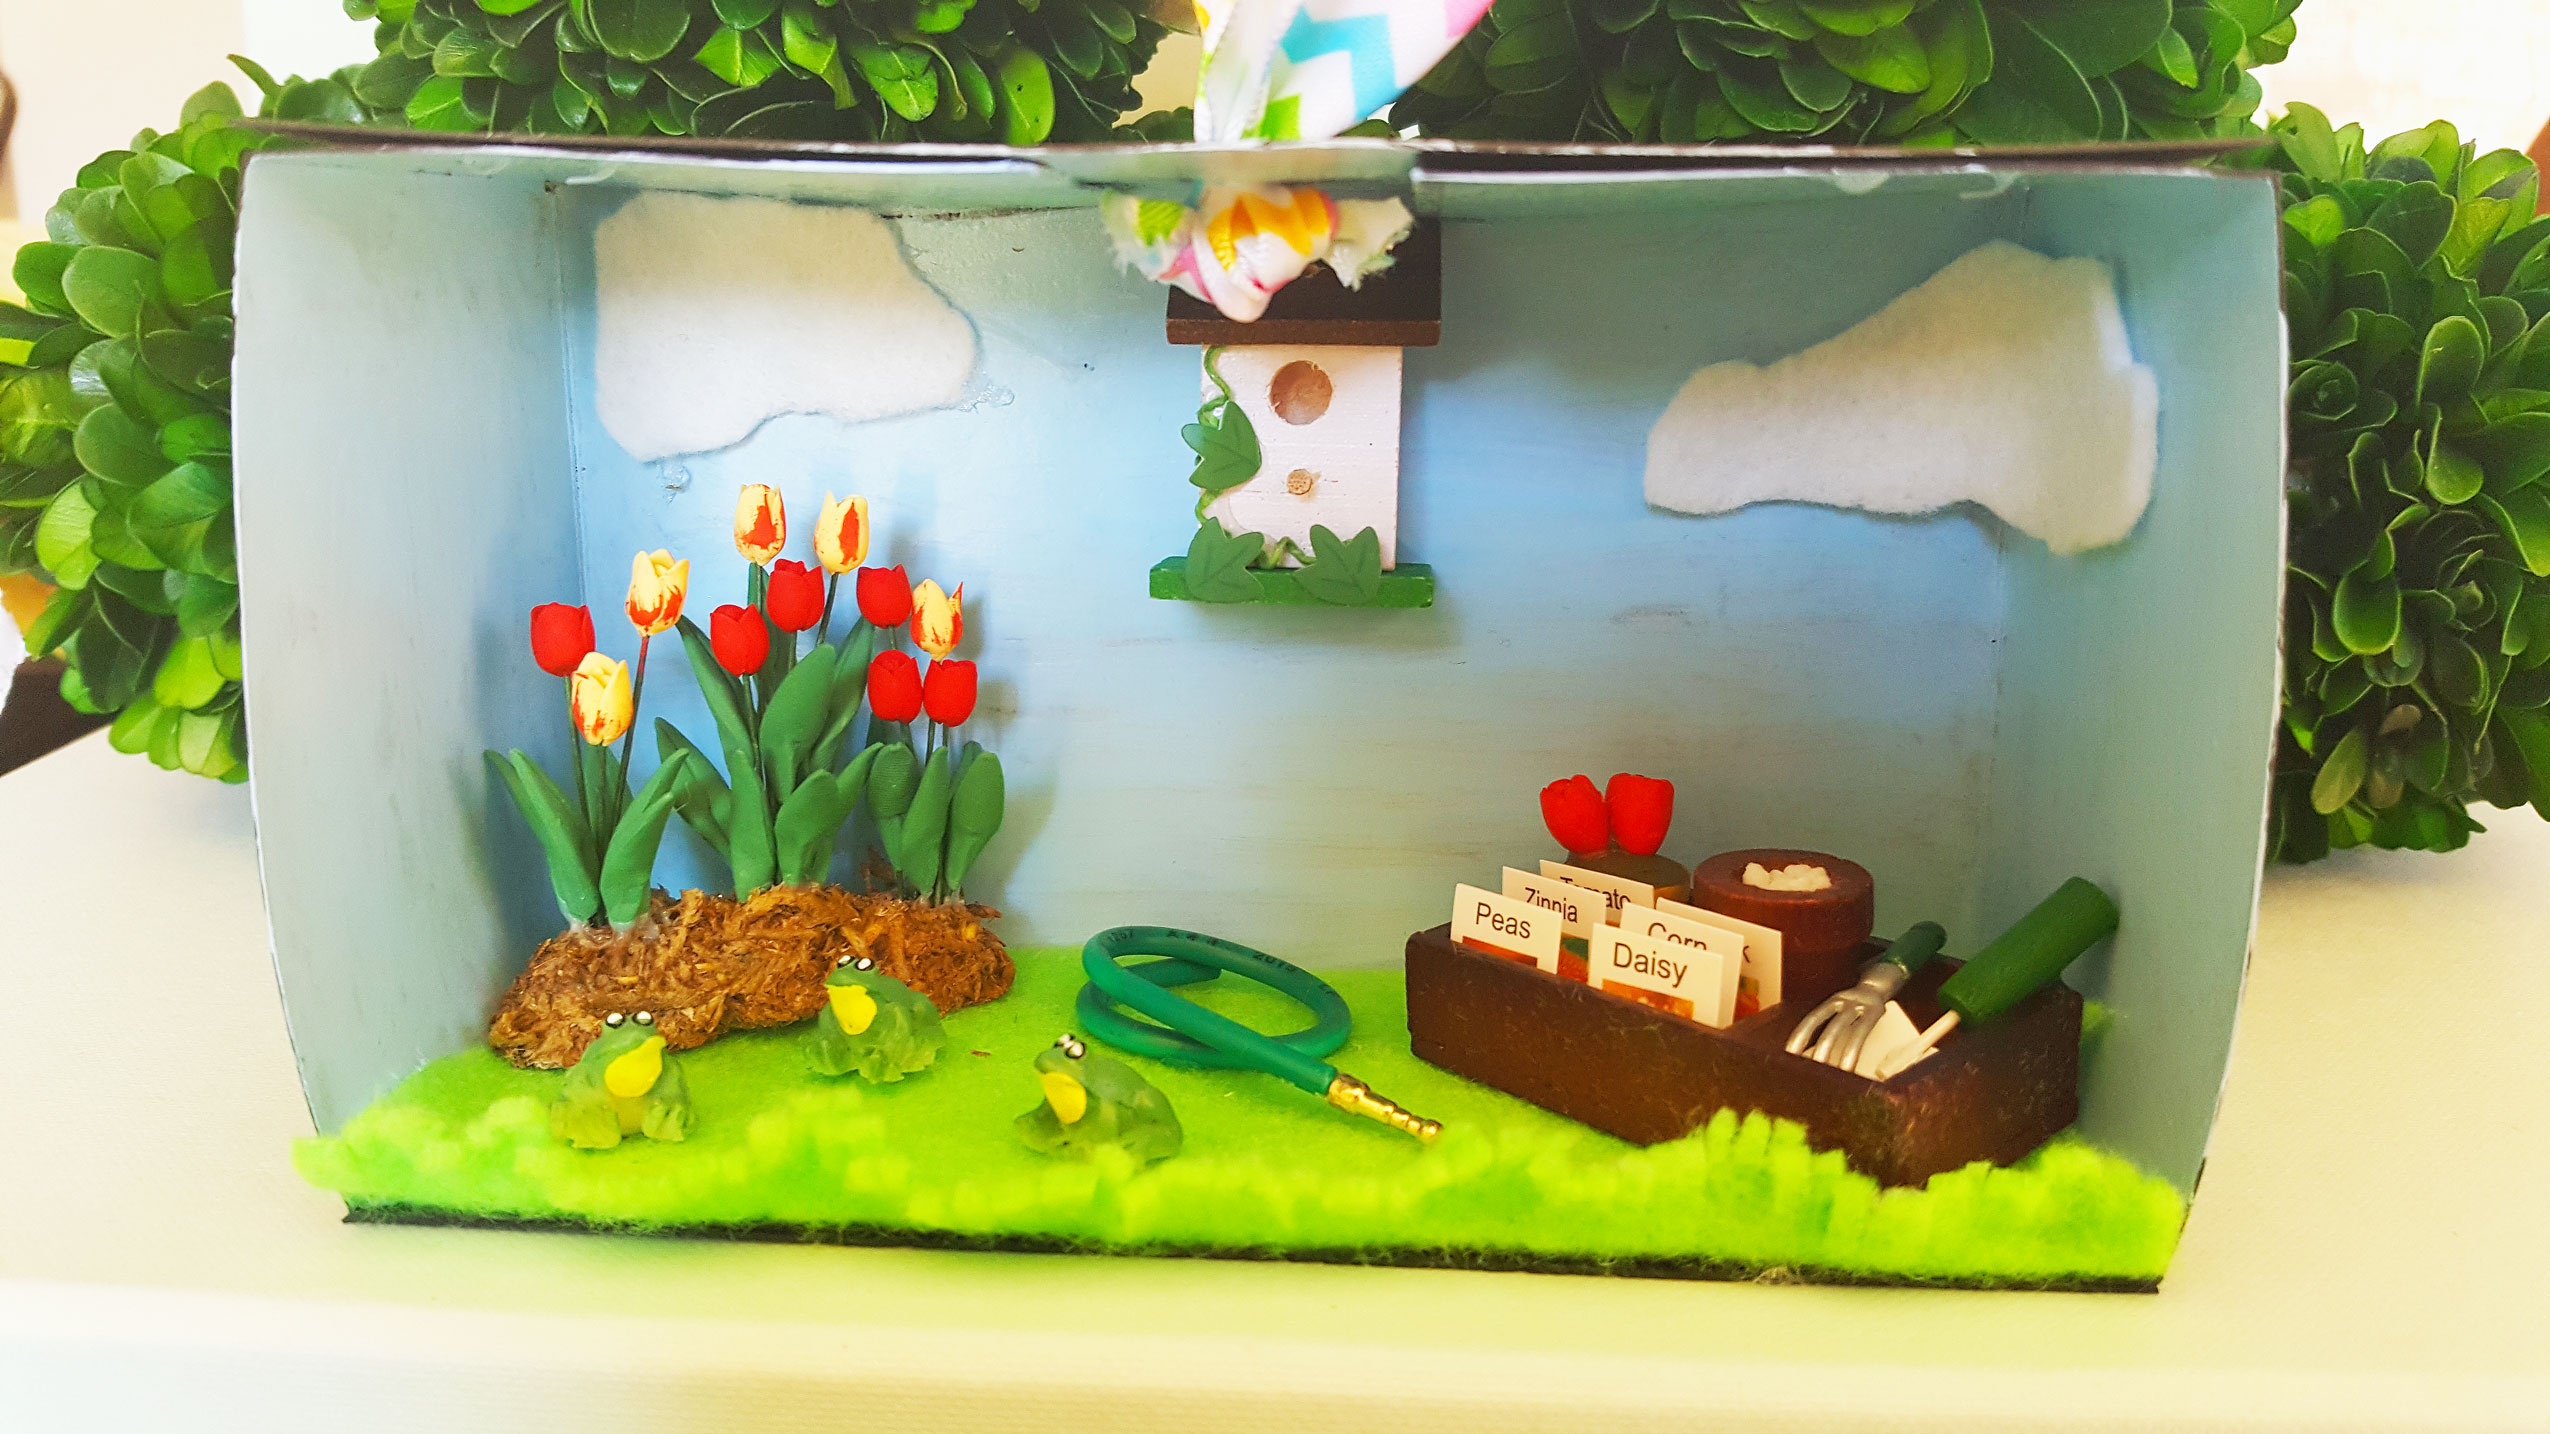
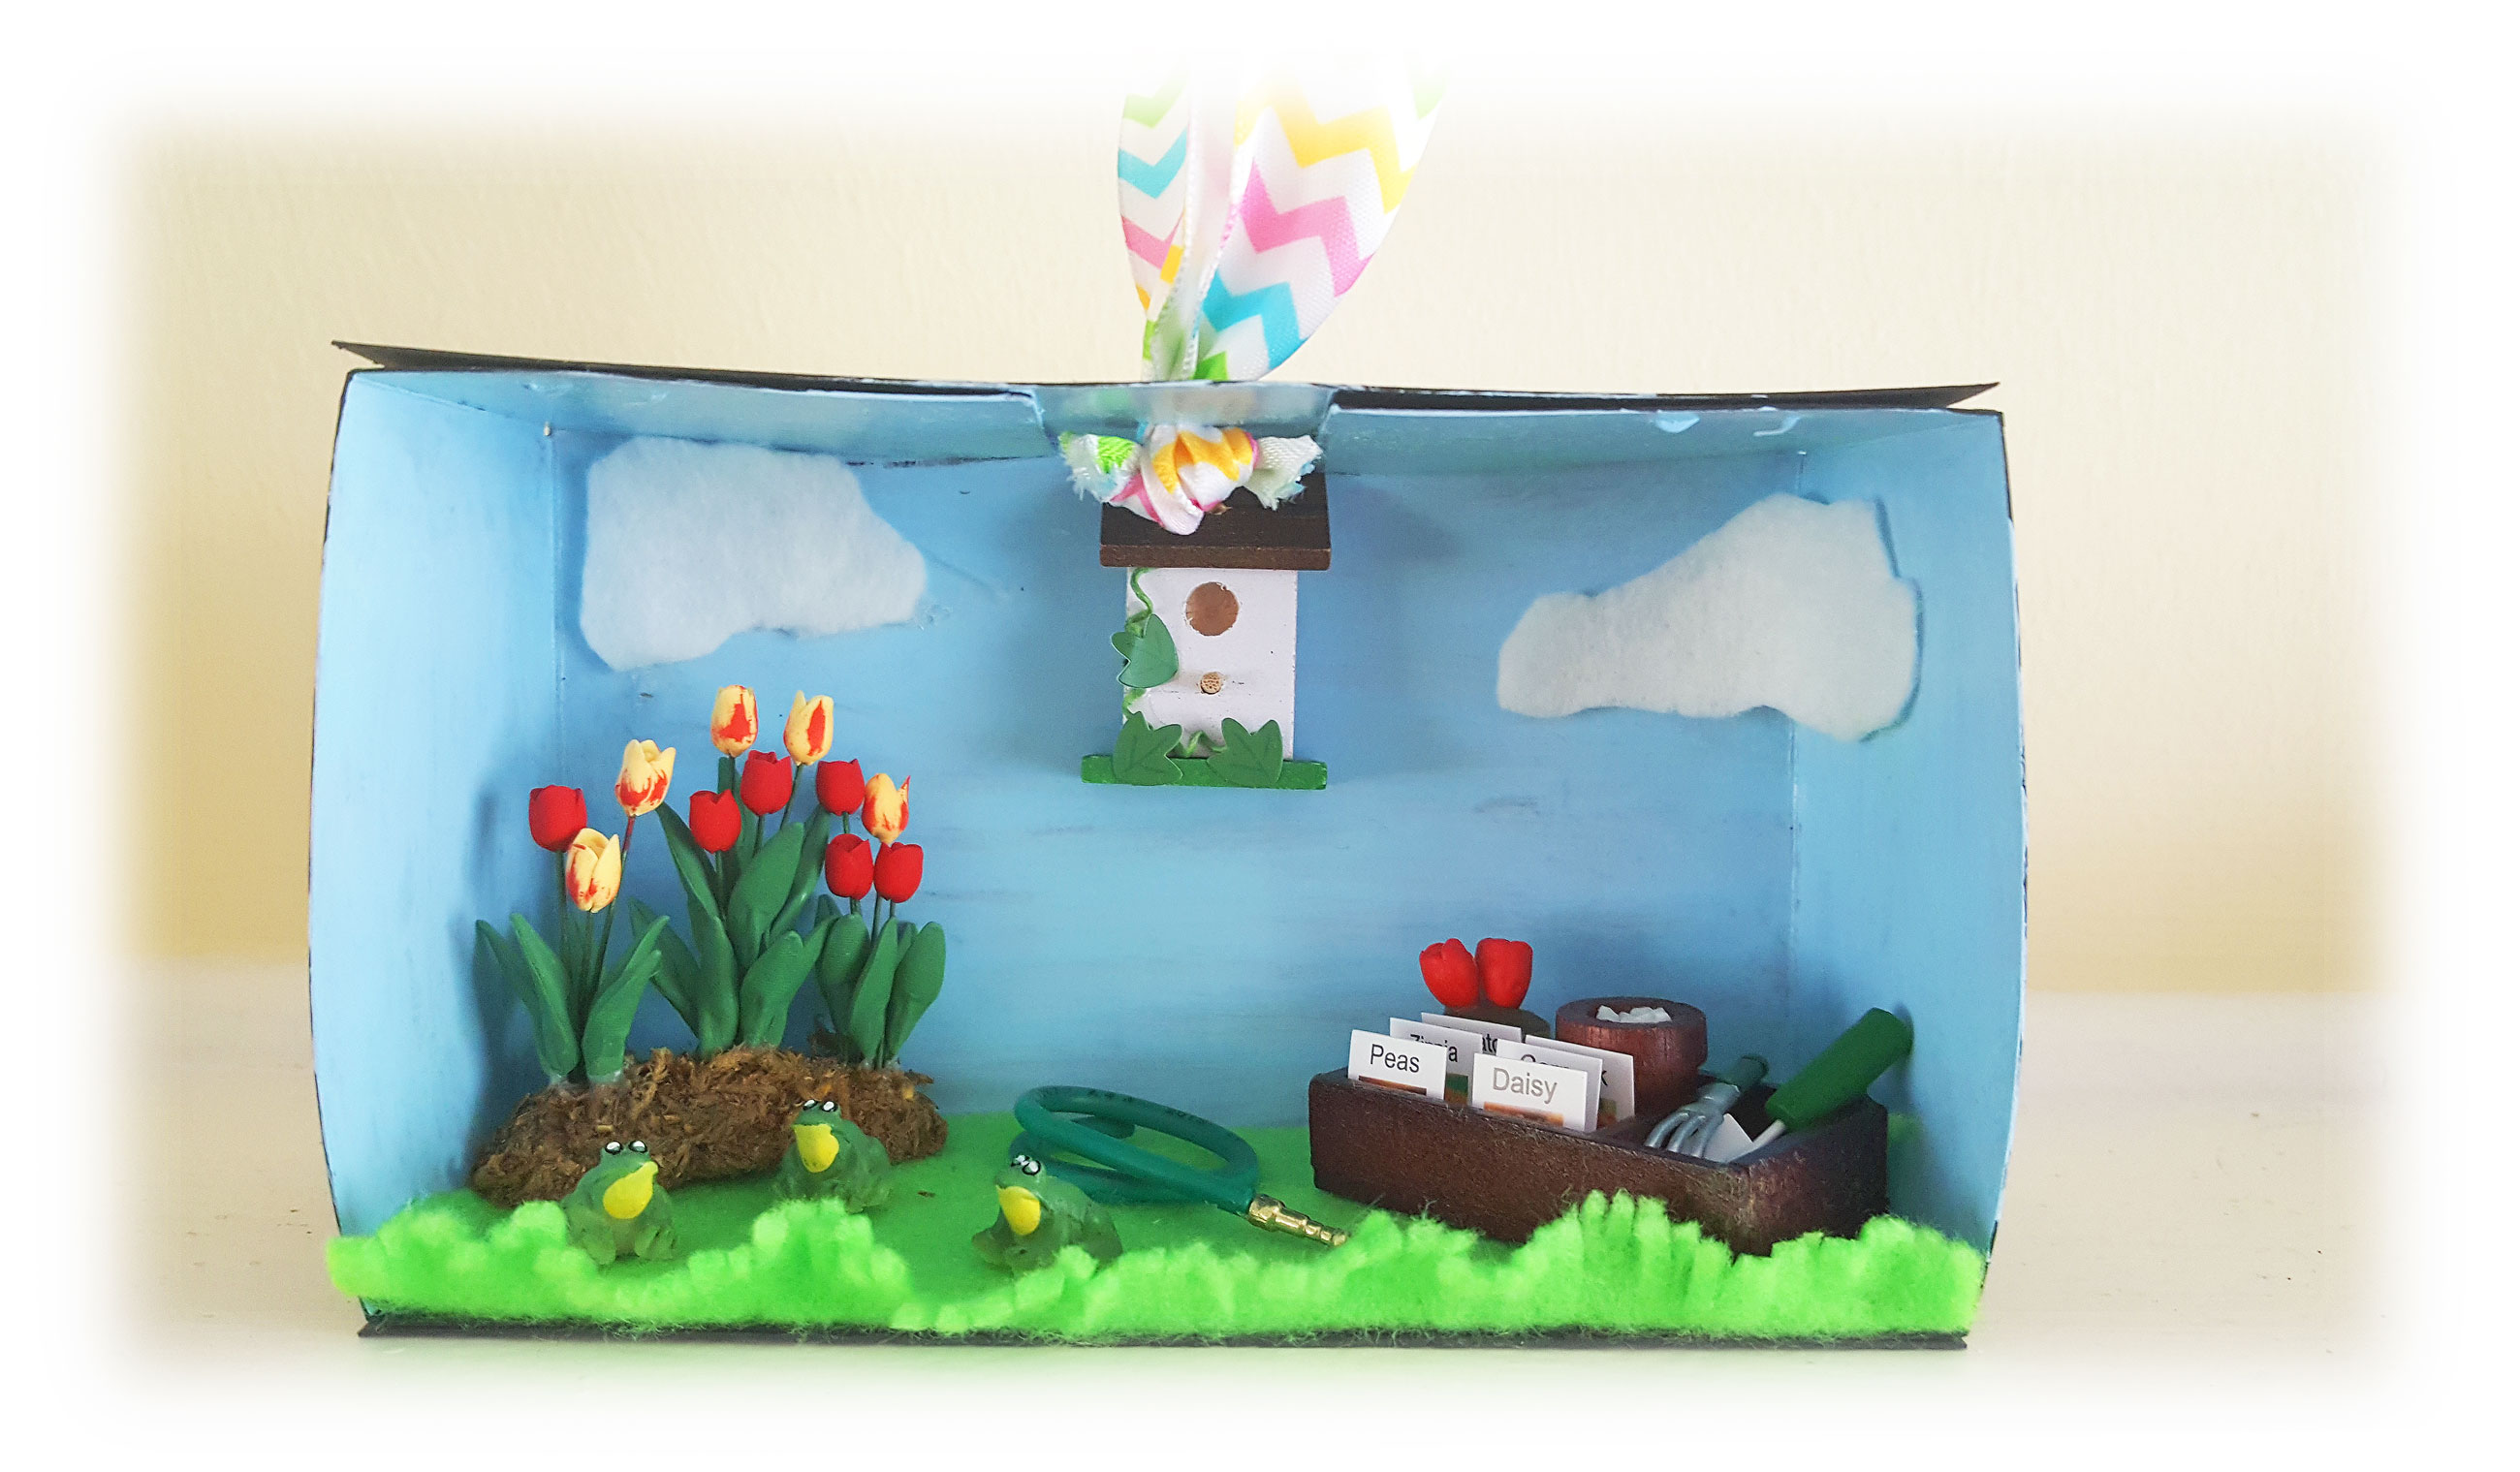
I have always wanted to make a DIY Shadow Box decoration for spring. If you are like me and you love miniatures, then you’ll love making this cute diorama ornament! Also a great gift for gardeners, I have lots of gardener friends and this is a personal and unique gardening scene gift to give them.
The construction of a DIY deep shadow box is simple, but its execution can be elaborate and personalized for the person you are giving it to, the place you are going to display it, or even the season that you want to depict. Here I have created a spring scene, but you can do summer, fall or winter as well!
Step By Step Instructions On Making A DIY Shadow Box Ornament
Here, we show you how to make a Sand Art Butterfly ornament that is perfect for hanging around your home now that spring has sprung, or you can wait and save them to decorate your Christmas tree in the winter. There are very few supplies needed and each one you make is a work of art. Sand art is a great family craft activity or even a fun classroom project!
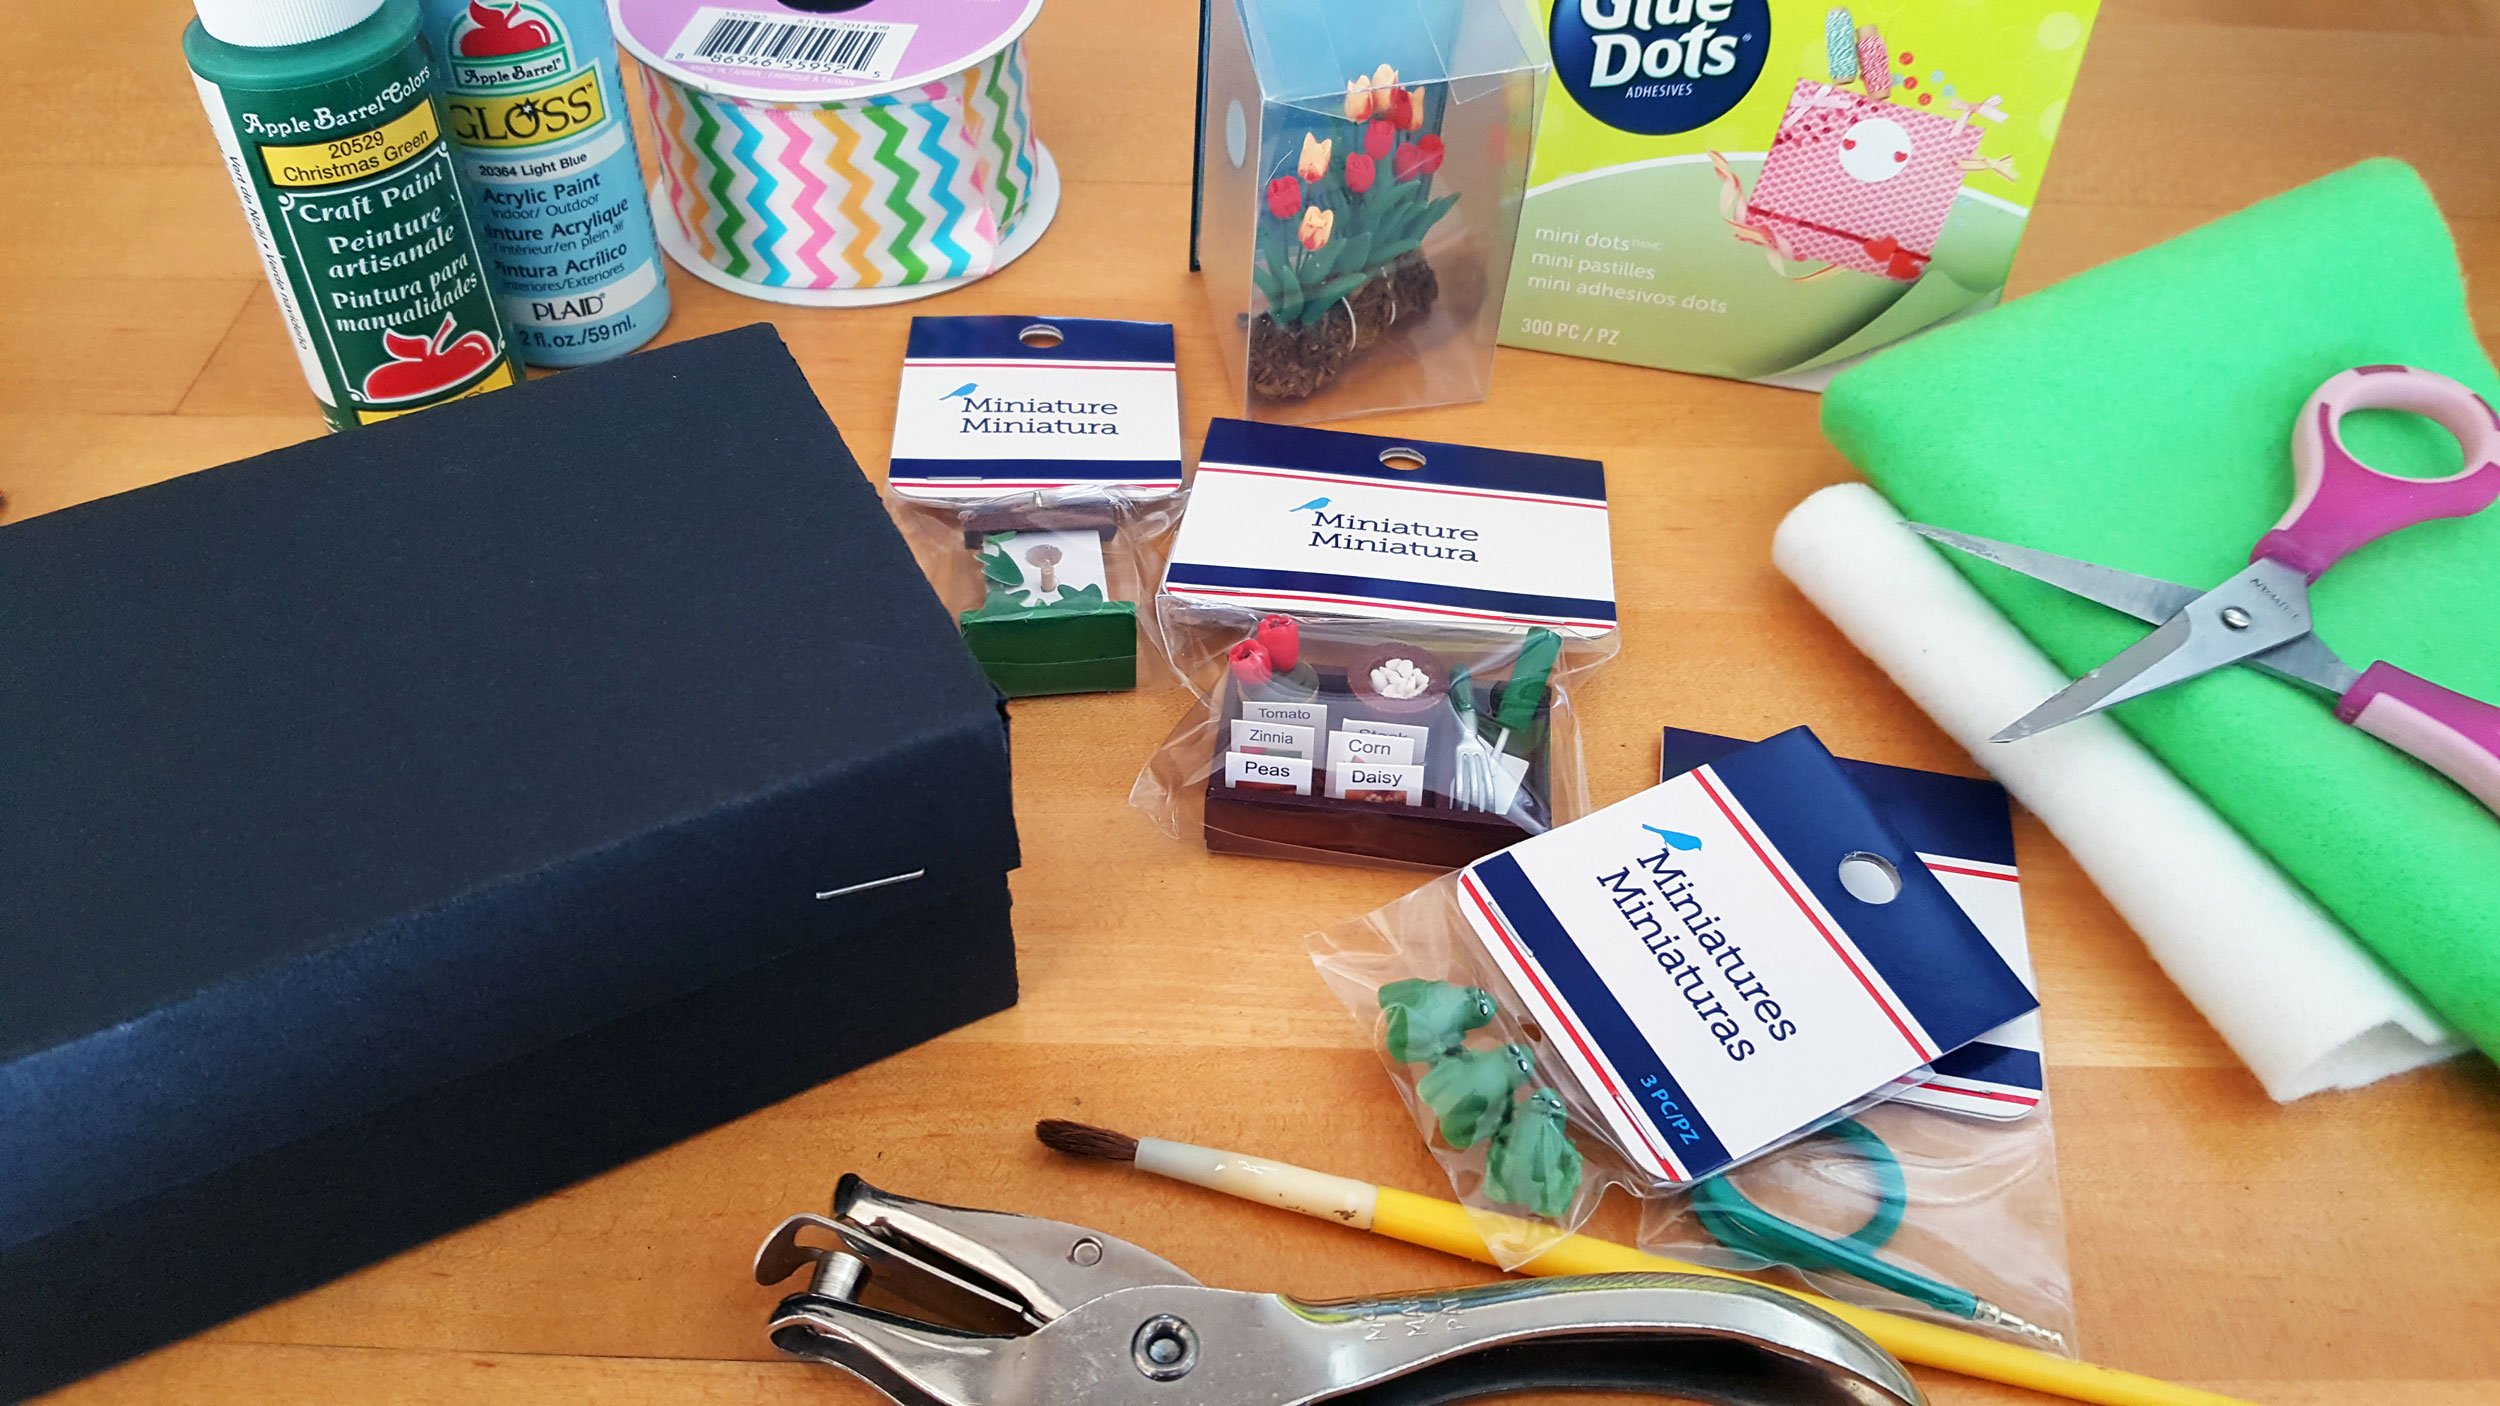
Supplies:
- Small cardboard gift box
- Blue paint
- Green felt (or green paint instead)
- White felt
- Dollhouse miniatures
- Glue (we used glue dots)
- Scissors
- Paintbrush
- Hole puncher
- Ribbon
DIY Shadow Box Ornament Steps 1-4
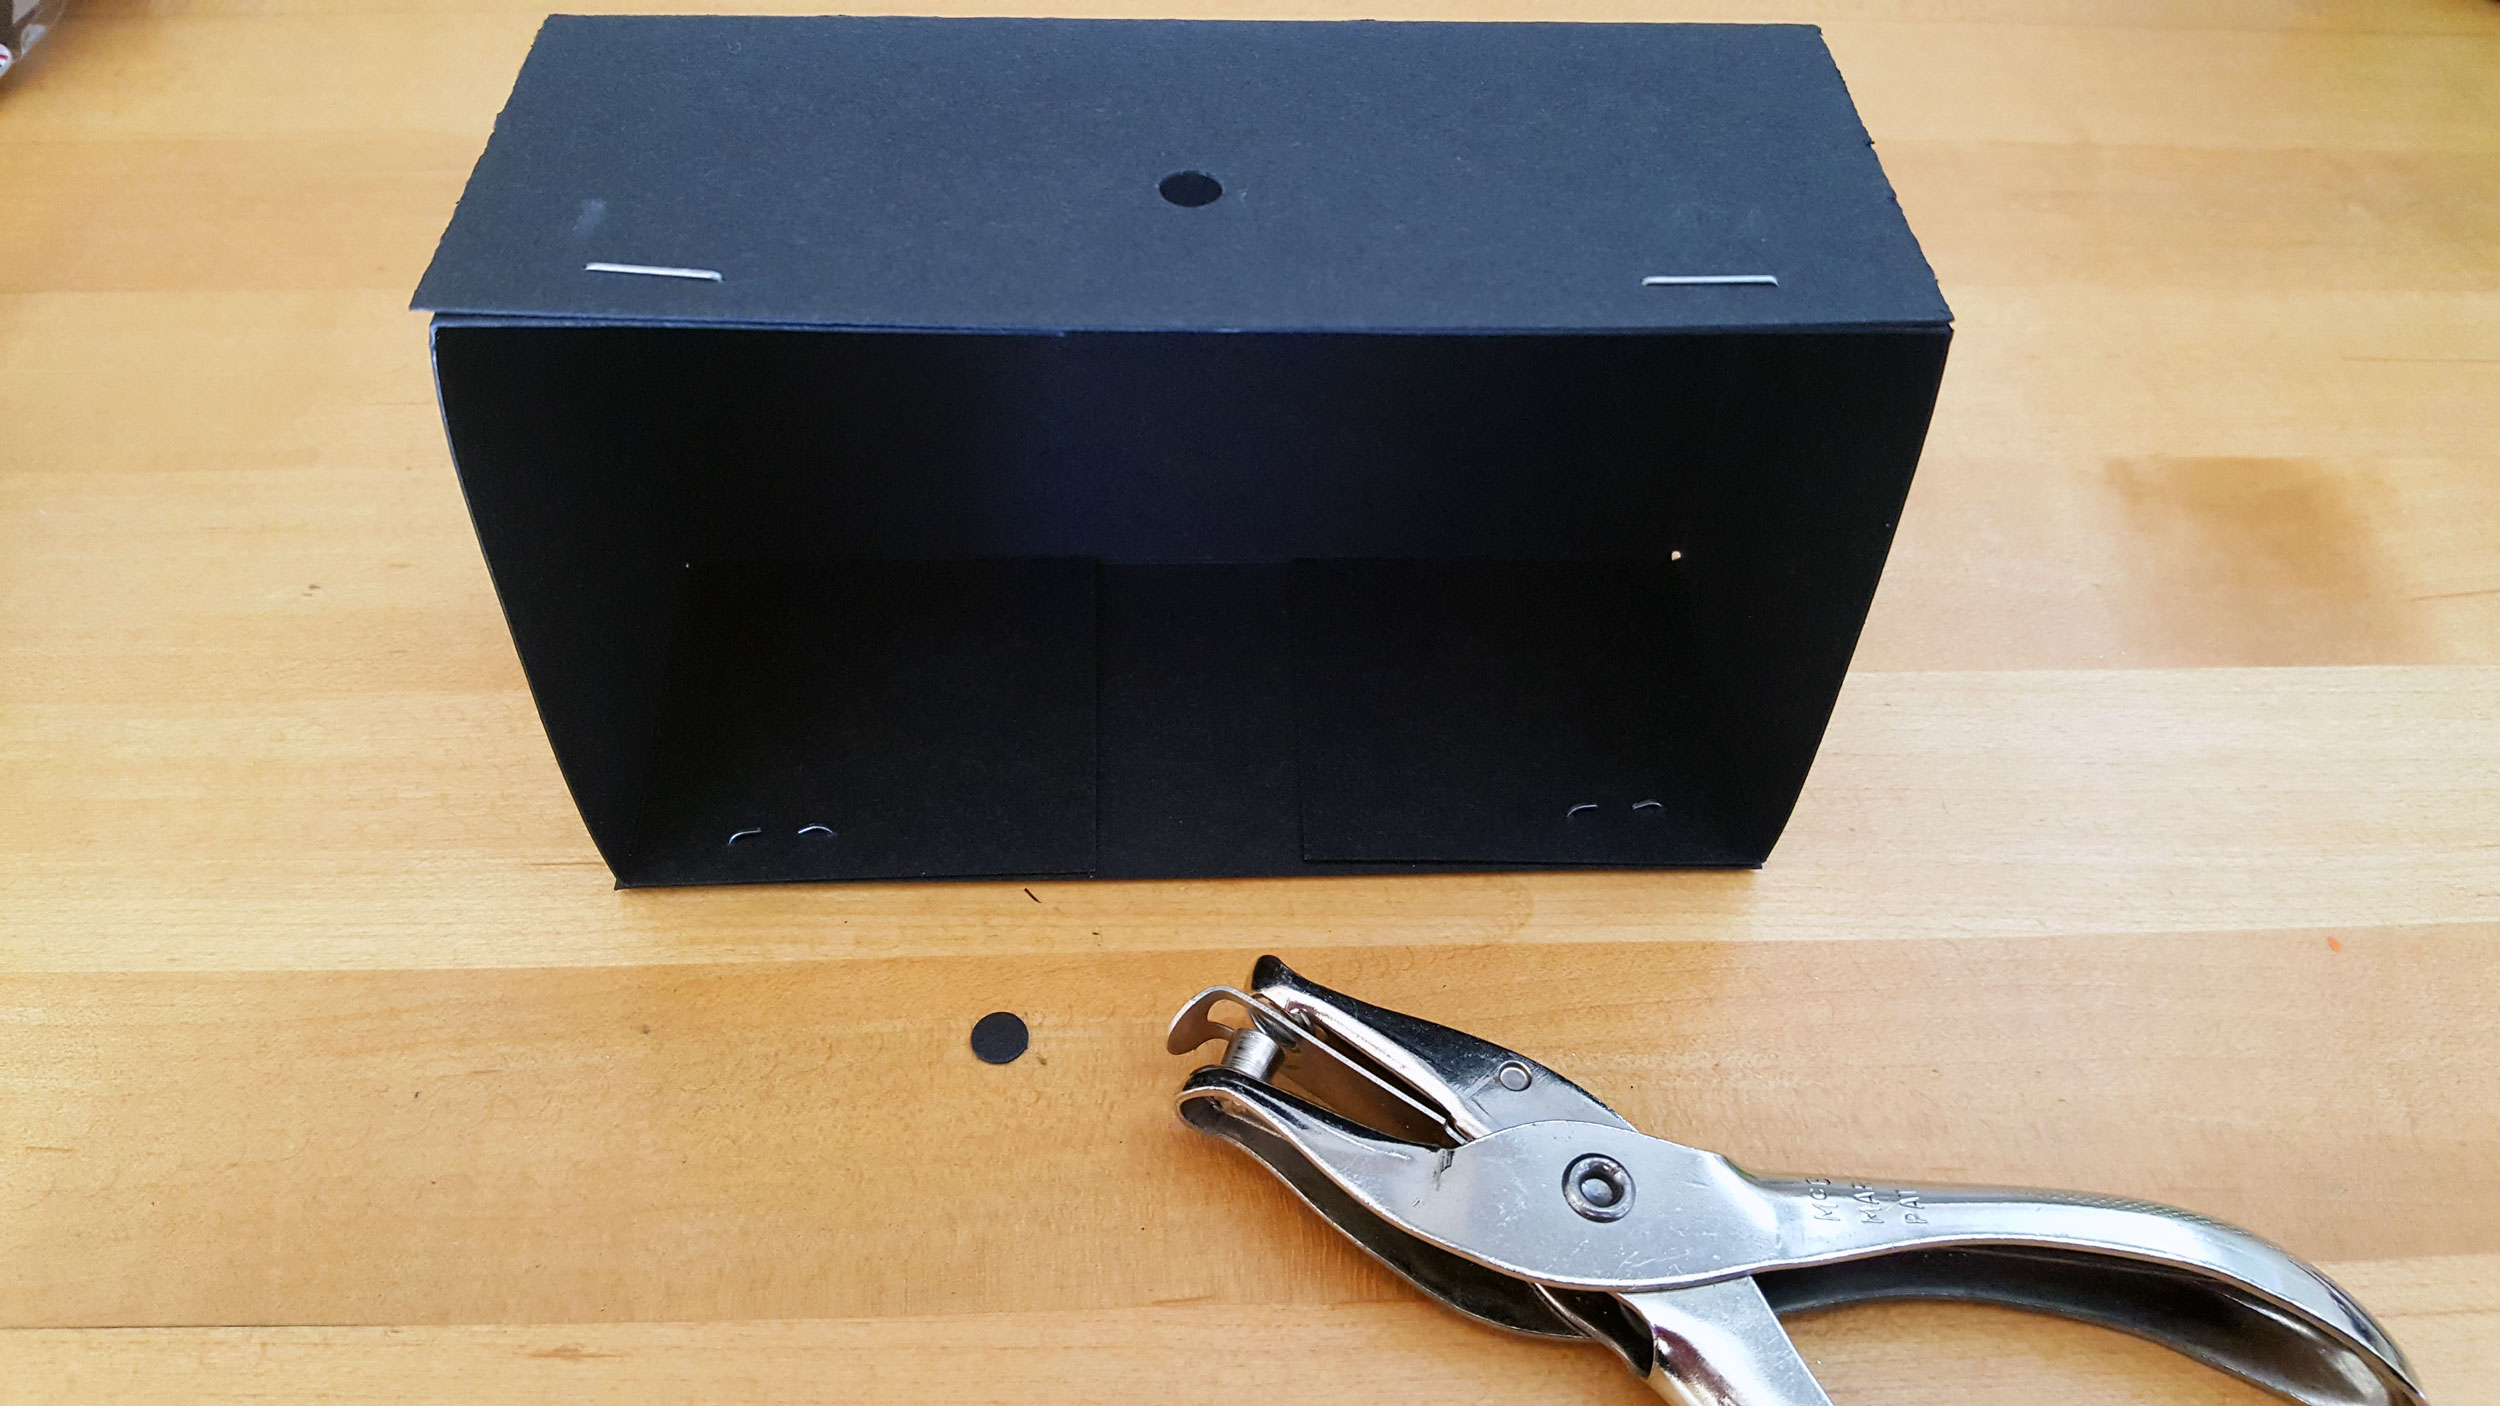
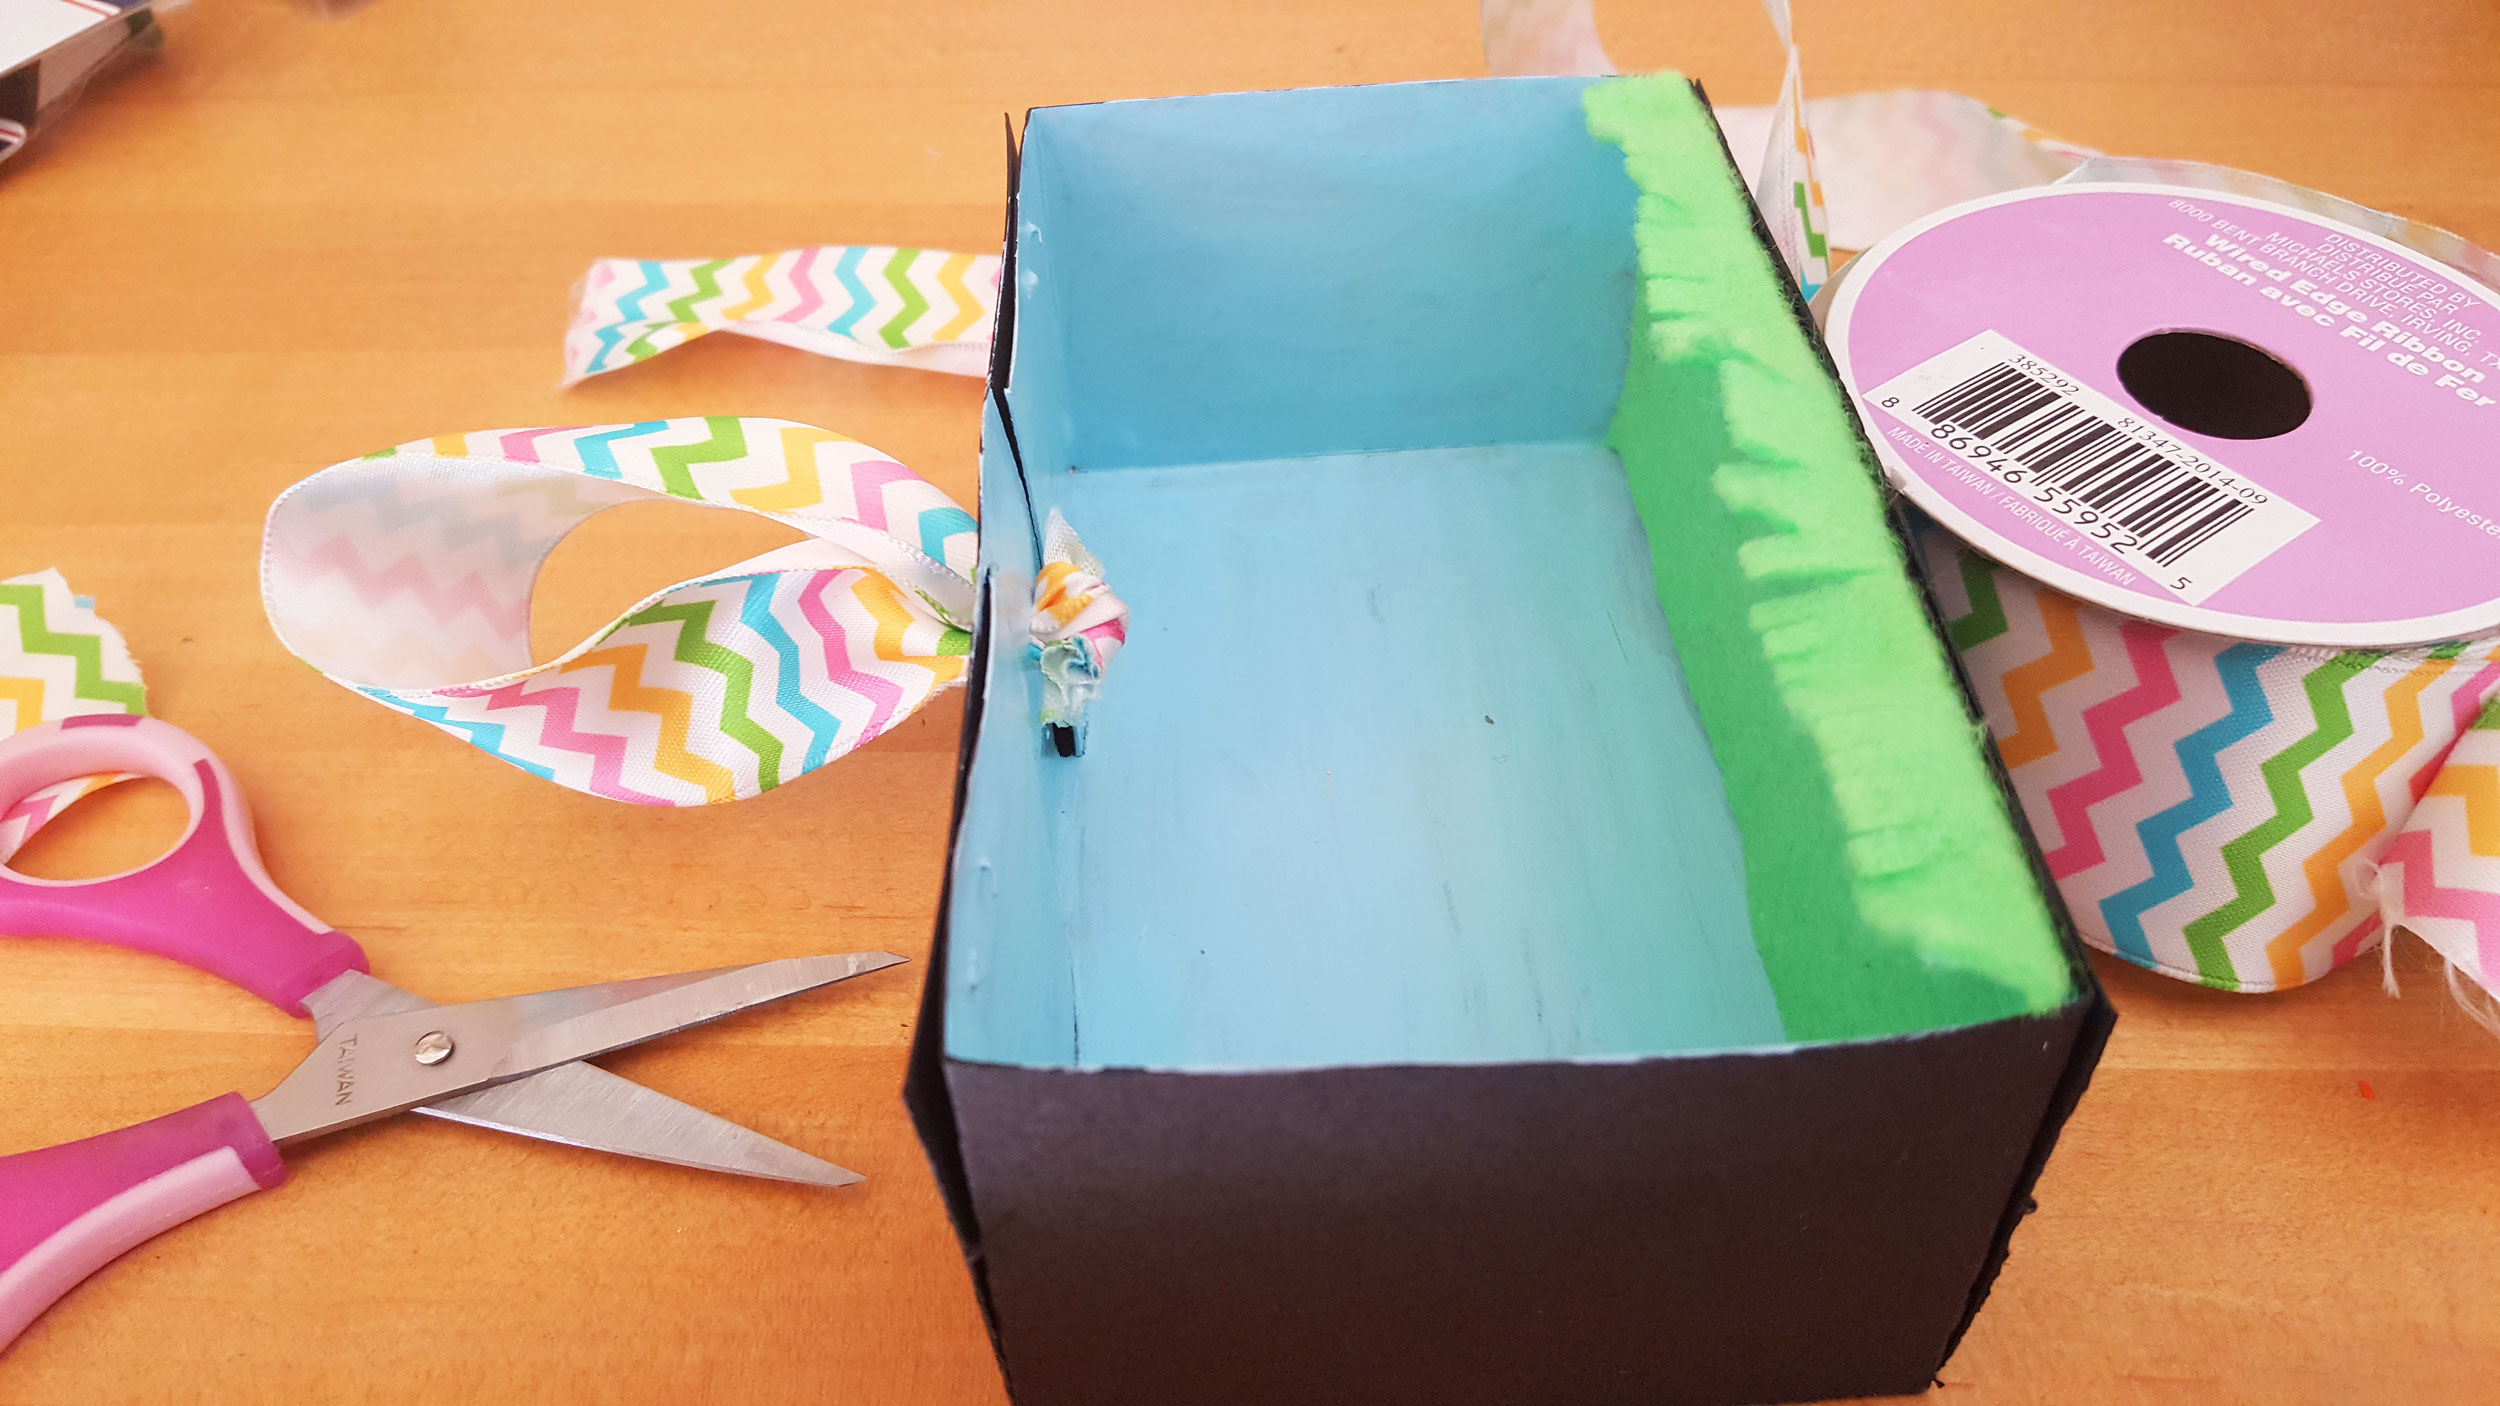
Step 1: Stand the box on its side. Since this is going to be an ornament, use the hole puncher to make a hole in the top center of the box.
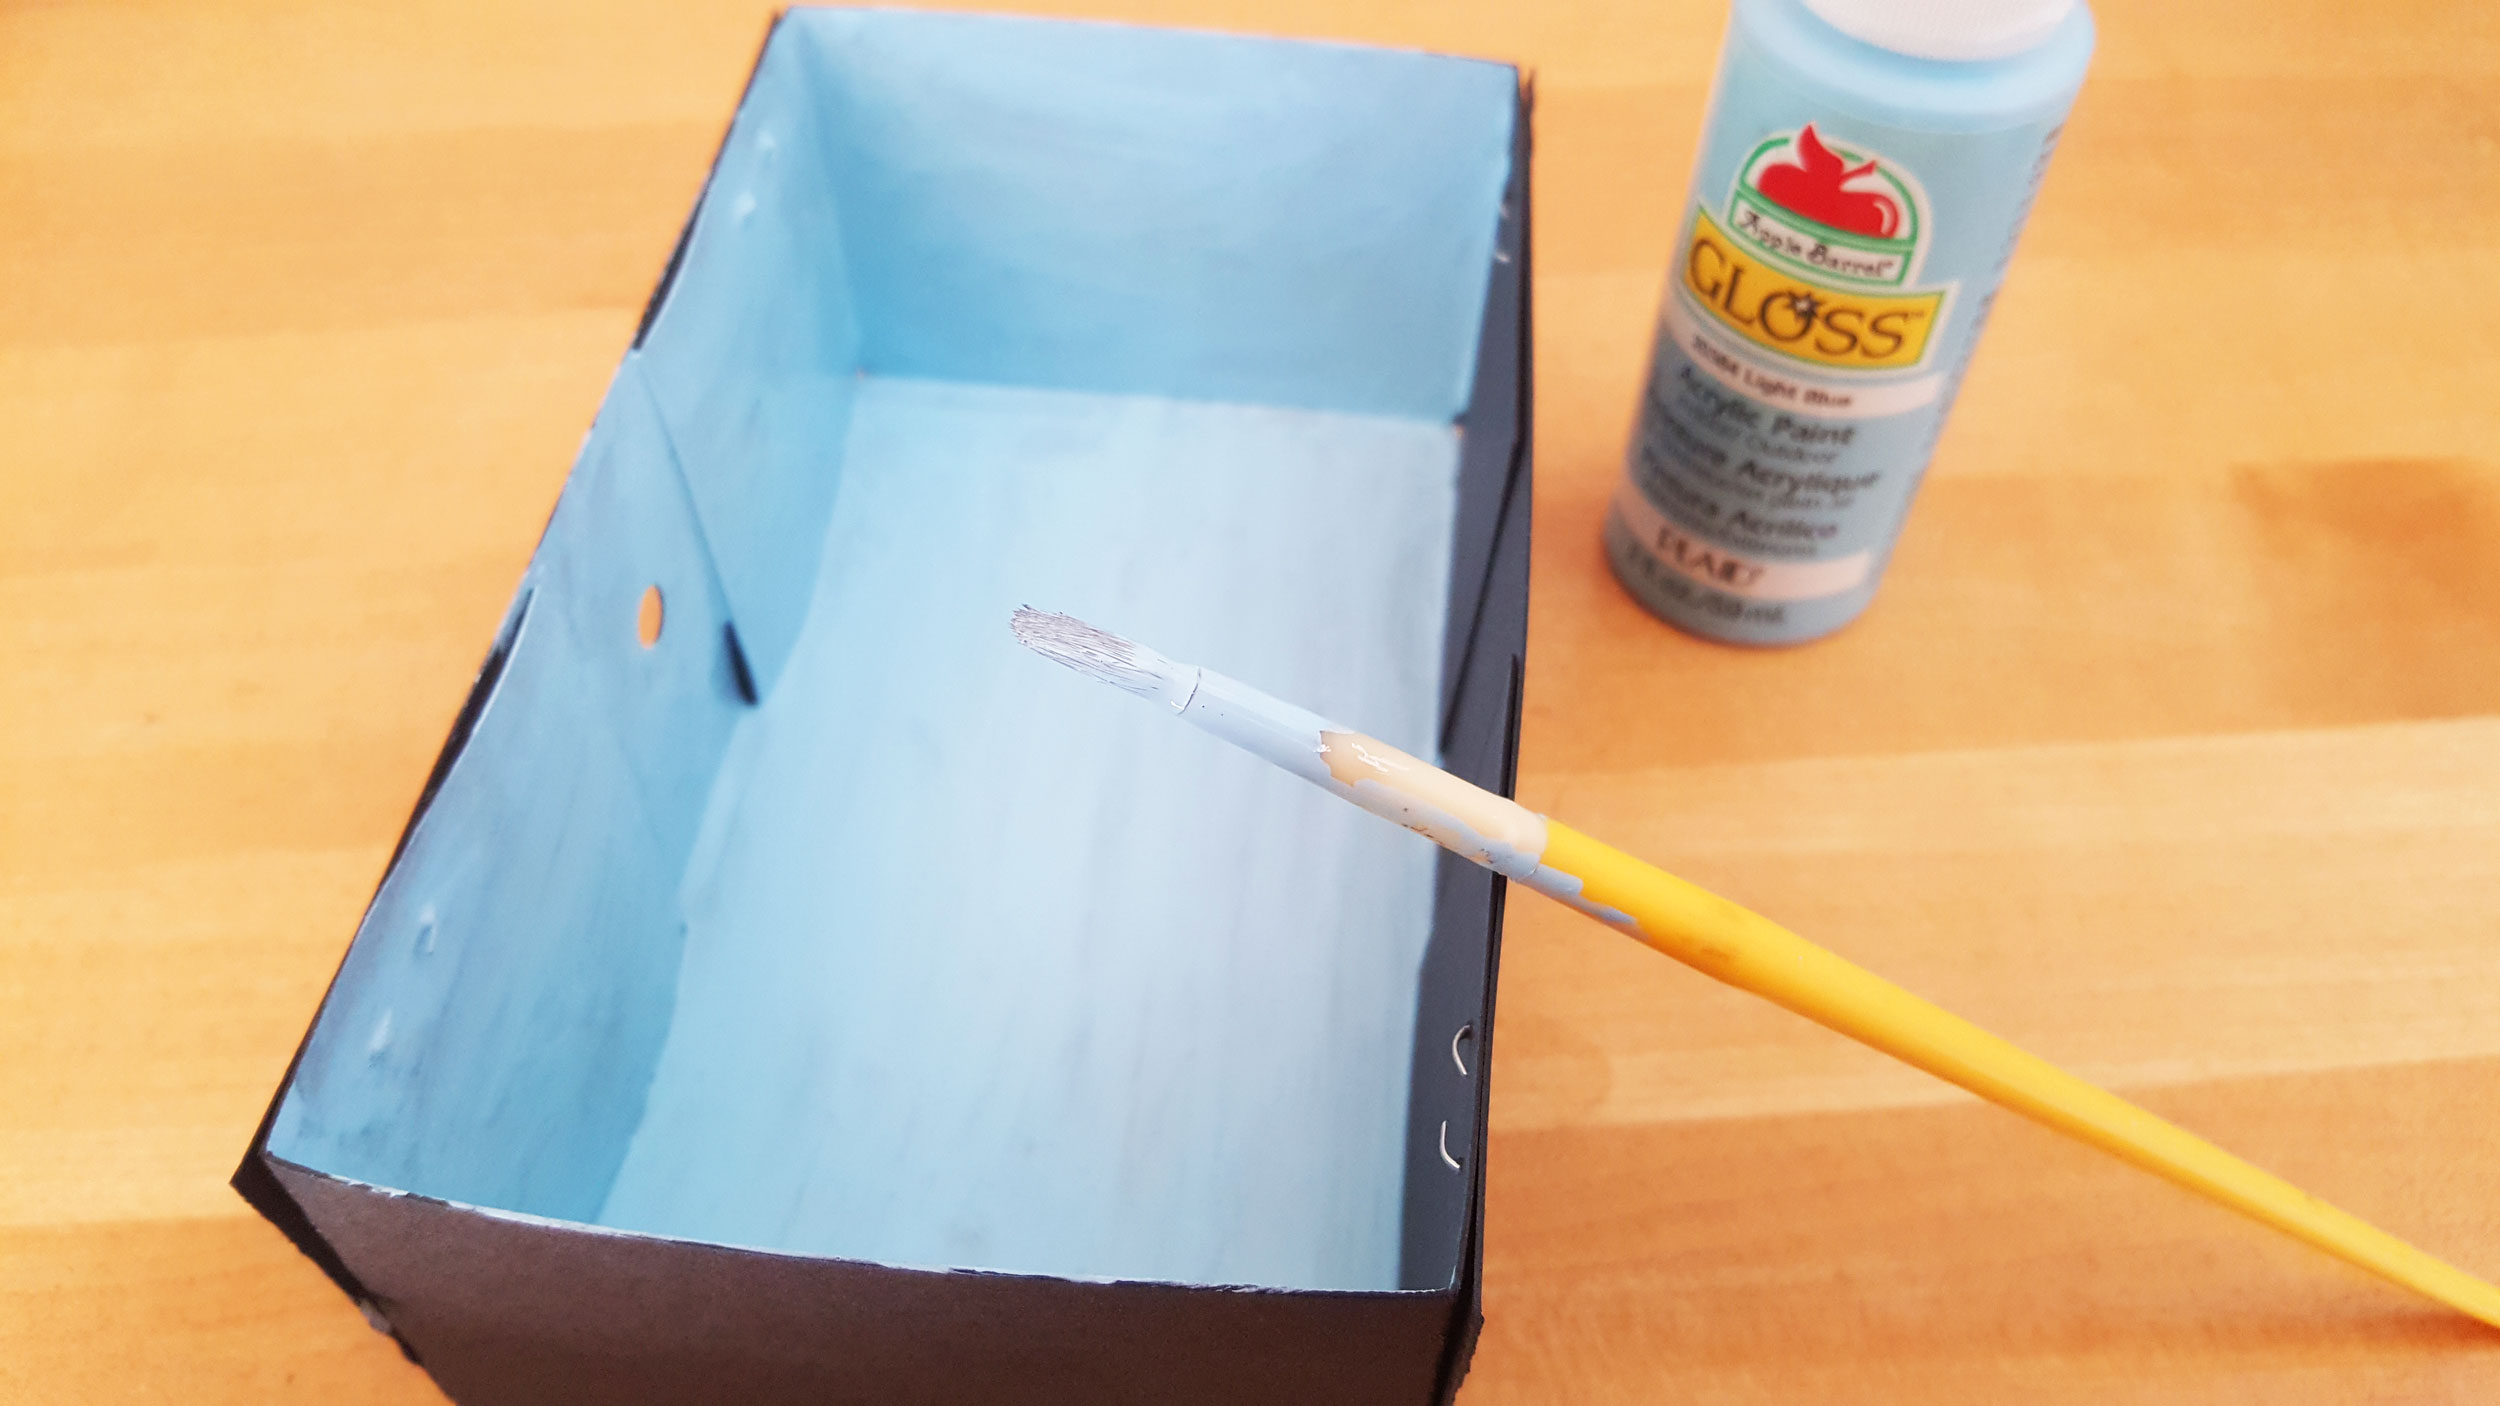
Step 2: Next, paint the inside top, sides and back with the blue paint. Let it dry.
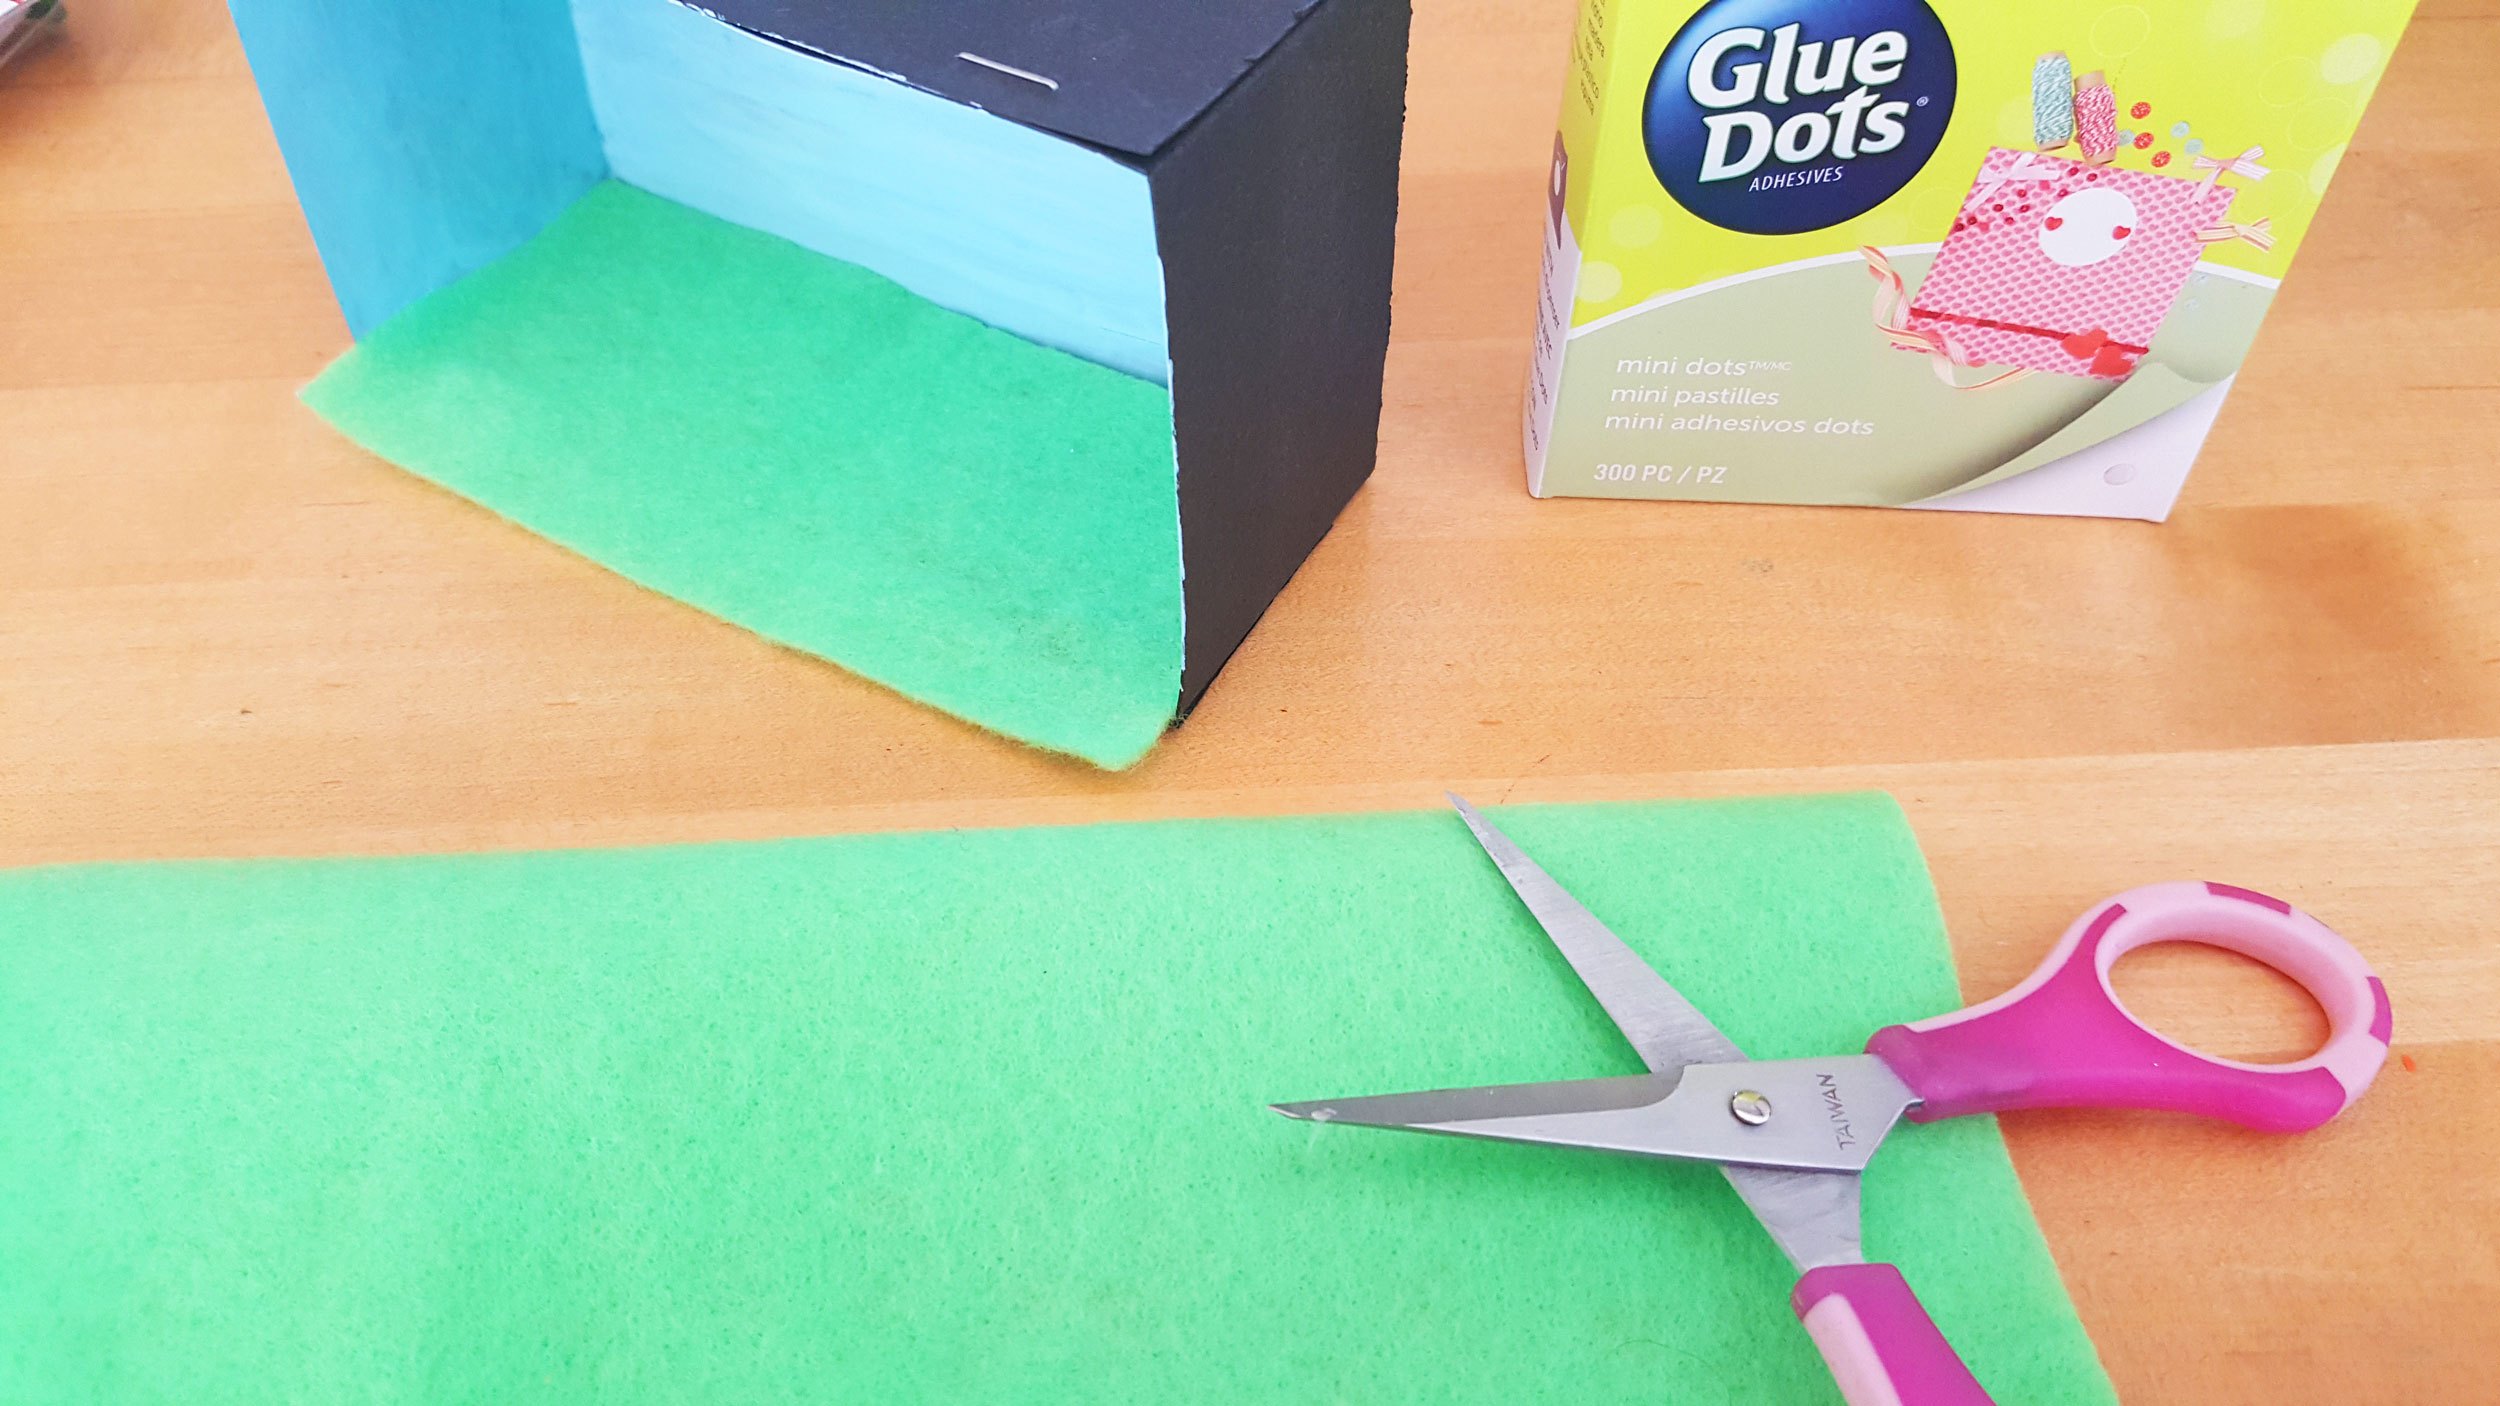
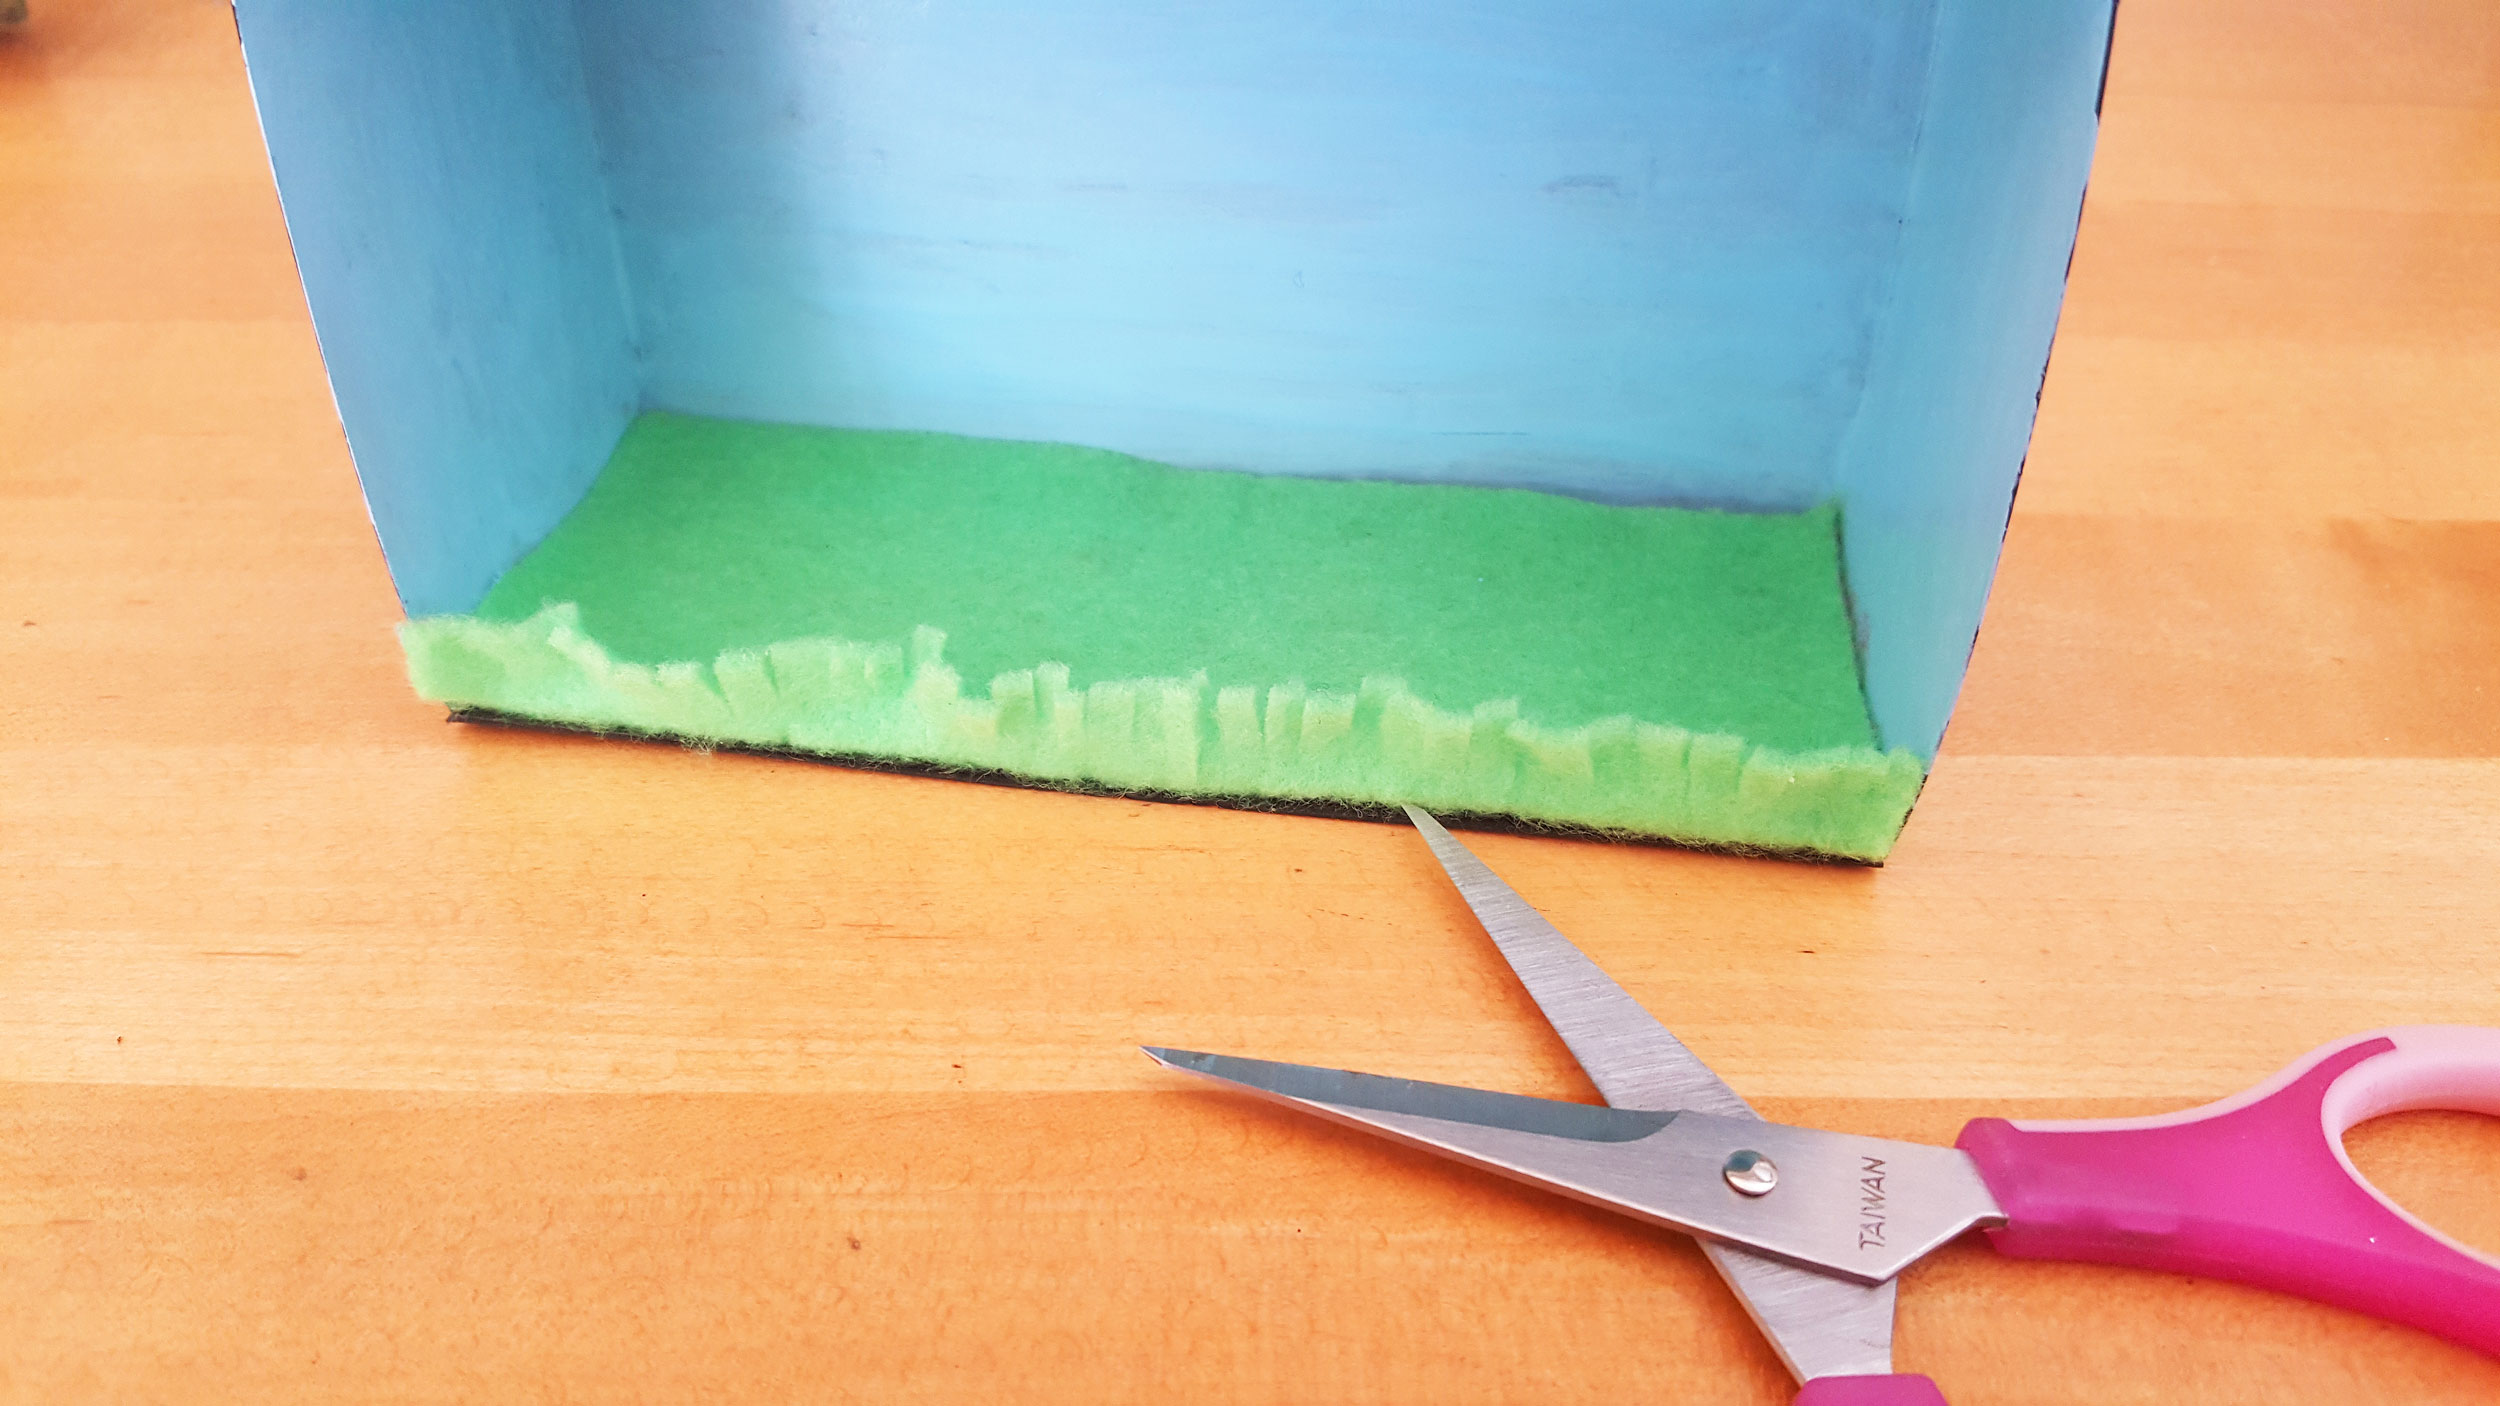
Step 3: While the paint is still drying, cut a piece of the green felt in a size that will cover the bottom of your DIY shadow box. It is important to make sure that you cut the end hanging out of the box longer, leaving approximately 1 cm overhang. Glue the piece of felt inside the box.
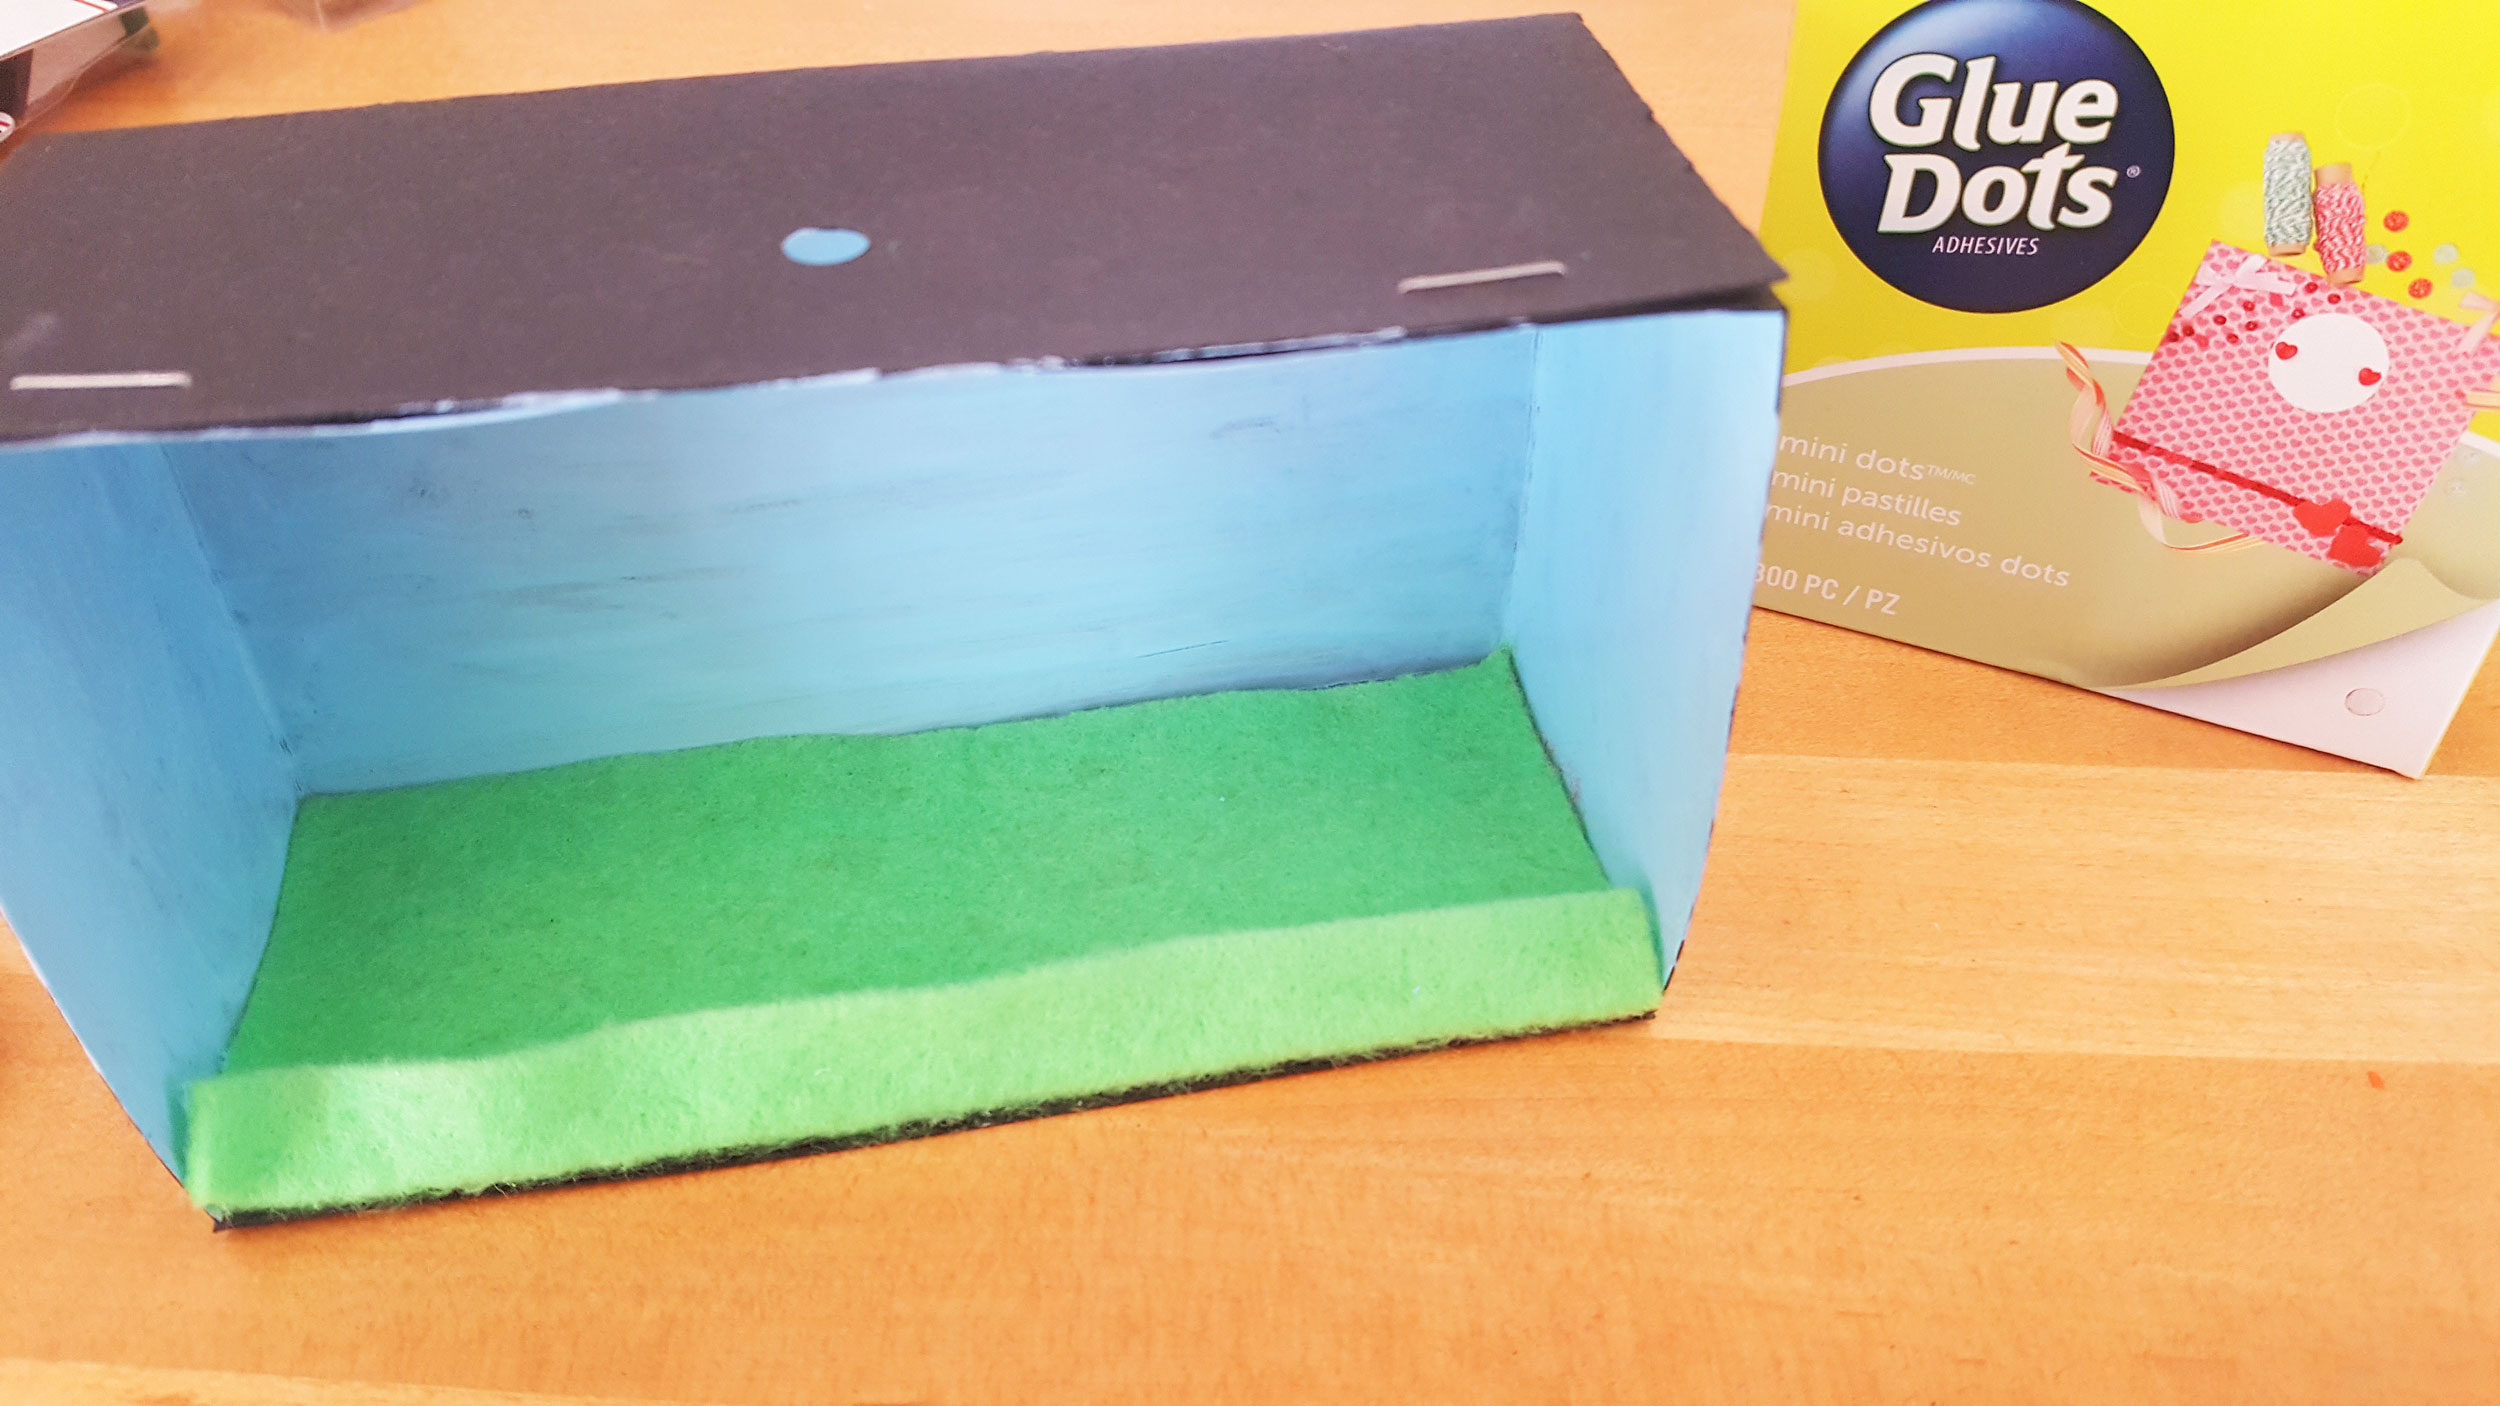
Step 4: Now we are ready to make your grassy yard. Fold the overhanging piece of green felt up and glue inside the crease, leaving the rest of the felt standing up.
DIY Shadow Box Ornament Steps 5-8
Step 5: Now you can cut the felt into strips to represent blades of grass. Feel free to trim your lawn if it looks too high.
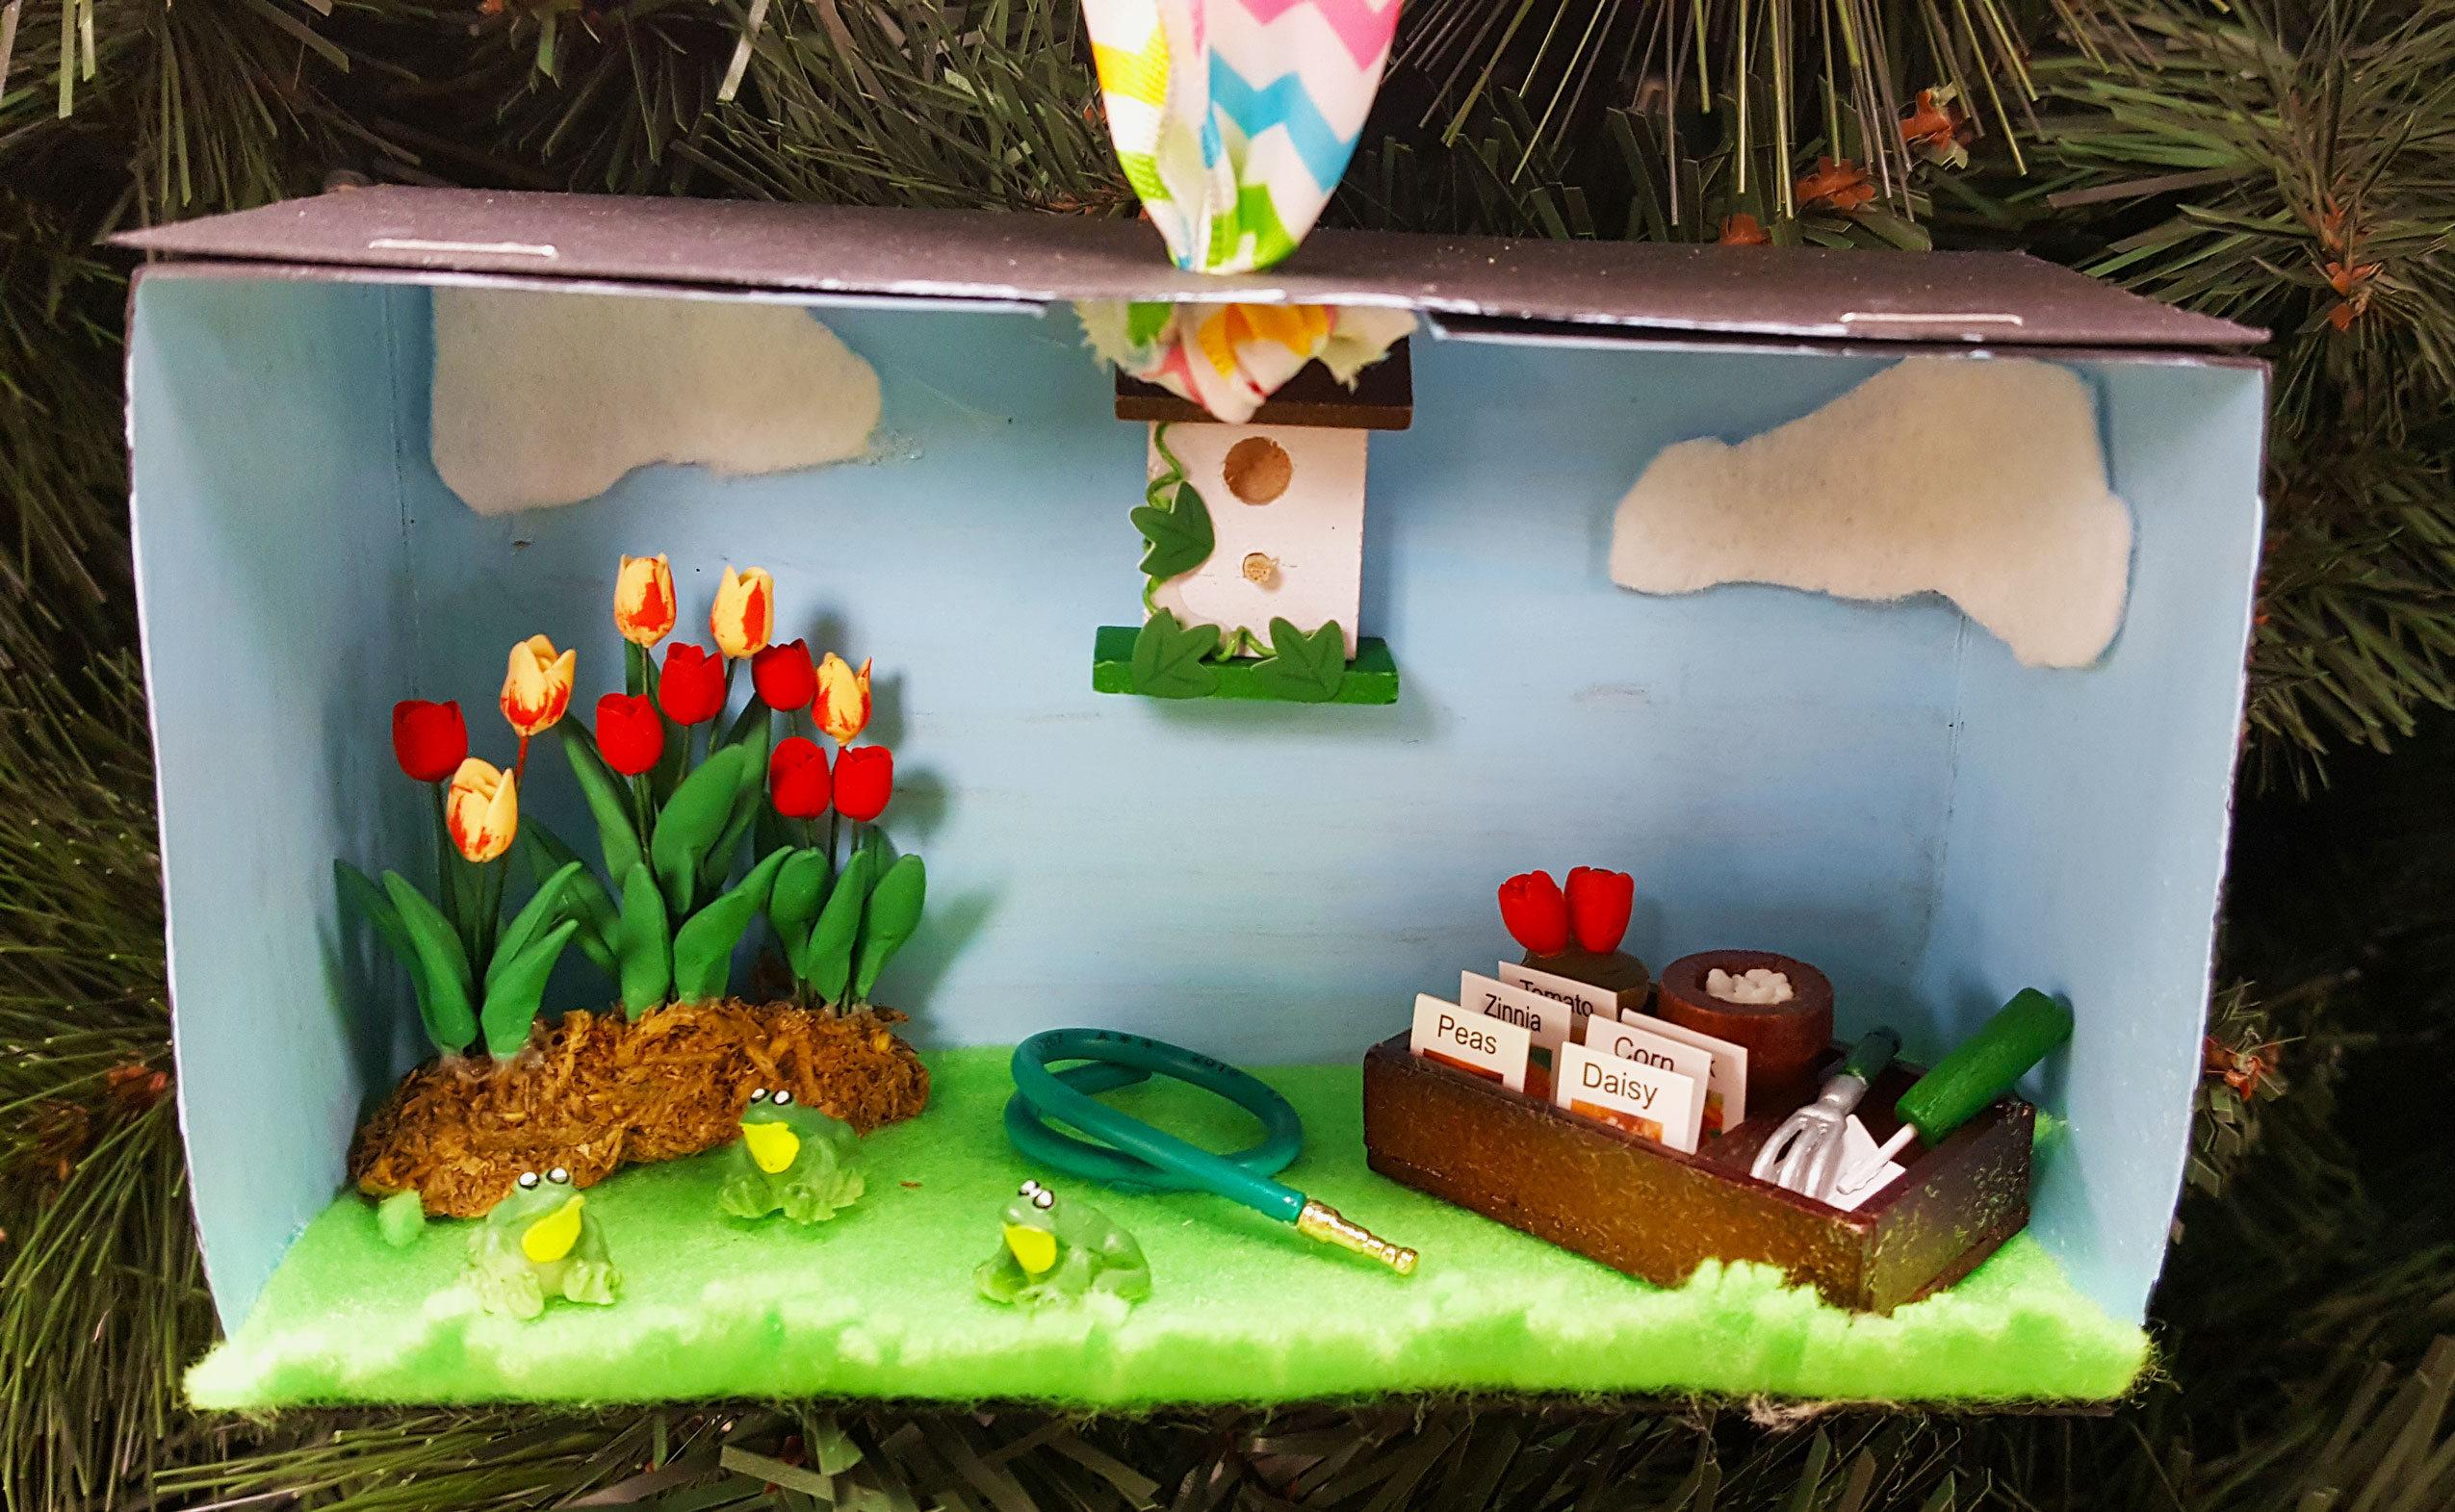
Step 6: It is important to add the ribbon for hanging prior to decorating the rest of the inside. Cut a piece of ribbon, feed both ends through the hole and make a knot. Trim the ends so nothing is hanging down.
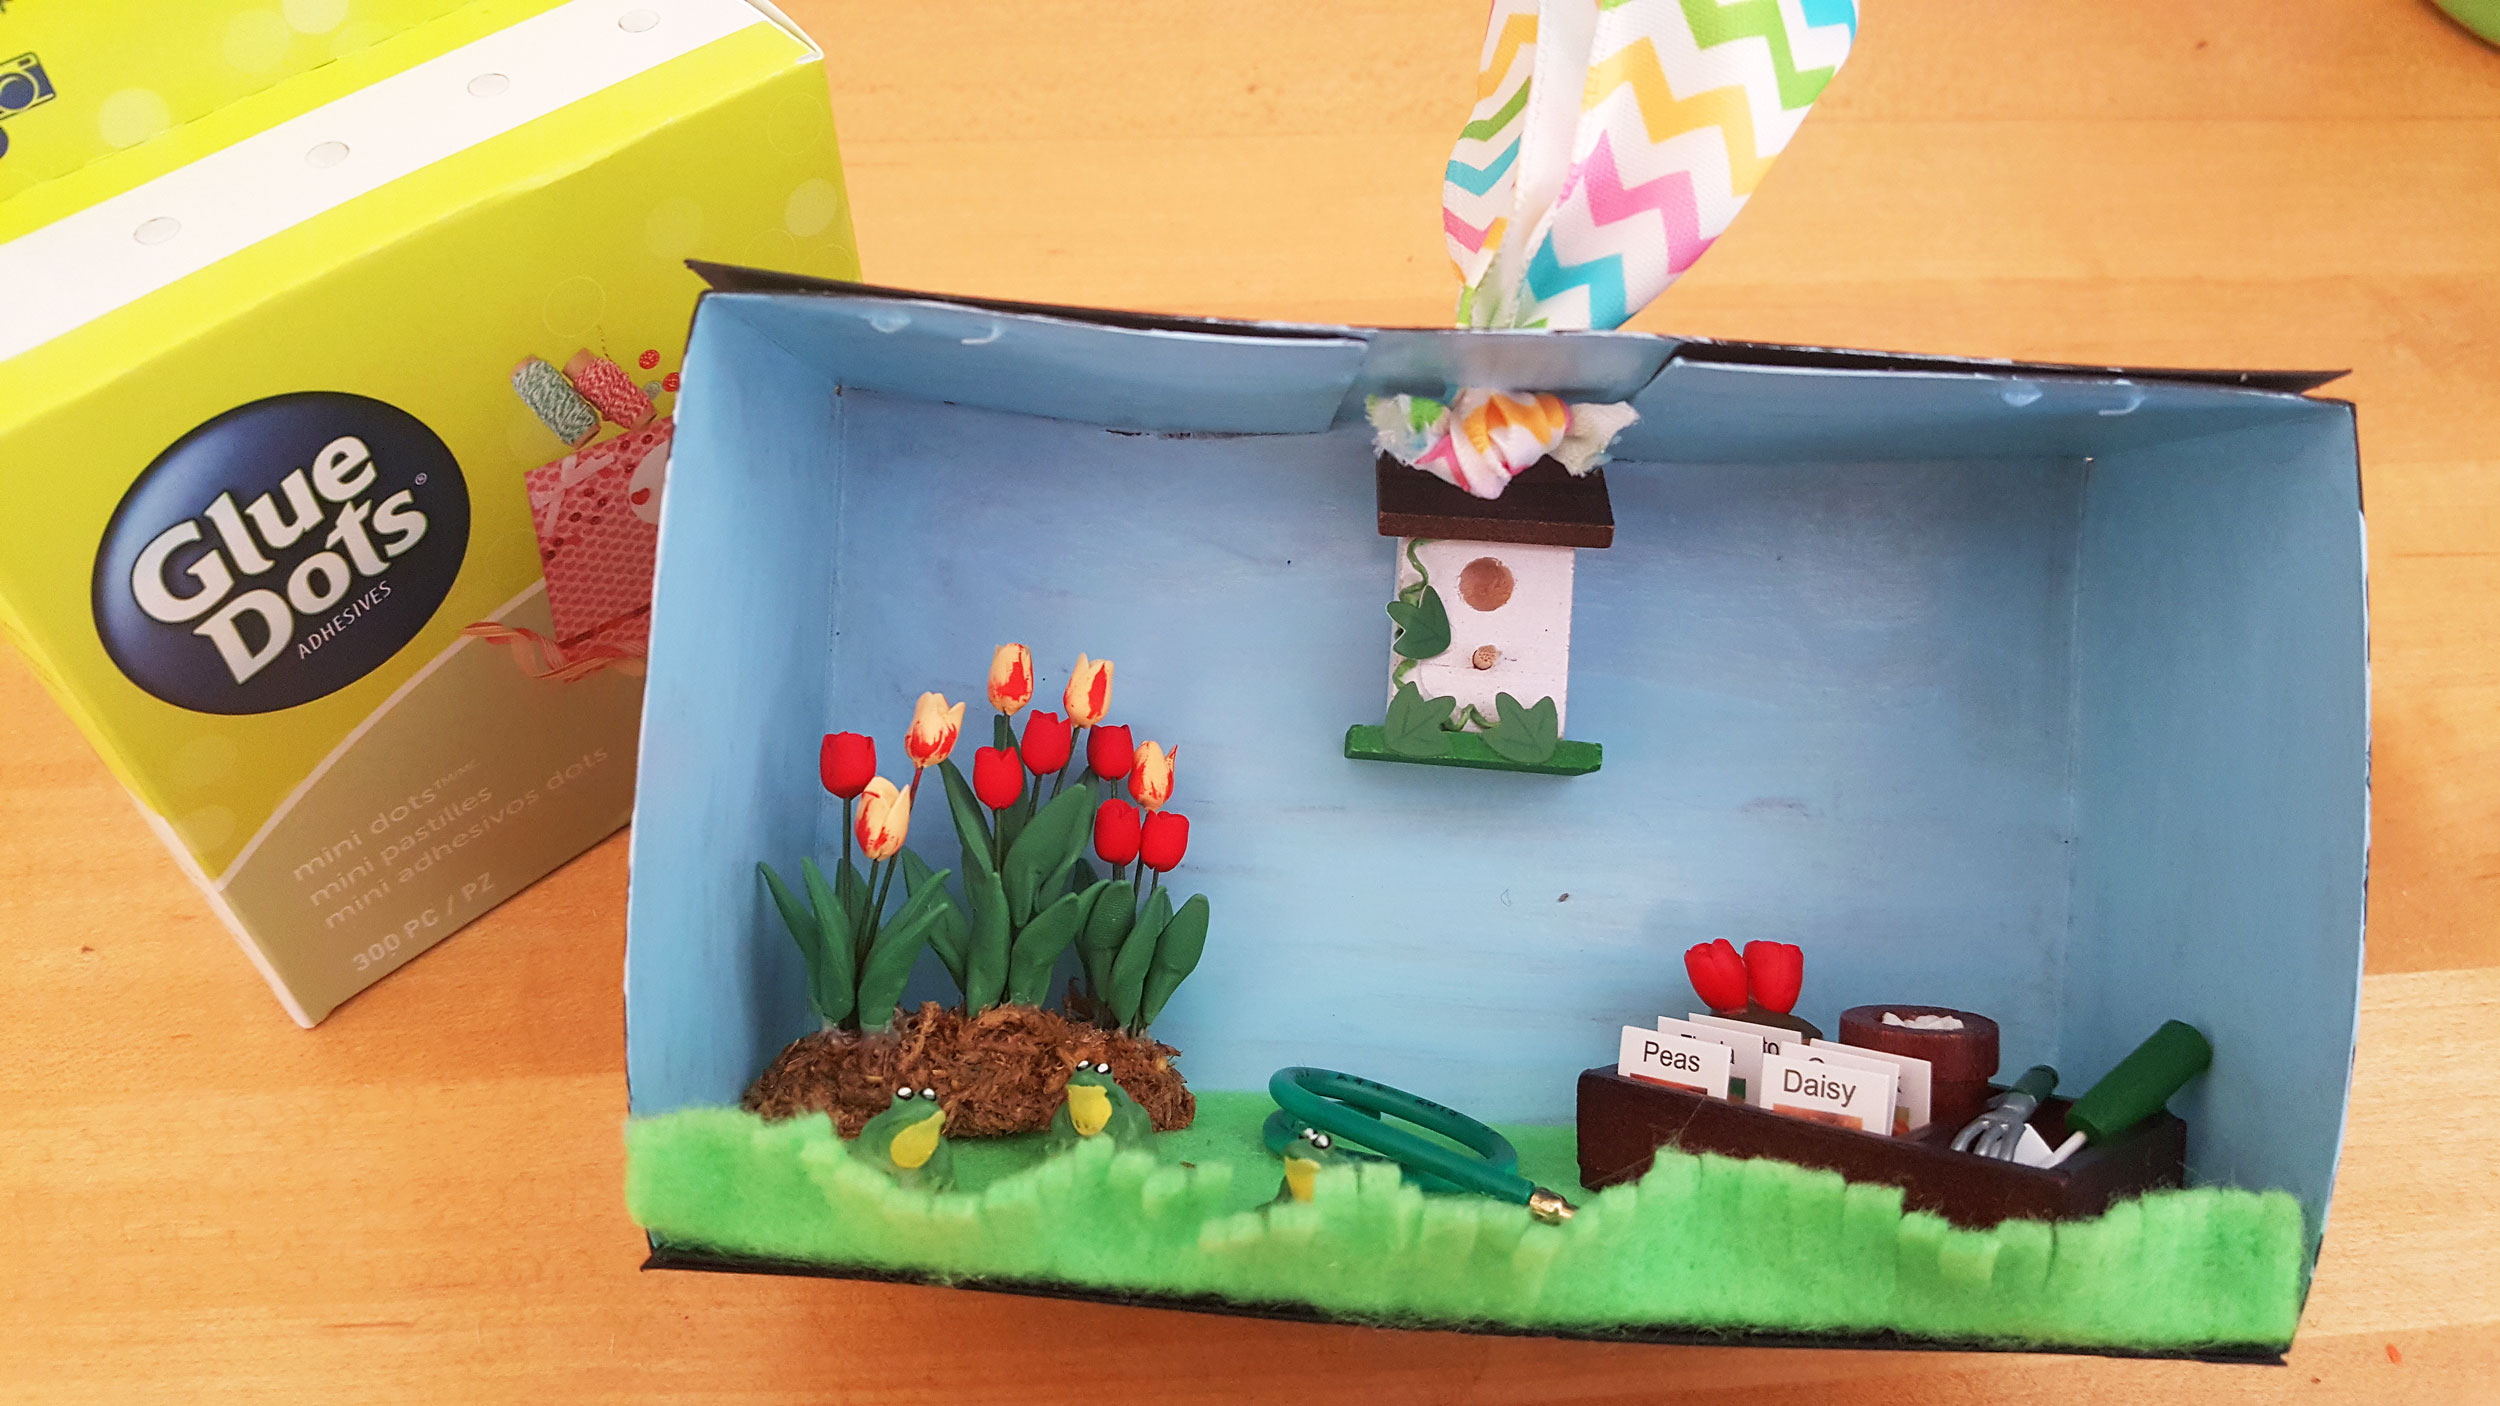
Step 7: Now it is time to decorate your scene! Arrange the miniature pieces inside to create your scene. Once you have it how you want it, glue the pieces down. Make sure they are secure.
Step 8: In order to finish off our DIY shadow box, we added some puffy clouds in the sky. Cut them from the white felt and glue to the back and side walls of the box.
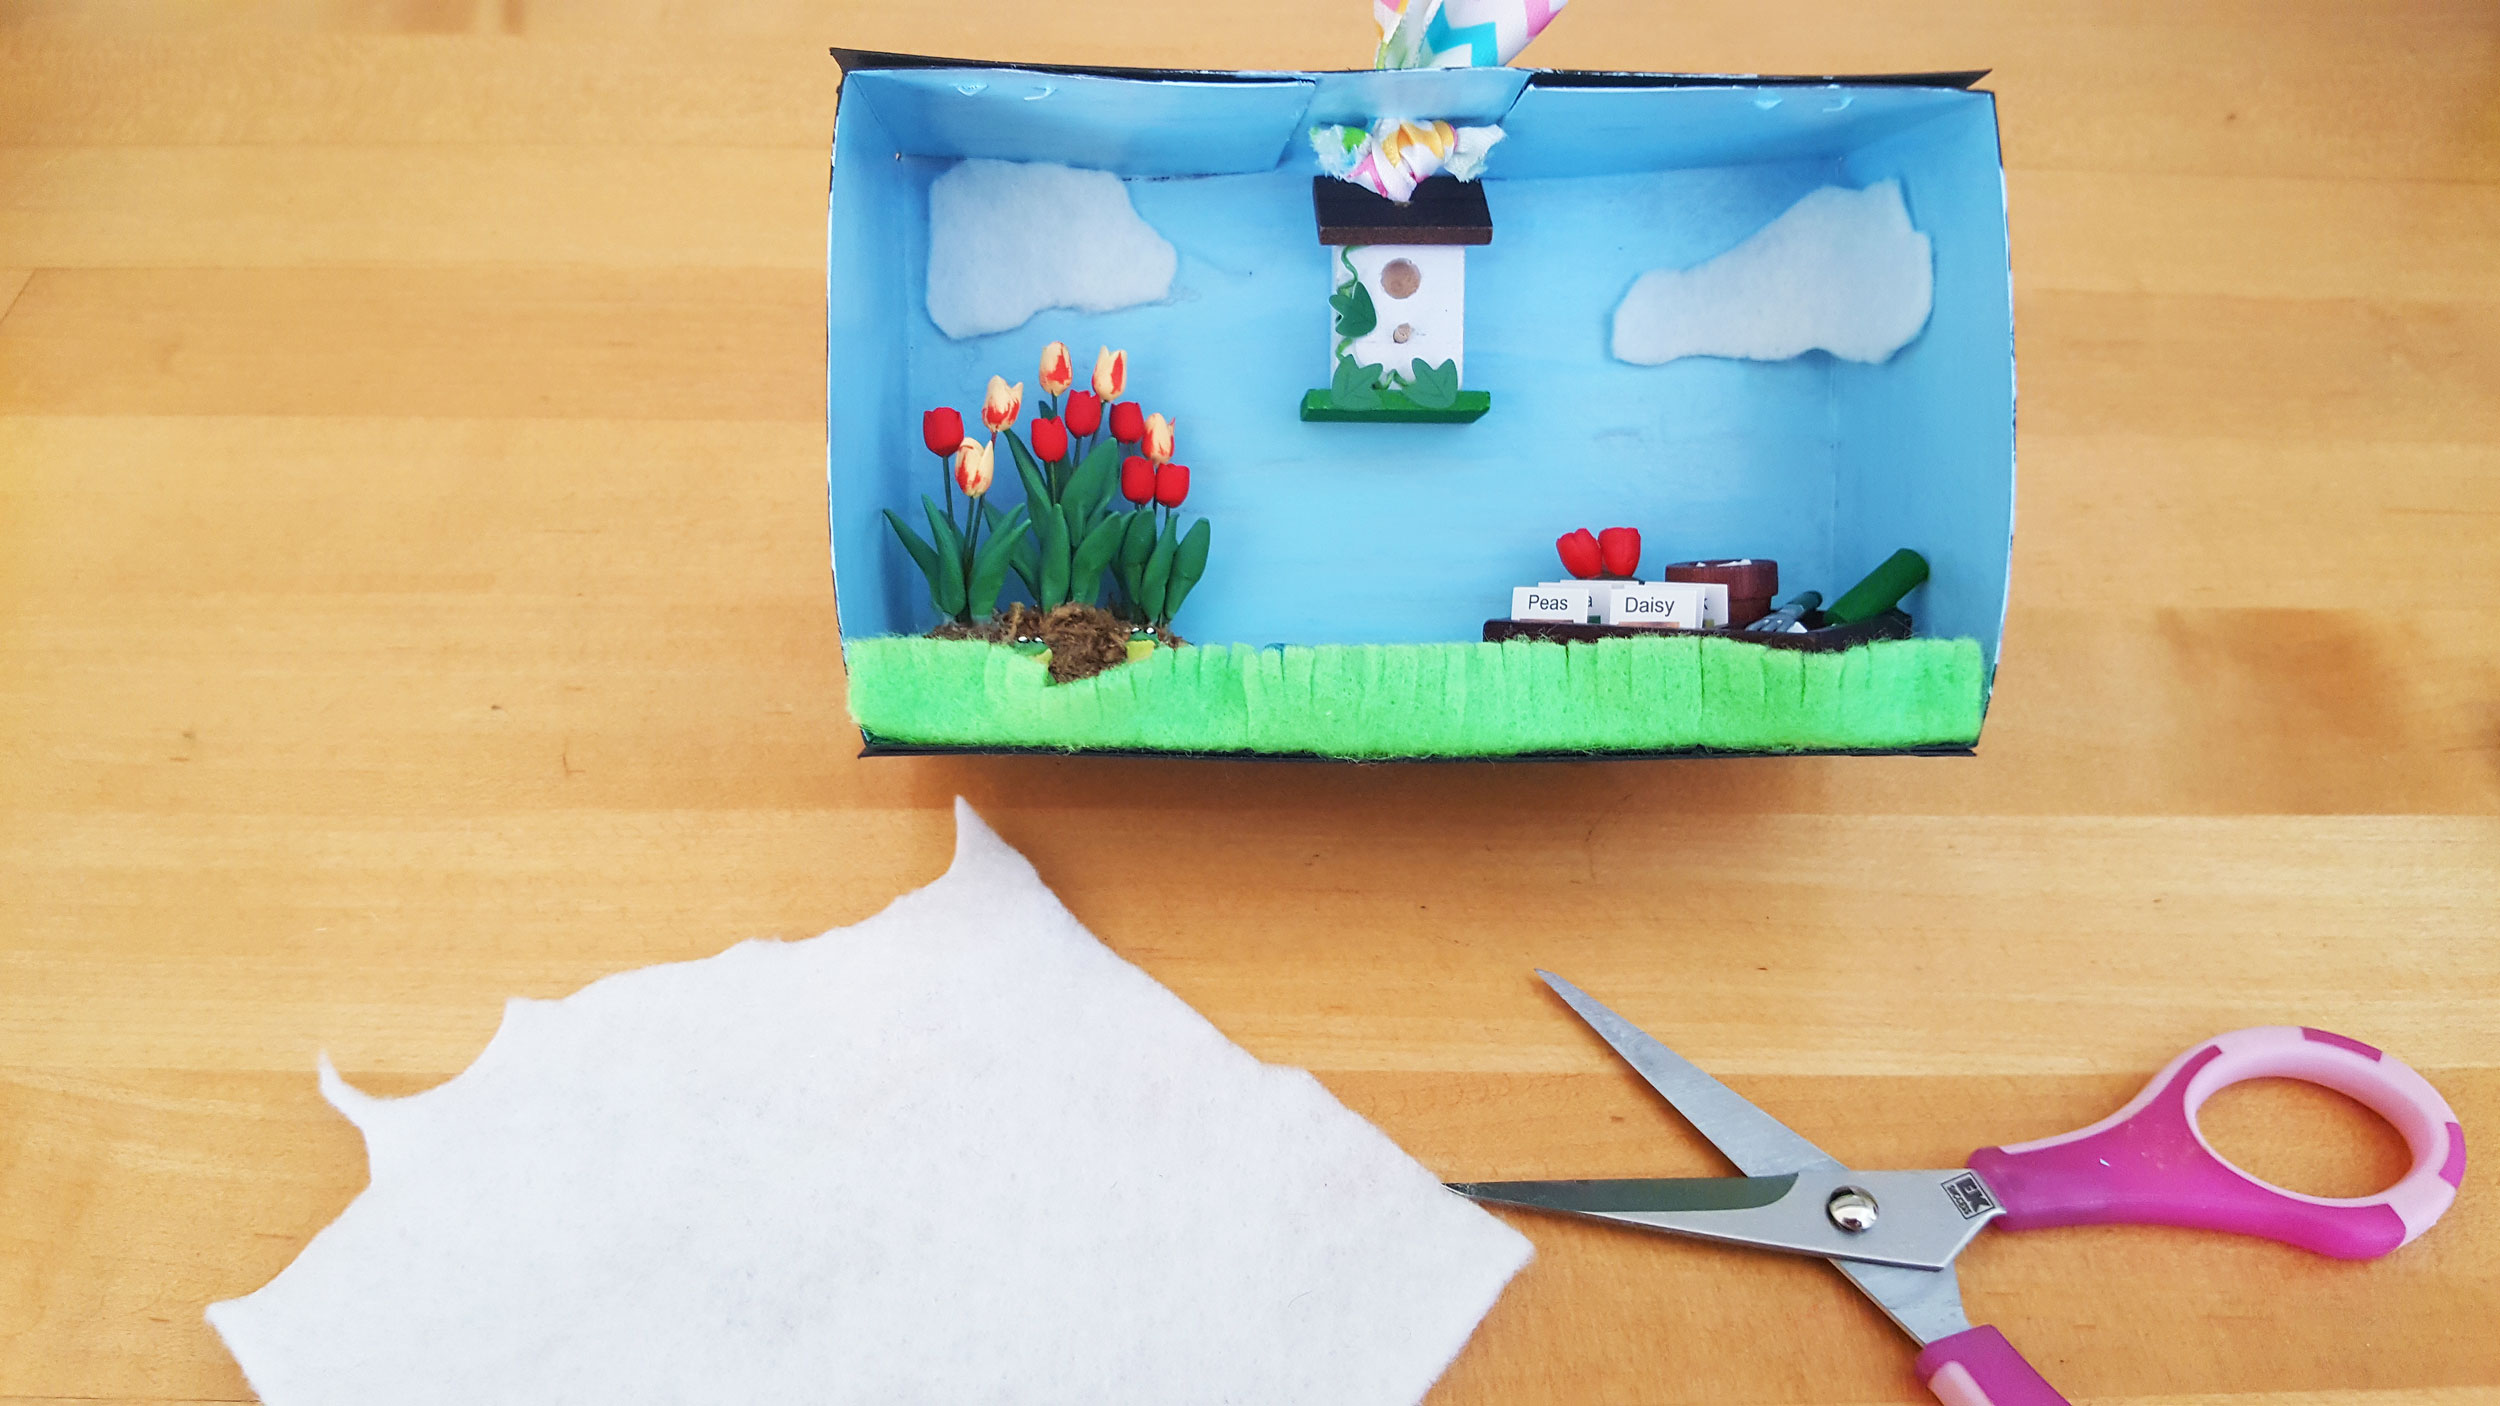
That’s it! Now your DIY shadow box ornament is ready to decorate your house for spring. You can make multiples and line them up on a mantel or make one and hang from an ornament stand. We chose to make one with a gardening theme, but feel free to get creative!
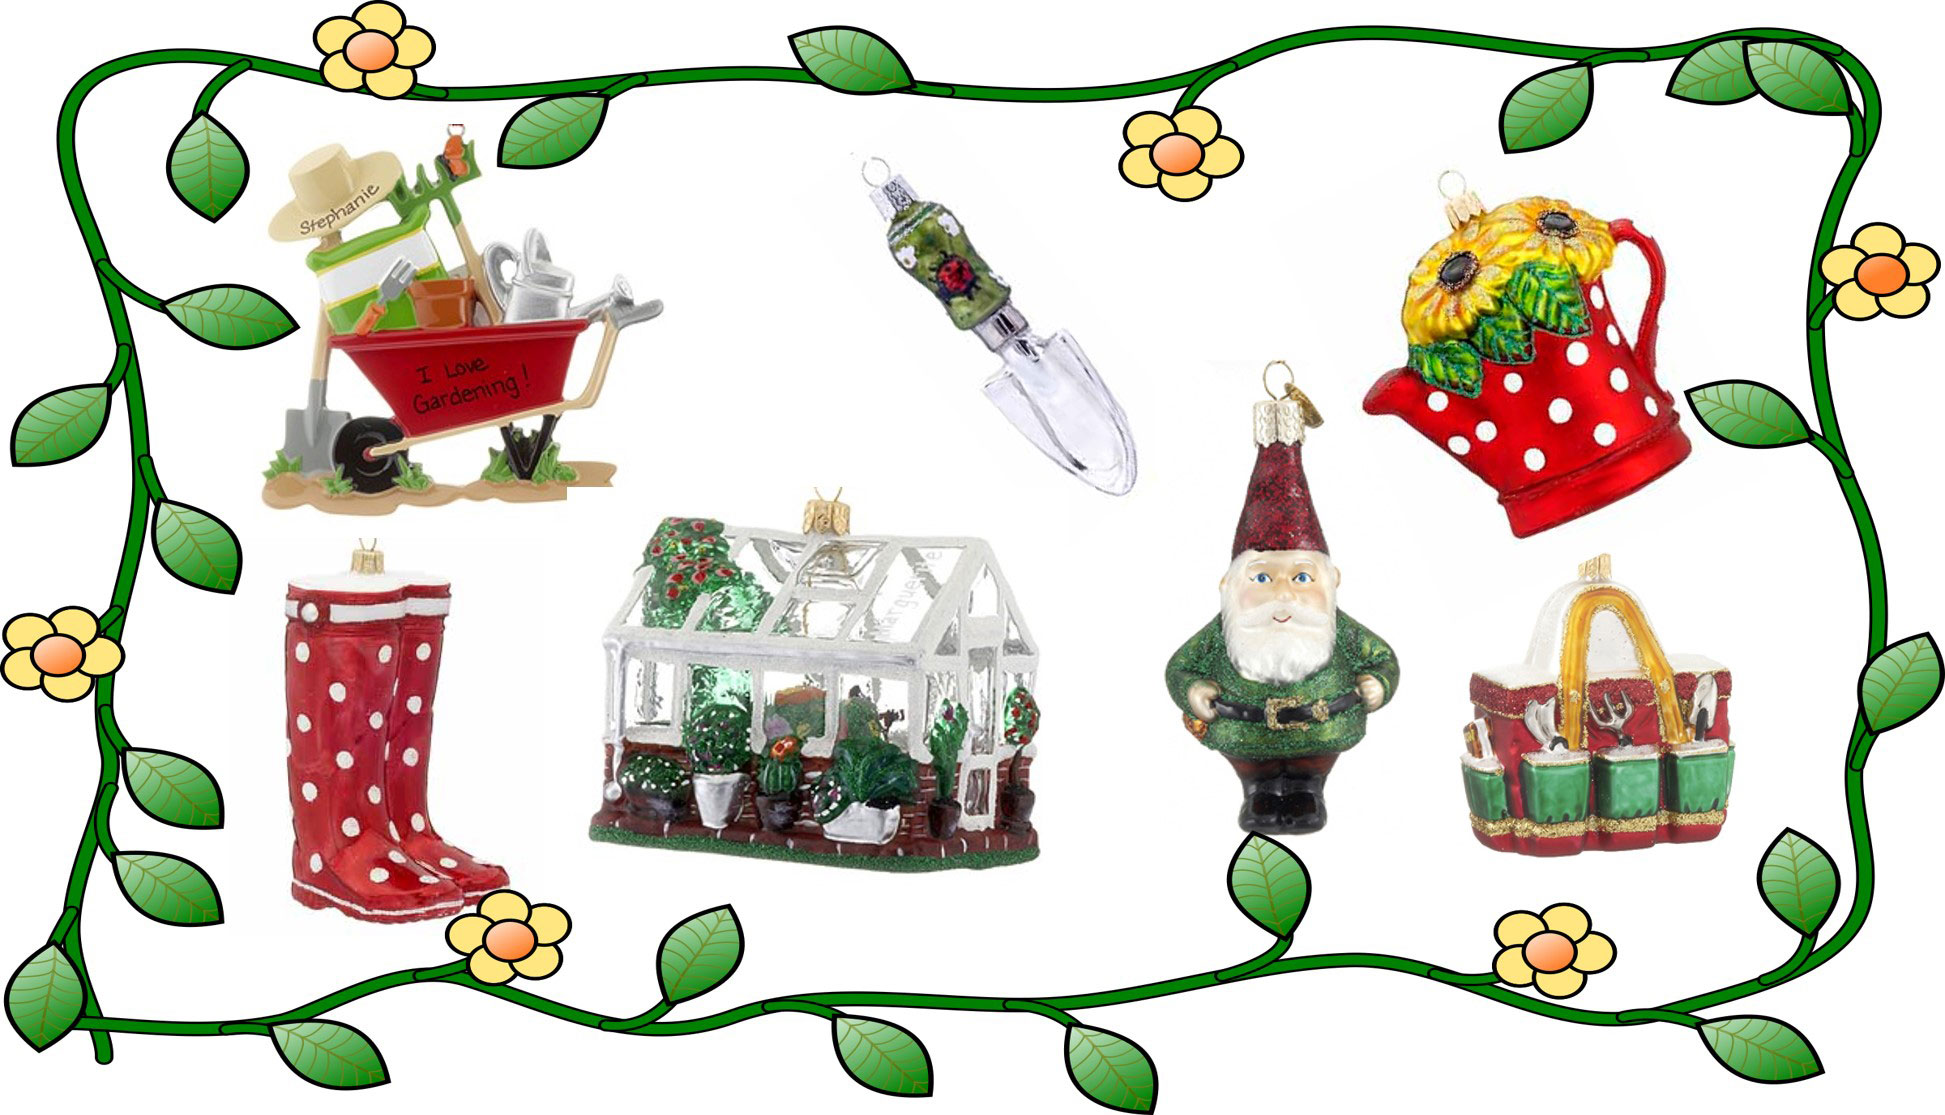
Do you love gardening ornaments but don’t want to make one of your own? Need a gardening gift for a friend with a green thumb? We carry a variety of personalized gardening ornaments that can help you decorate for in April! Gardeny