Welcome Spring With A Pretty Red Bird Ornament
Posted March 31, 2016 in DIY (Crafts) by Dianne Weller

There is nothing like seeing a bright Red Bird or cardinal perched on a branch against the snowy, white backdrop of winter. With spring on its way and the last of the frosty snow melting, it’s time to say goodbye to the doldrums of winter. Before you put away the last of your holiday decorations, make a pretty red bird ornament!
Why a red bird? Red is the color of love, fire, danger, anger and passion. Its energetic and adventurous vibe set against the pure, peaceful, quiet innocence of white snow creates the perfect balance of nature and stark contrast of color makes an eye-catching display in your home.
Make Your Own DIY Red Bird Ornament Decoration
Kiss the remaining snow goodbye with this red bird DIY ornament decoration that will add a pretty touch to your home. If you prefer to use a different bird other than a red bird, go ahead and be creative!
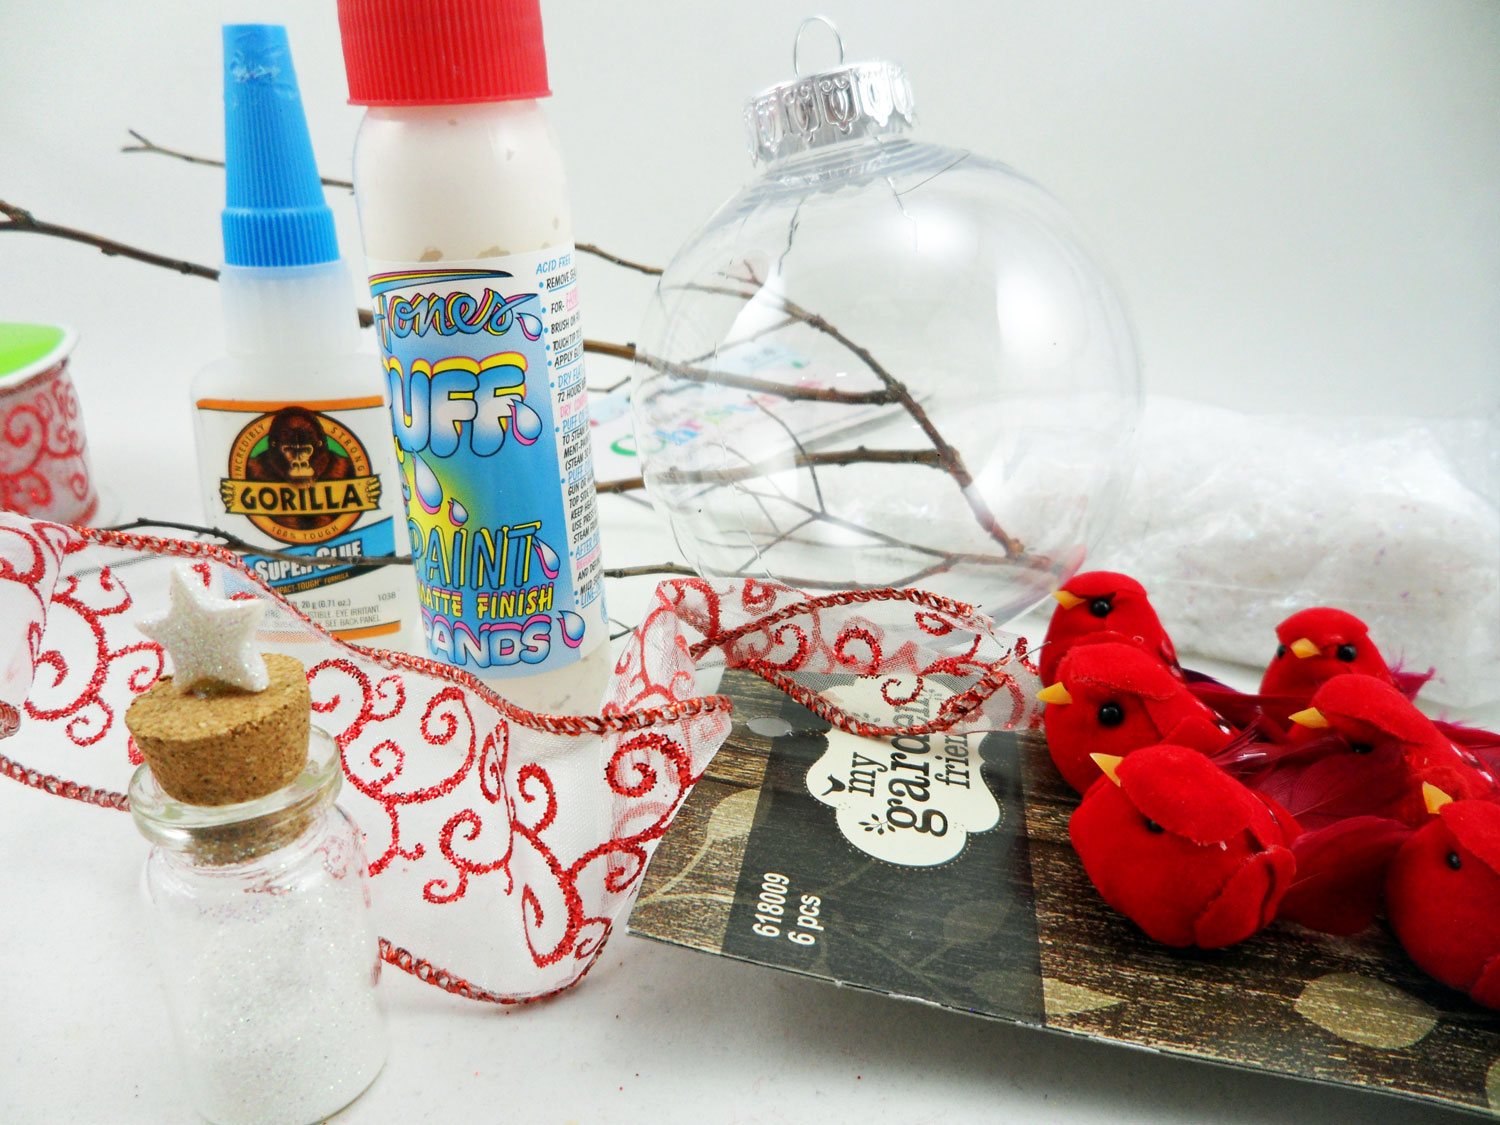
Supplies for Red Bird Ornament:
- Shatterproof clear glass ball ornament
- Twigs or small broken tree branch
- Miniature red bird or other bird type from craft store
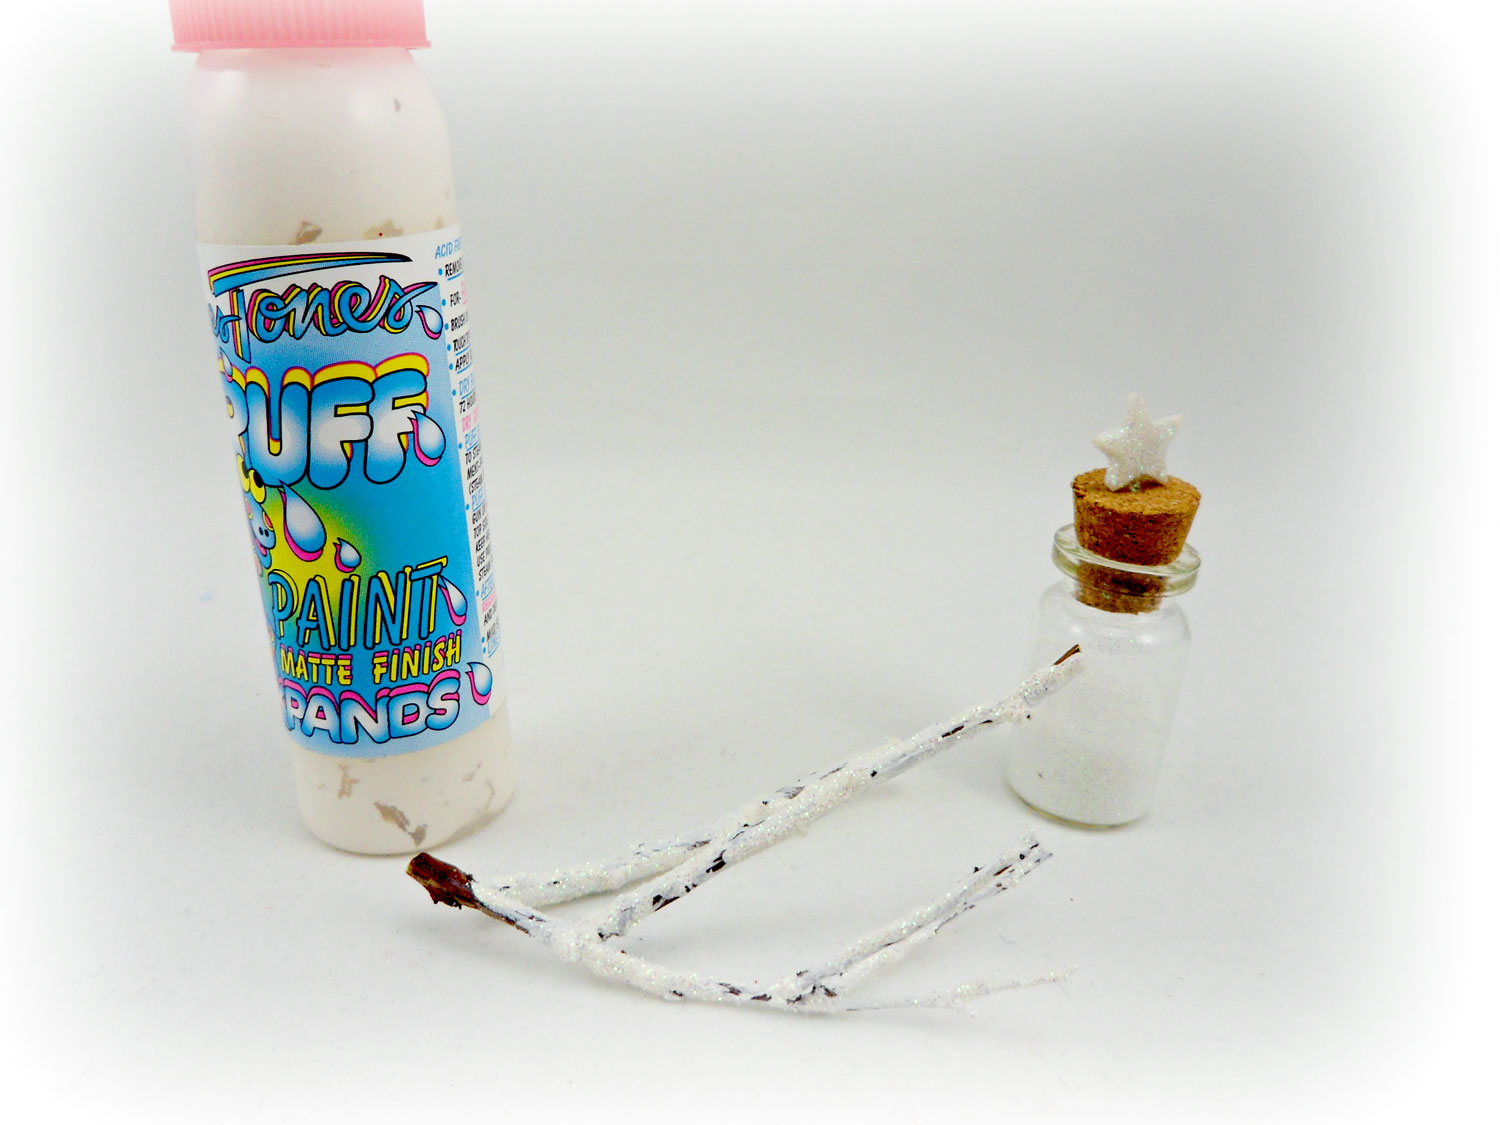
- White paint, textured snow paint or puffy paint
- Iridescent glitter
- Craft snow confetti
- Clear drying glue
Step 1: Paint the twigs or tree branch with patches of snow and sprinkle with glitter. It helps to use fresh twigs or branches because they will be more flexible and easier to place into the clear ball ornament. Let dry.
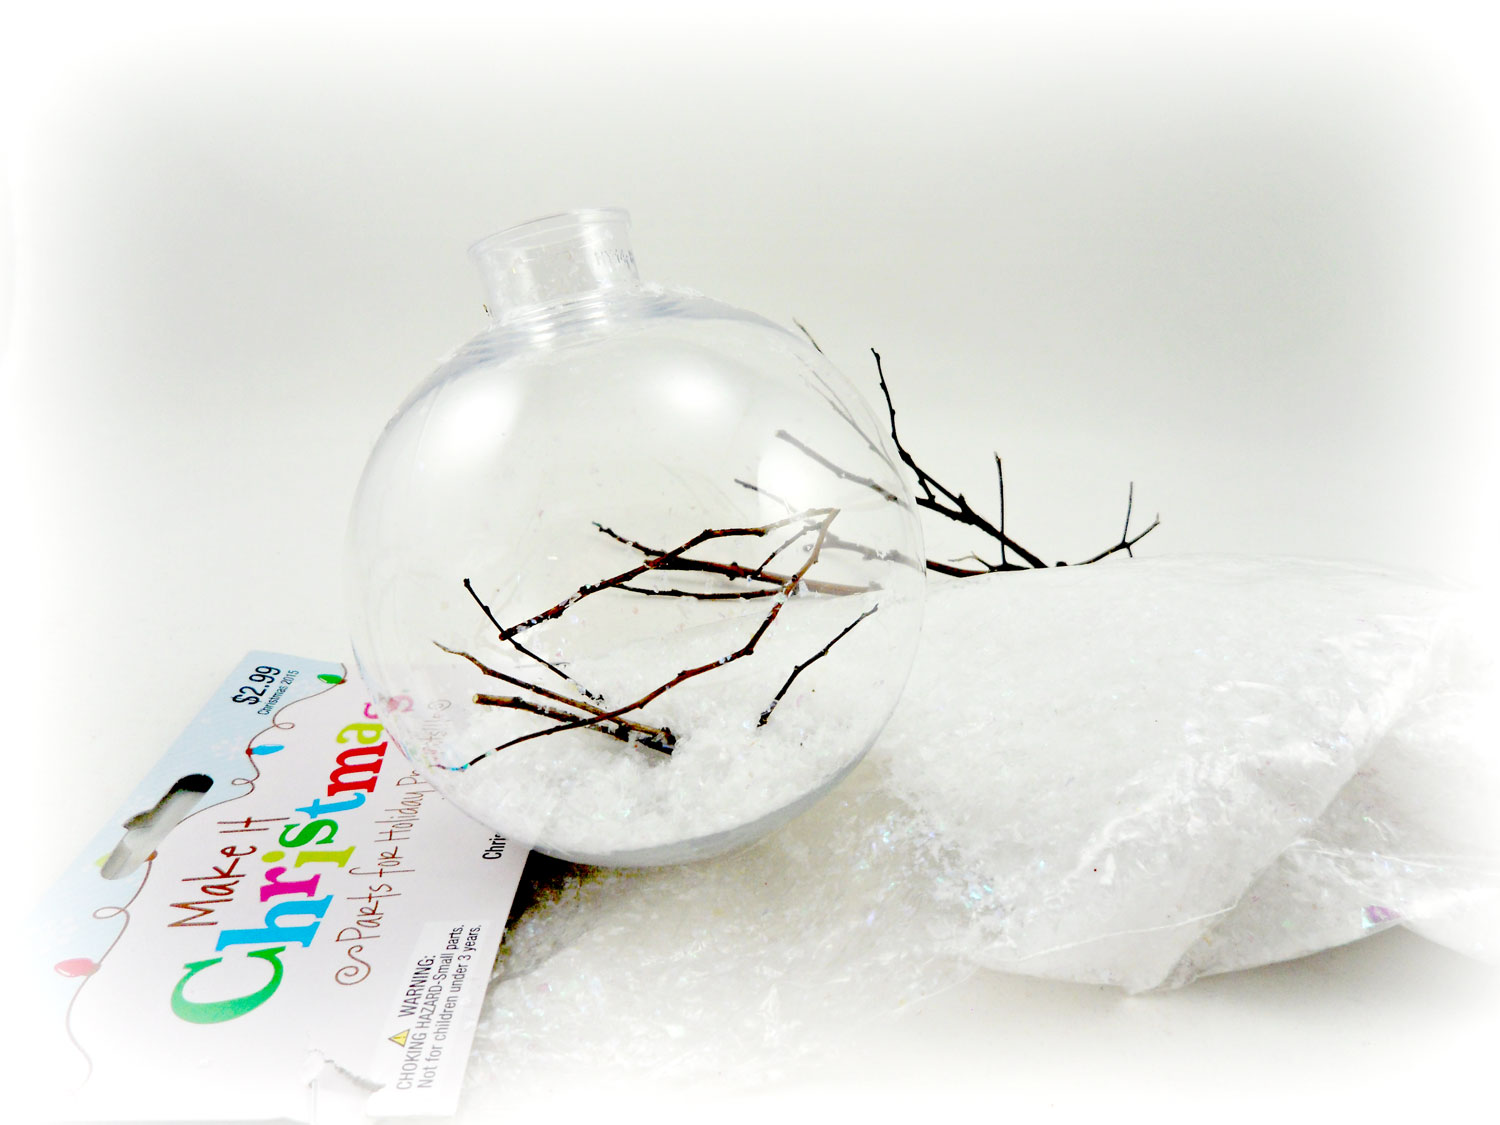
Step 2: While the paint is drying, remove the top from the clear ball ornament. Toss in some small branches or sticks in the bottom. Shake craft snow confetti through the opening until the bottom is covered. You can create a funnel using a piece of paper if necessary.
Note: The openings on shatterproof ornaments are larger than the same sized glass ball ornament varieties, so it will be easier to fill if you go with the shatterproof type for this project.
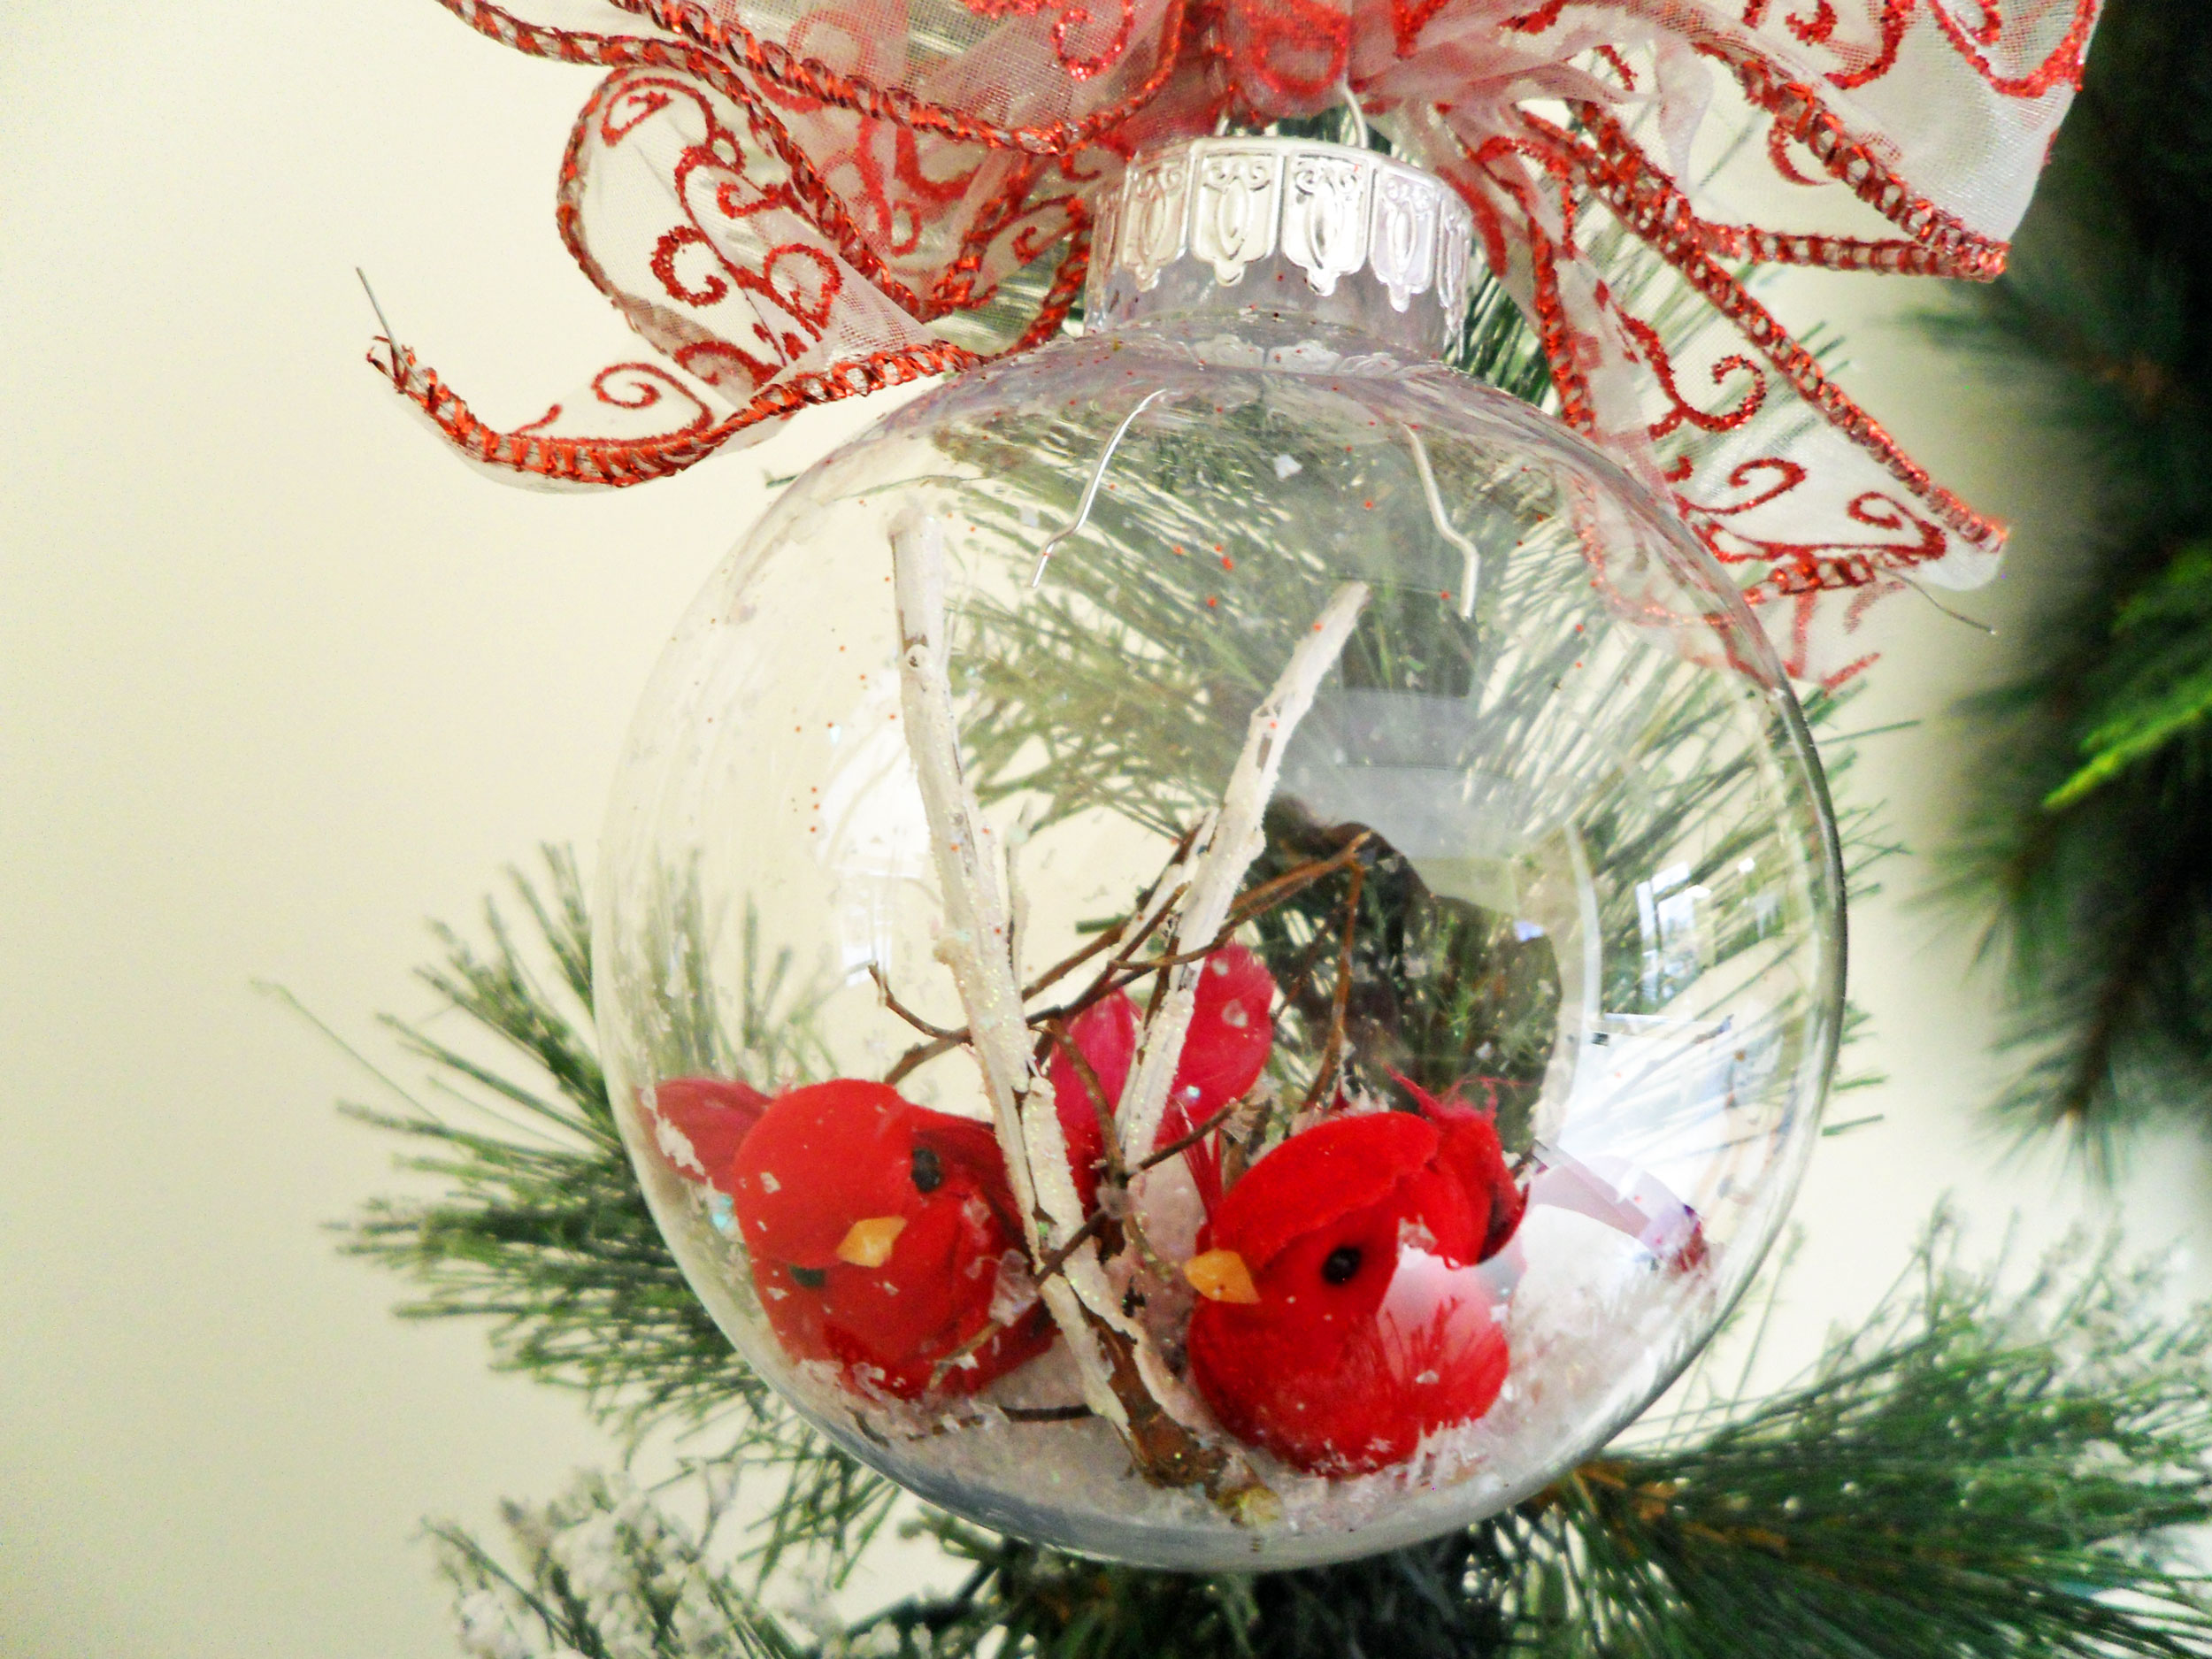
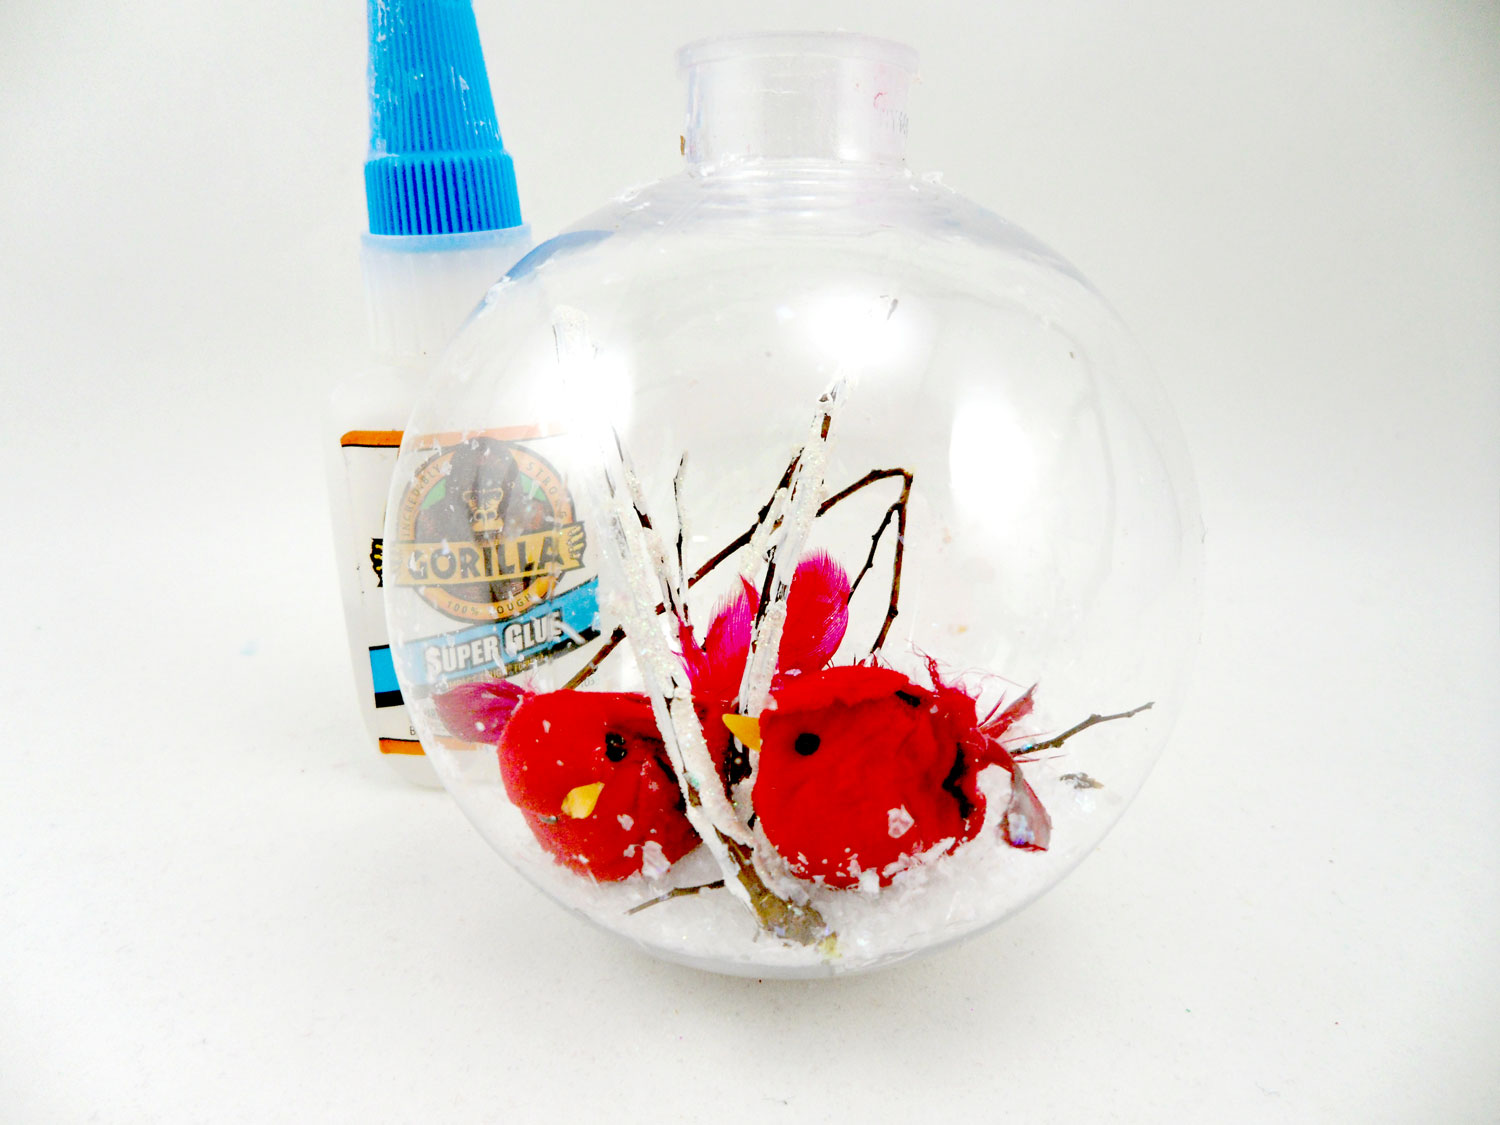
Step 3: Gently work the twigs into glass ball ornament, carefully arranging them over the snow confetti. Squeeze a good amount of glue on the bottom of the red bird and in its feet so that it has a base to stick to the branch. Carefully insert the bird and affix to the branch, gently placing the red bird. Do the same if you plan on adding another red bird like we did.
Note: Don’t worry if you drip any glue inside of the glass ball, because the snow confetti can be sprinkled over it to cover it up.
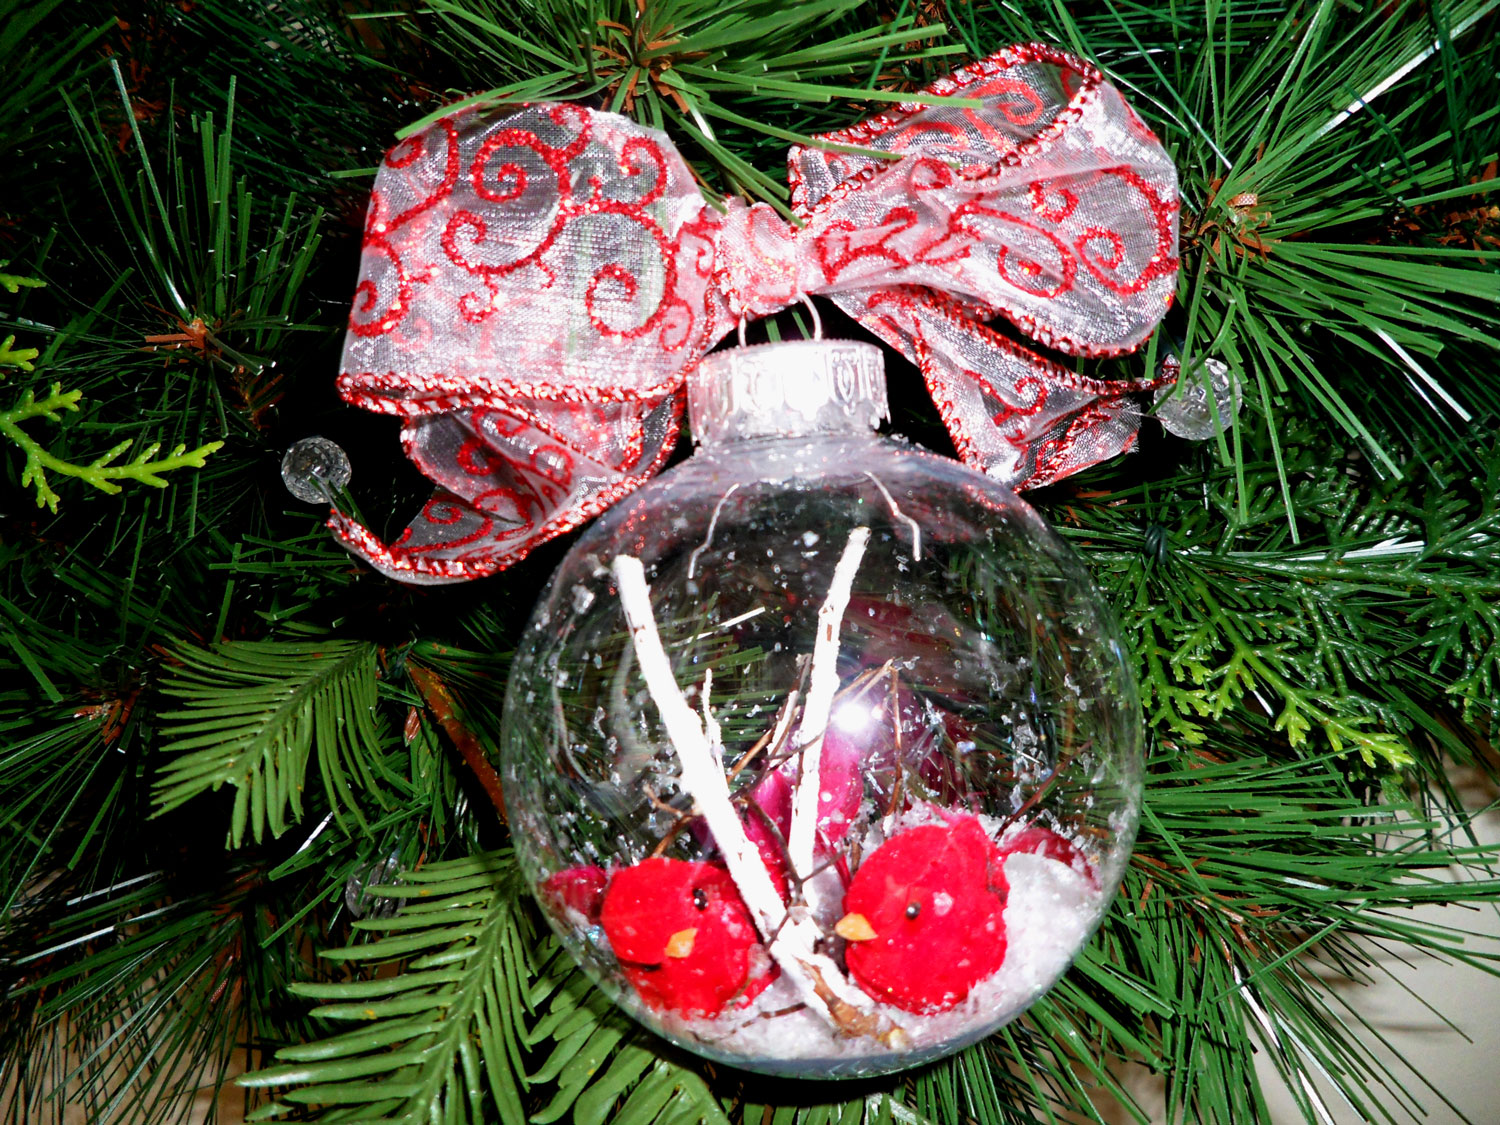
Step 4: Bracing the glass ball upright, let the glue dry and replace the cap. Tie a pretty ribbon to the top to finish off your look.
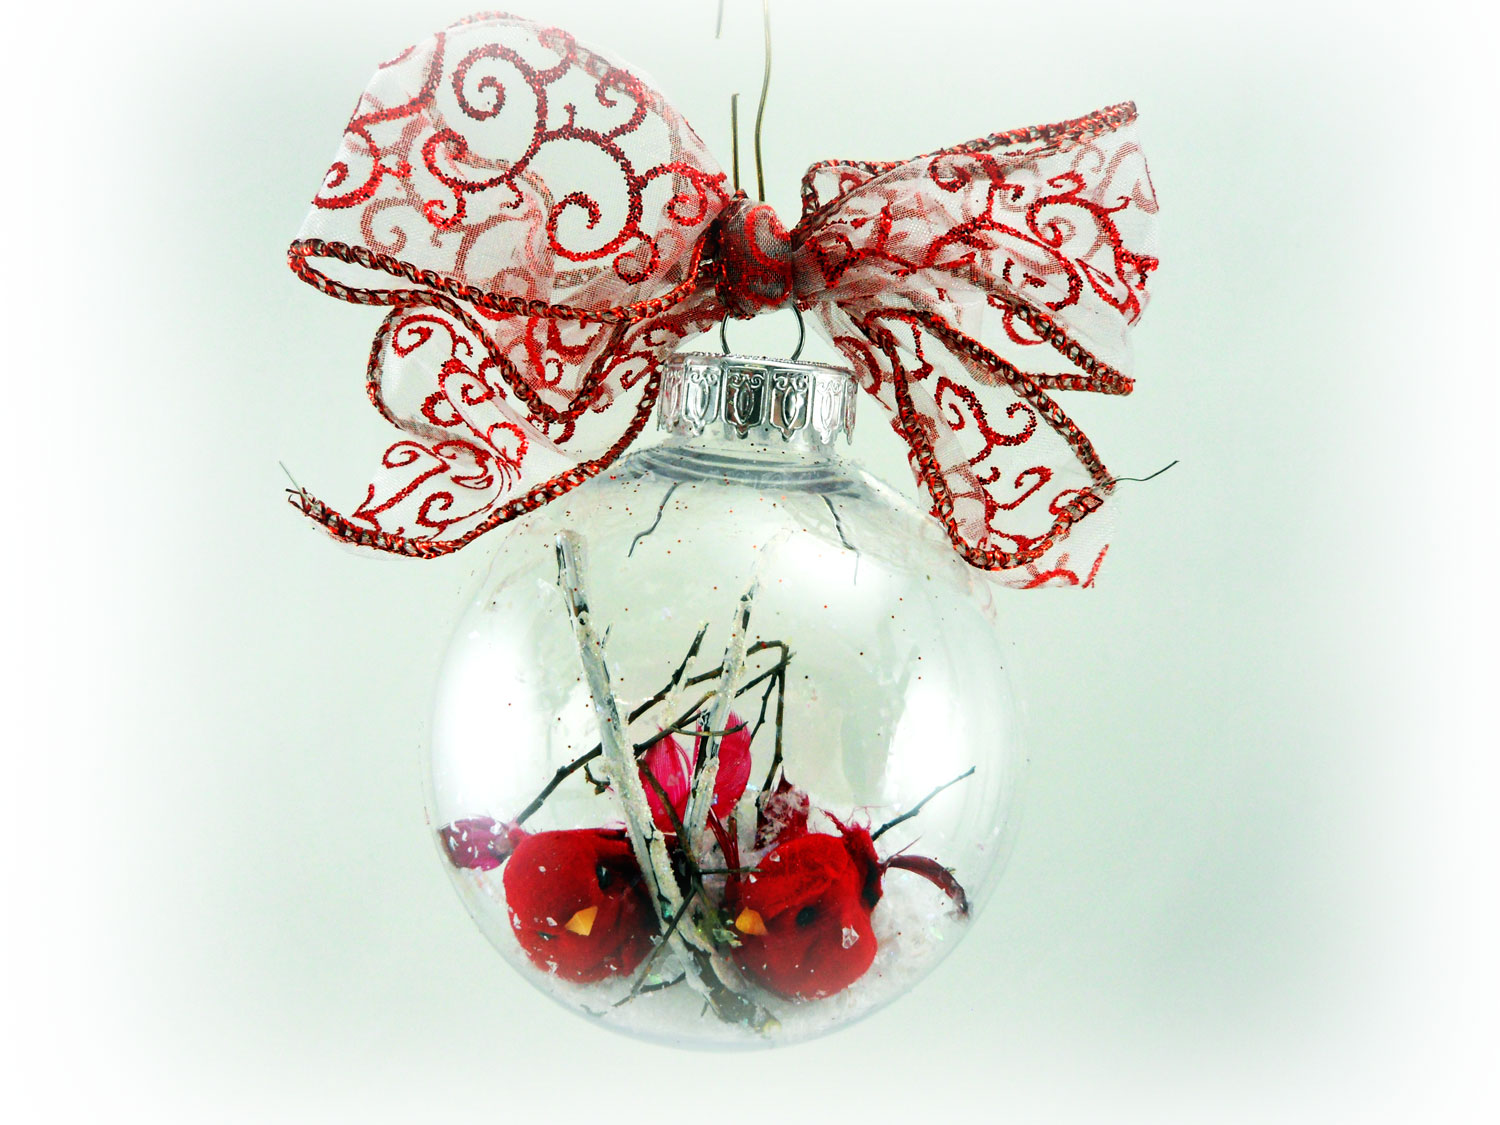
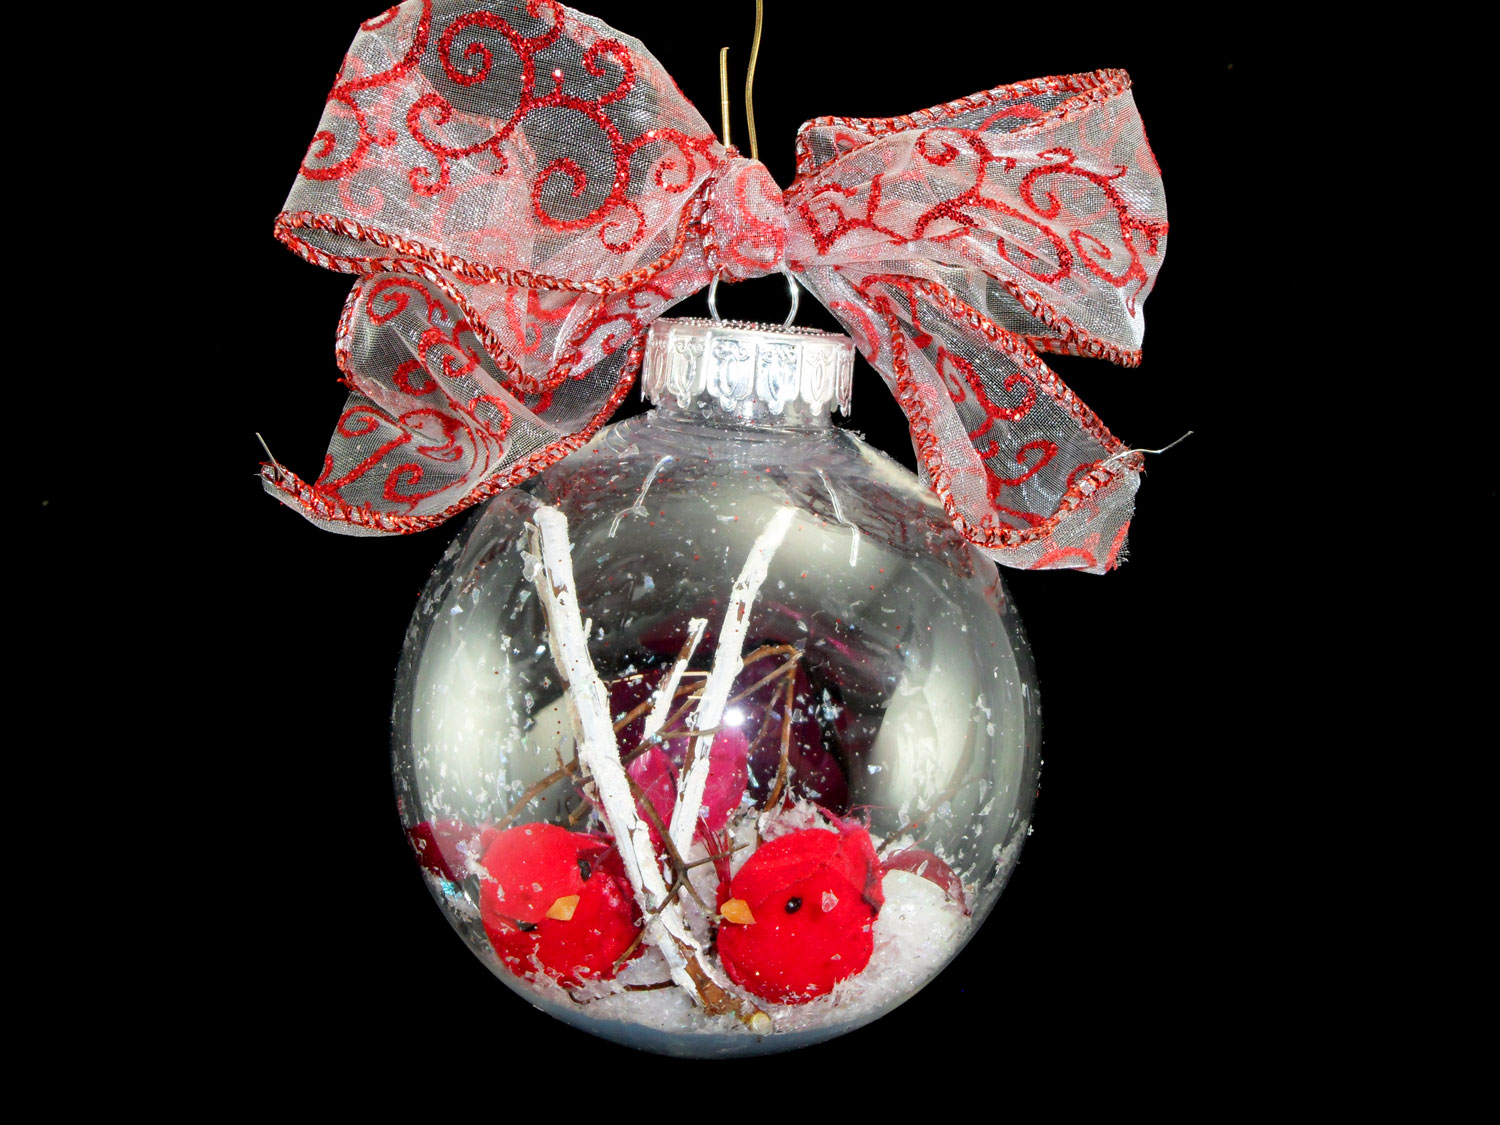
That’s it! In six easy steps you have a red bird glass ball ornament that is beautiful when displayed on an ornament stand and makes an eye-catching decoration for your home. Chase those winter blues away with this red bird DIY craft! You can even modify this easy craft to make a bird for every season: winter, spring, summer and fall with just a few supplies!
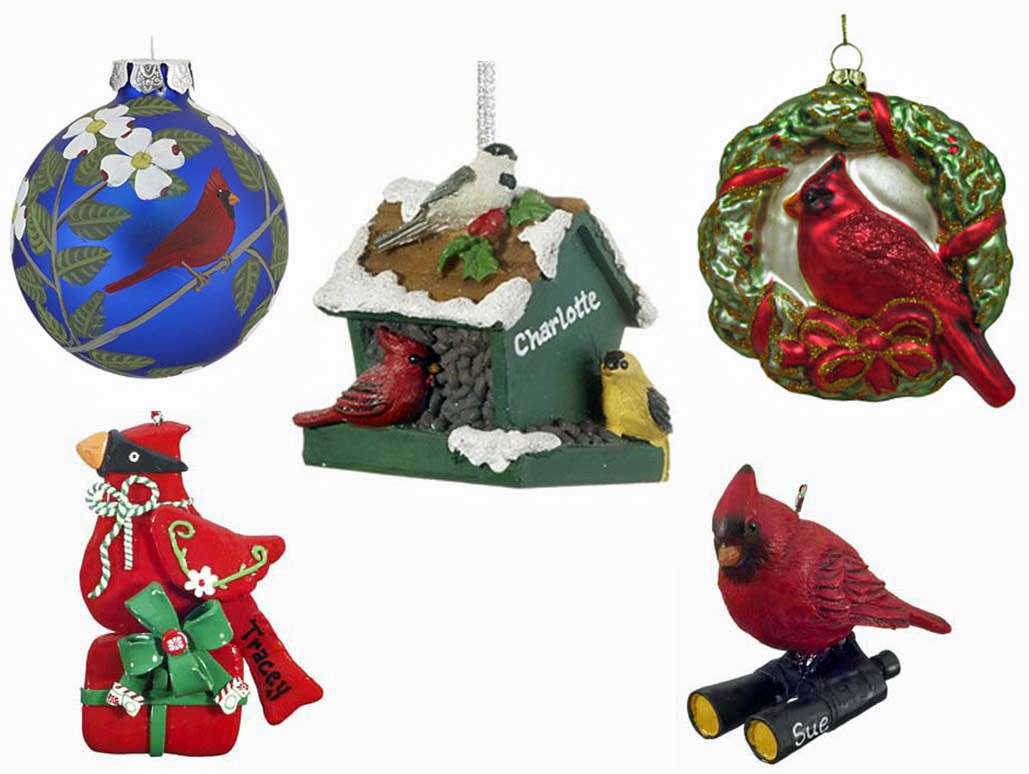
If you want to enhance your red bird ornament, or create a red bird themed tree for decoration, we have a variety of personalized bird ornaments that you may enjoy to brighten up your home!