DIY “Smallfoot” Character Ornaments: Made with Glass Balls & Faux Fur!
Posted September 18, 2018 in DIY (Crafts) by Dianne Weller
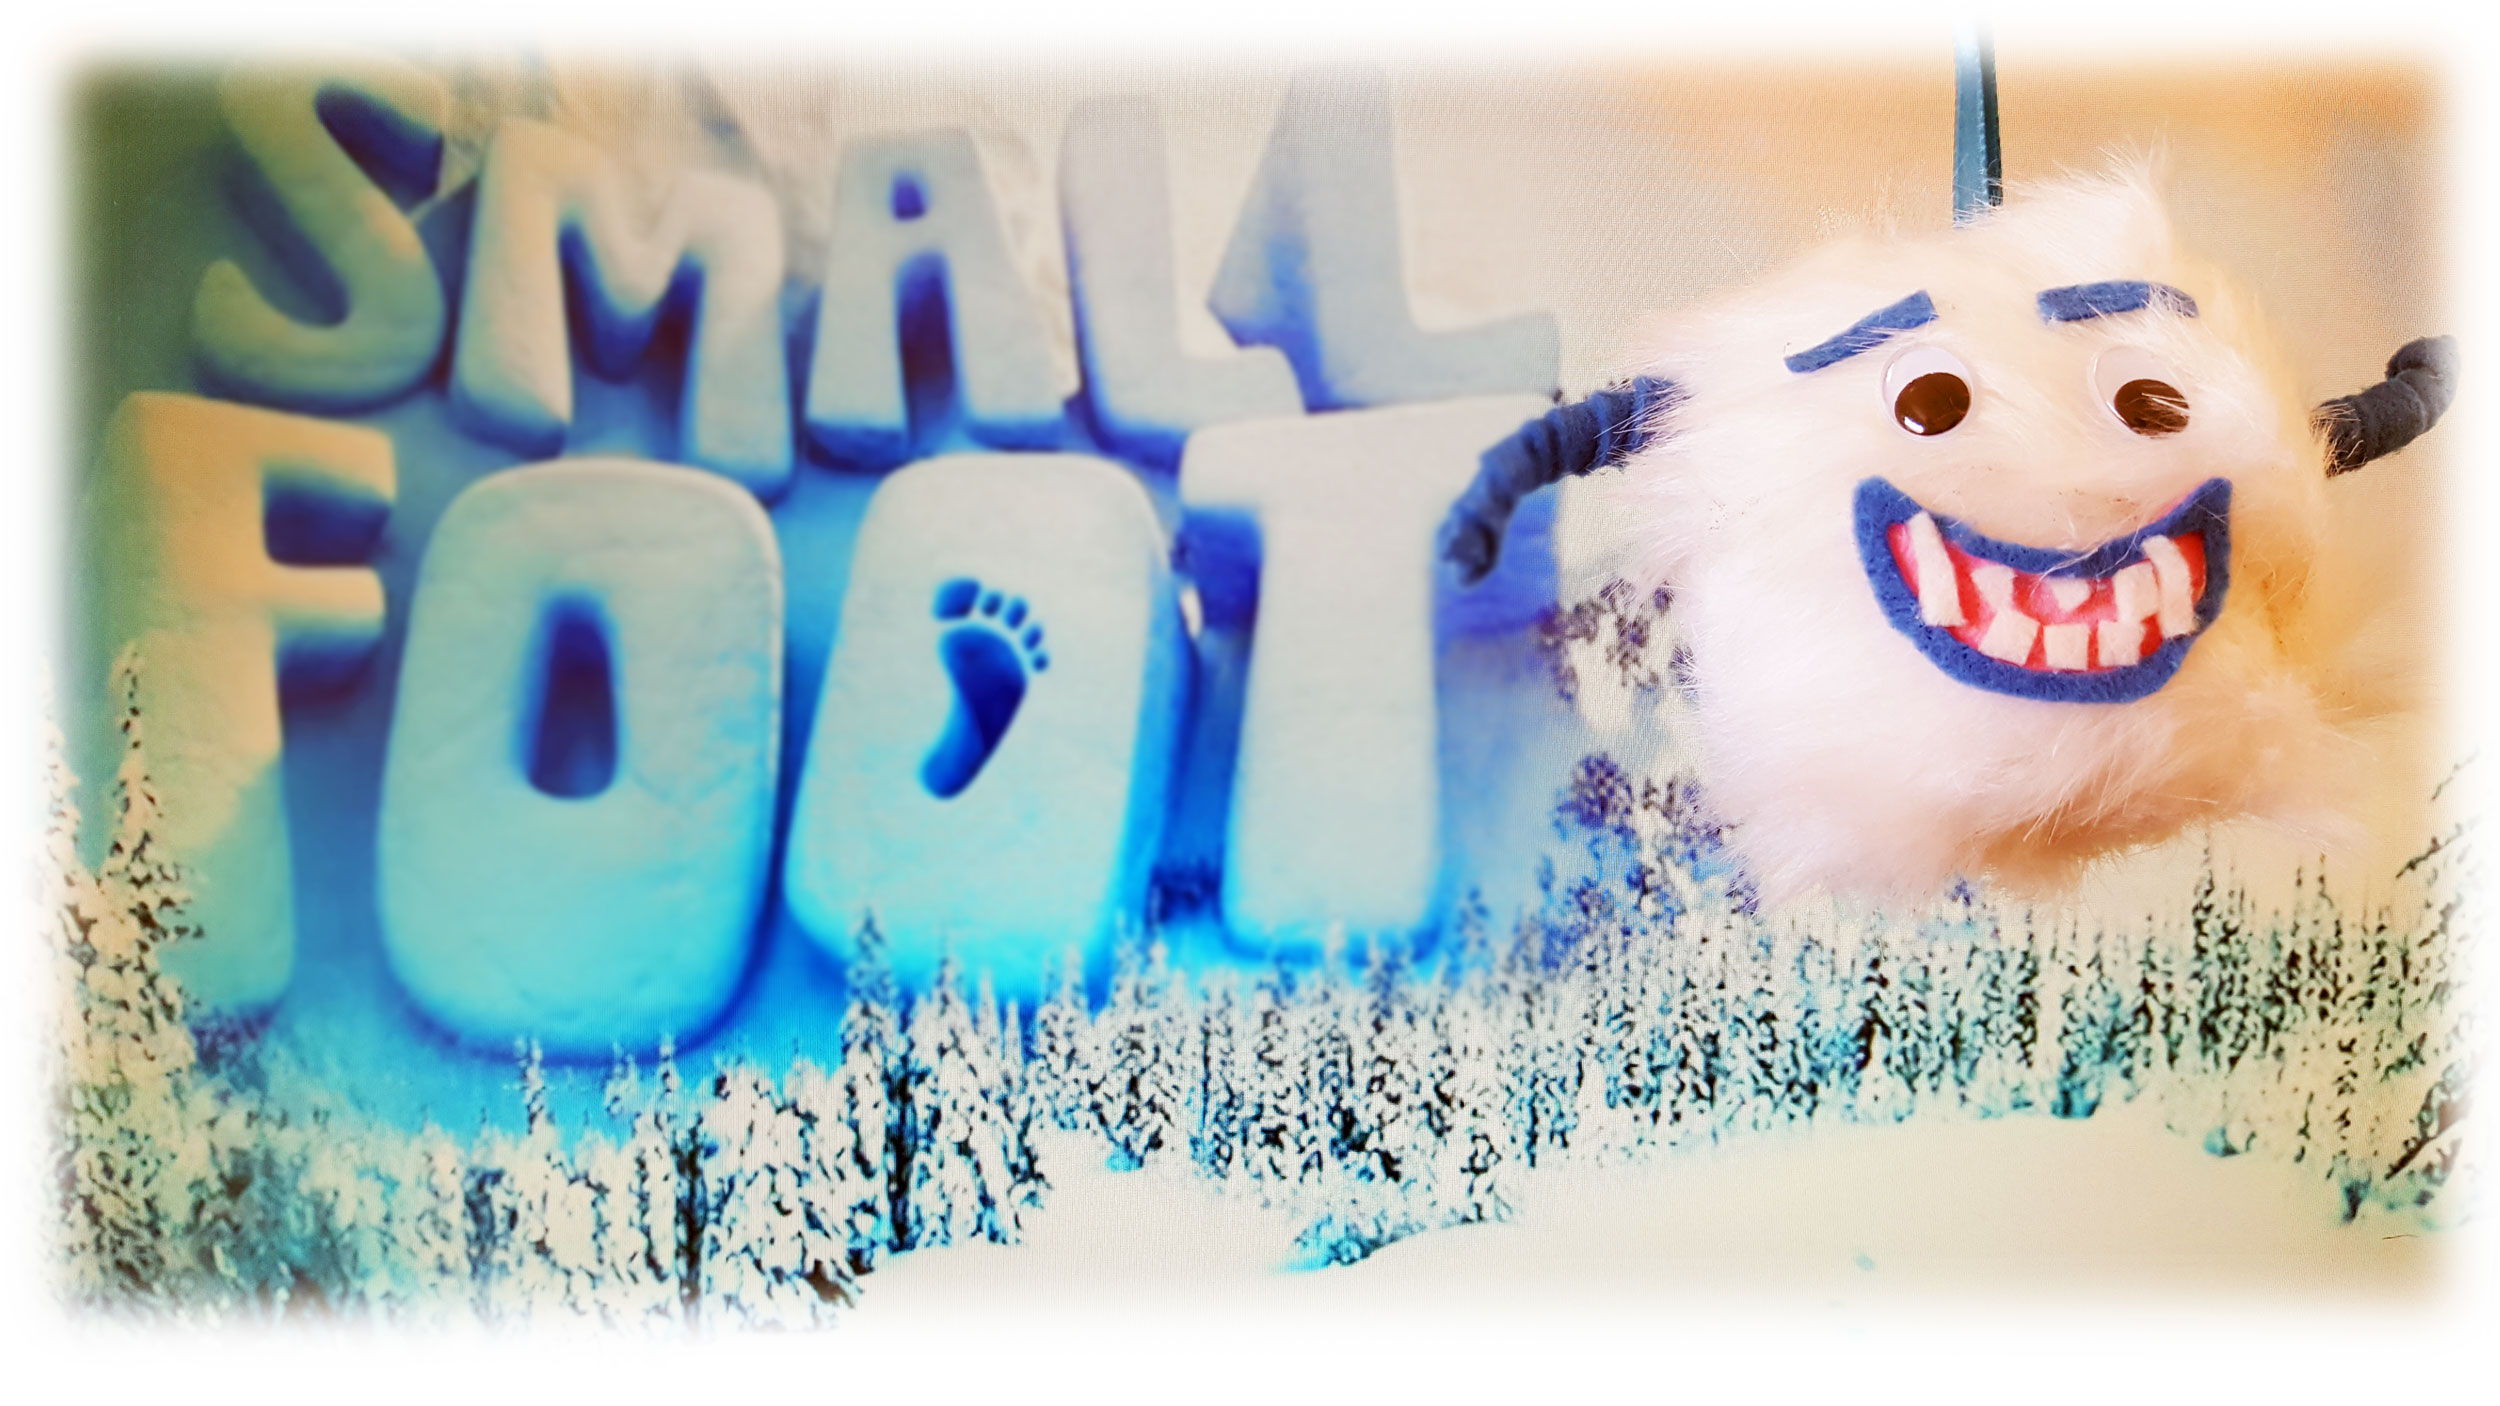
Coming to theaters on September 28th, this Smallfoot is an animated feature the whole family will enjoy. It’s fun to use Glass Ornament Balls to make DIY ornaments of all your favorite movie characters. If you aren’t familiar with the Smallfoot movie yet, Migo is a Yeti who sets out to prove to his kind that the legendary smallfoot “humans” really do exist.
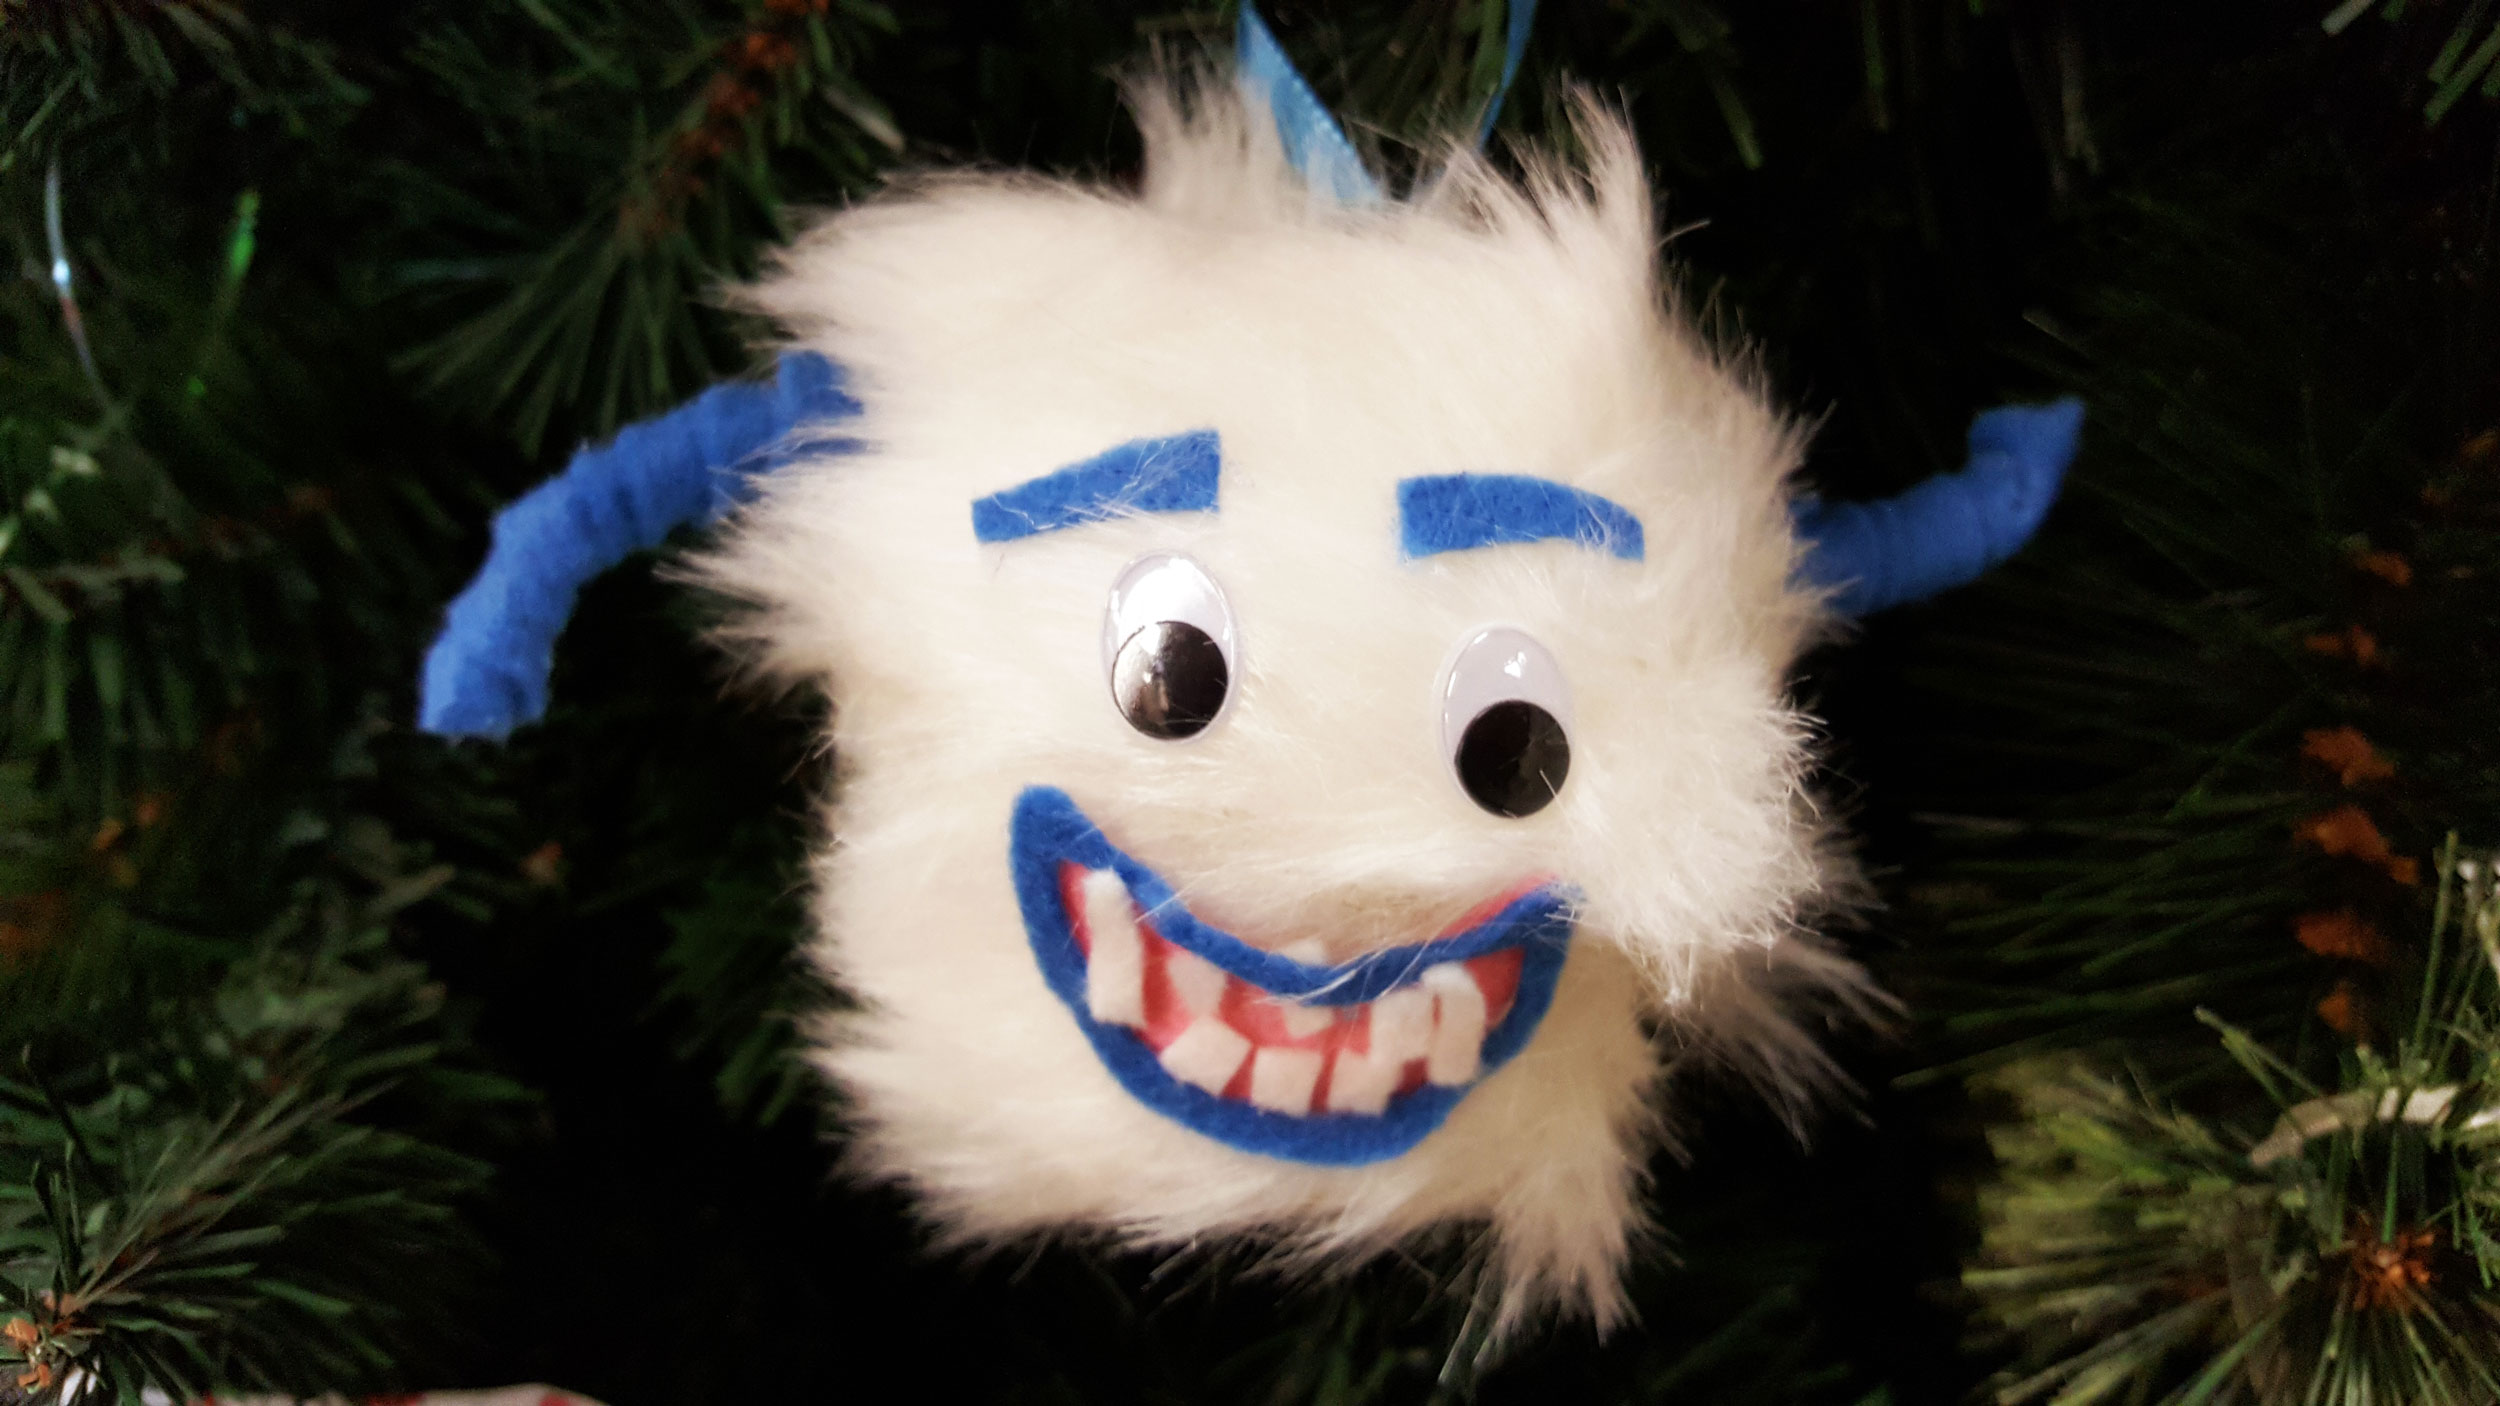
Kids love making this Smallfoot character decoration using glass ornament balls, because it is easy to make, and only requires you to be able to cut and glue. Your yeti ornament will be the cutest smiling face on your Christmas tree this holiday season. Make one for every Smallfoot movie fan on your shopping list.
How To Make Glass Ornament Balls Smallfoot Decorations
Movie characters such as Smalllfoot are easy to make and your children will love to participate and even will want to make their own. All you need are some basic crafting supplies, glue and scissors to transform glass ornament balls into adorable yeti ornaments.
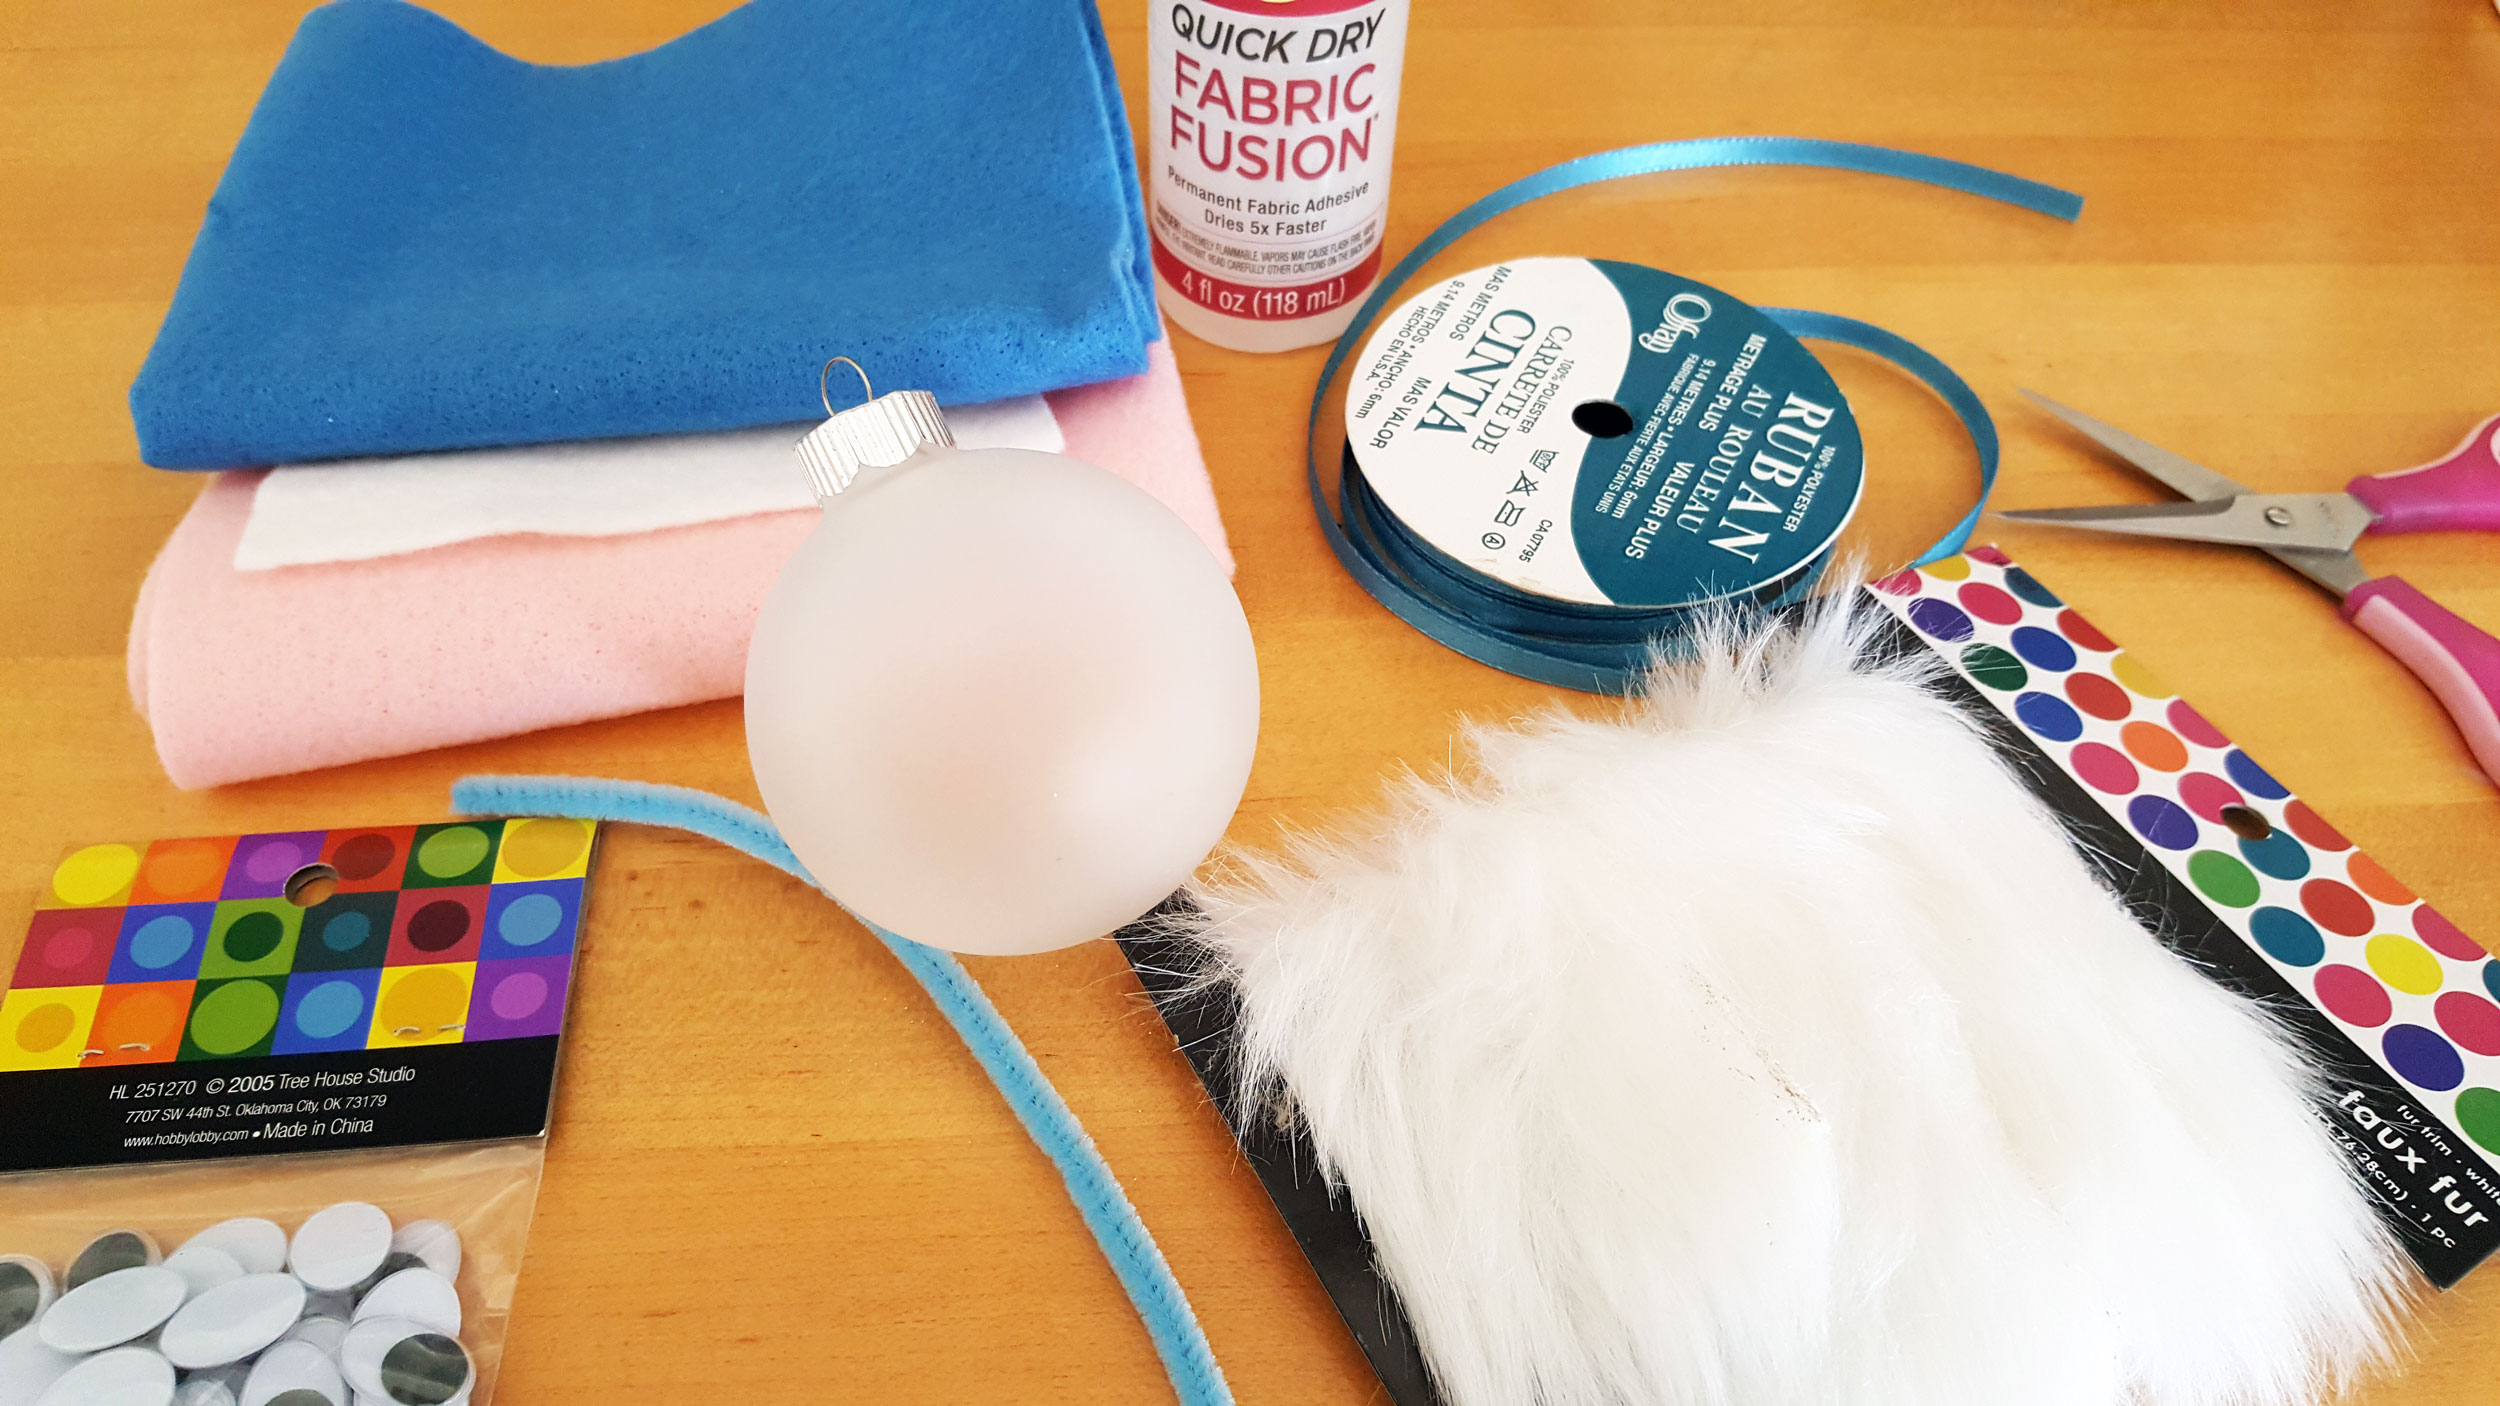
Supplies:
- Glass ornament ball
- Faux fur fabric strips
- Blue felt
- Pink felt
- White felt
- Googly eyes
- Pipe cleaner
- Fabric glue
- Ribbon
- Scissors
Smallfoot Glass Ornament Balls DIY Steps 1-4
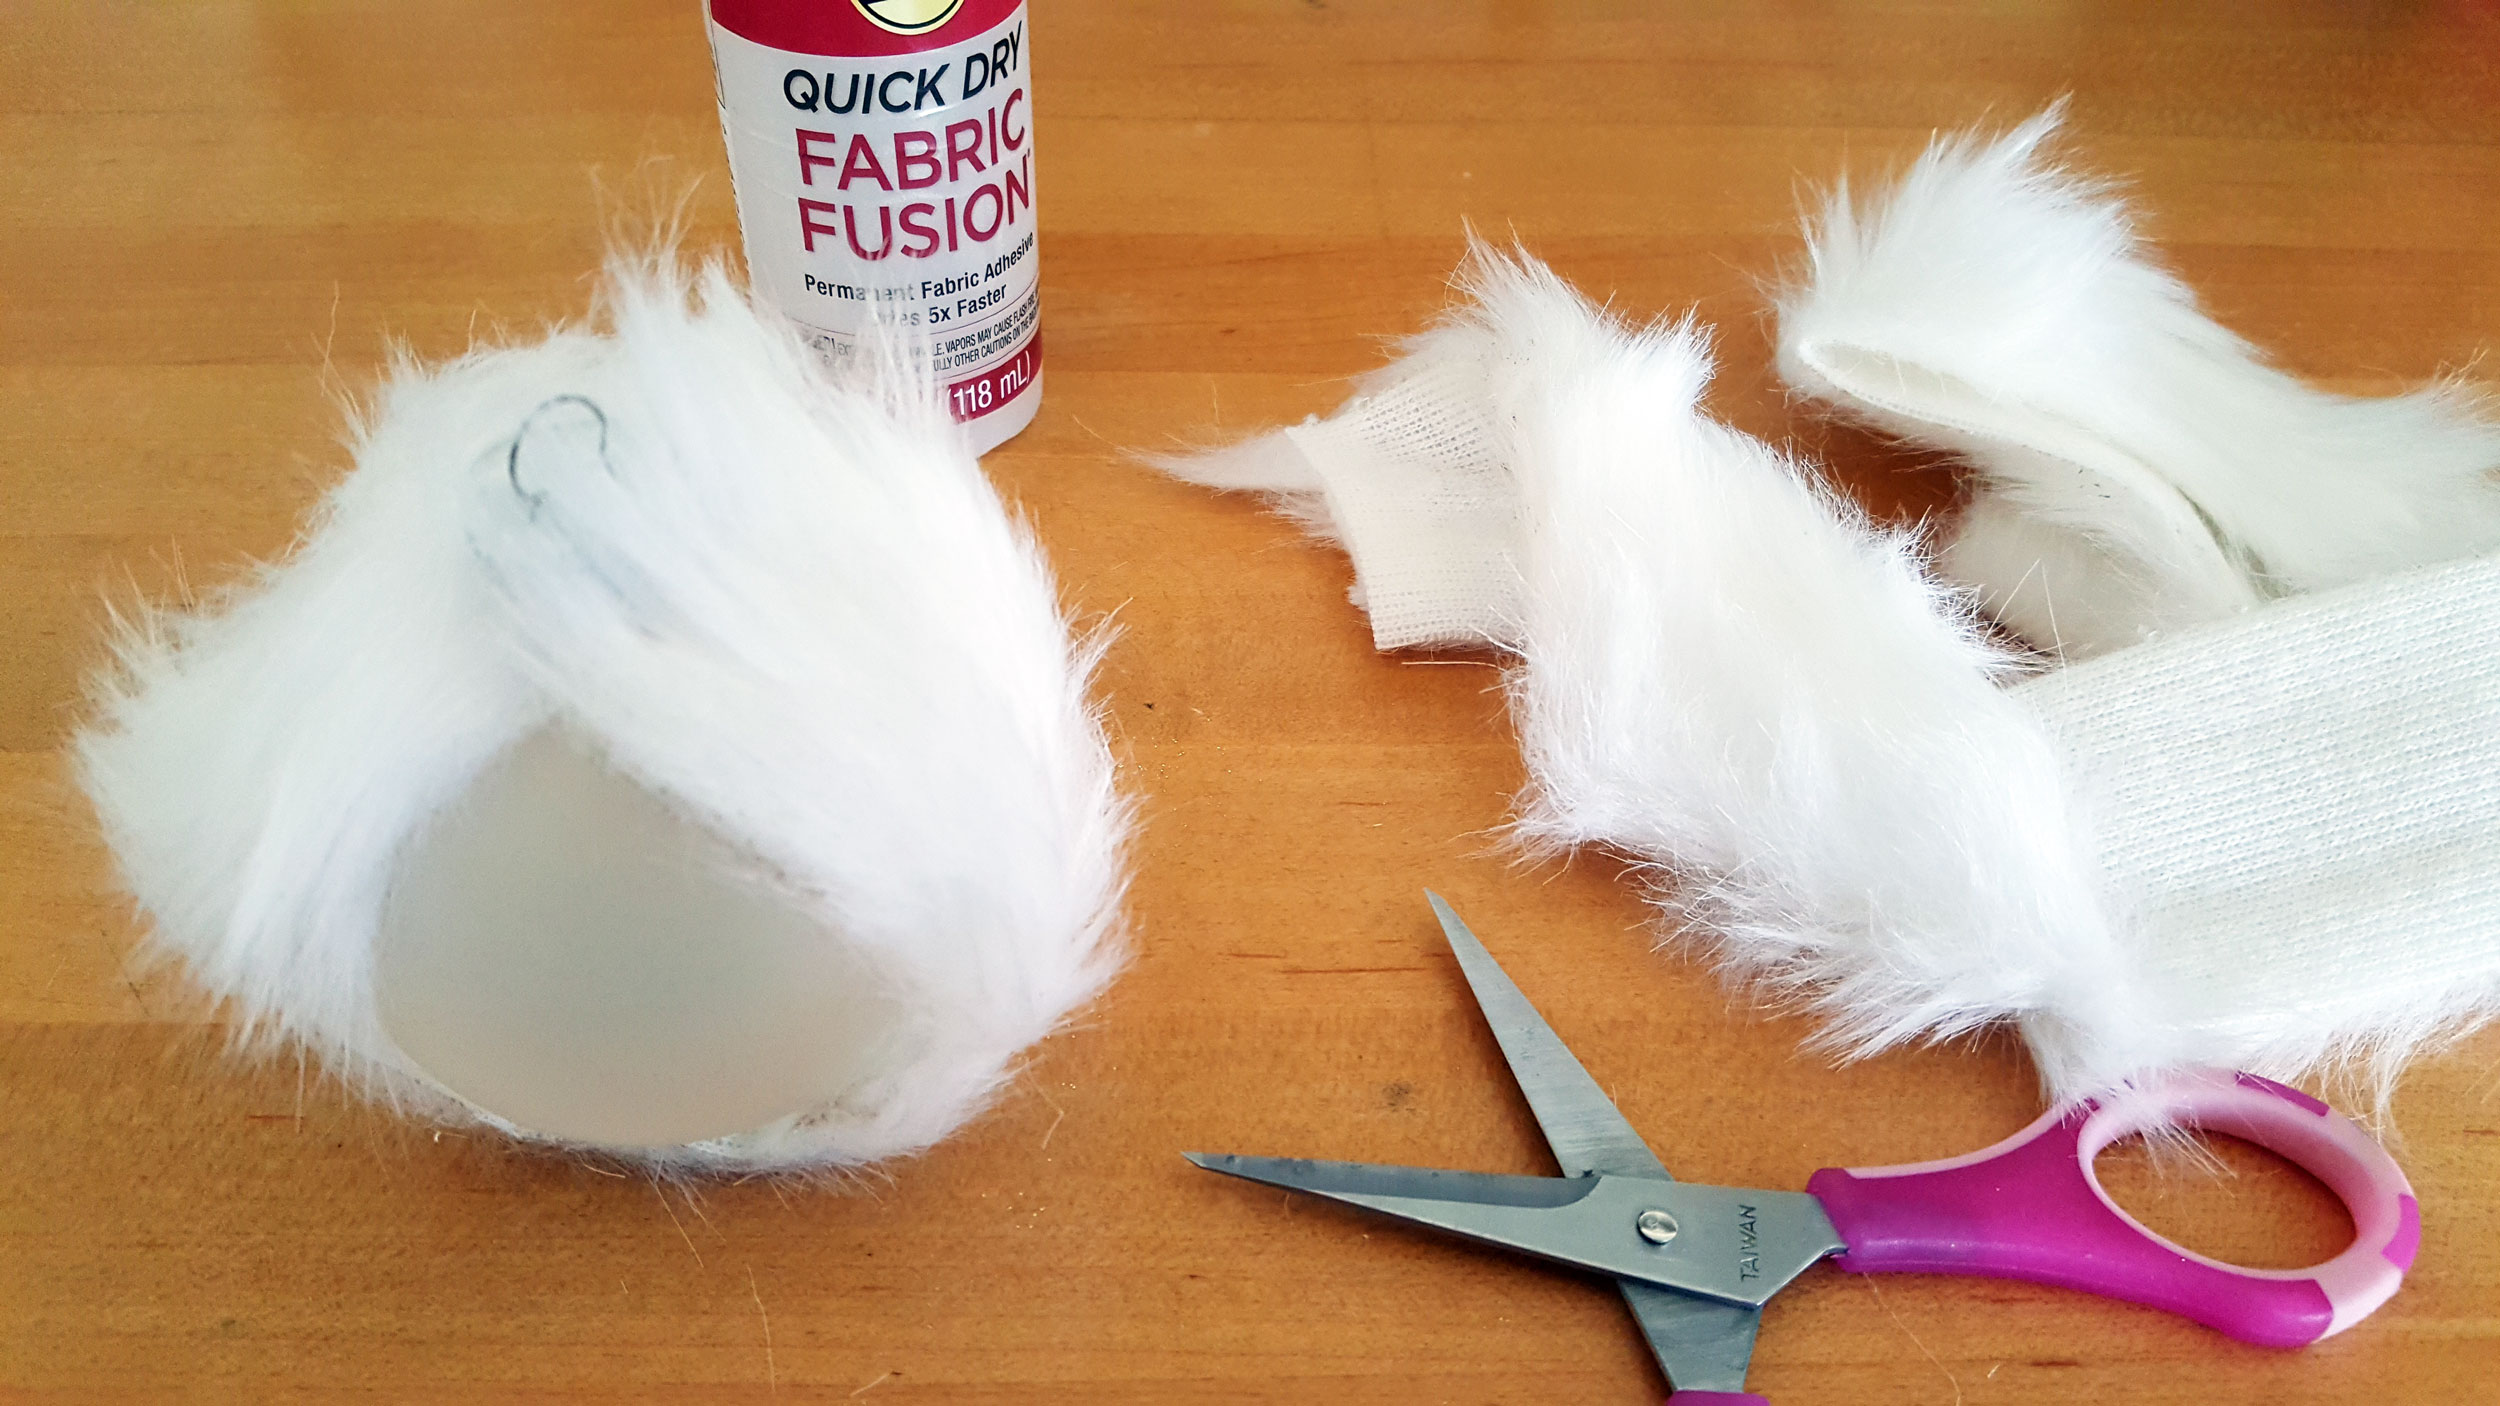
Step 1: Cut a strip of faux fabric with the scissors and glue to the glass ornament balls. Then, starting at the top, go all the way around to the top again. It is important to make sure faux fur strip is secure.
Step 2: Now, cut another faux fur strip and glue this strip the opposite way around the middle, perpendicular to the previous strip of fur.
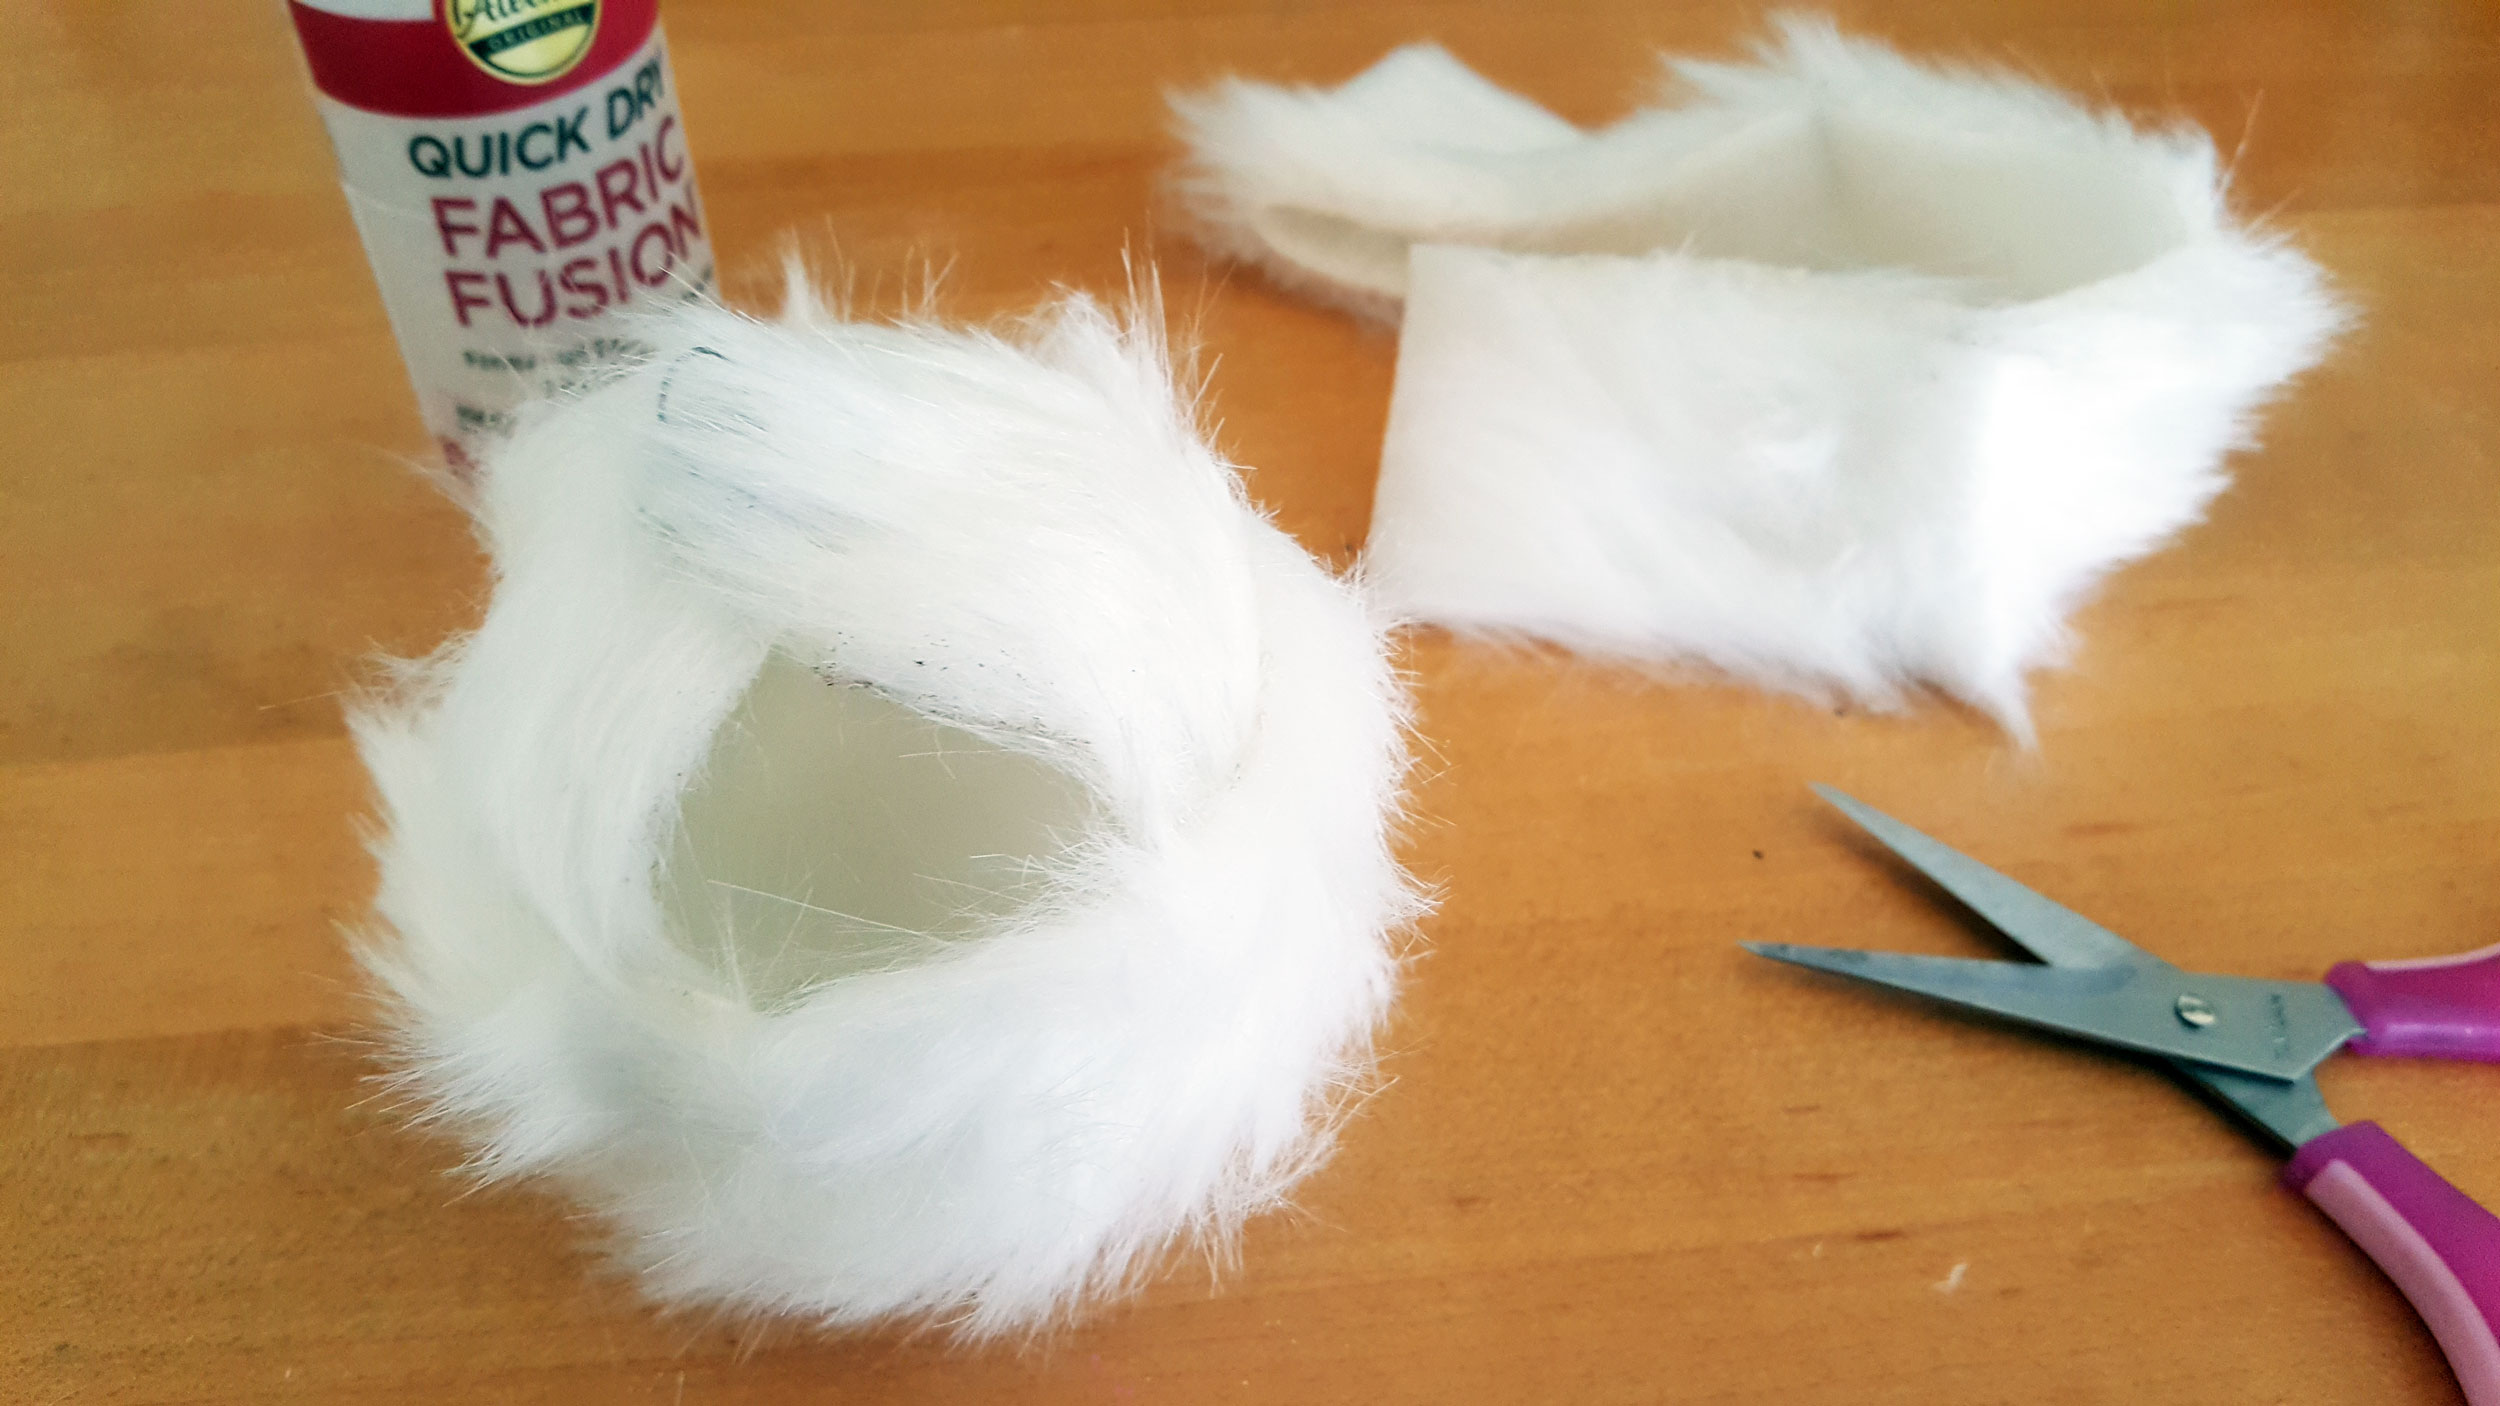
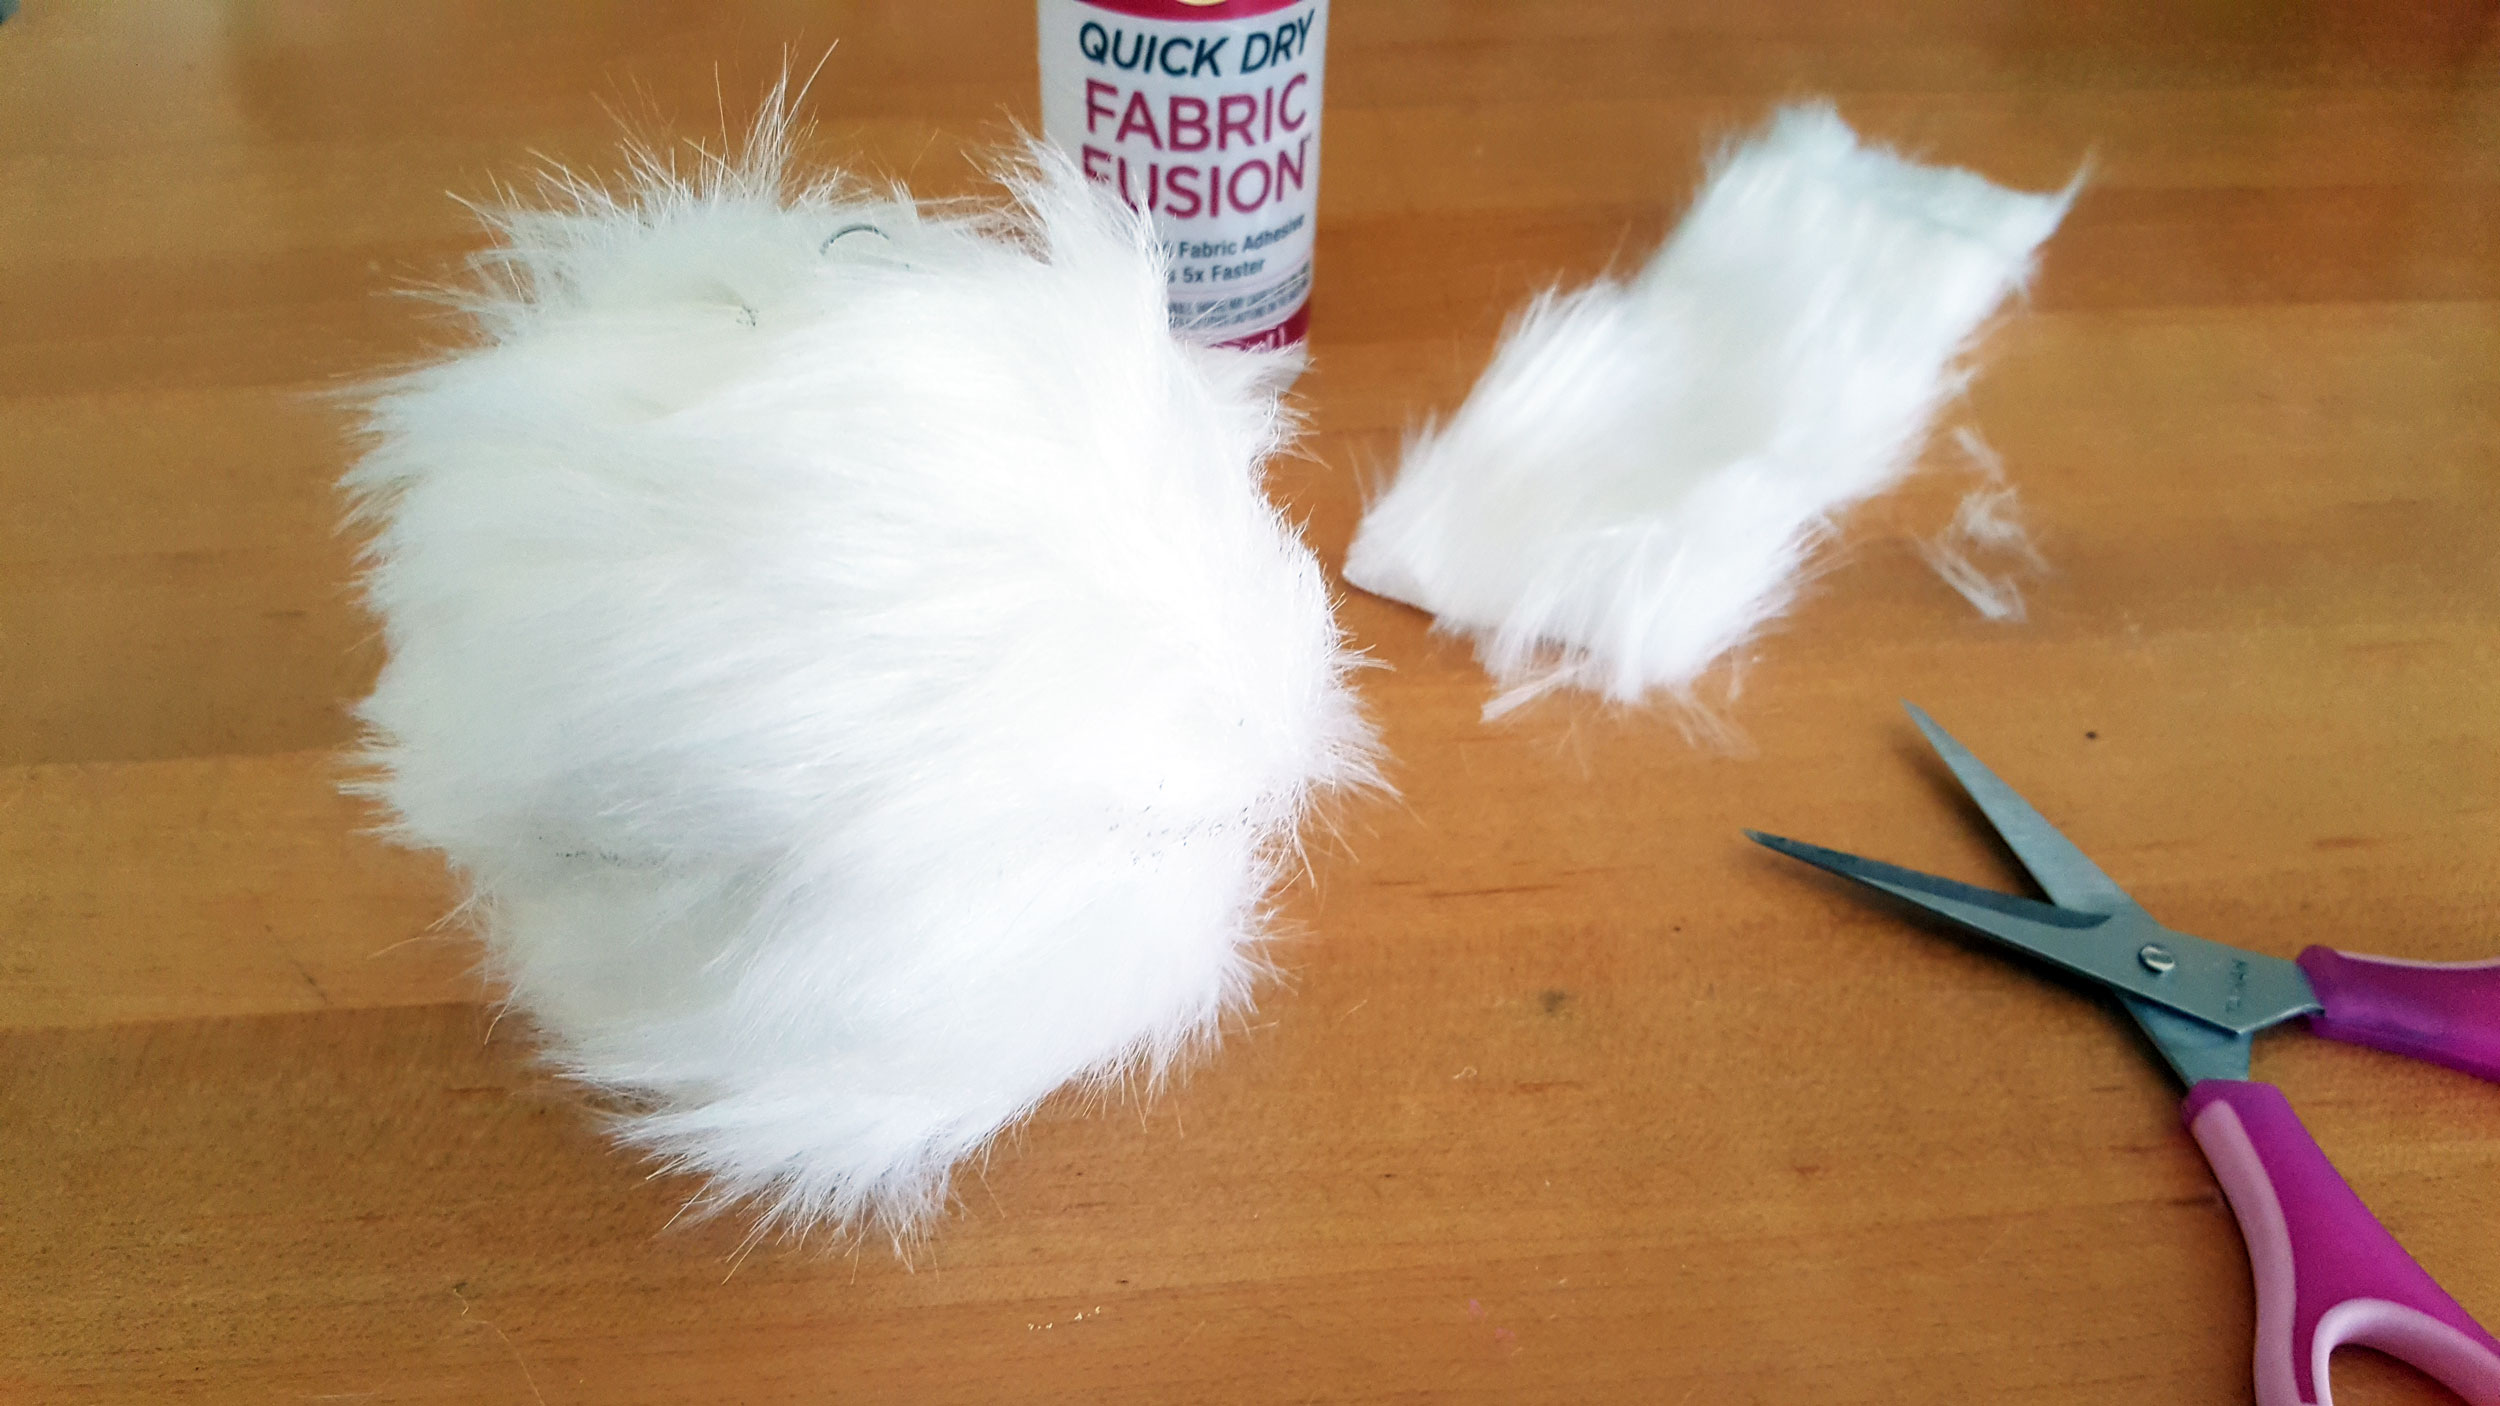
Step 3: Next, it’s time to fill in the gaps. Continue gluing strips of the faux fur until the entire Smallfoot ornament has been covered, but that you can still access the hook on the top.
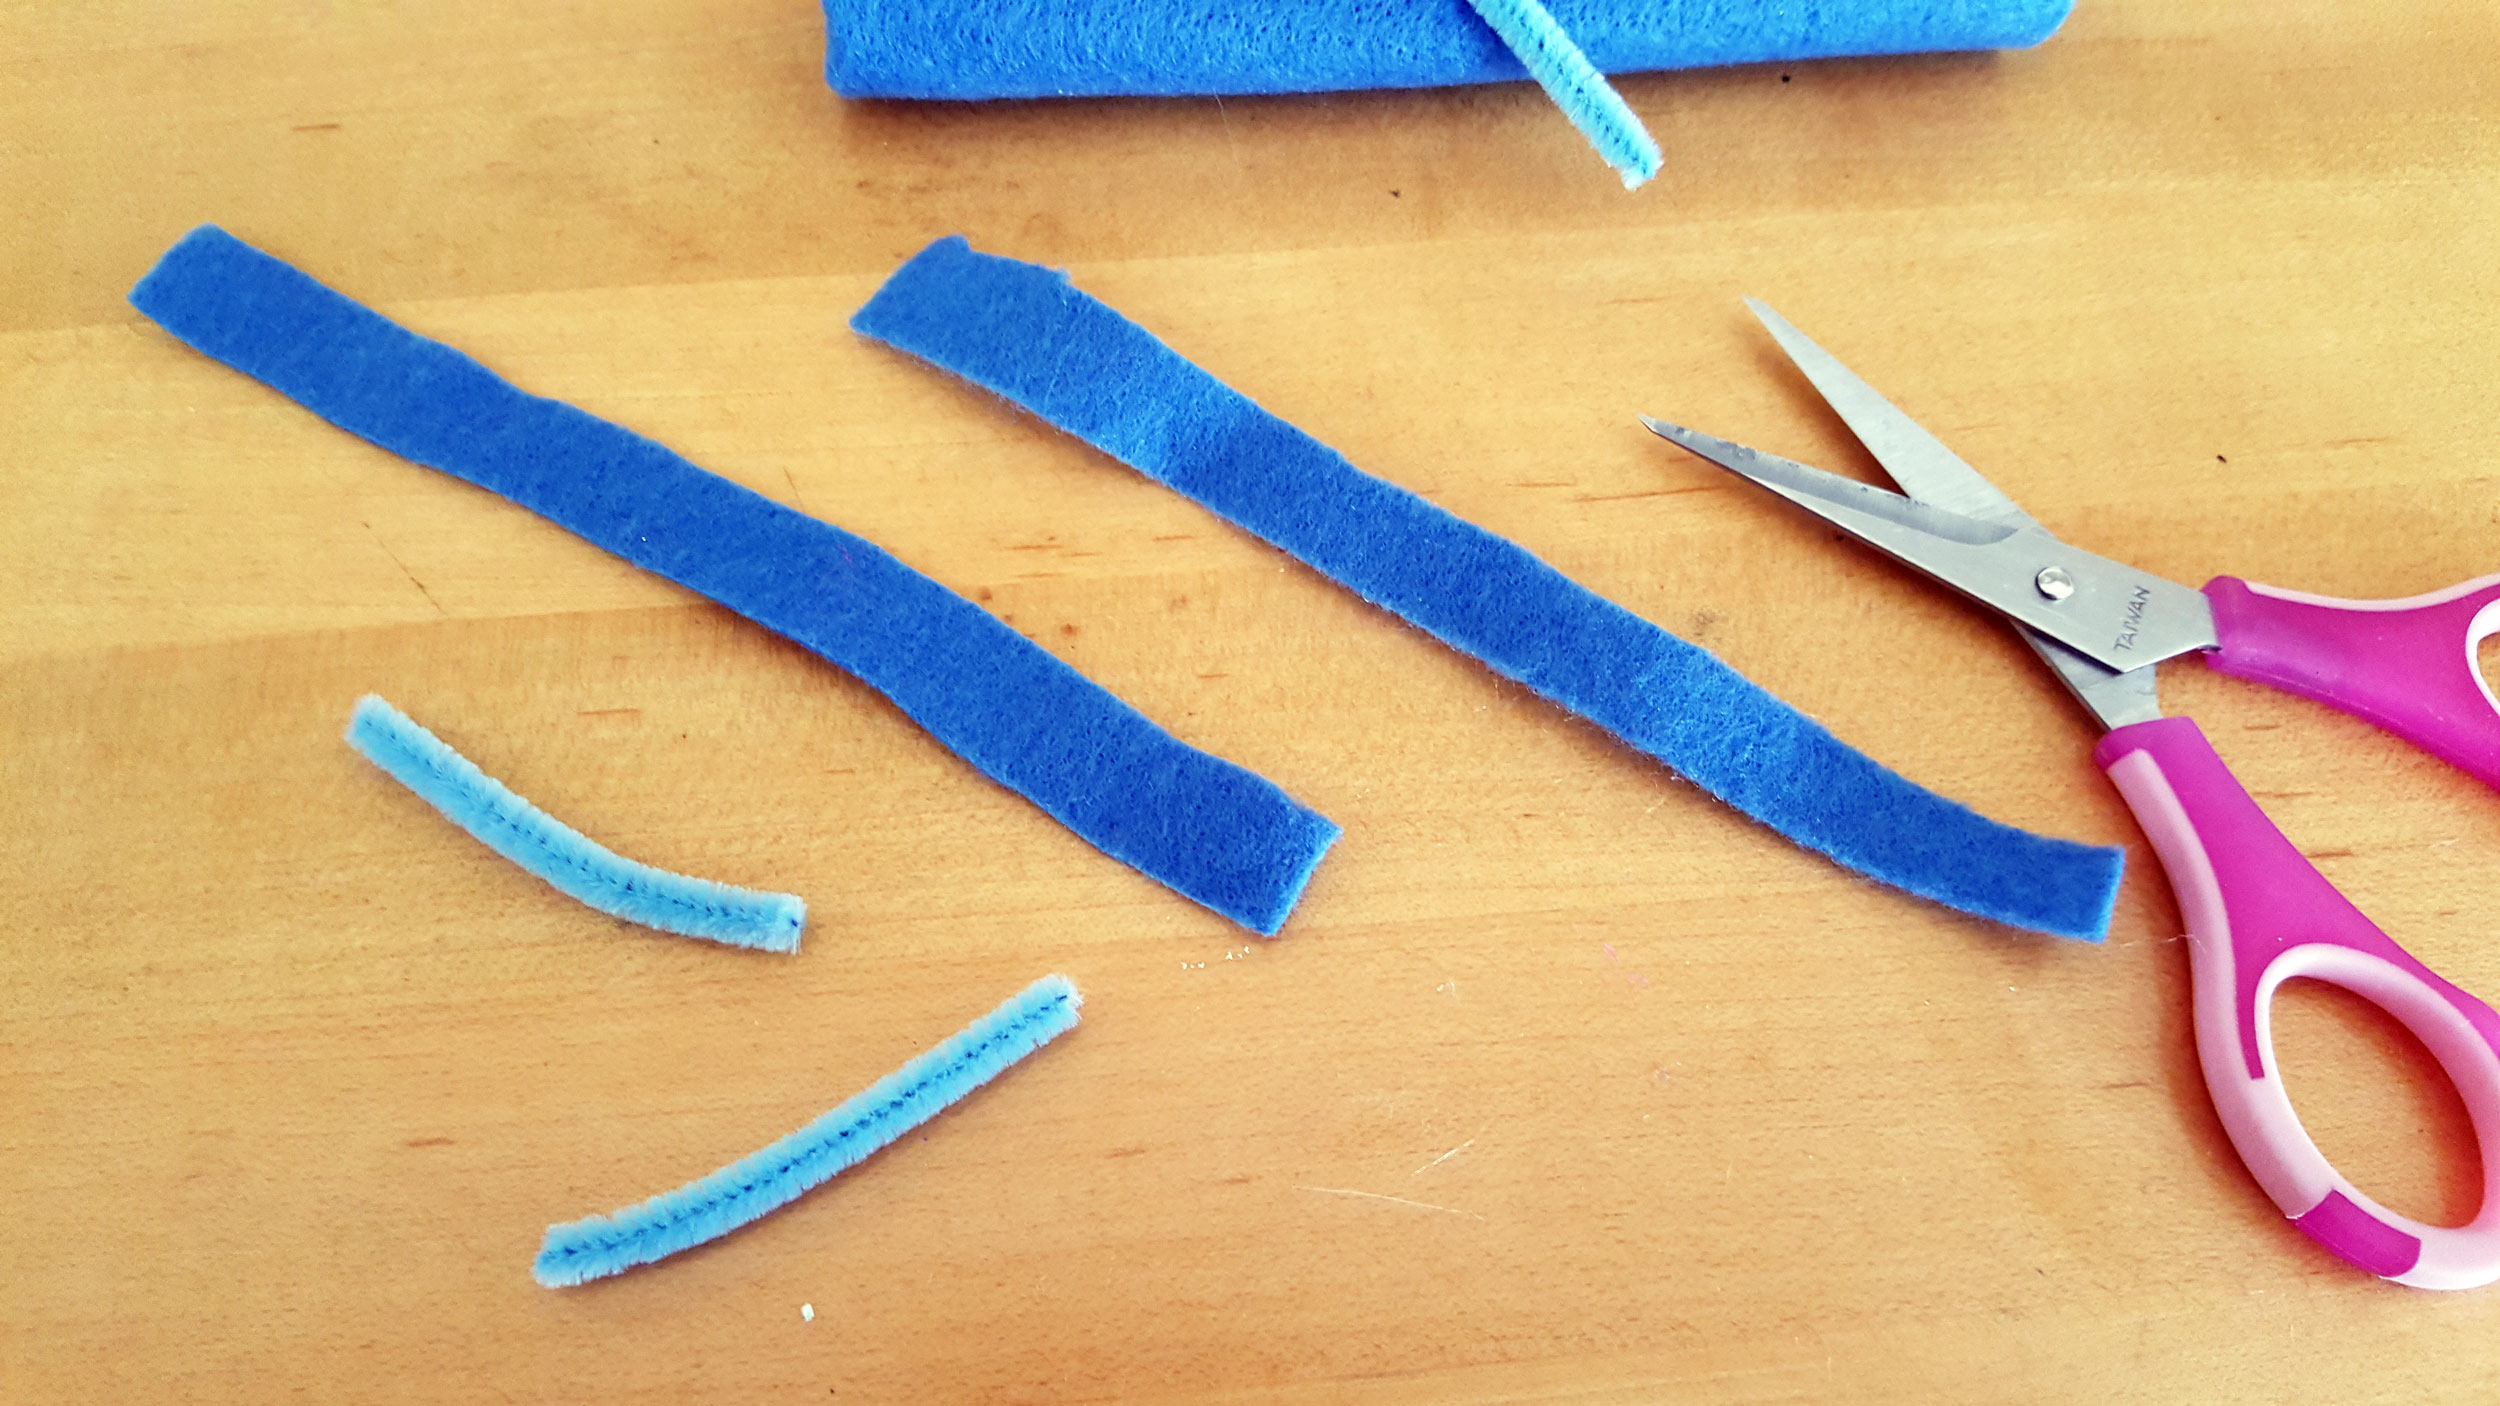
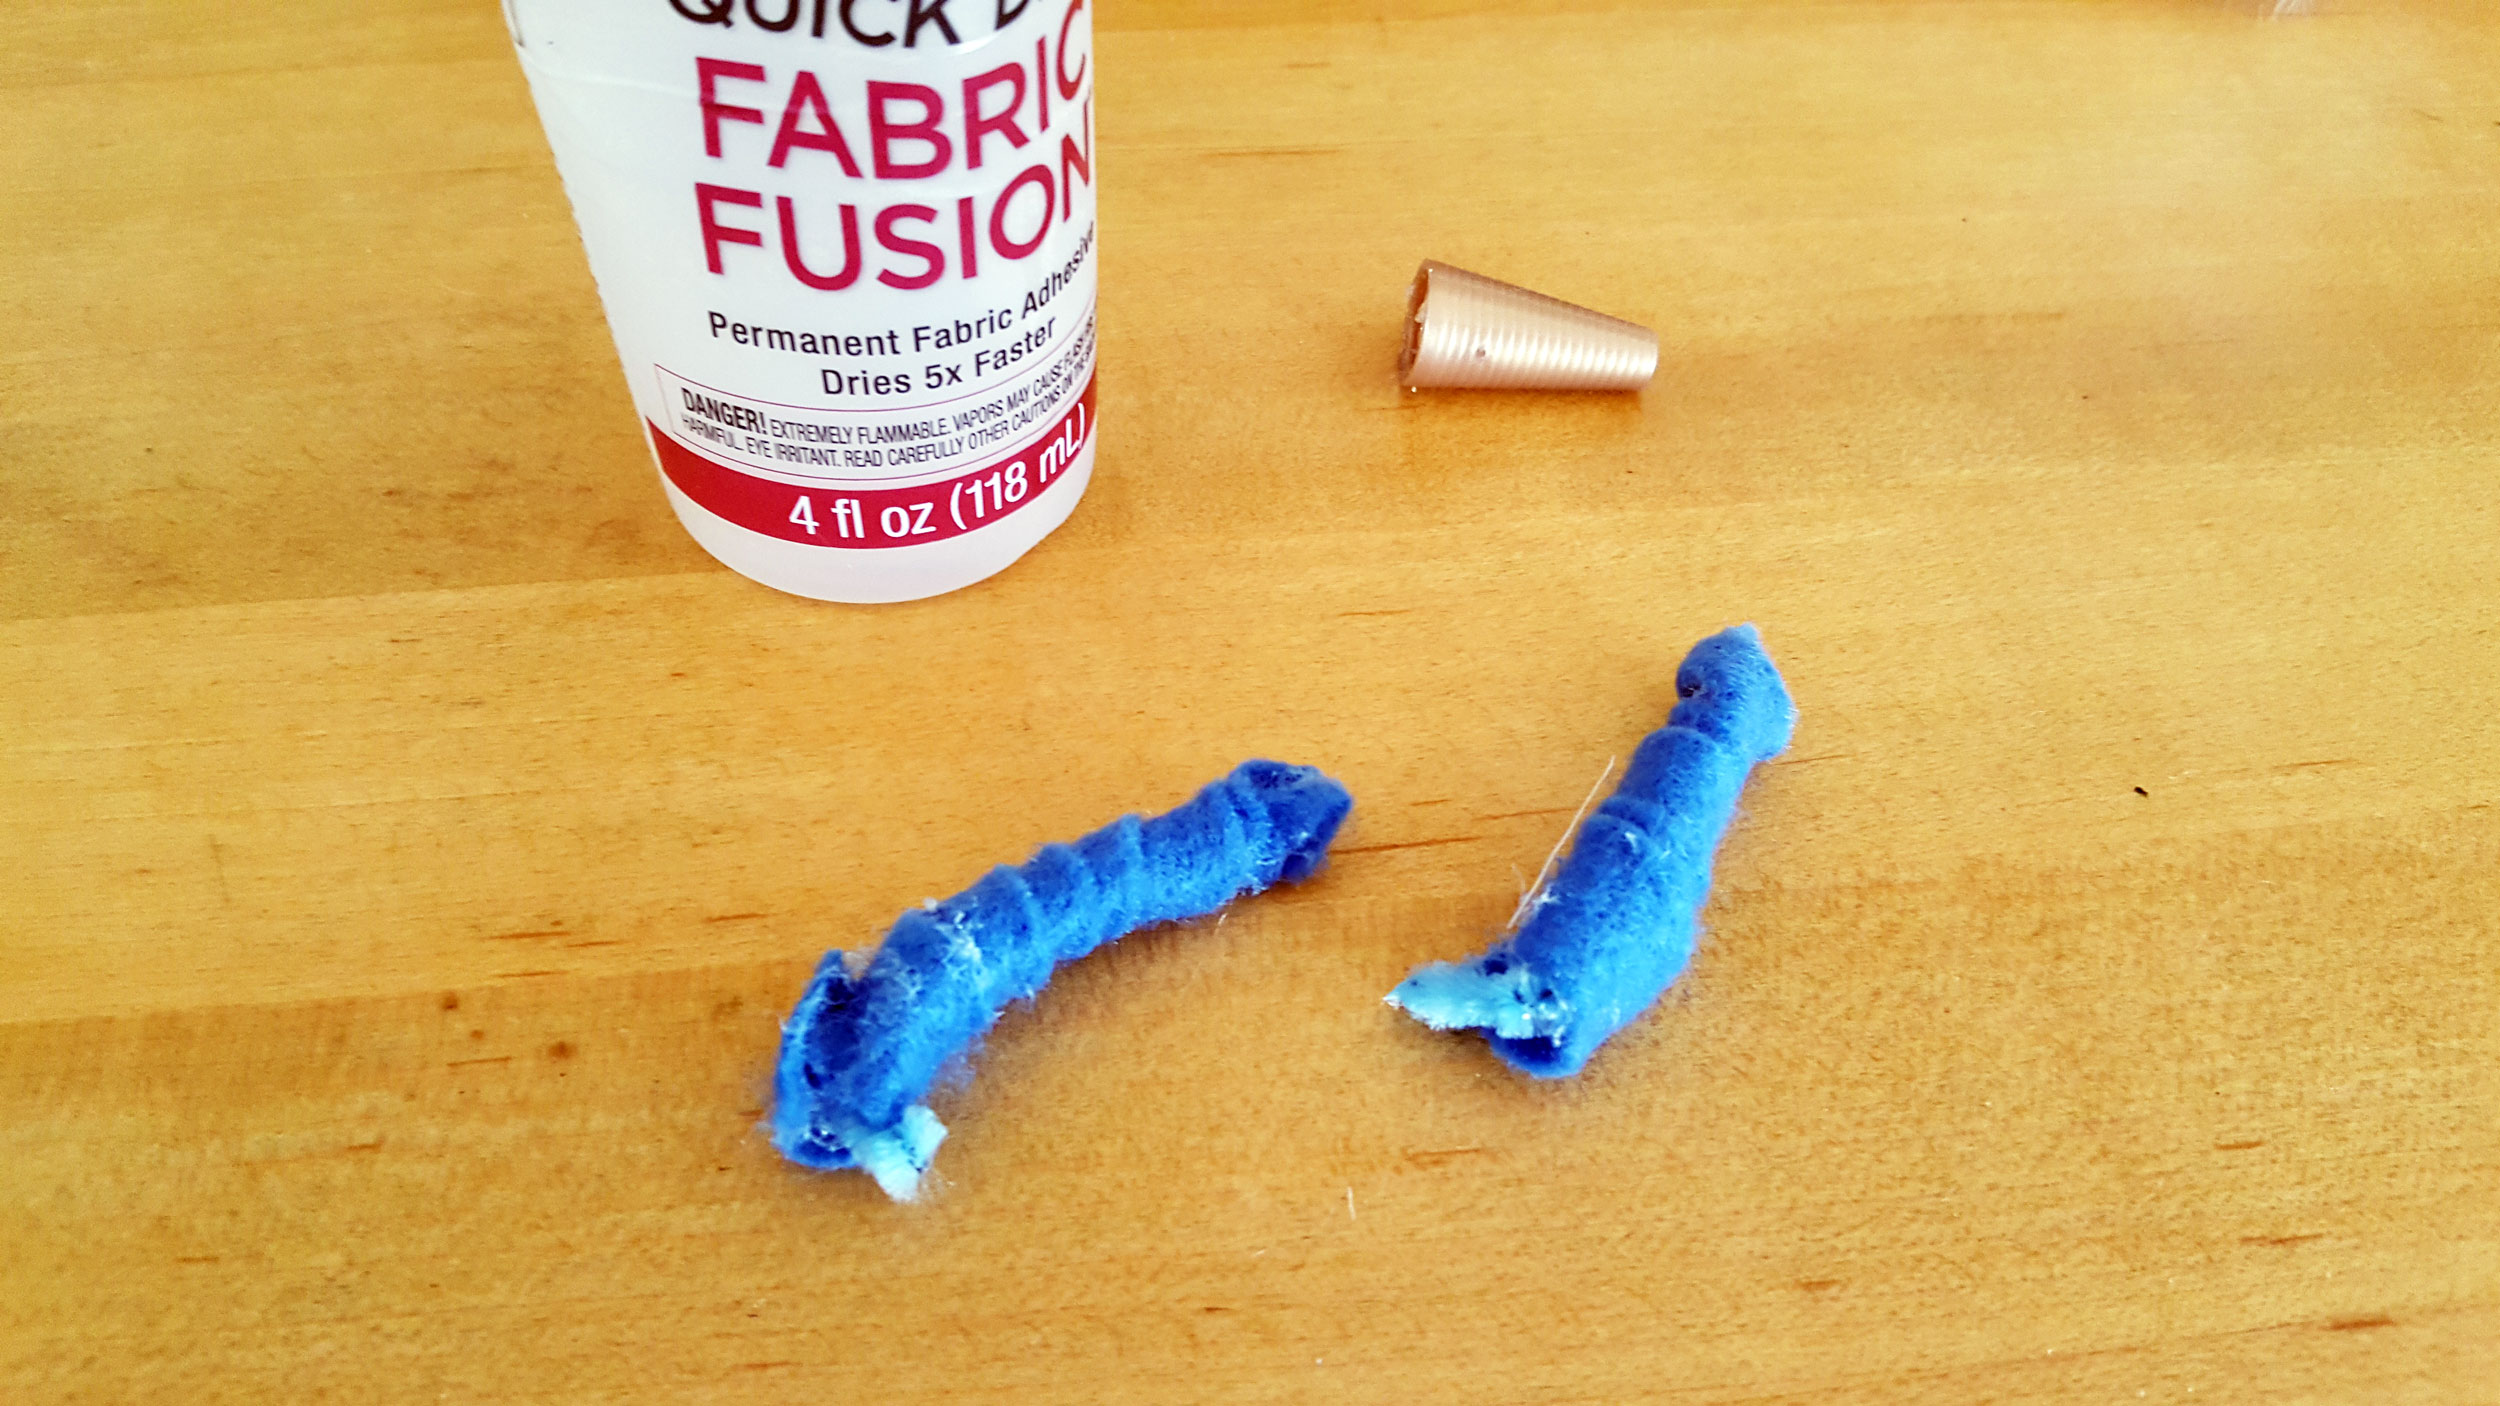
Step 4: To make the horns, cut two small pieces of pipe cleaner. They can be any color because you will cover them. Next, cut two narrow strips of blue felt.
Smallfoot Glass Ornament Balls DIY Steps 5-8
Step 5: Squeeze some glue onto the pipe cleaner. Then, start at one end and wind the piece of felt over the pipe cleaner completely covering it. Glue the ends to secure and let them dry.
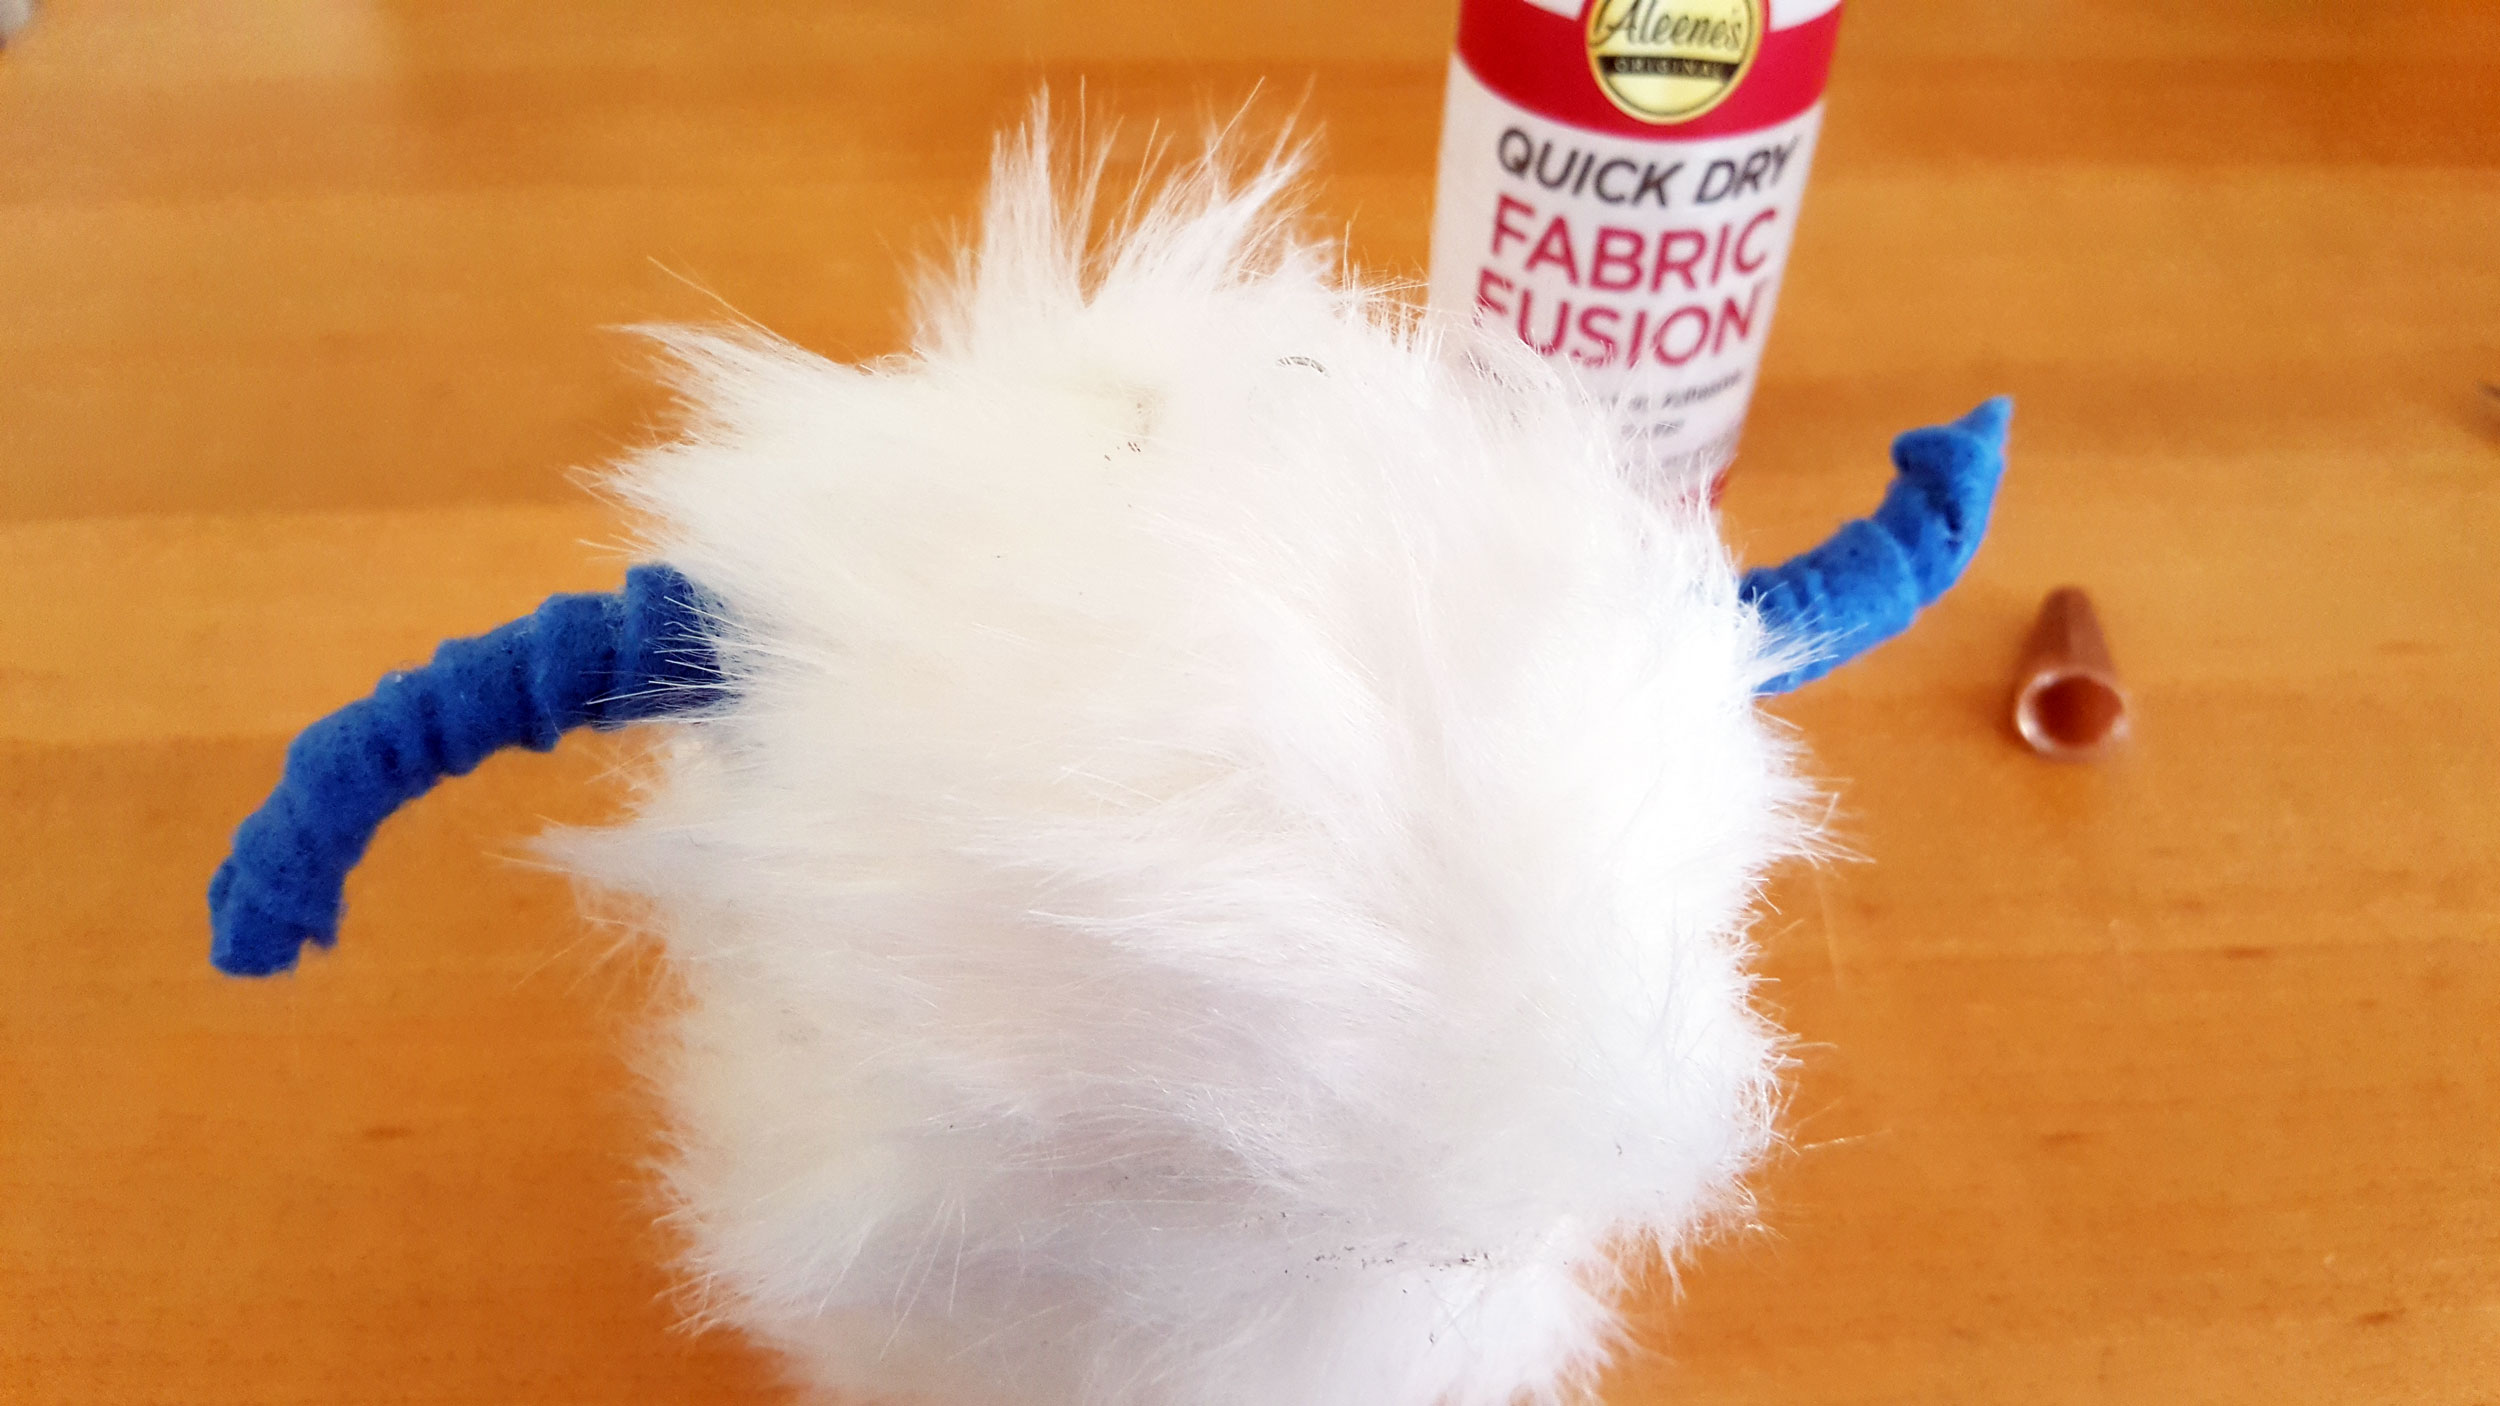
Step 6: Once they are ready, bend the pipe cleaners into the desired angle and glue them to the top side of the head of the Smallfoot yeti ornament. Migo’s always seem a bit cockeyed, so we made them look that way, but you can position them as you wish.
Note: Be sure the keep the ornament hook at the top!
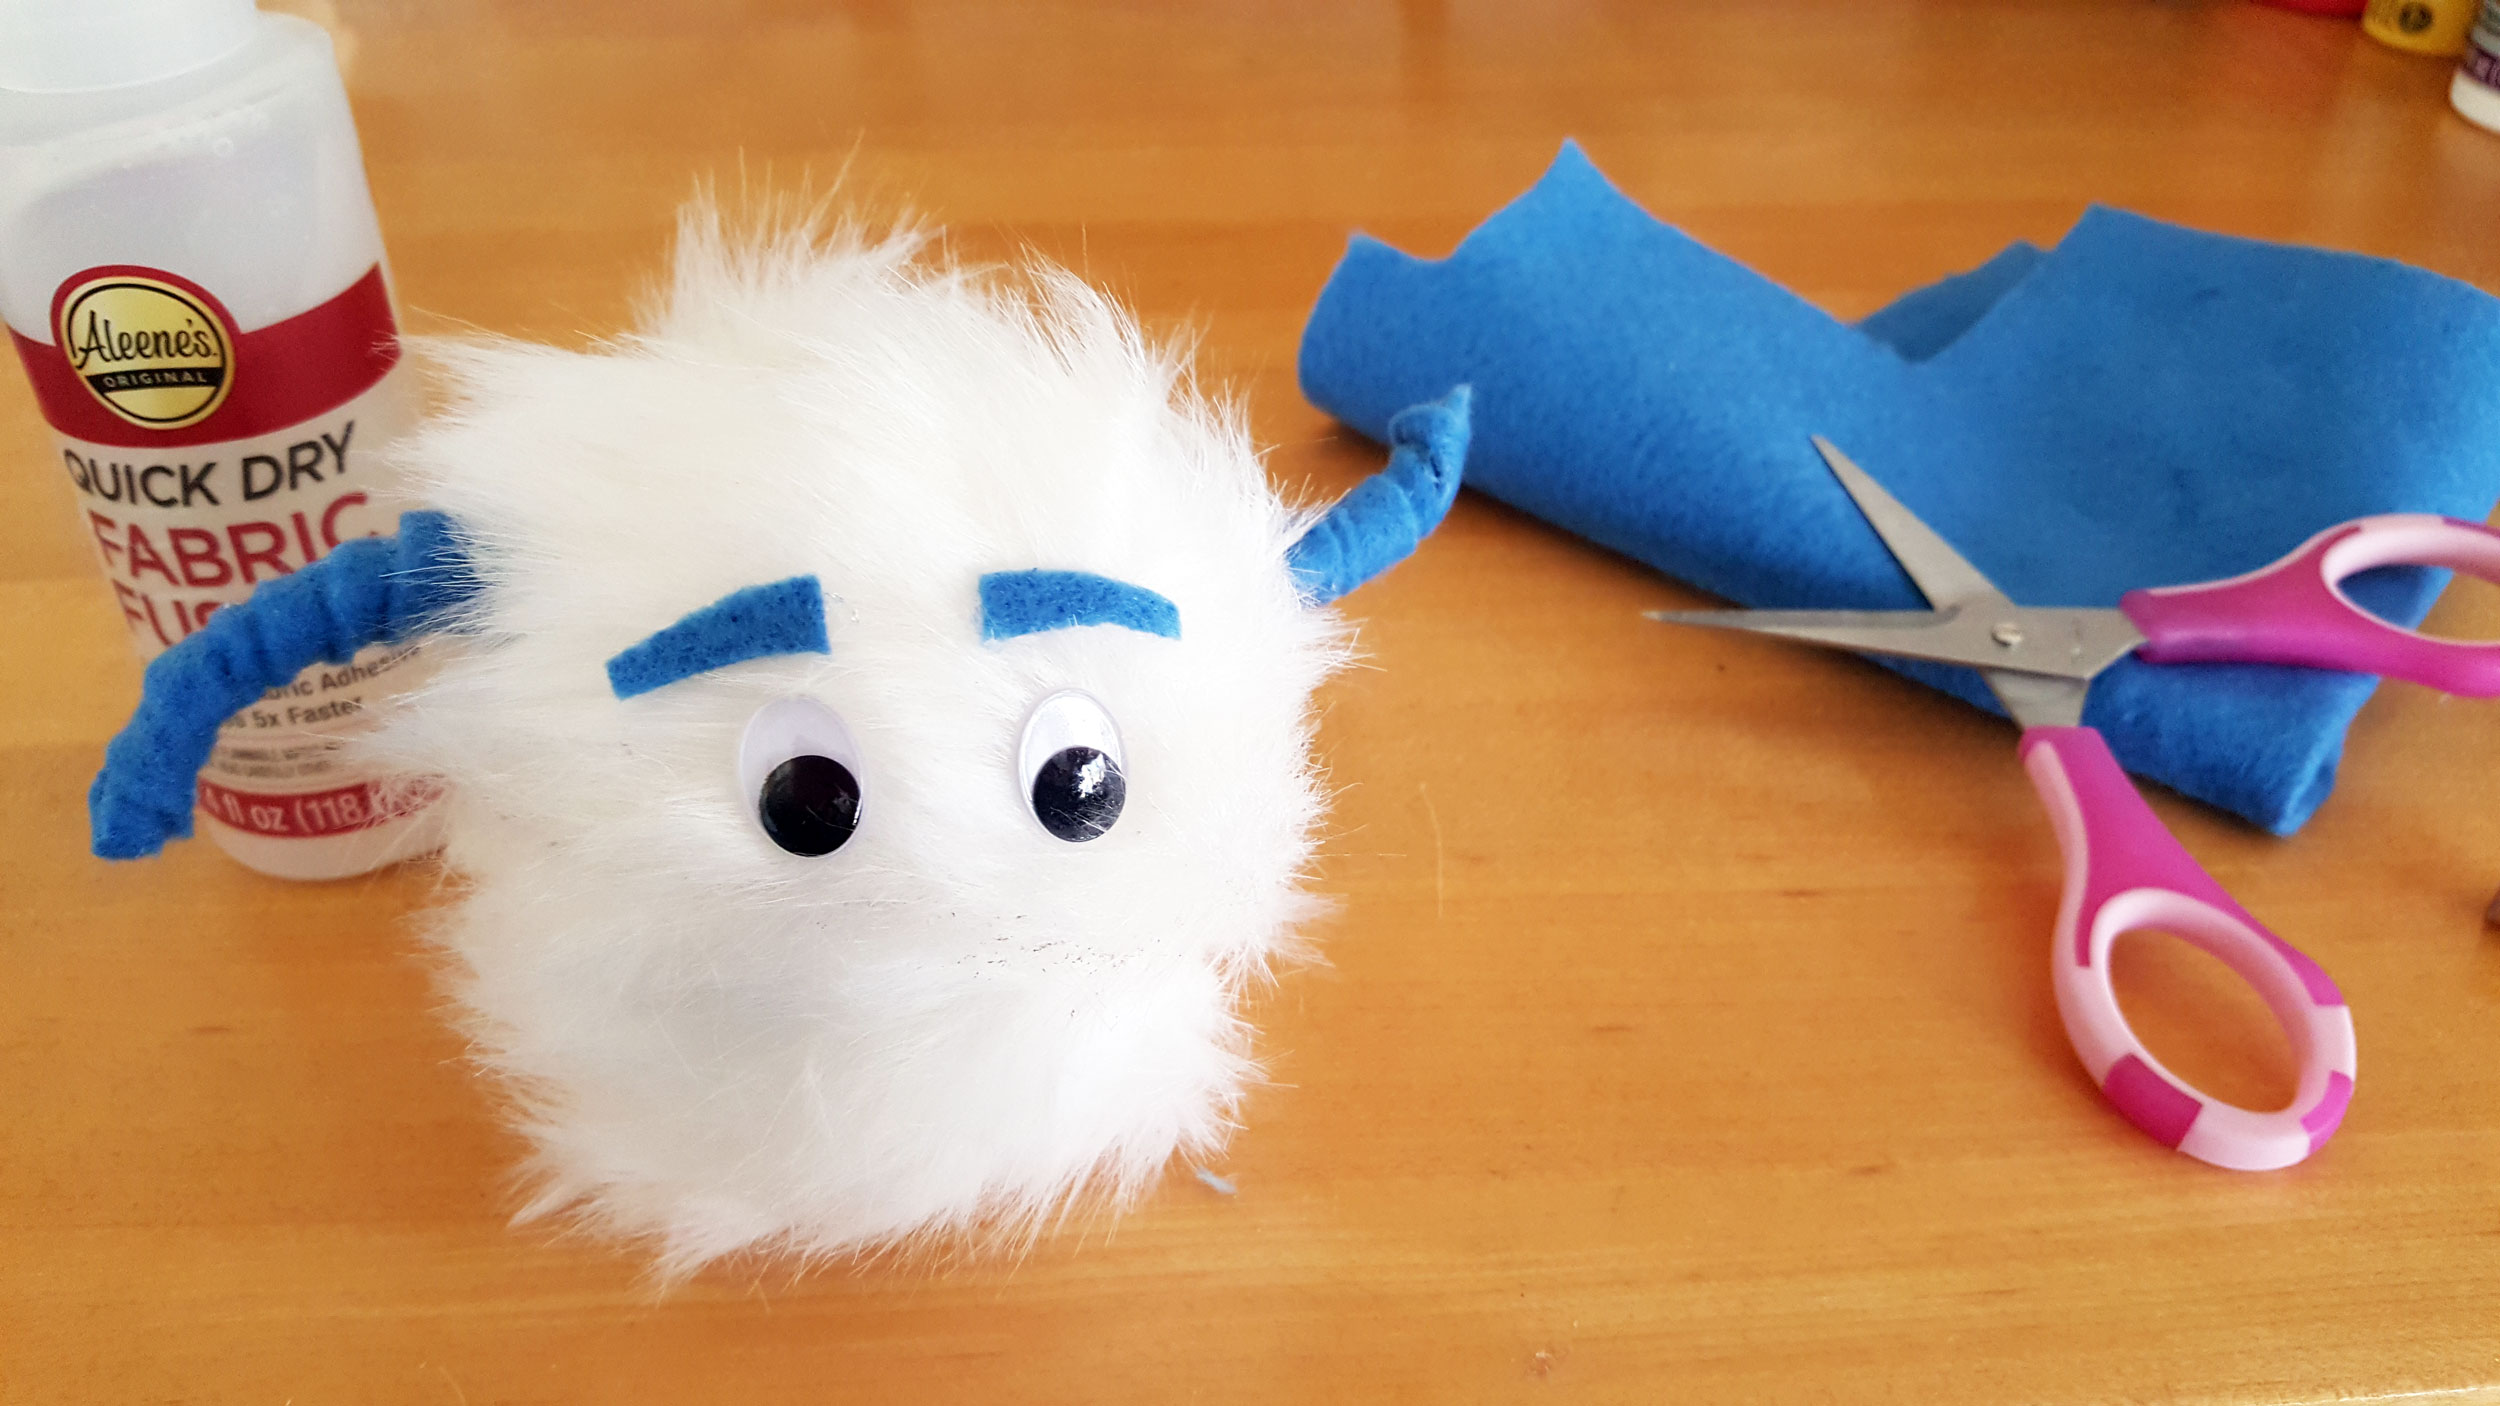
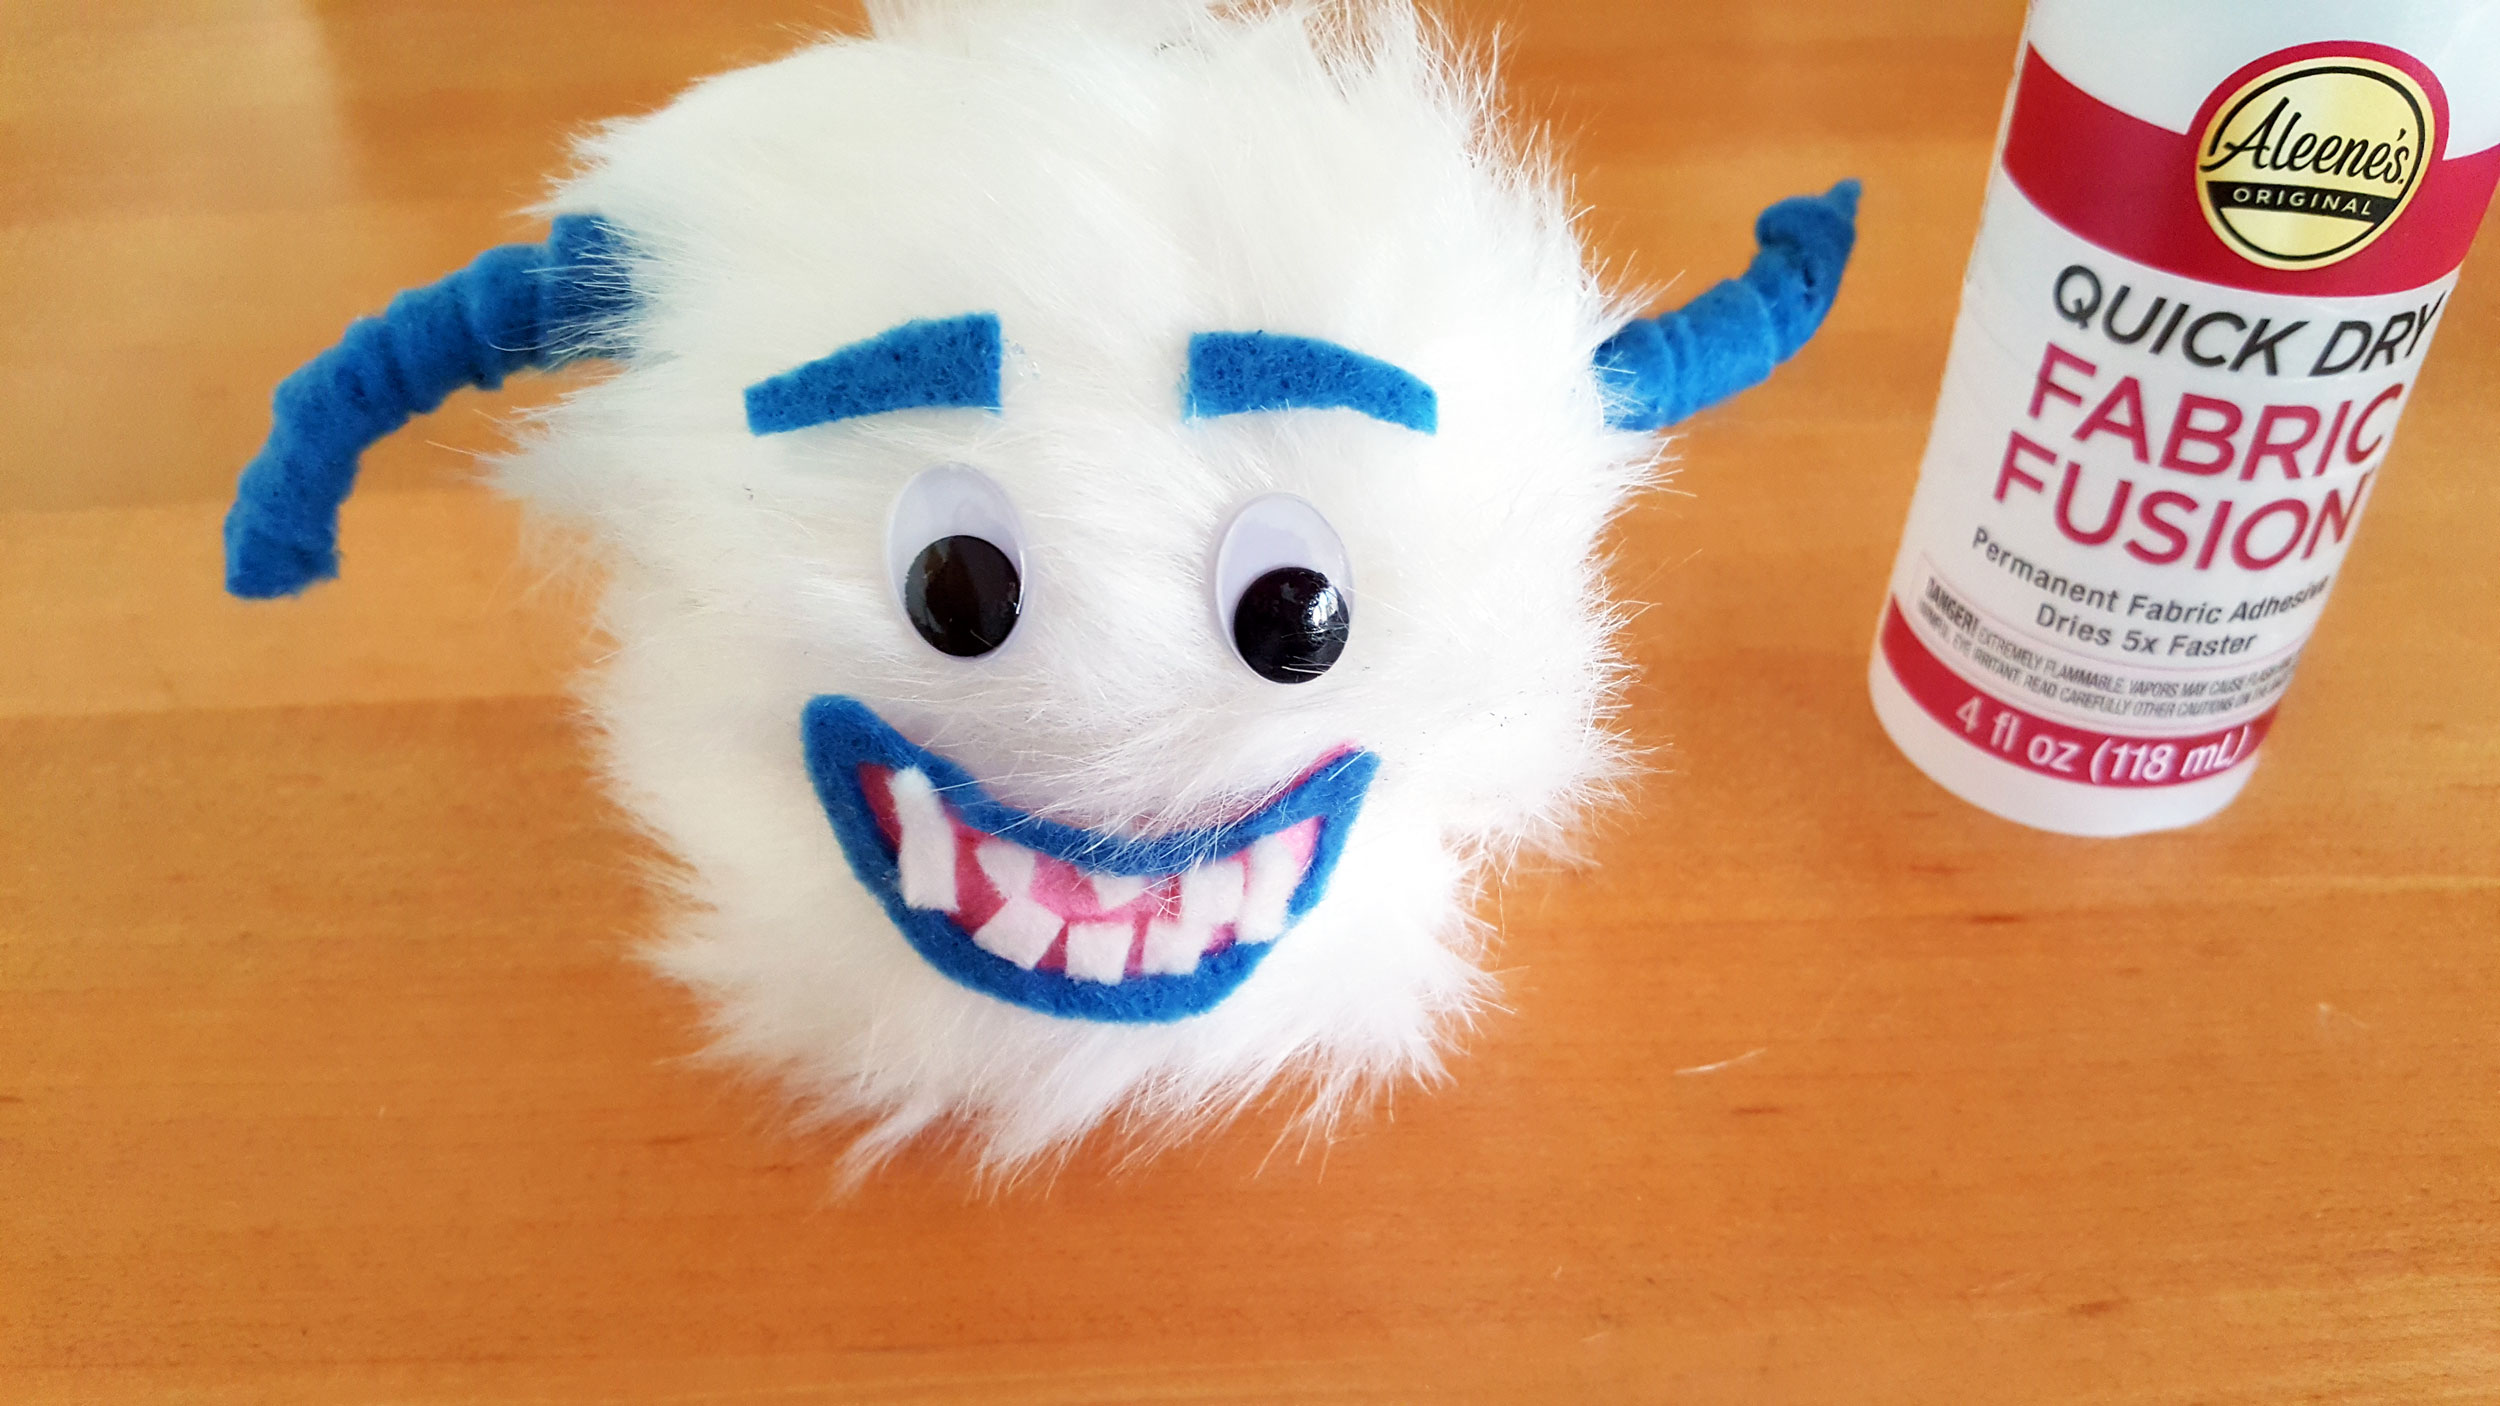
Step 7: Glue on the pair of googly eyes with the fabric glue and you will start to really “see” your Smallfoot ornament come to life.

Step 8: Cut a pair of eyebrows out of the blue felt and then glue them on above the eyes.
Smallfoot Glass Ornament Balls DIY Steps 9-12
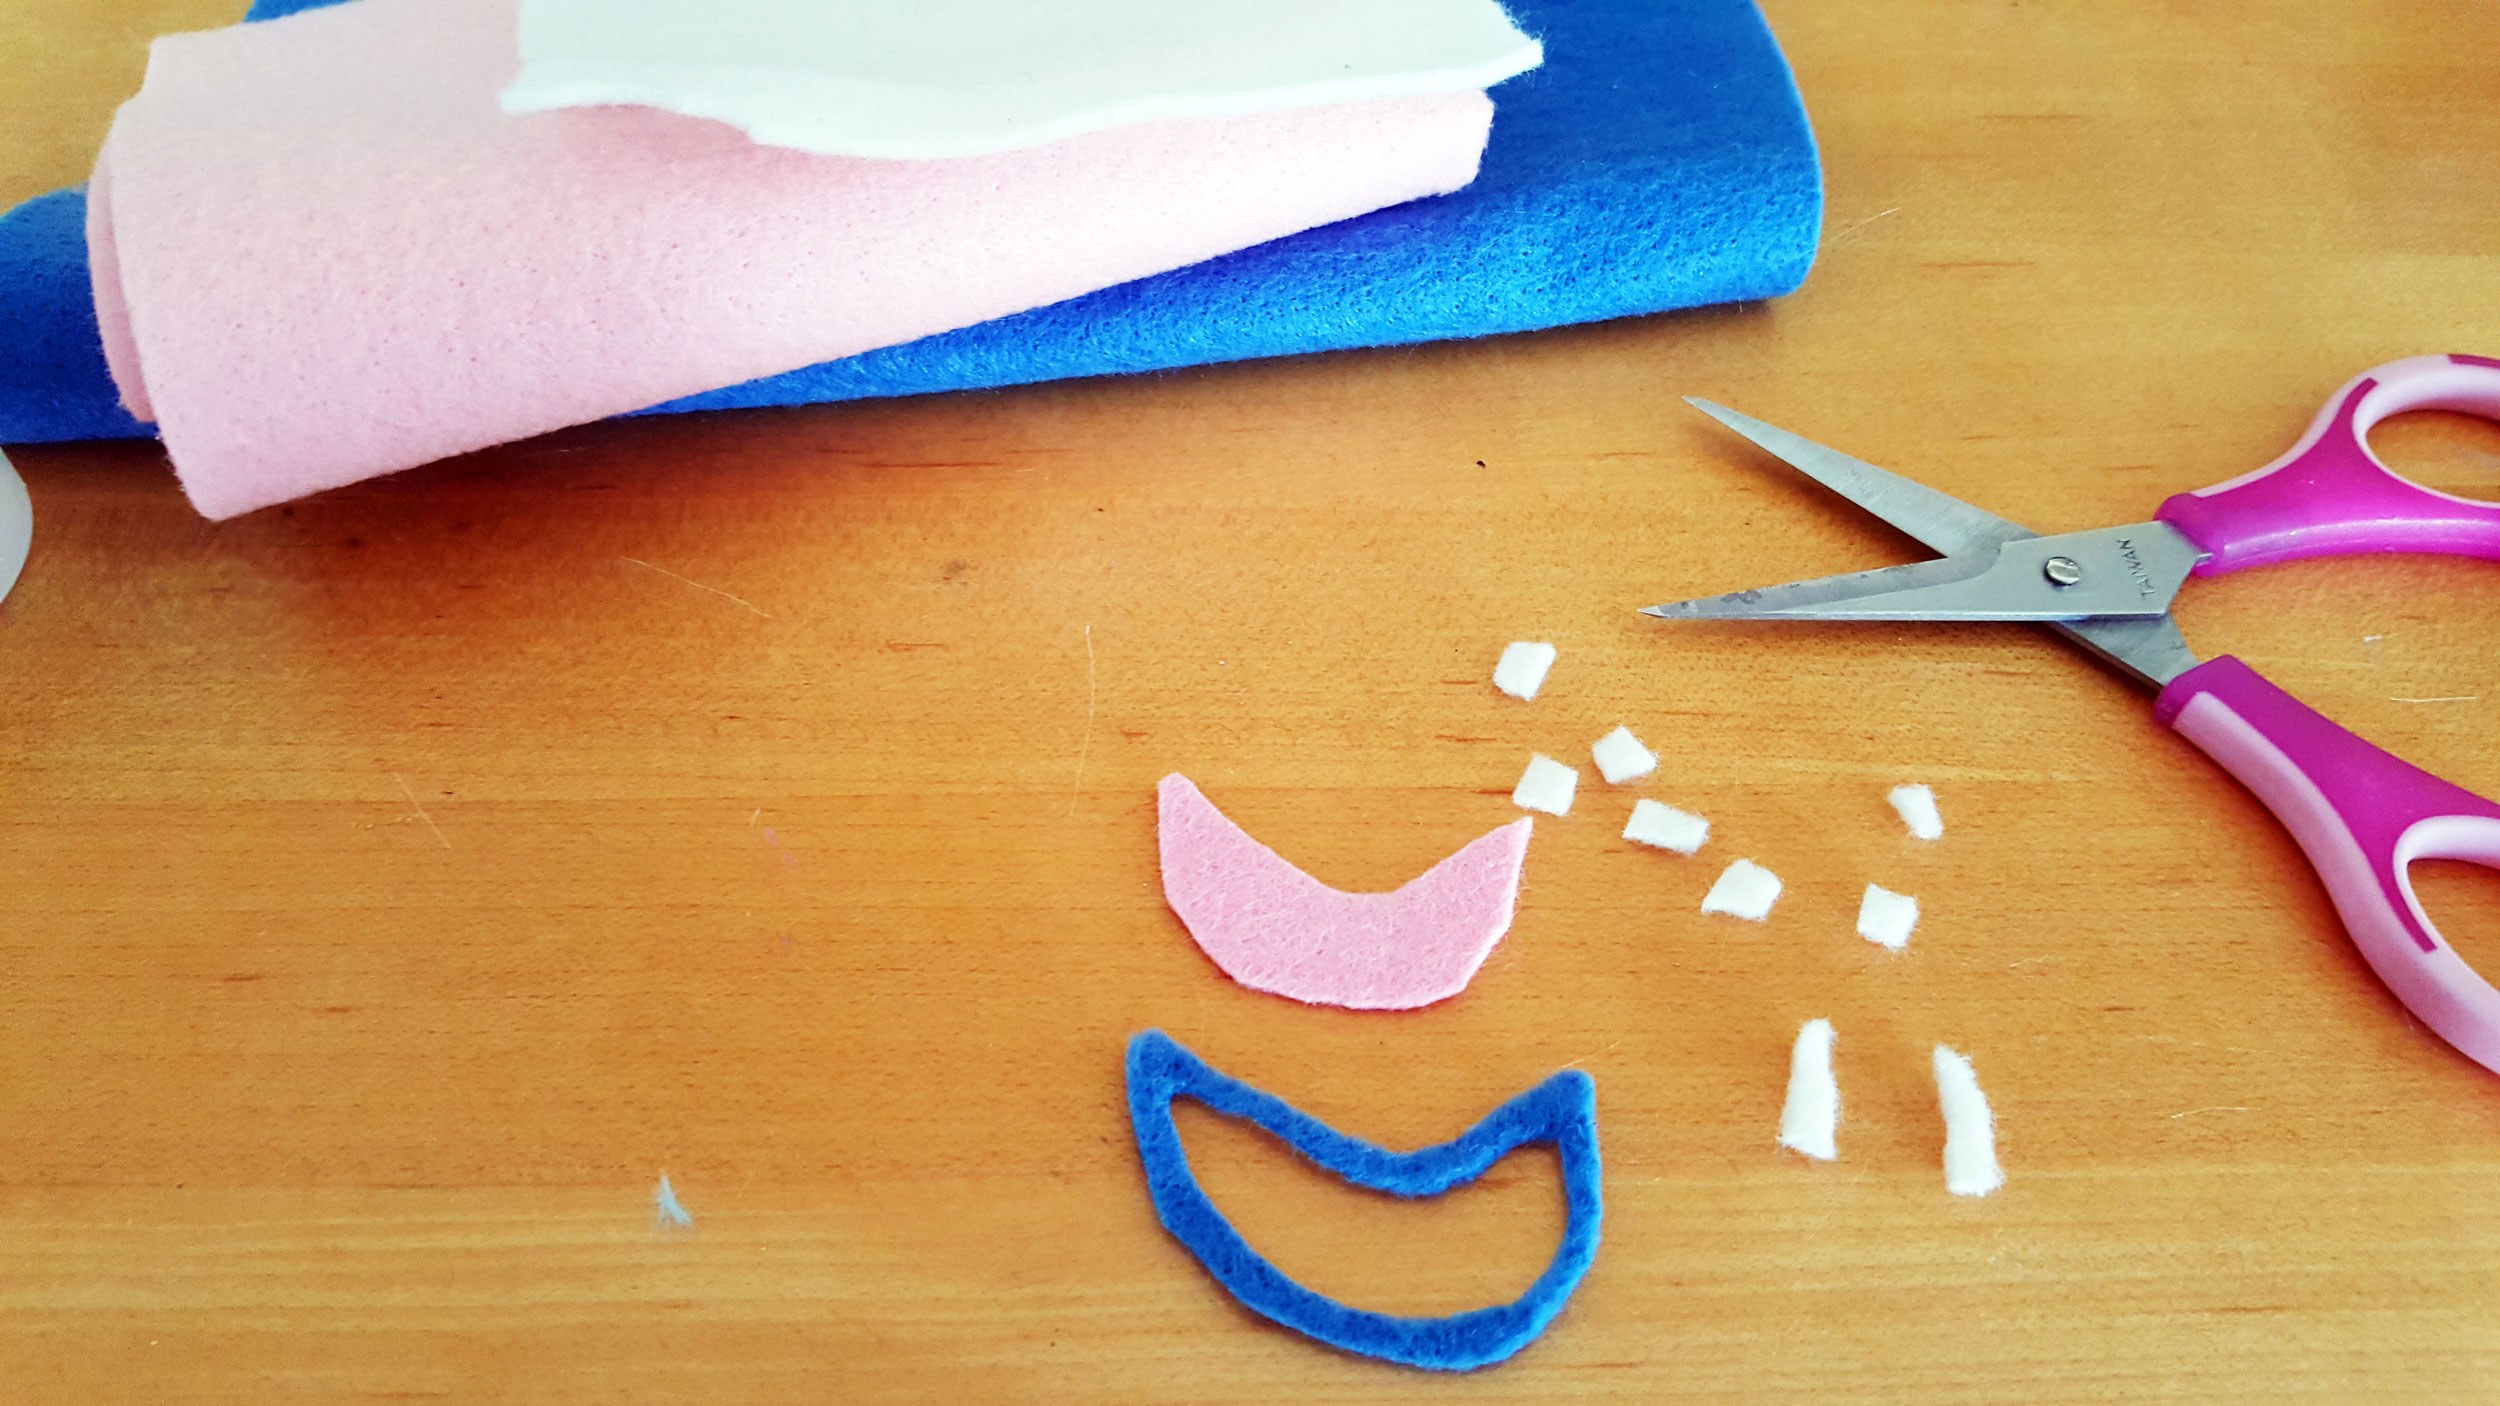
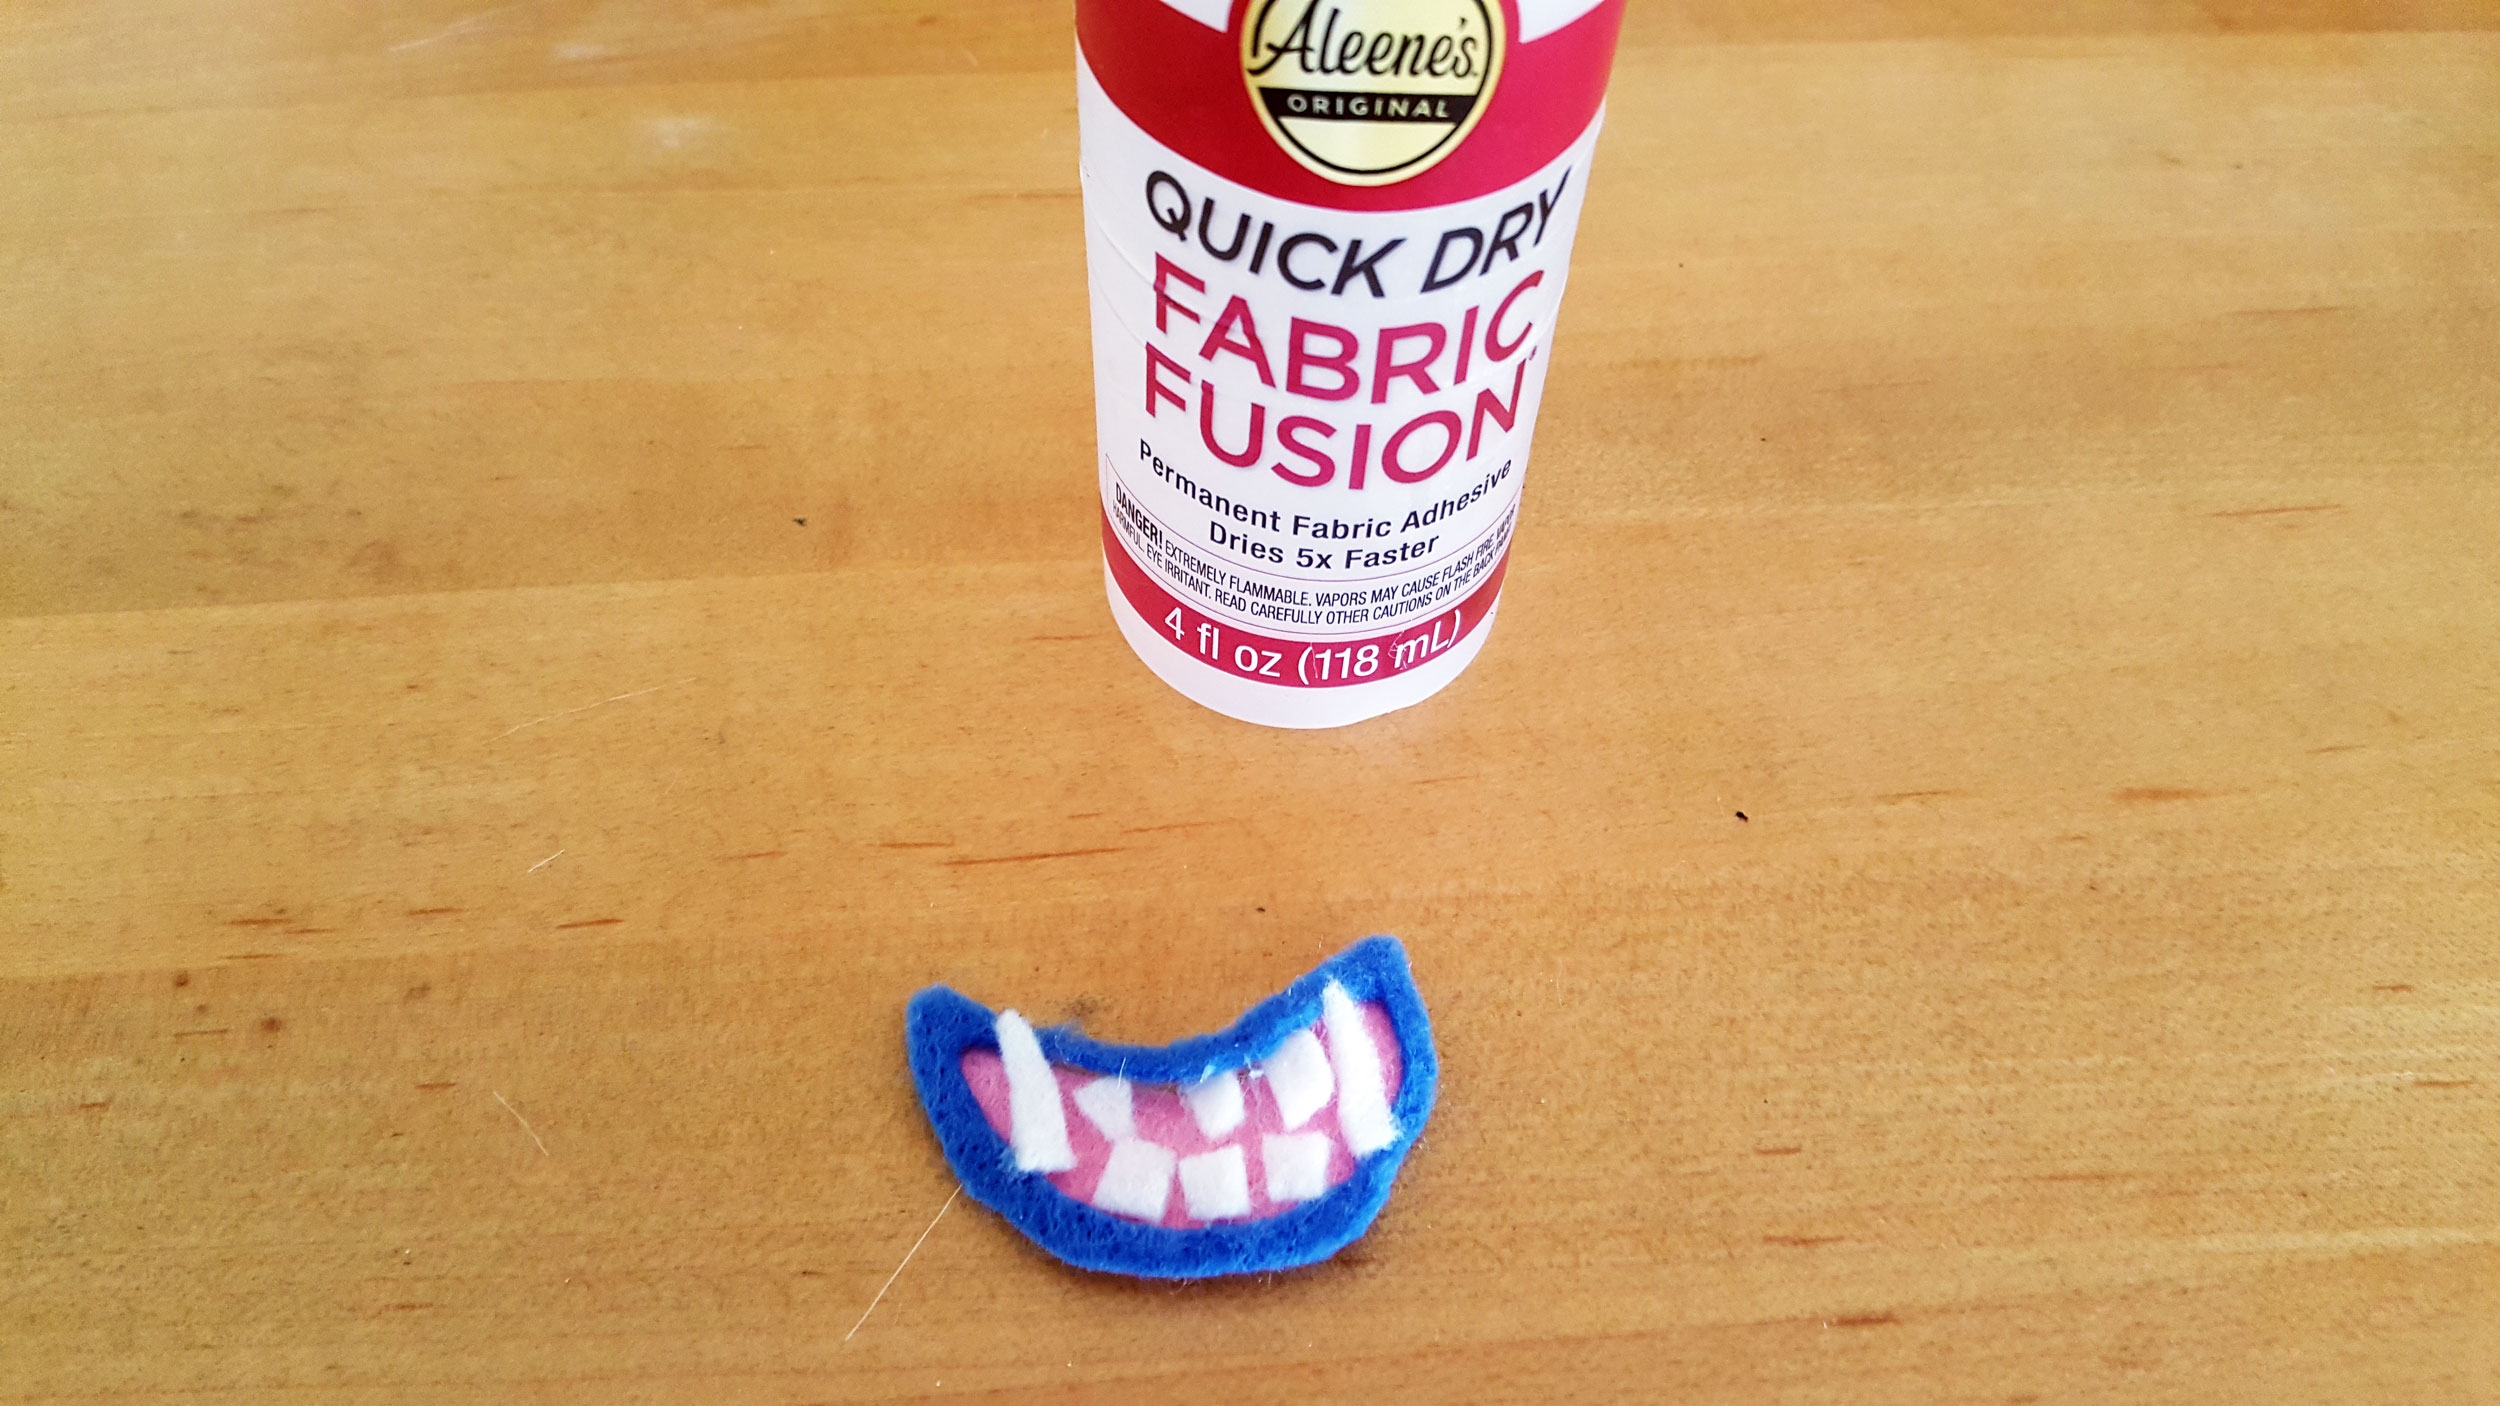
Step 9: Now it’s time for the fun part! Using scissors, cut a mouth out of pink felt. Next, cut a larger mouth out of blue felt and cut out the middle so that the pink mouth fits inside of the blue lips. Finally, cut teeth out of the white felt. Two of them should be longer and more fang-like.
Step 10: Glue the lips onto the mouth and glue the teeth inside of the lips. The two fang-like teeth are bottom teeth and hang over the top lip as shown below. Let it dry.
Step 11: To make your Smallfoot ornament face complete, glue the mouth onto the glass ornament balls.
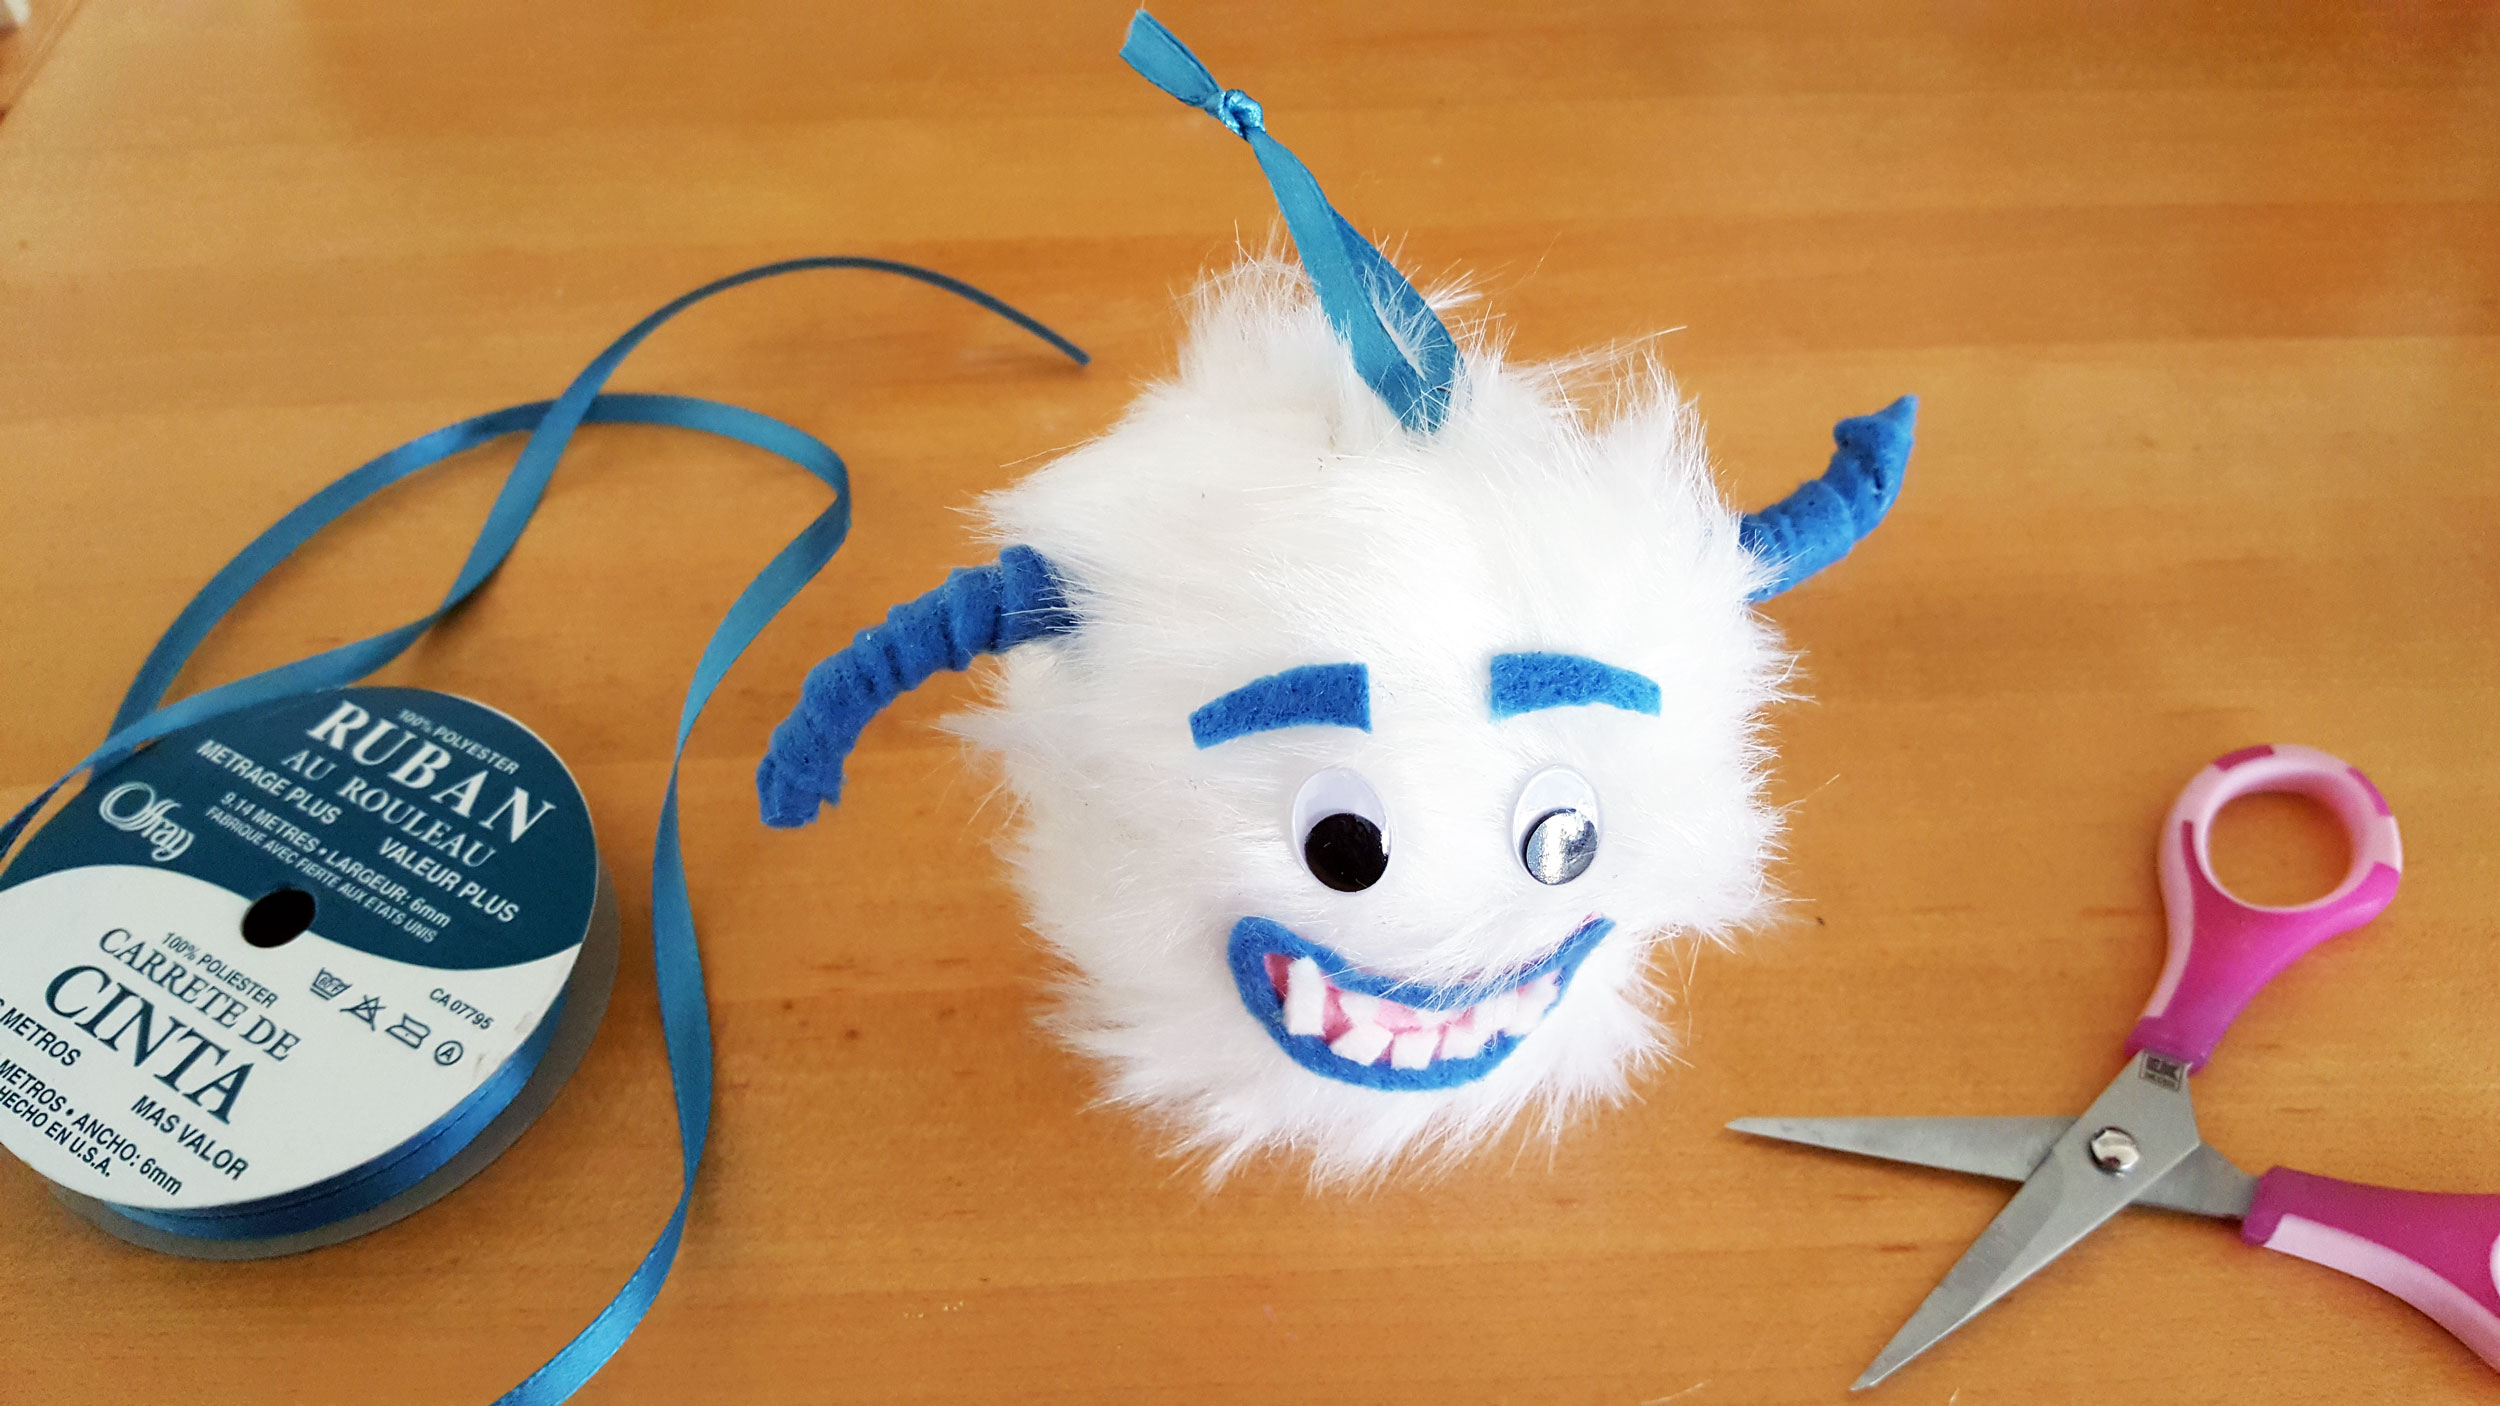
Step 12: Finally, to finish off your Smallfoot movie ornament, cut a piece of ribbon, thread it through the ornament hook and knot the top so it is ready to hang.
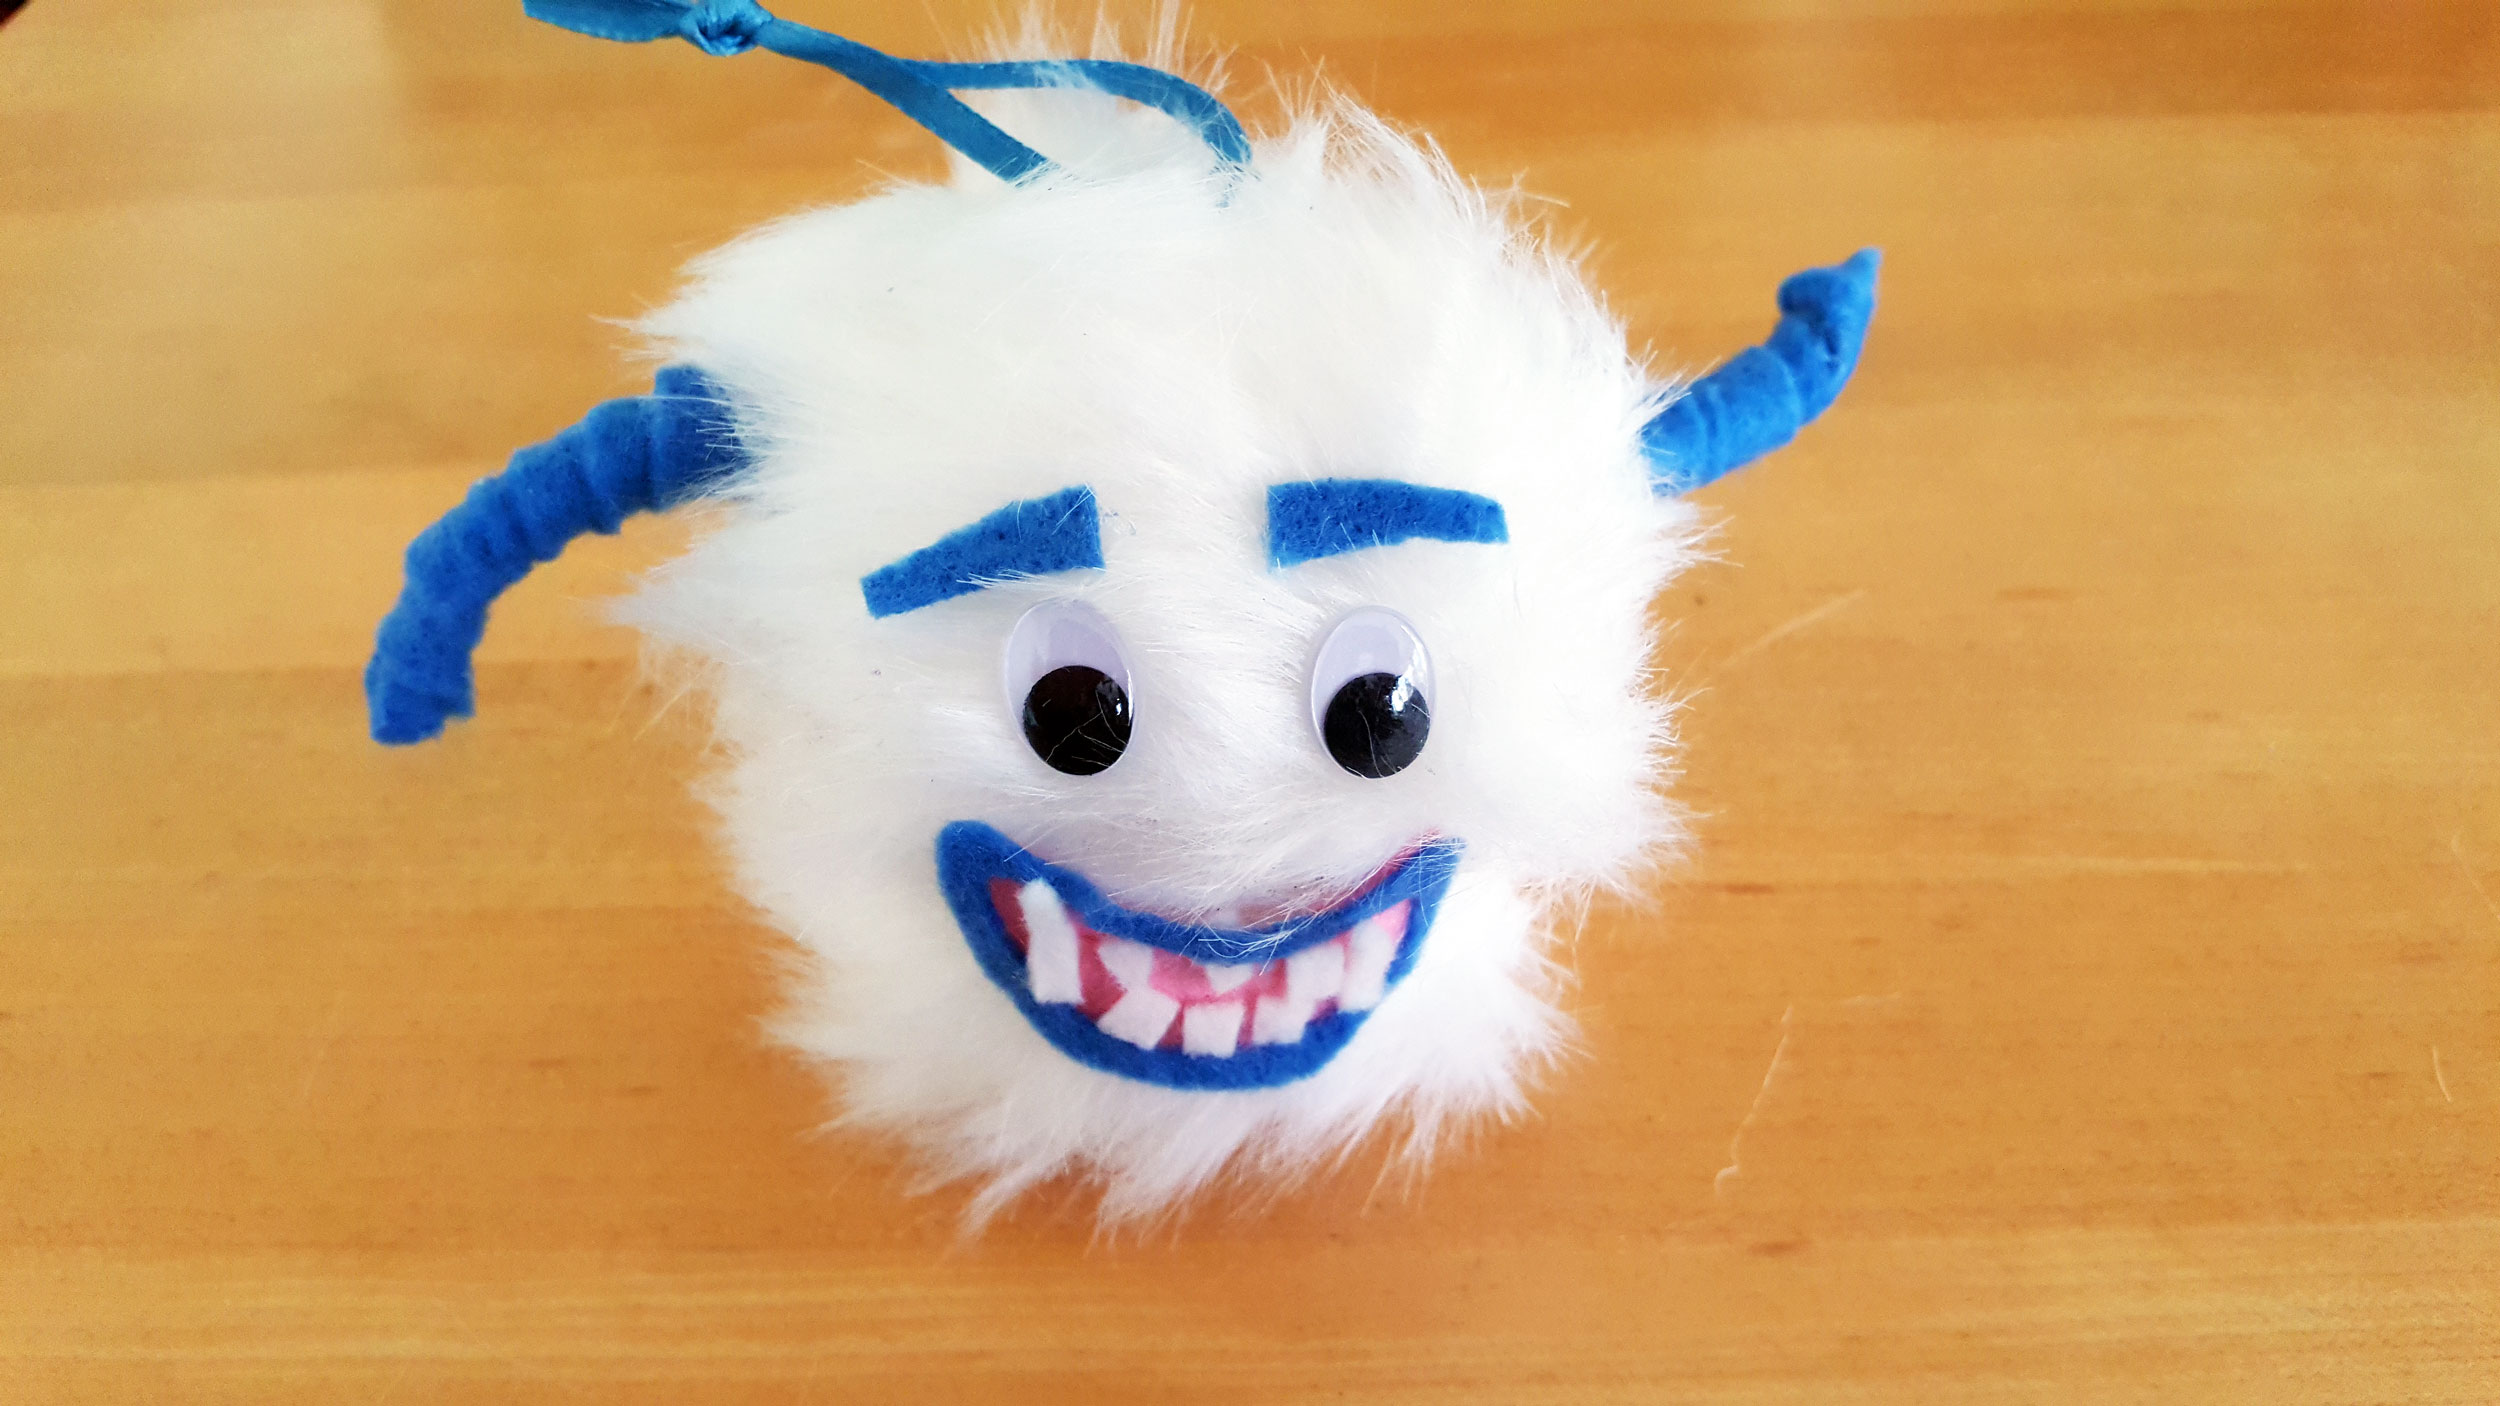
That’s it! Now you have made adorable glass ornament balls to represent the main characters in the Smallfoot movie. These yeti ornaments are sure to bring some personality to your Christmas tree this holiday season and are the perfect Christmas gift for a Smallfoot movie fan.
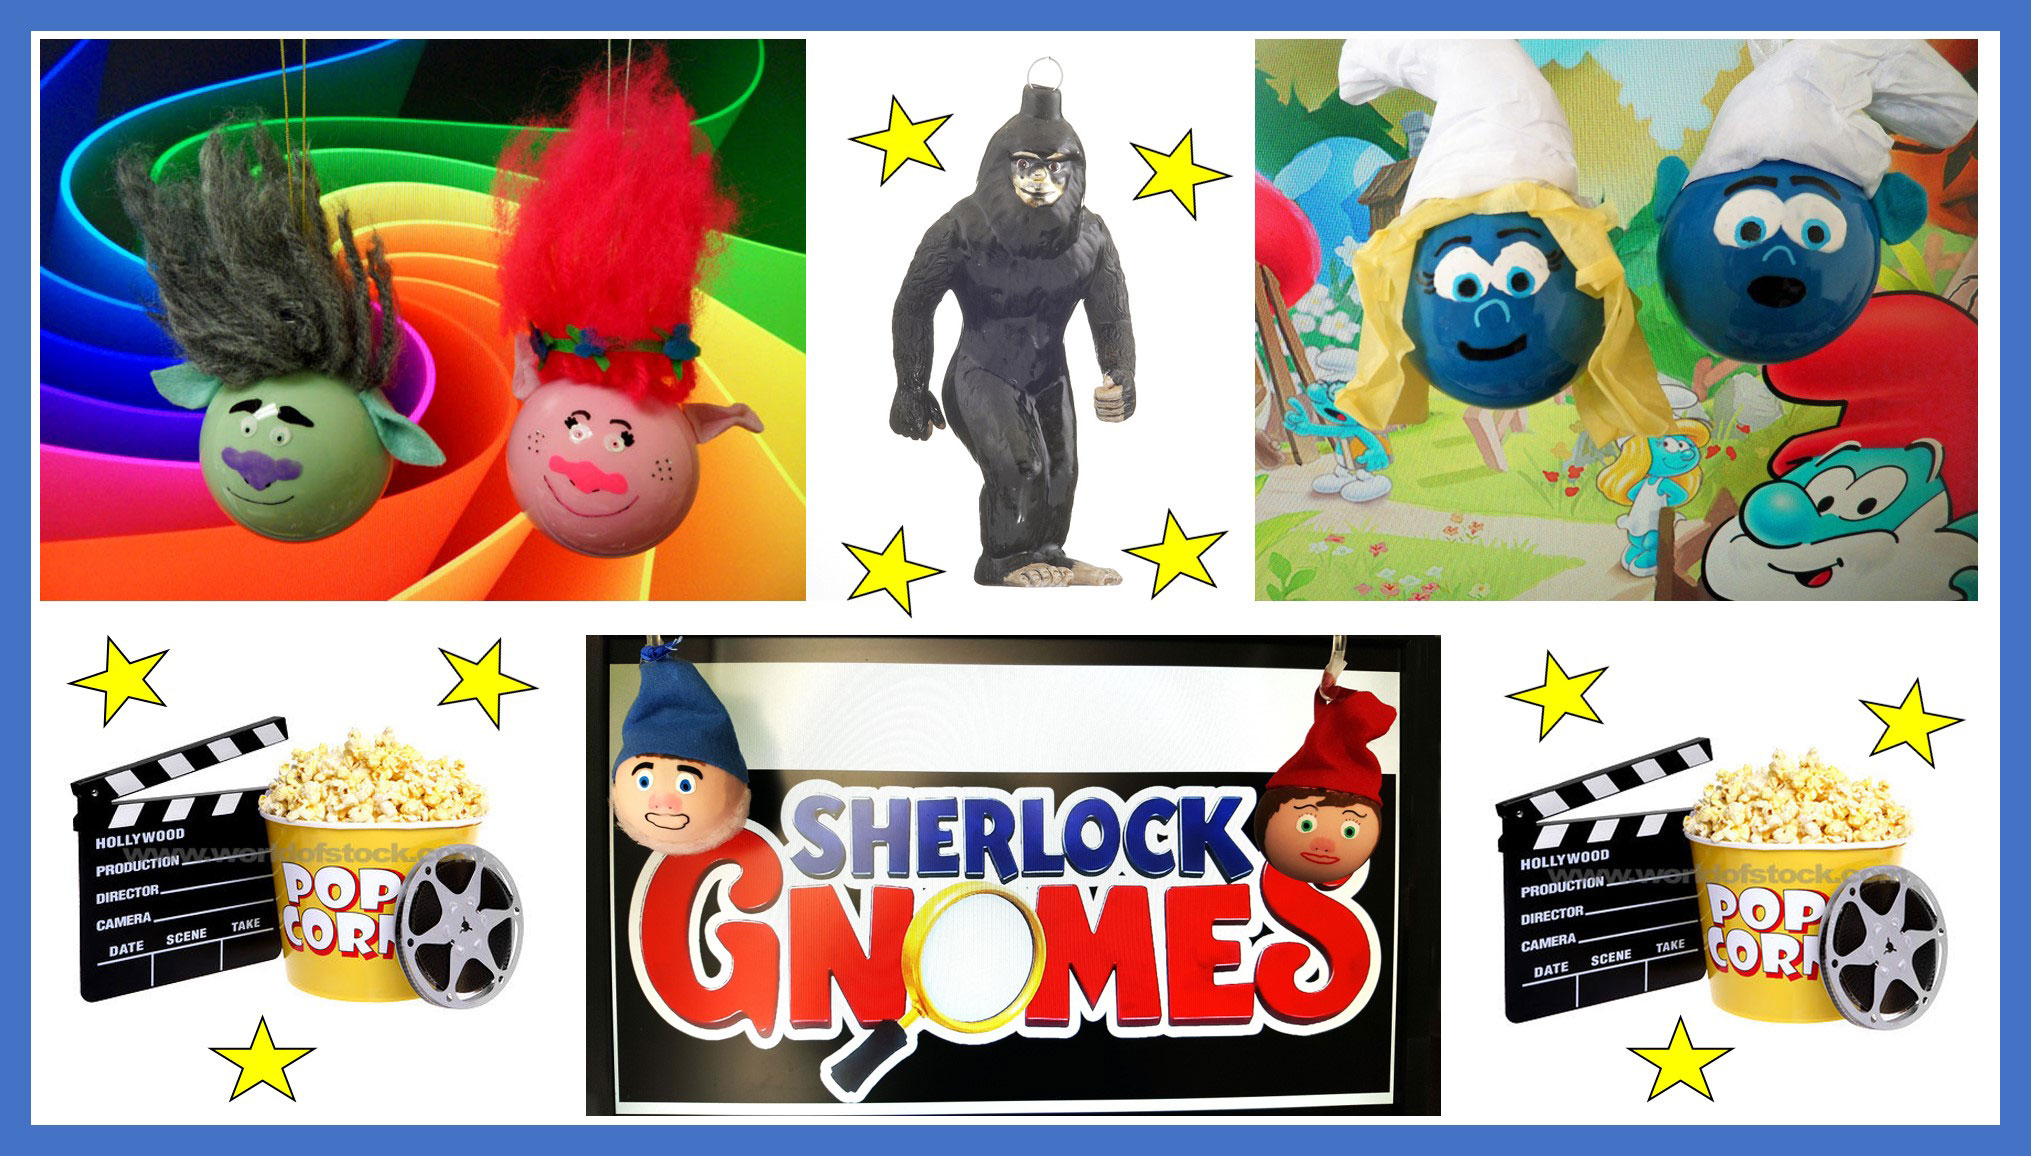
Love yeti ornaments but don’t want to make one? We carry a bigfoot ornament that you can have personalized with your unique message. Or, want to make more movie character ornaments? Check out our Trolls Ornament blog, Smurfs Ornament blog or Sherlock Gnomes Ornament blog for step-by-step instructions and even more fun!