Creating A Unique DIY Llama Ornament Is No Prob-llama!
Posted July 10, 2018 in DIY (Crafts) by Dianne Weller
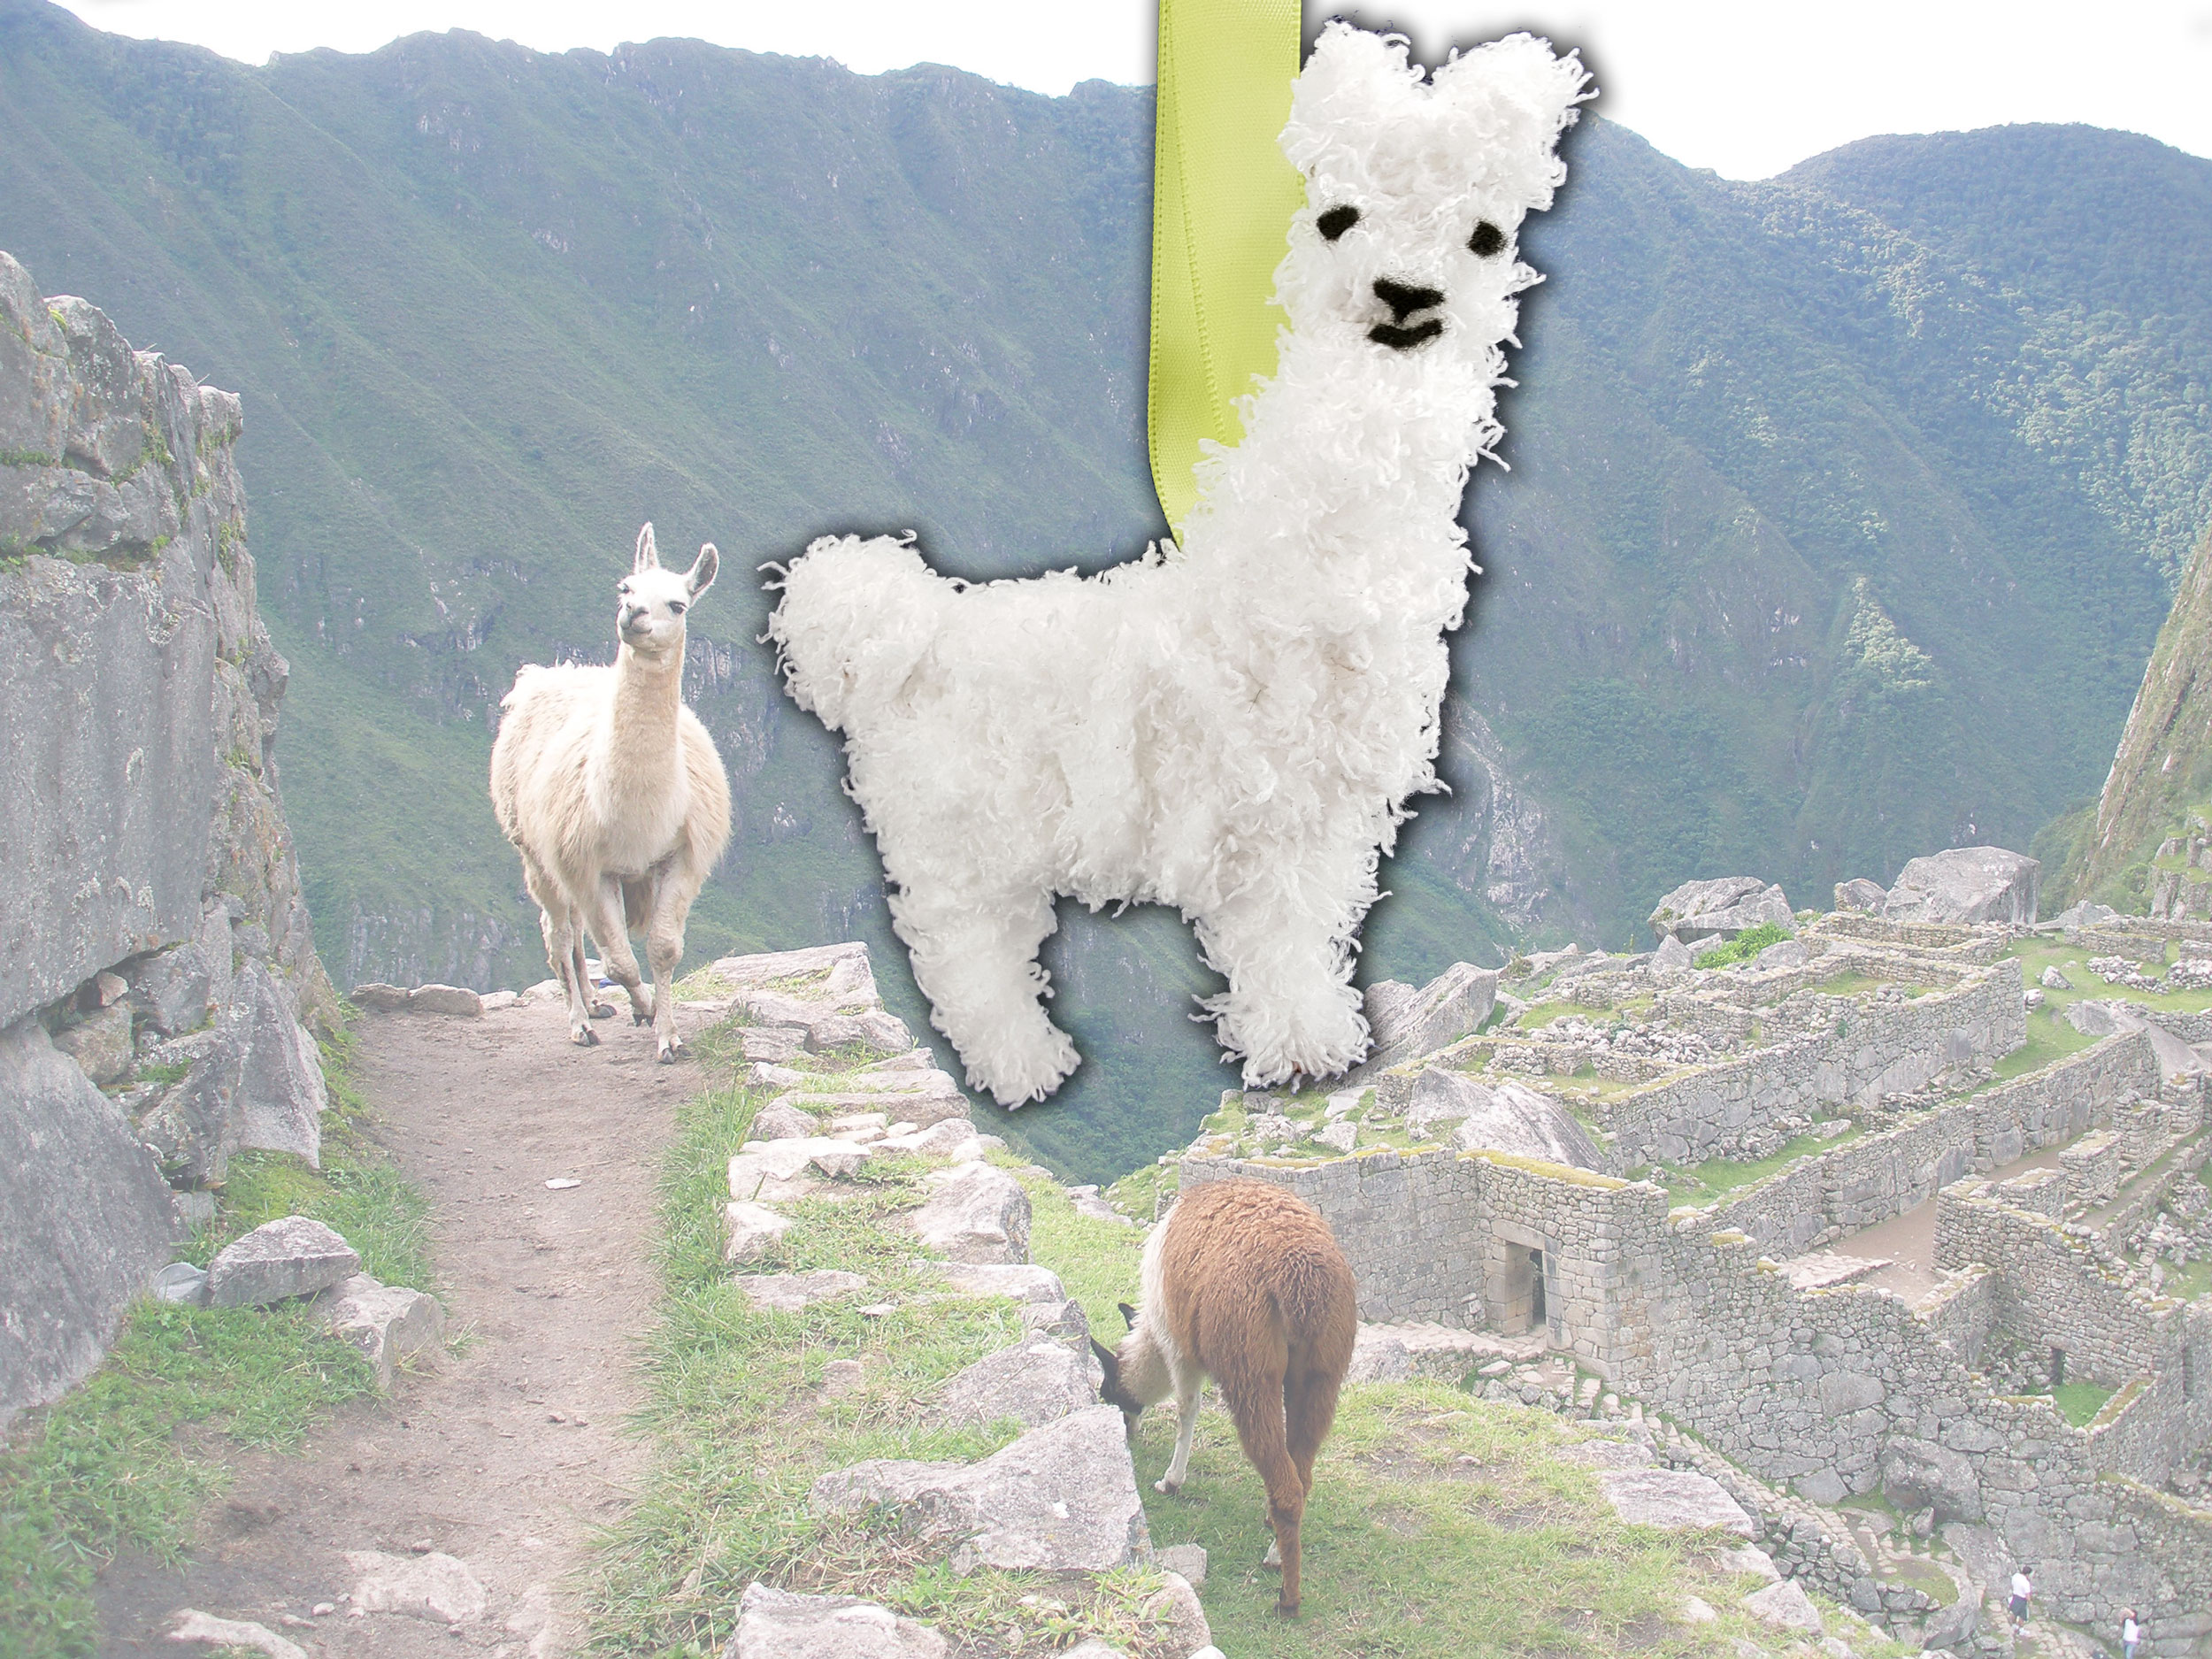
Do you find llamas endearing or quirky? If you are a llama lover, then create a whimsical DIY Llama Ornament that is guaranteed to make you smile. These South American camelids are interesting and with their elongated necks and unique faces, they have become a fascination for many people.
If you are the type of person who loves staring at the llamas when you visit the zoo, then making a llama ornament is clearly the craft for you! They are so easy to make and your llama décor will look amazing with one of these hanging from an ornament stand in your home!
How To Make A Whimsical Llama Ornament
You will be amazed to see how easy it is to make this adorable llama ornament. It is a fun gift for a friend who loves llamas! Tie this to a birthday present or give to a llama lover for Christmas. The recipient is sure to smile when receiving this unique gift!
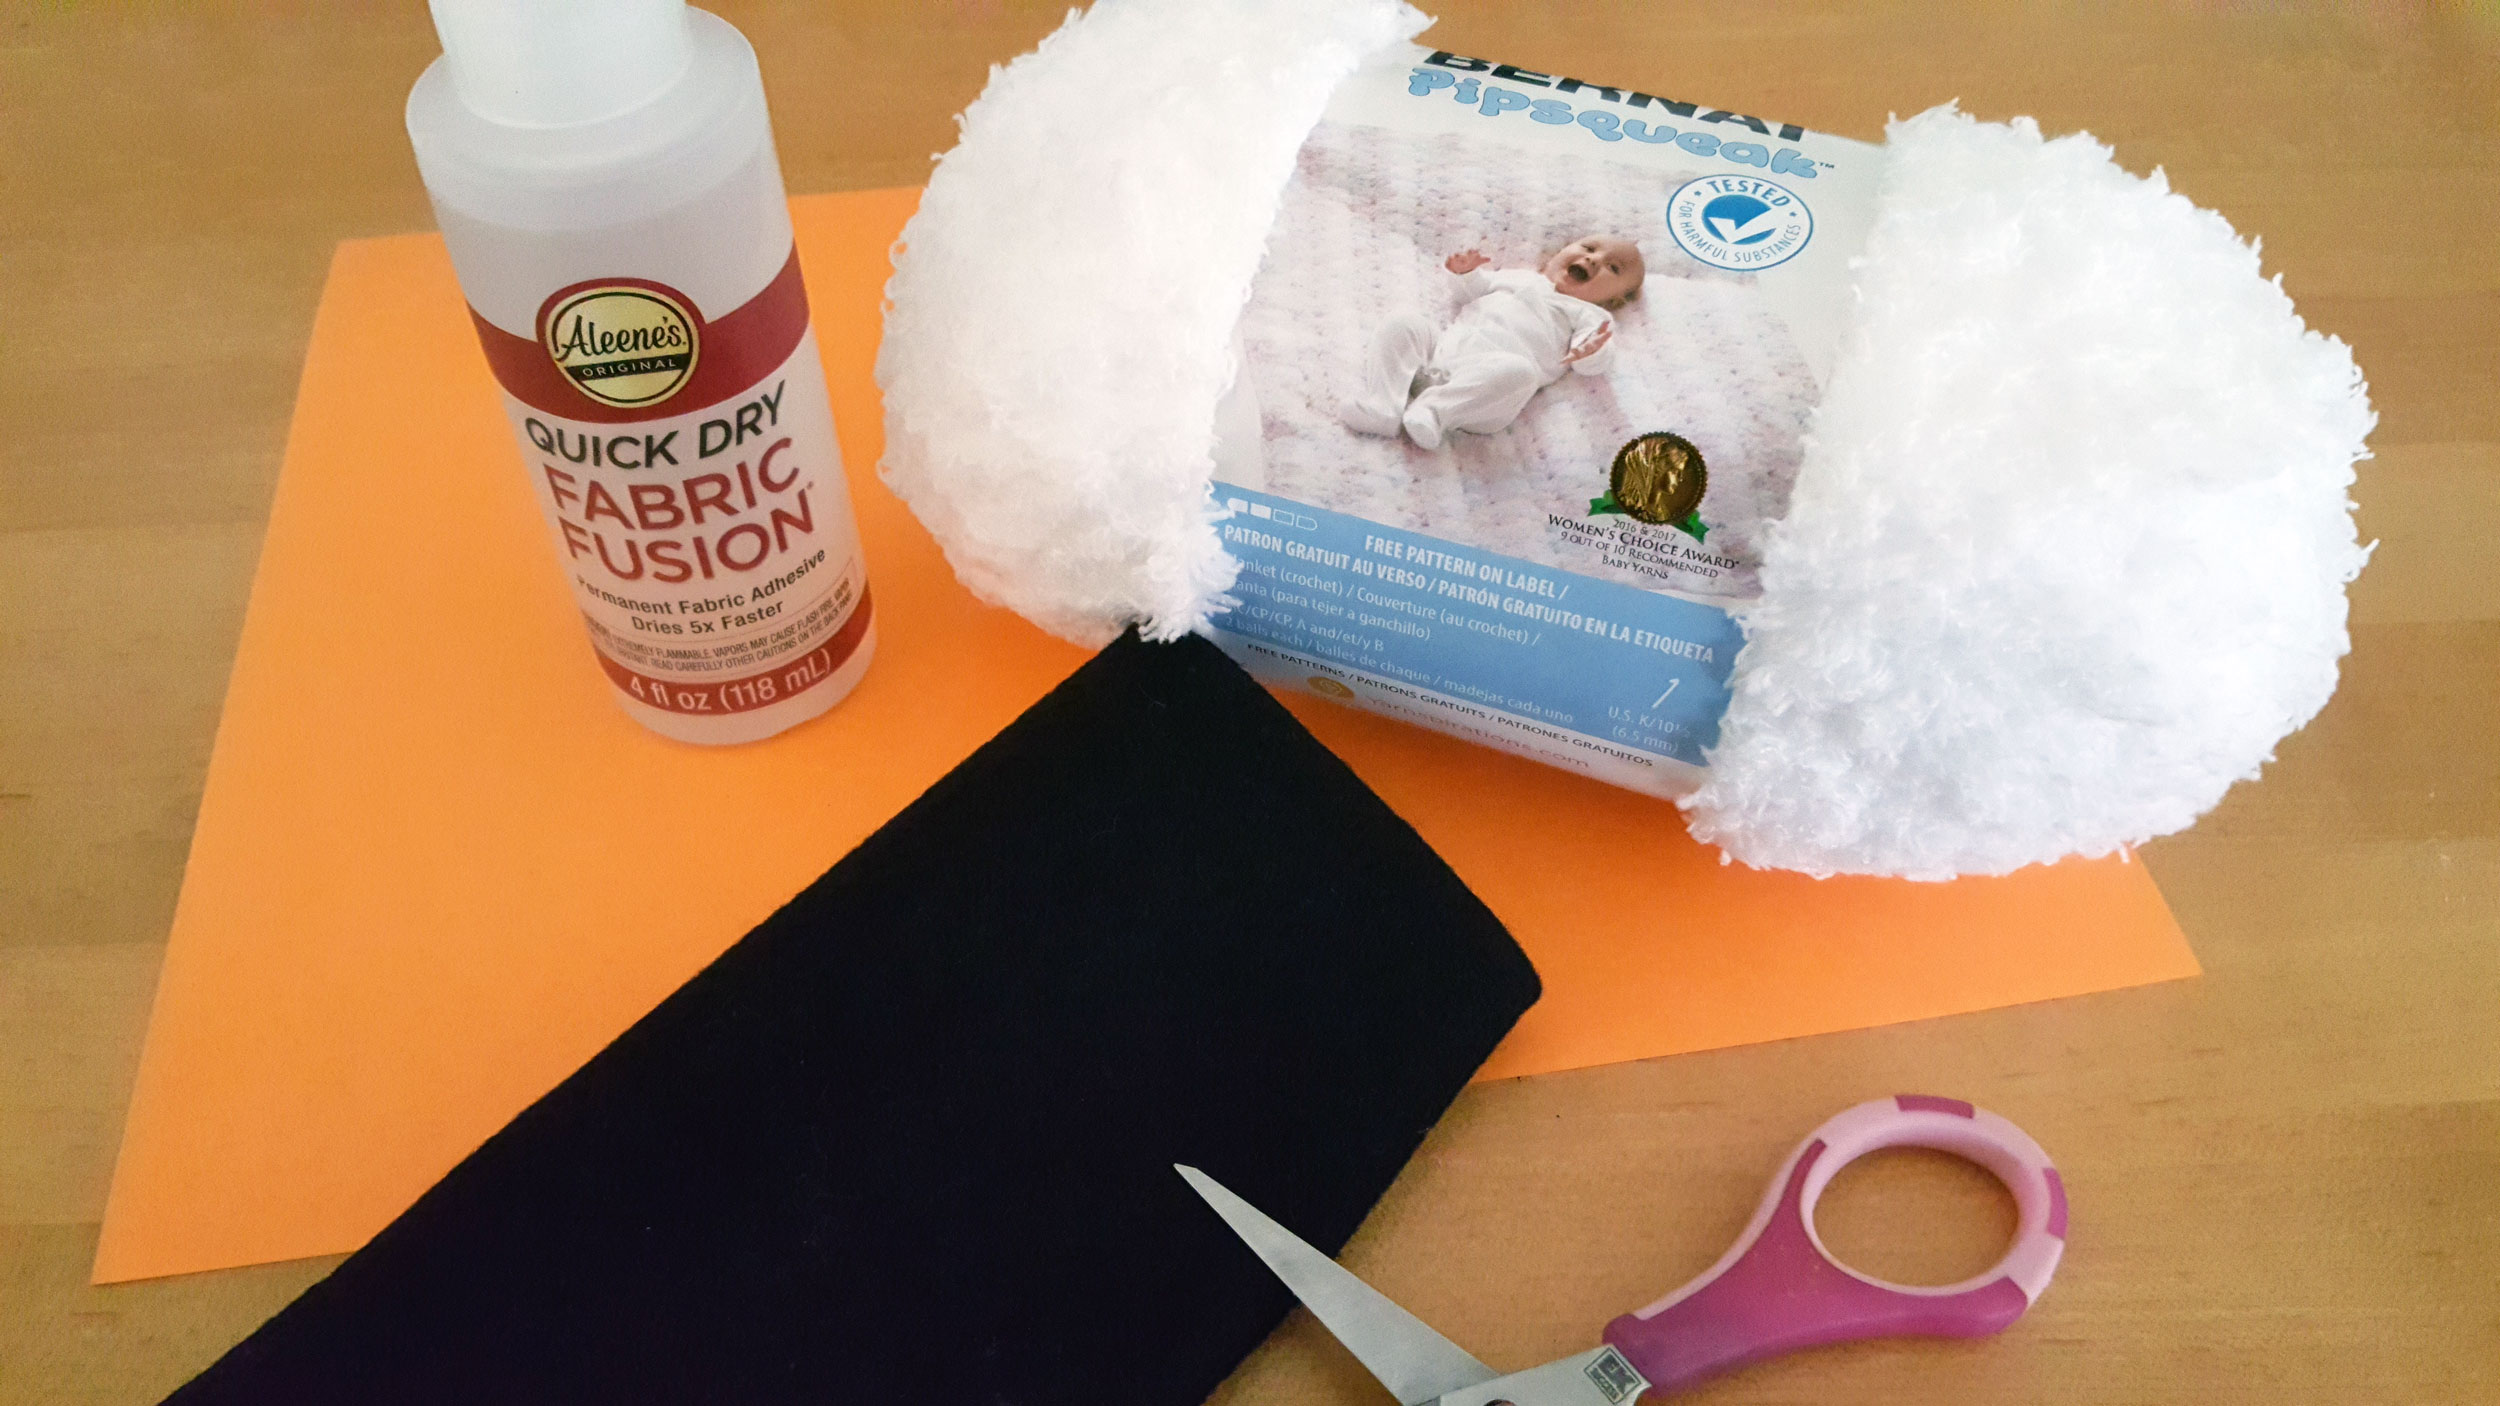
Supplies:
- Cardstock paper (in any color) or cardboard
- Fluffy yarn
- Fabric glue
- Scissors
- Black felt
- Ribbon
Llama Ornament Steps 1 – 3
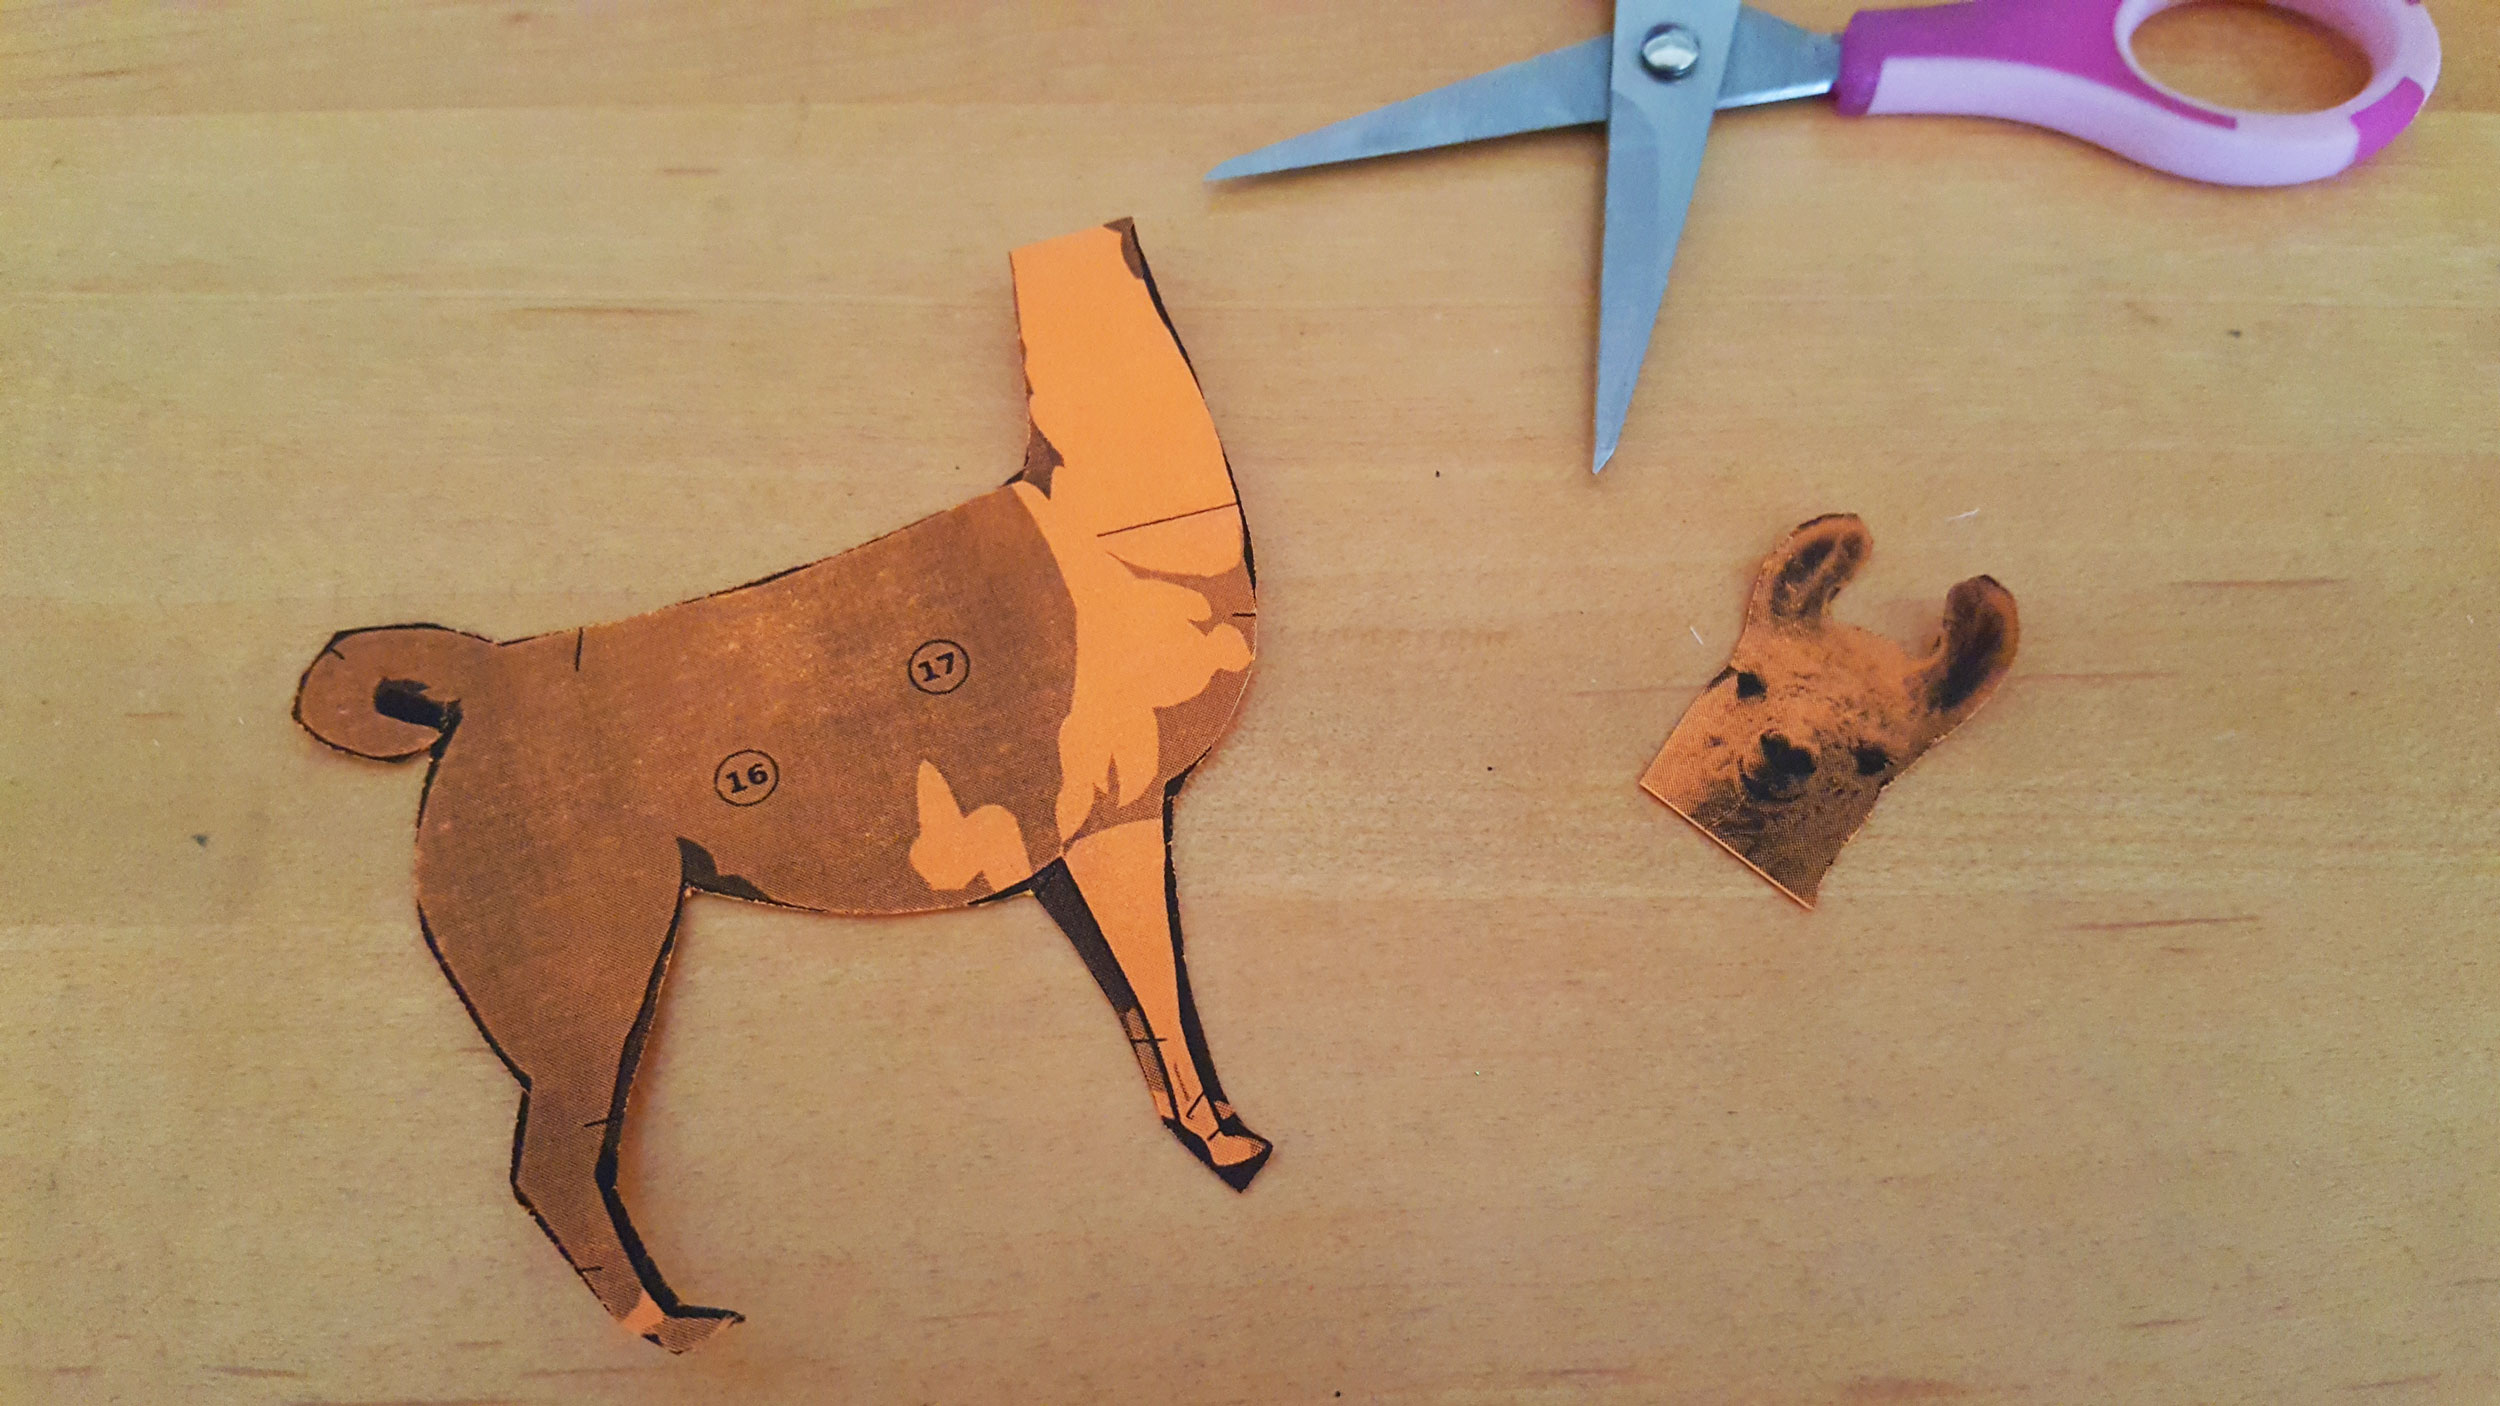
Step 1: Print out an image of a llama off the computer. Simply do a search for llama and find your favorite llama picture to trace. We liked a side view for the body, but wanted a front view of the head, so we printed two different pictures that would coordinate in size. You may have to resize your selected images to get the proper dimensions for your ornament. Carefully cut out your printed image with scissors.
Note: Since you will be covering the image, it doesn’t matter what color paper you use or what the coloring of the image is. Select your llama ornament based on the desired shape. The body image we used was from the llama Wikipedia page!
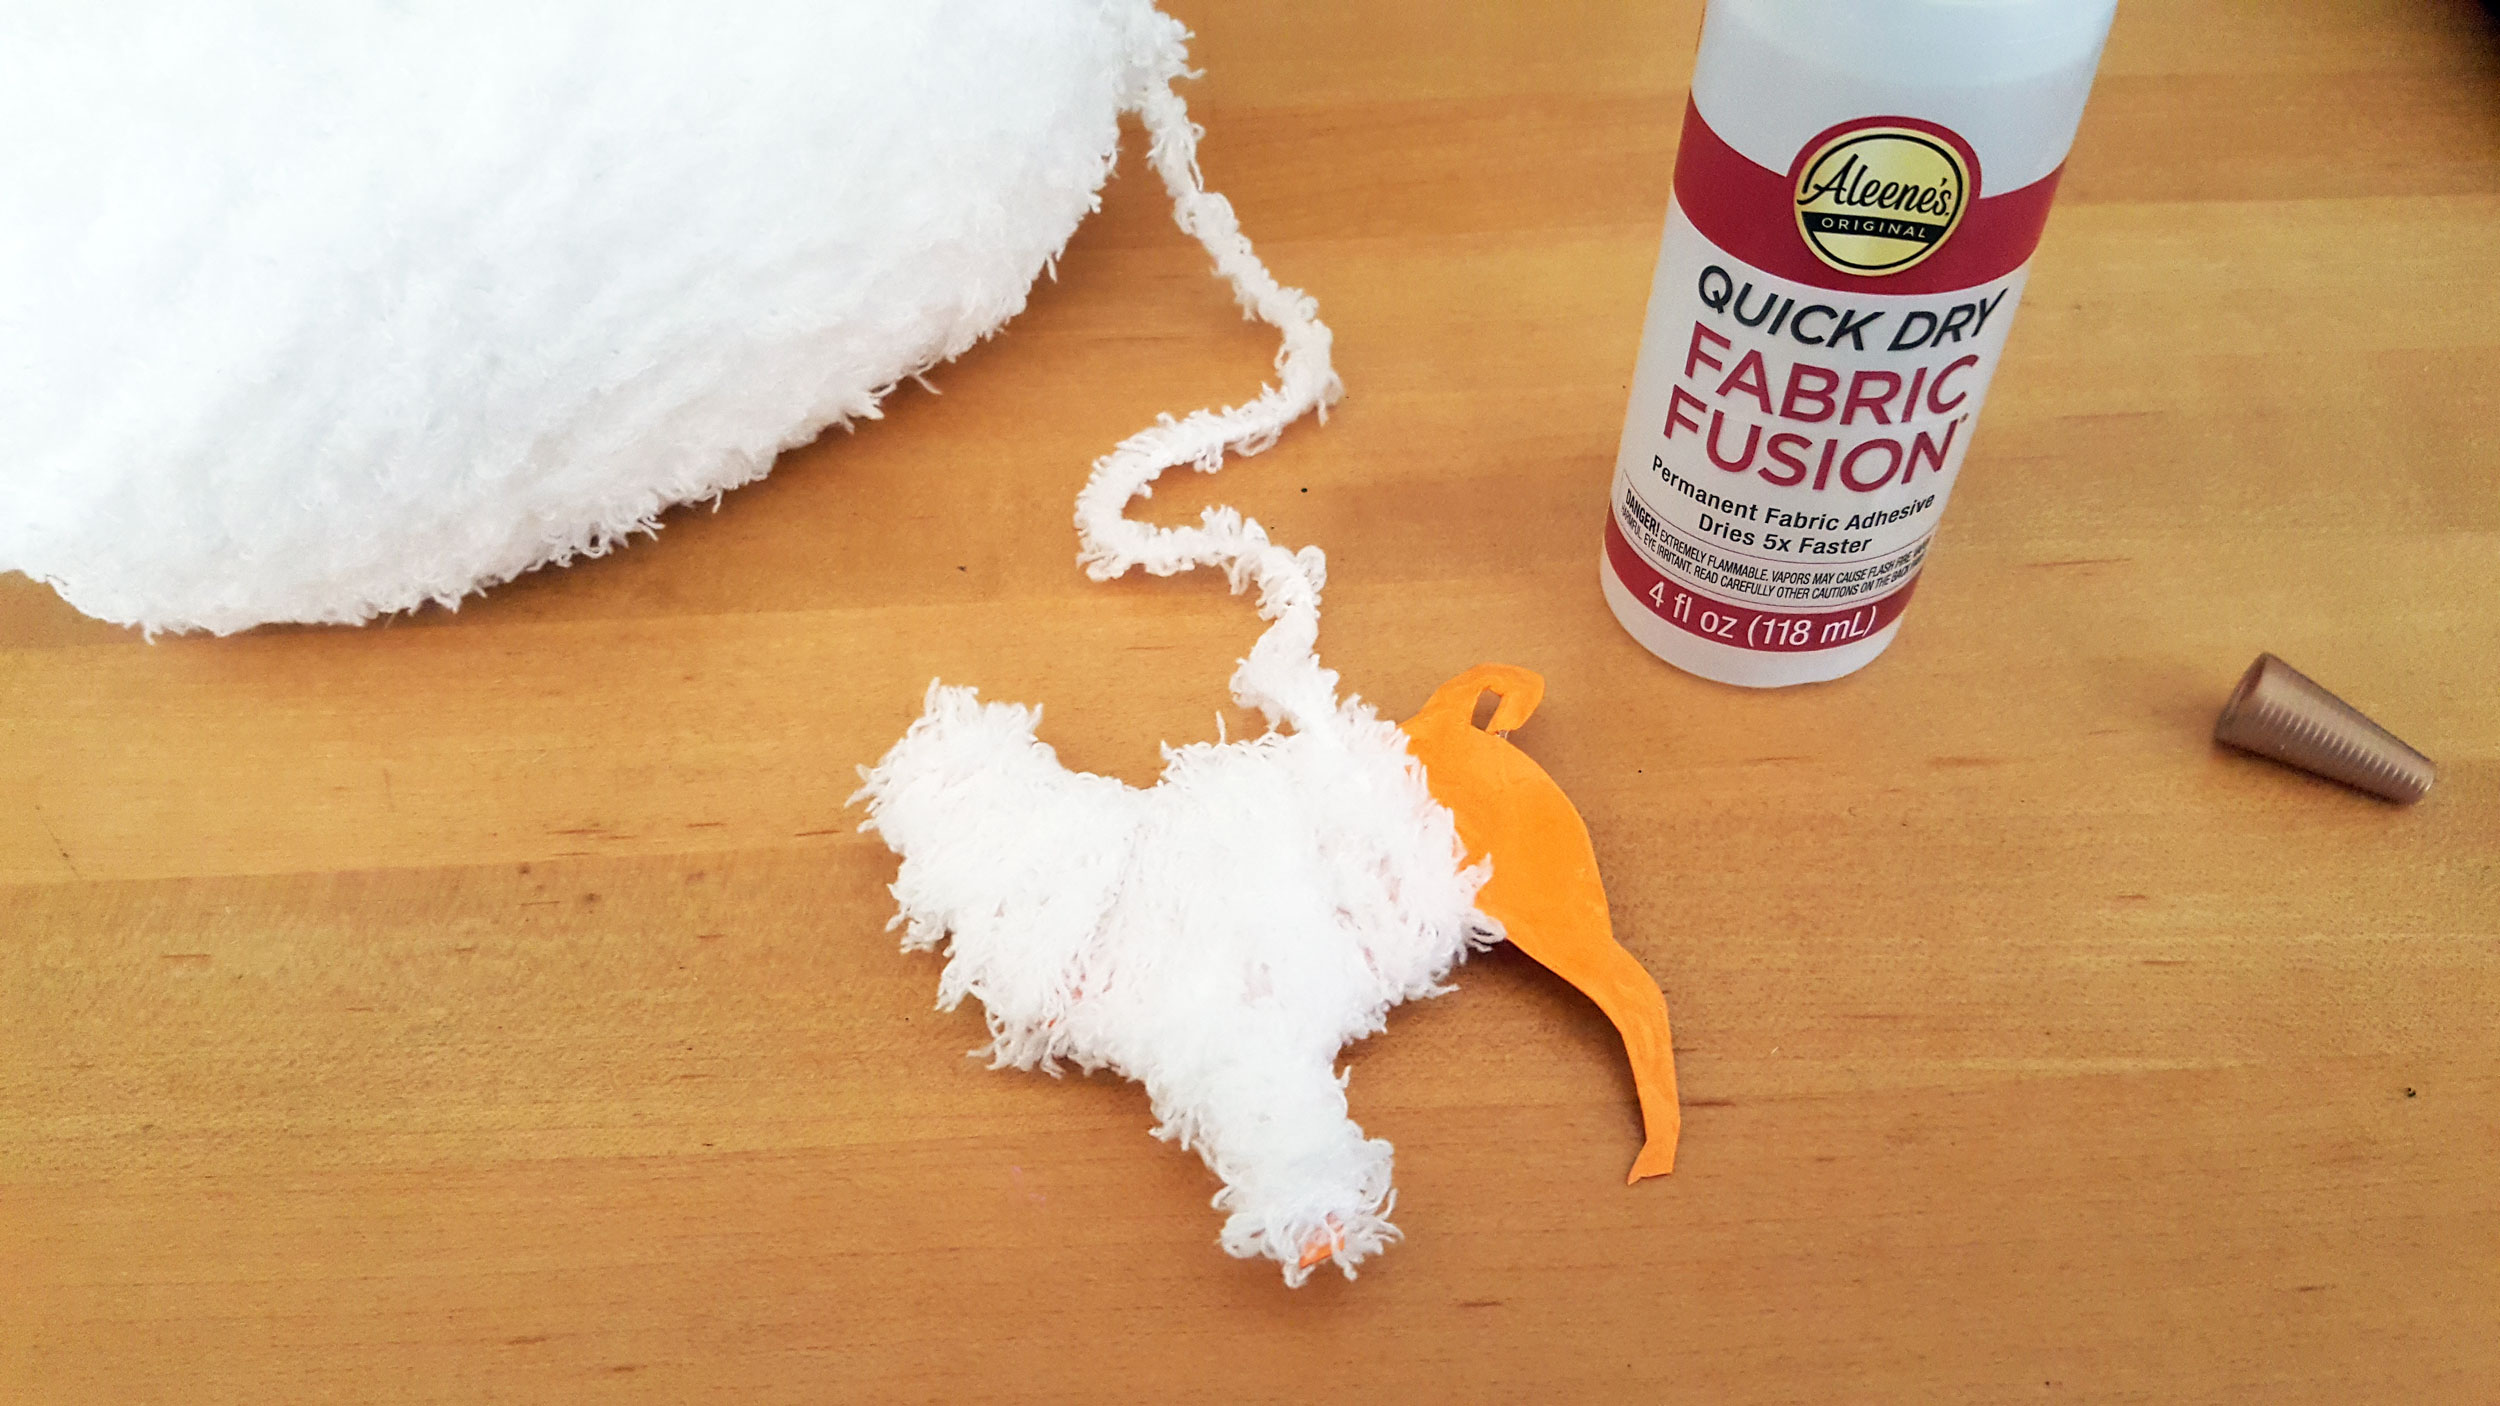
Step 2: Cover one size of your paper image with fabric glue, leaving one area free of glue to hold the llama as you work. Then, wind the fluffy yarn around the paper, pressing into the glue to adhere it to the paper. Fill in any gaps as you work by winding the yarn around.
Note: We find that yarn for baby blankets is the softest and works best for full coverage. For a fluffier llama, wind the yarn around in several layers, which will increase the weight of your llama ornament.
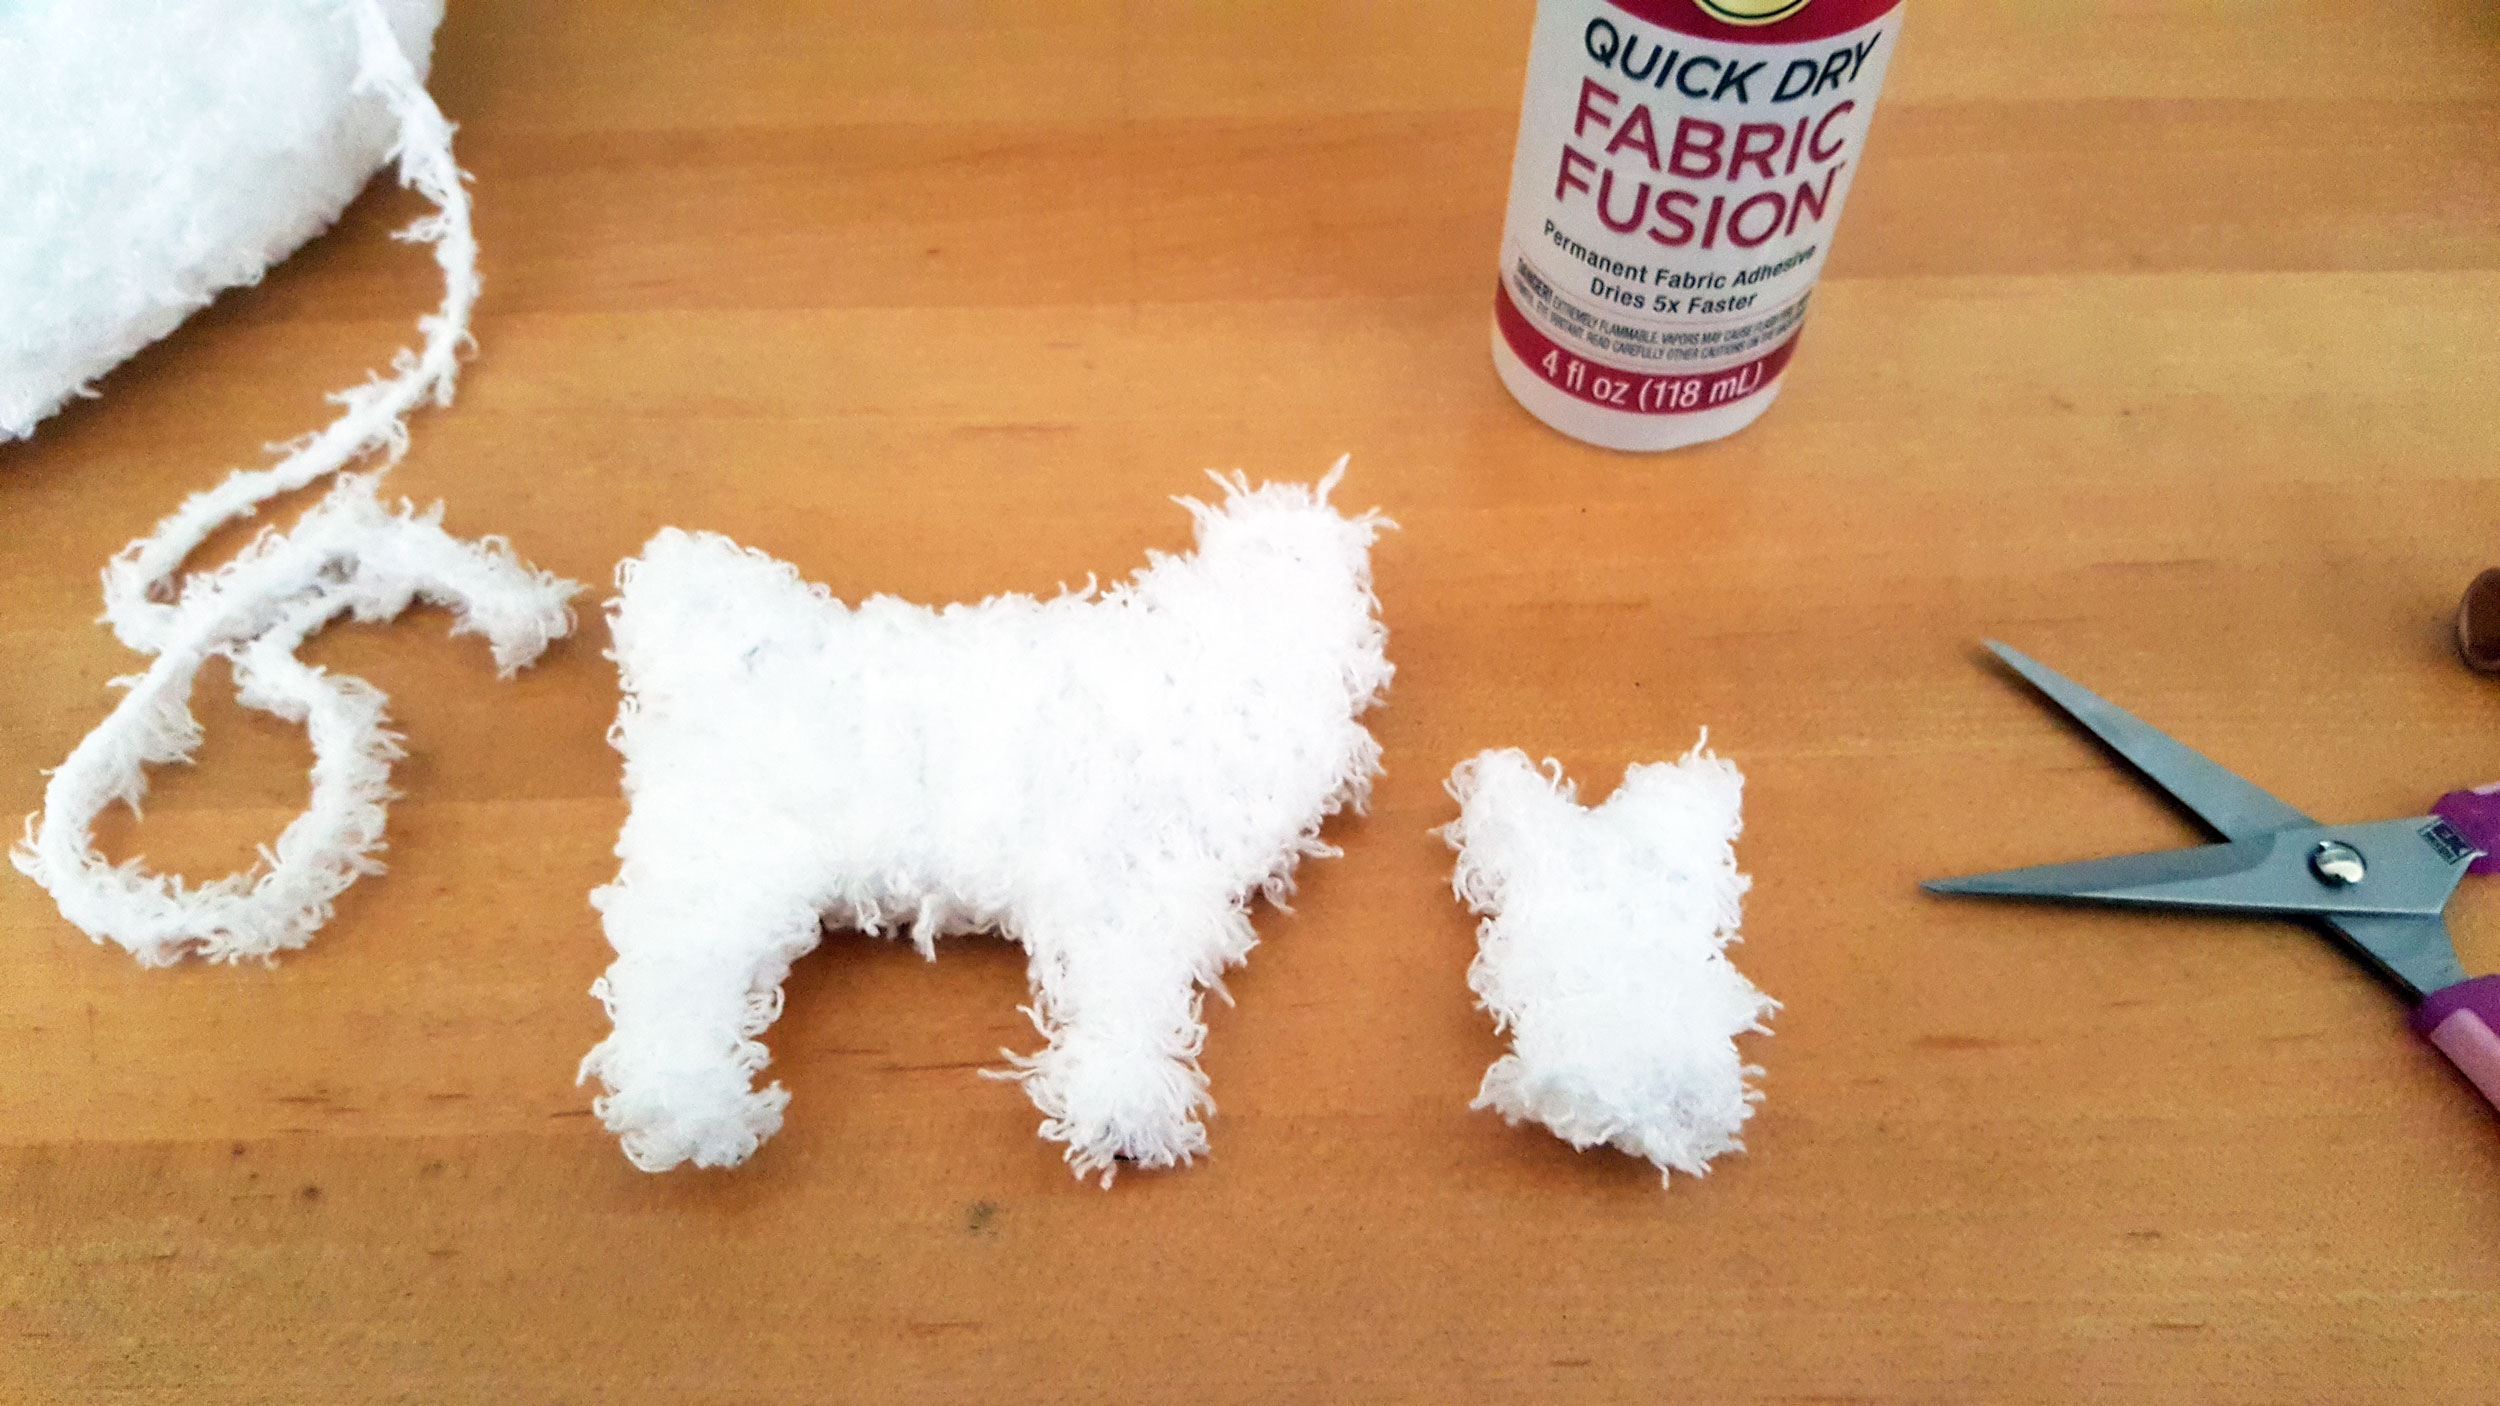
Step 3: Move your fingers to hold the llama ornament by an area that is already covered, add some glue to the paper that wasn’t glued in step 2 and finish your llama. Secure the end of the yarn to the back side of your llama with a little dab of glue. Now, repeat steps 1 and 2 if your llama has multiple pieces, like we did with the head.
Llama Ornament Steps 4 – 7
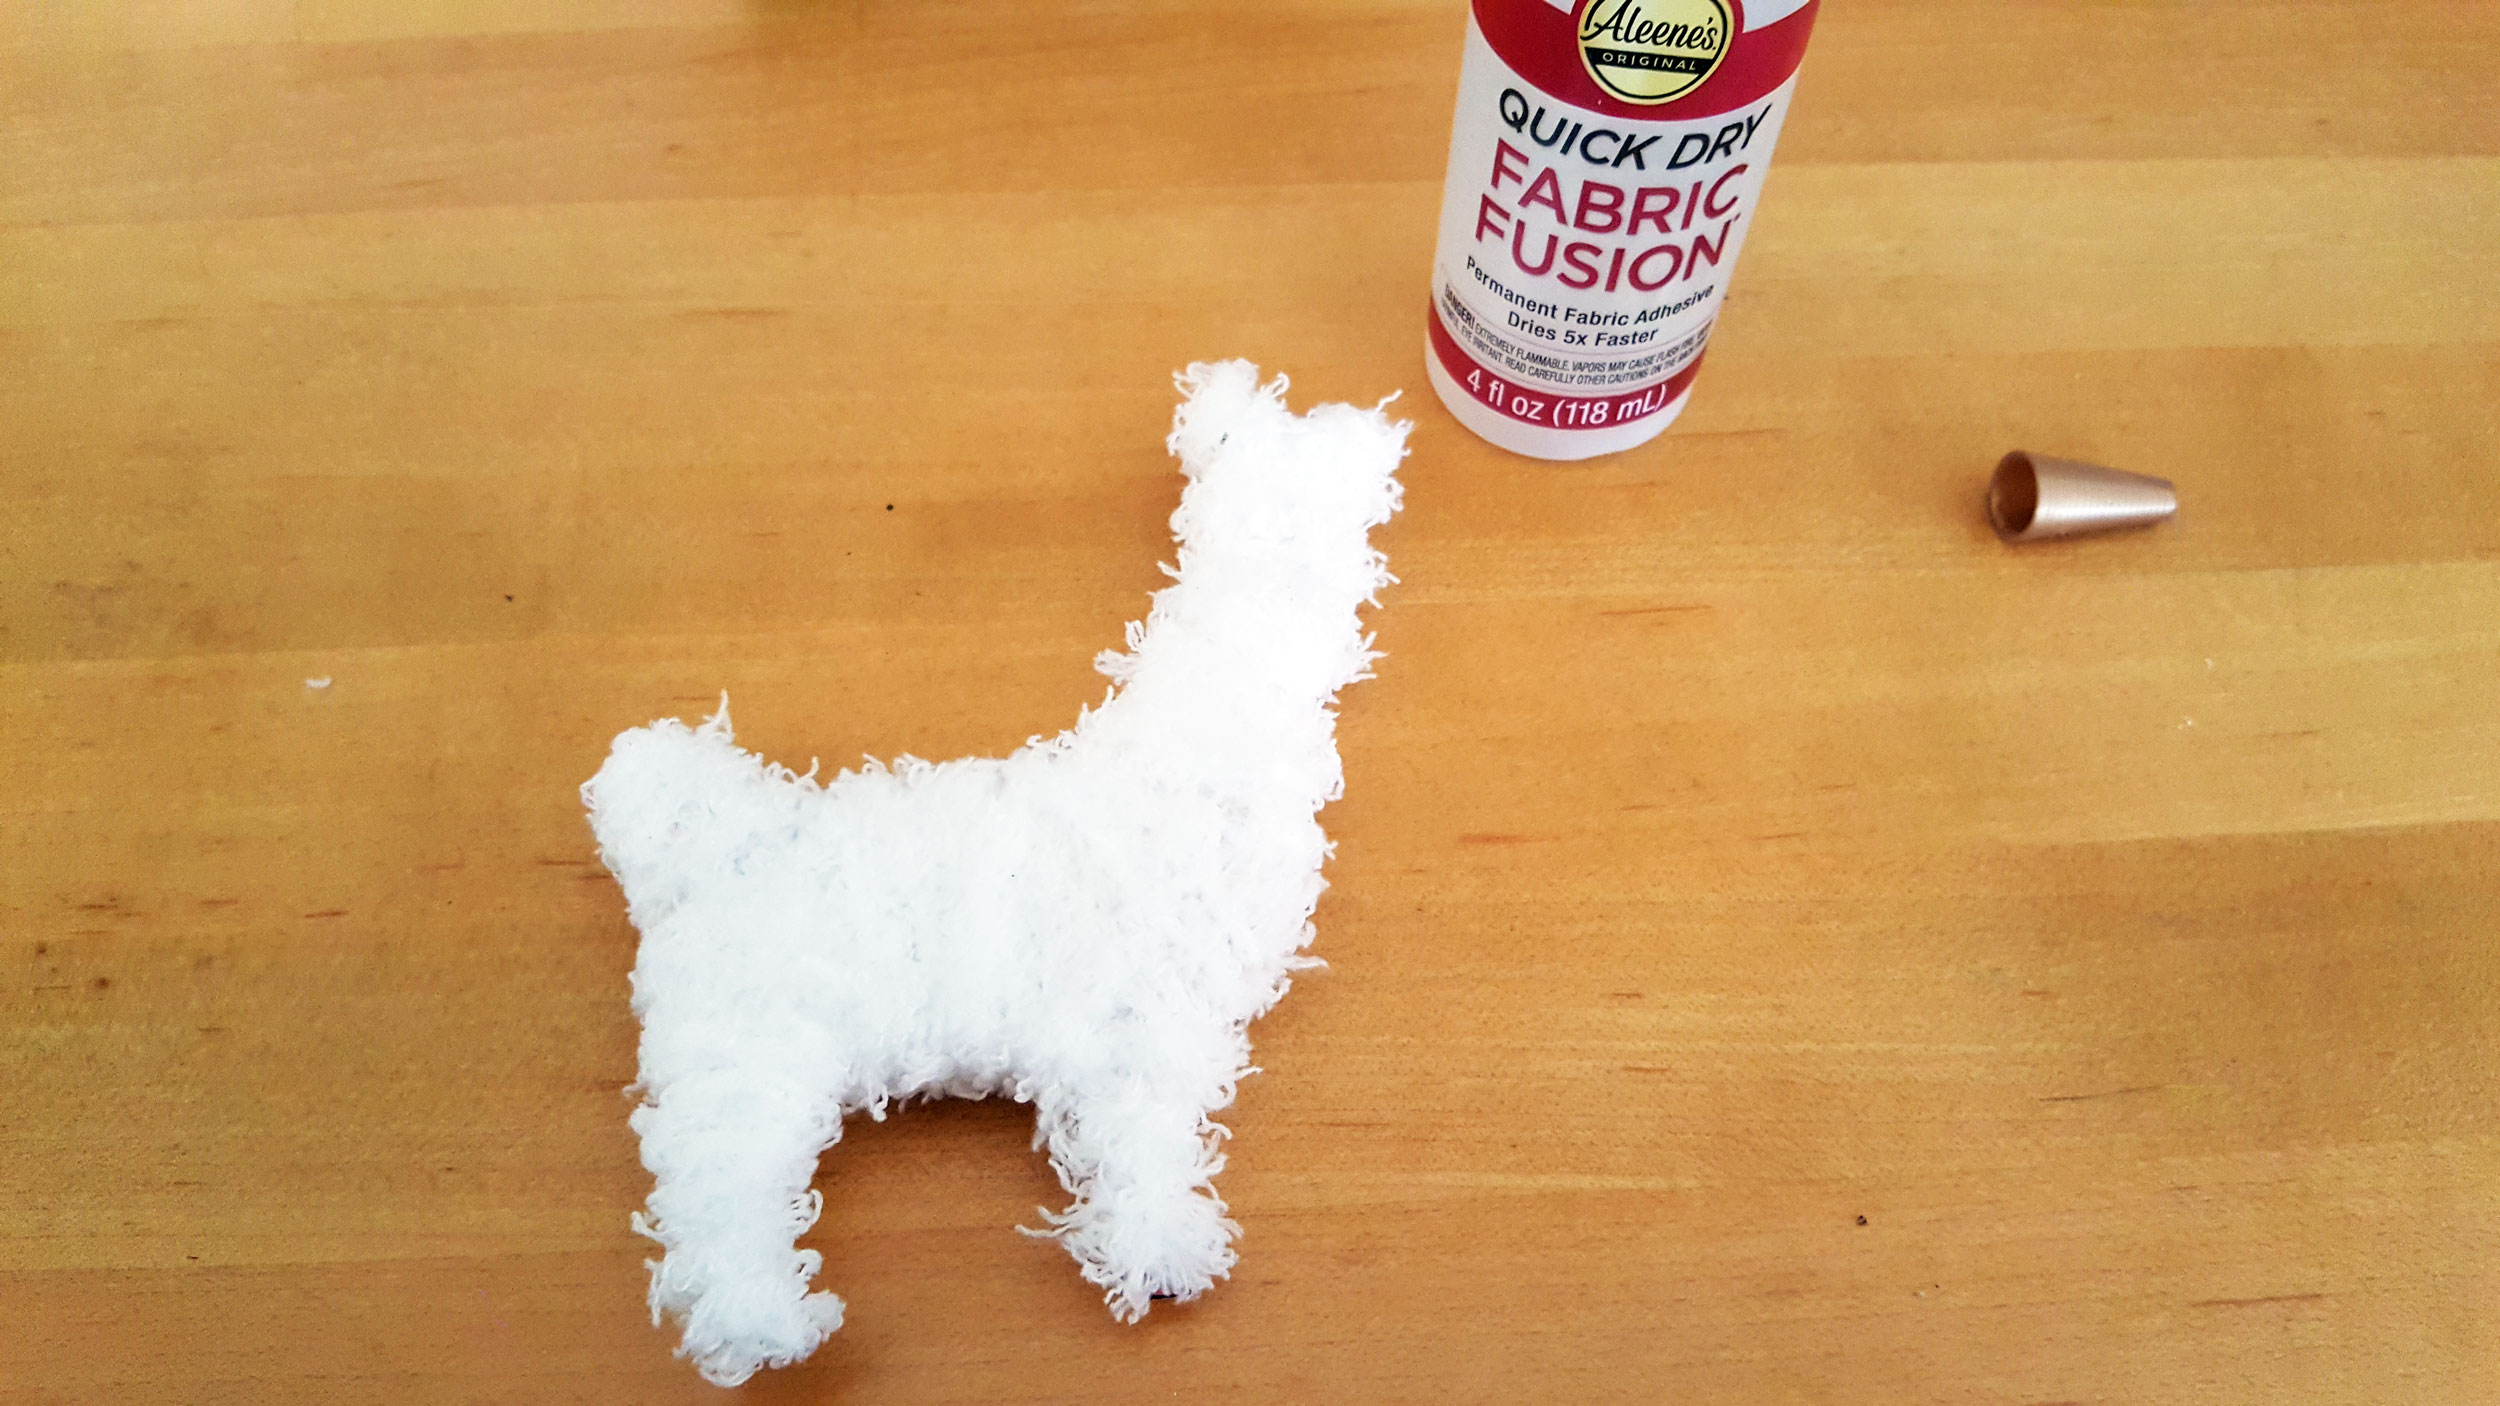
Step 4: If you have multiple pieces, glue them together. We glued the head onto the body and then added a few more layers of the yarn to make sure that the two pieces were securely attached and that you couldn’t see any separation between the two parts.
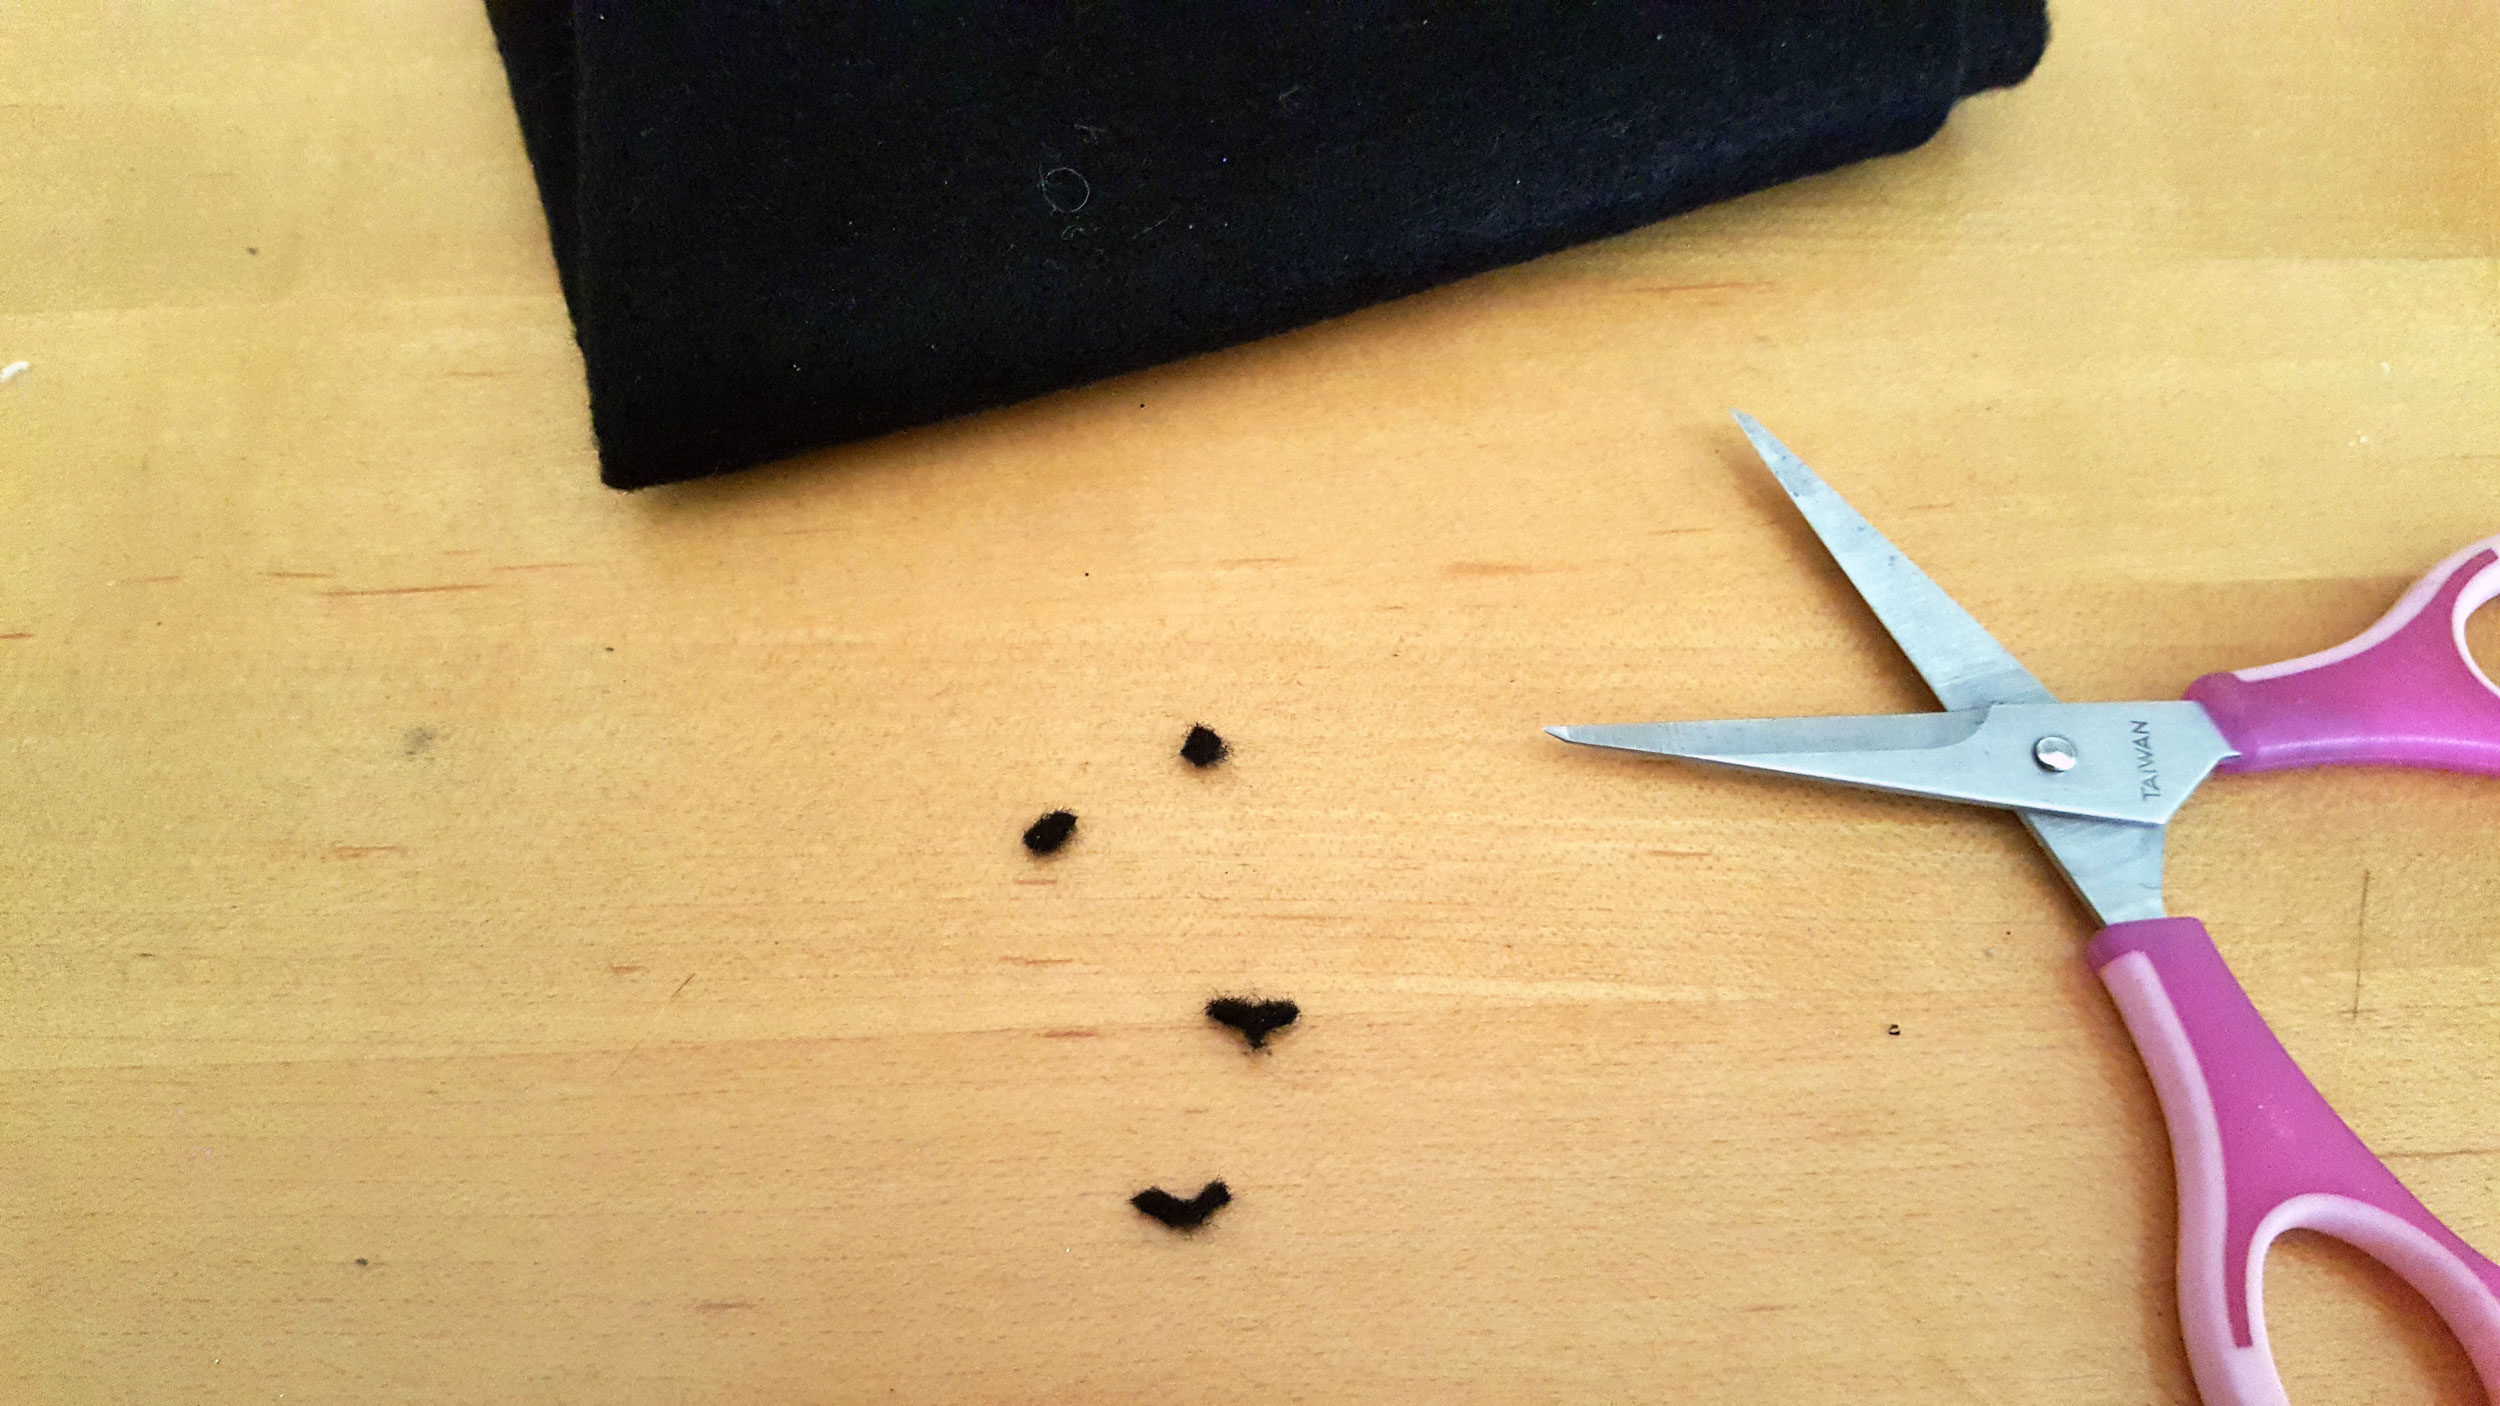
Step 5: Now it’s time to give your llama ornament some personality. Cut eyes, nose and mouth out of the black felt. Remember, these pieces will be tiny, so small, sharp crafting or sewing scissors work the best.
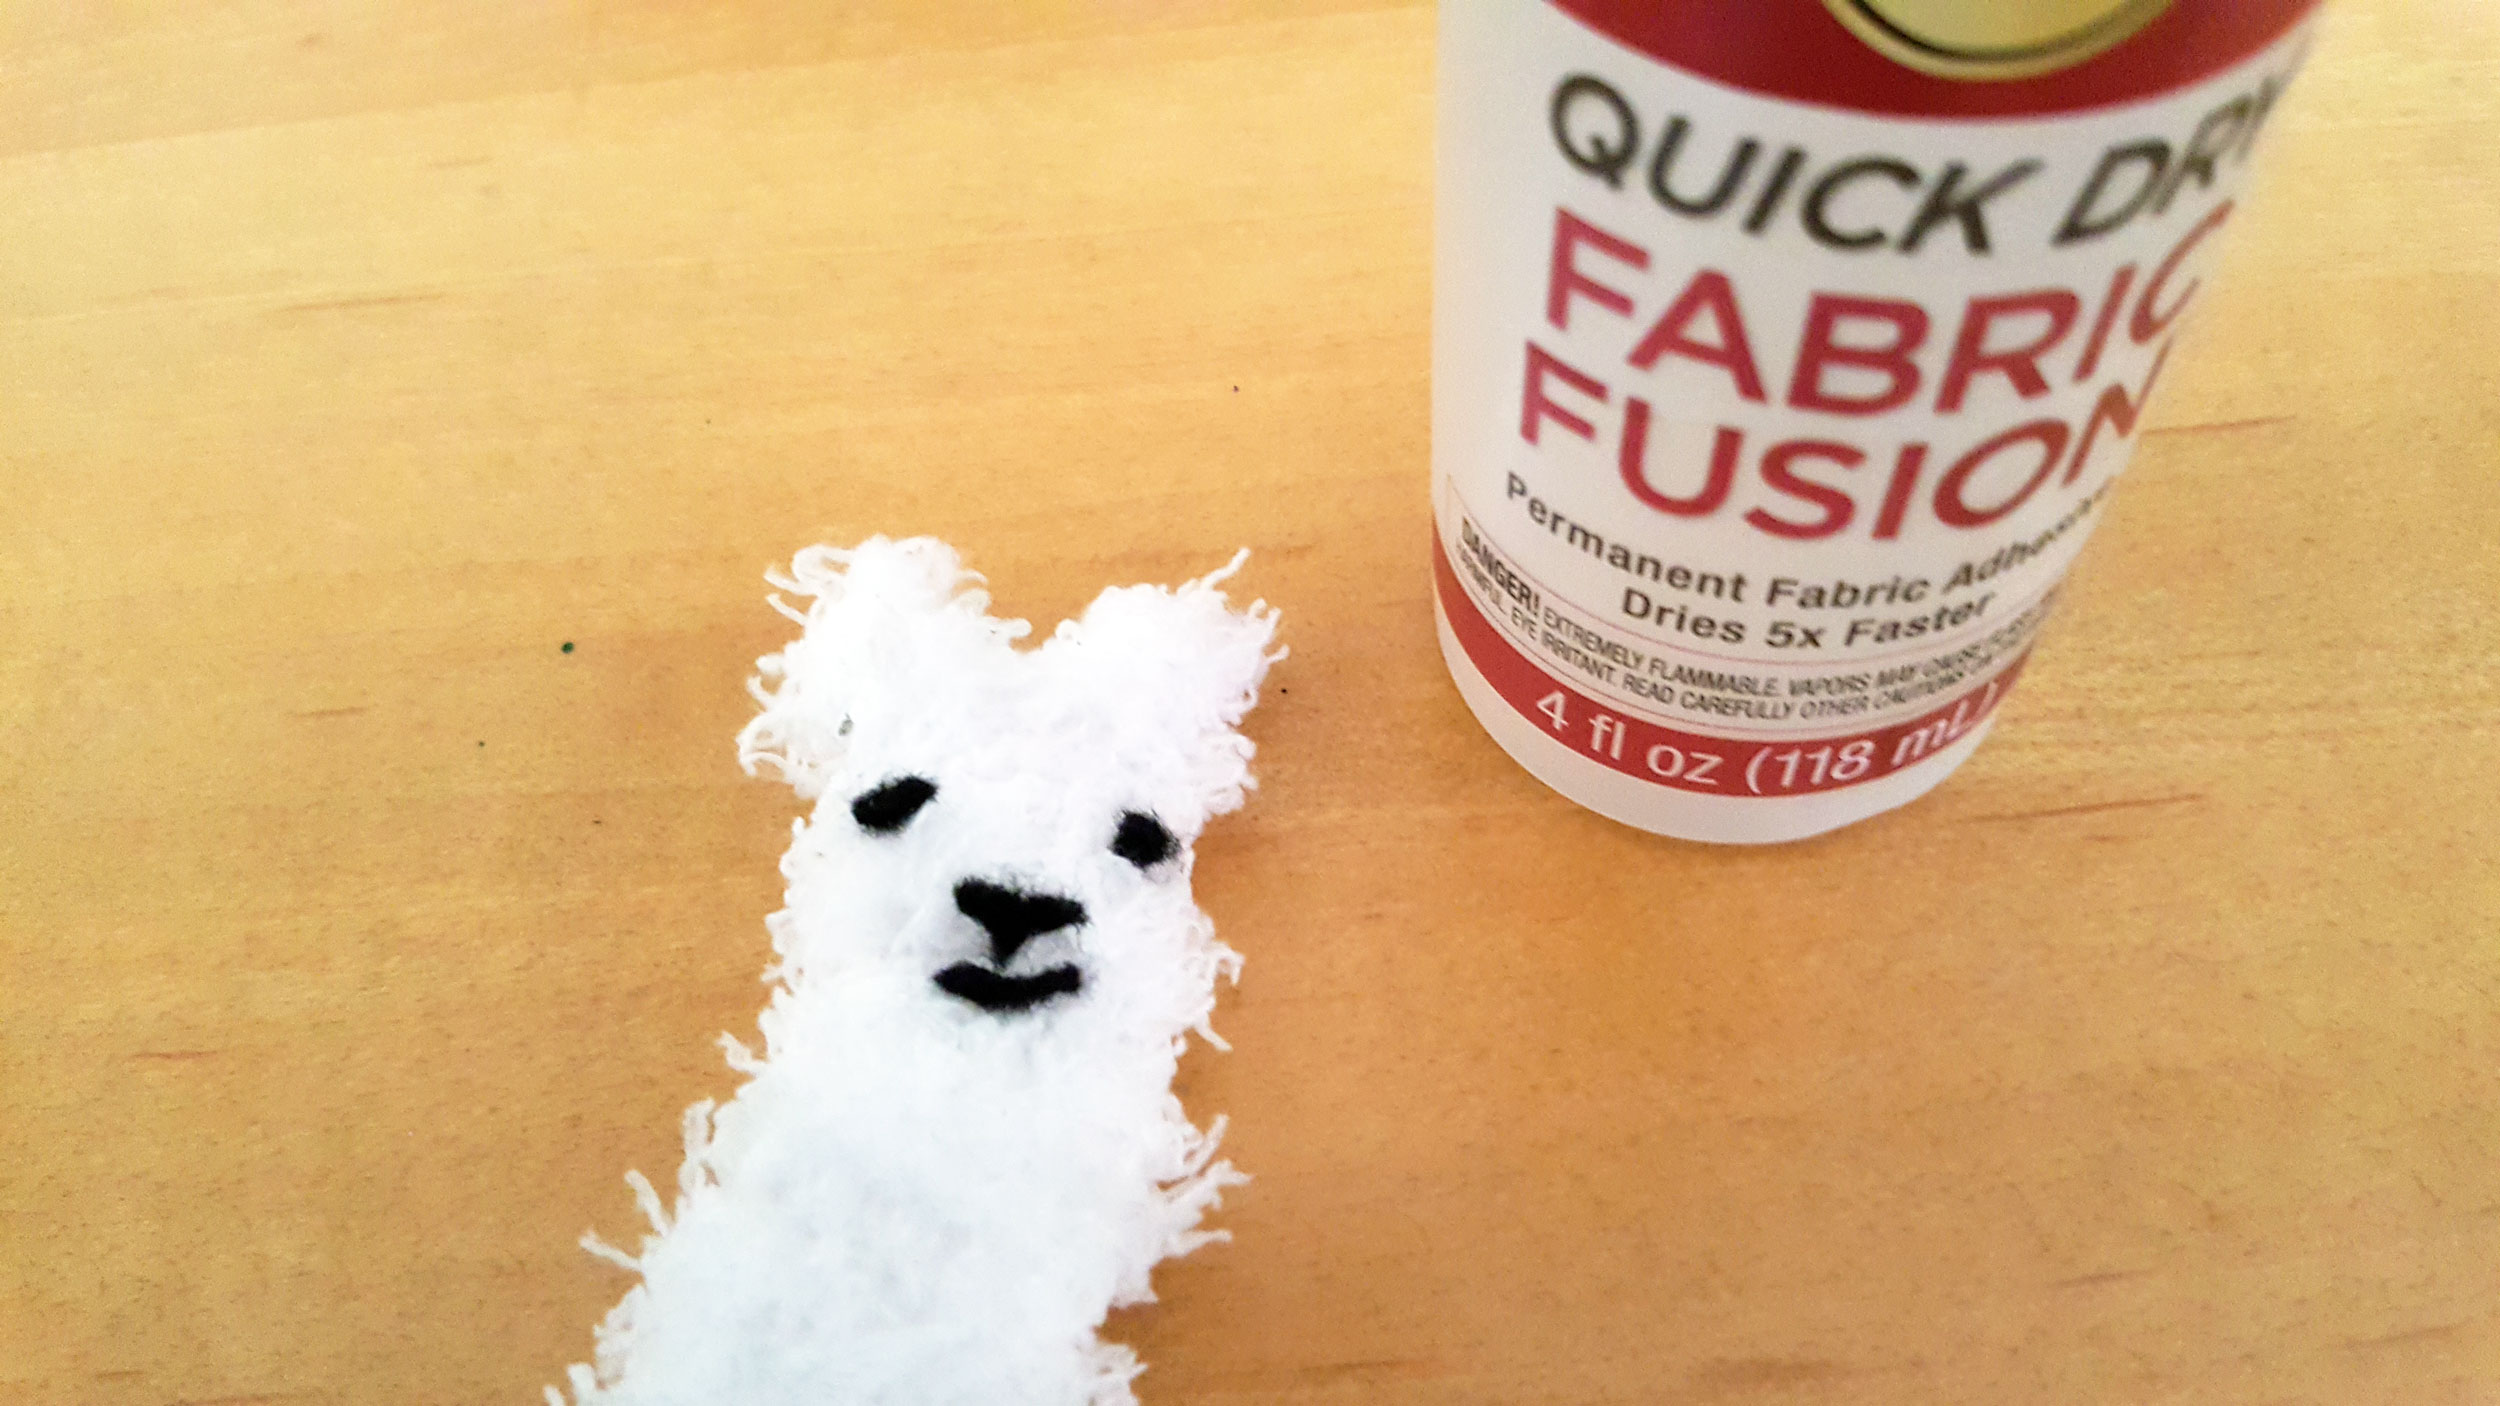
Step 6: Use the fabric glue to make your llama’s face. If you notice, llamas have eyes that are very separated from one another. Make sure your llama ornament eyes are wide apart when you glue them!
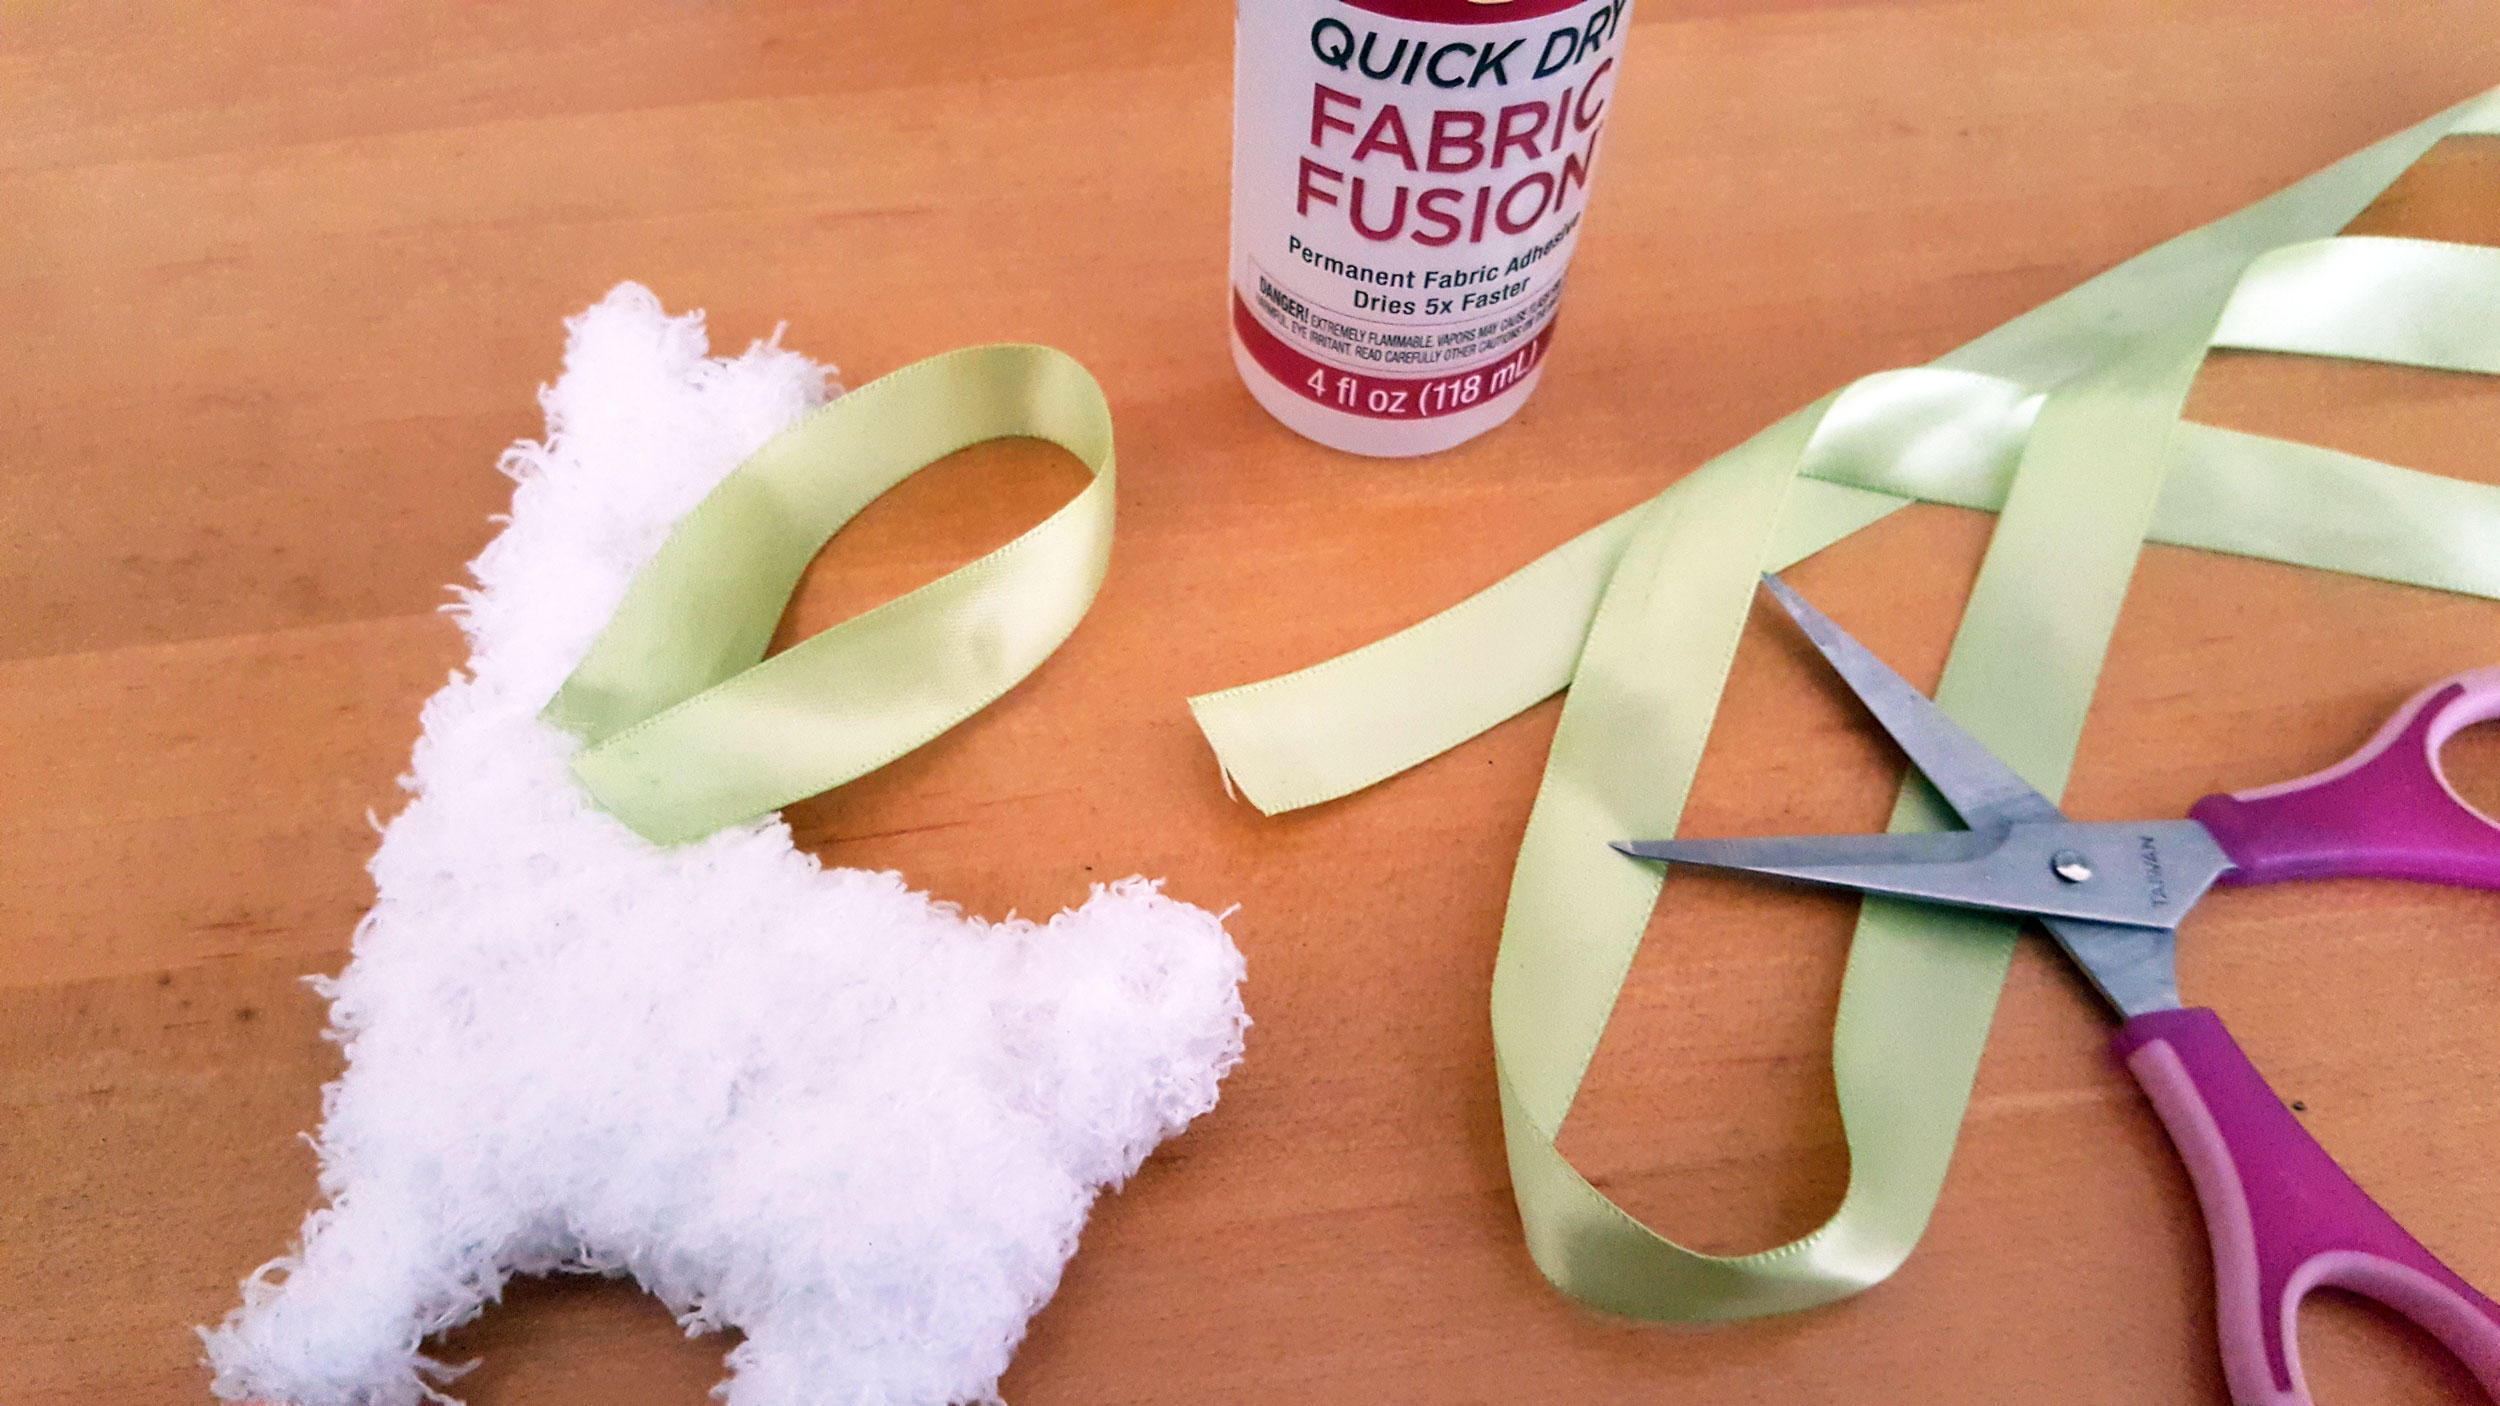
Step 7: We’re almost done! Now that your llama is finished, it’s time to make it into a llama ornament. Simply cut a strand of ribbon, fold it into a loop and glue it to the back of your llama.
Note: It is important to let the glue dry and set before trying to hang it up.
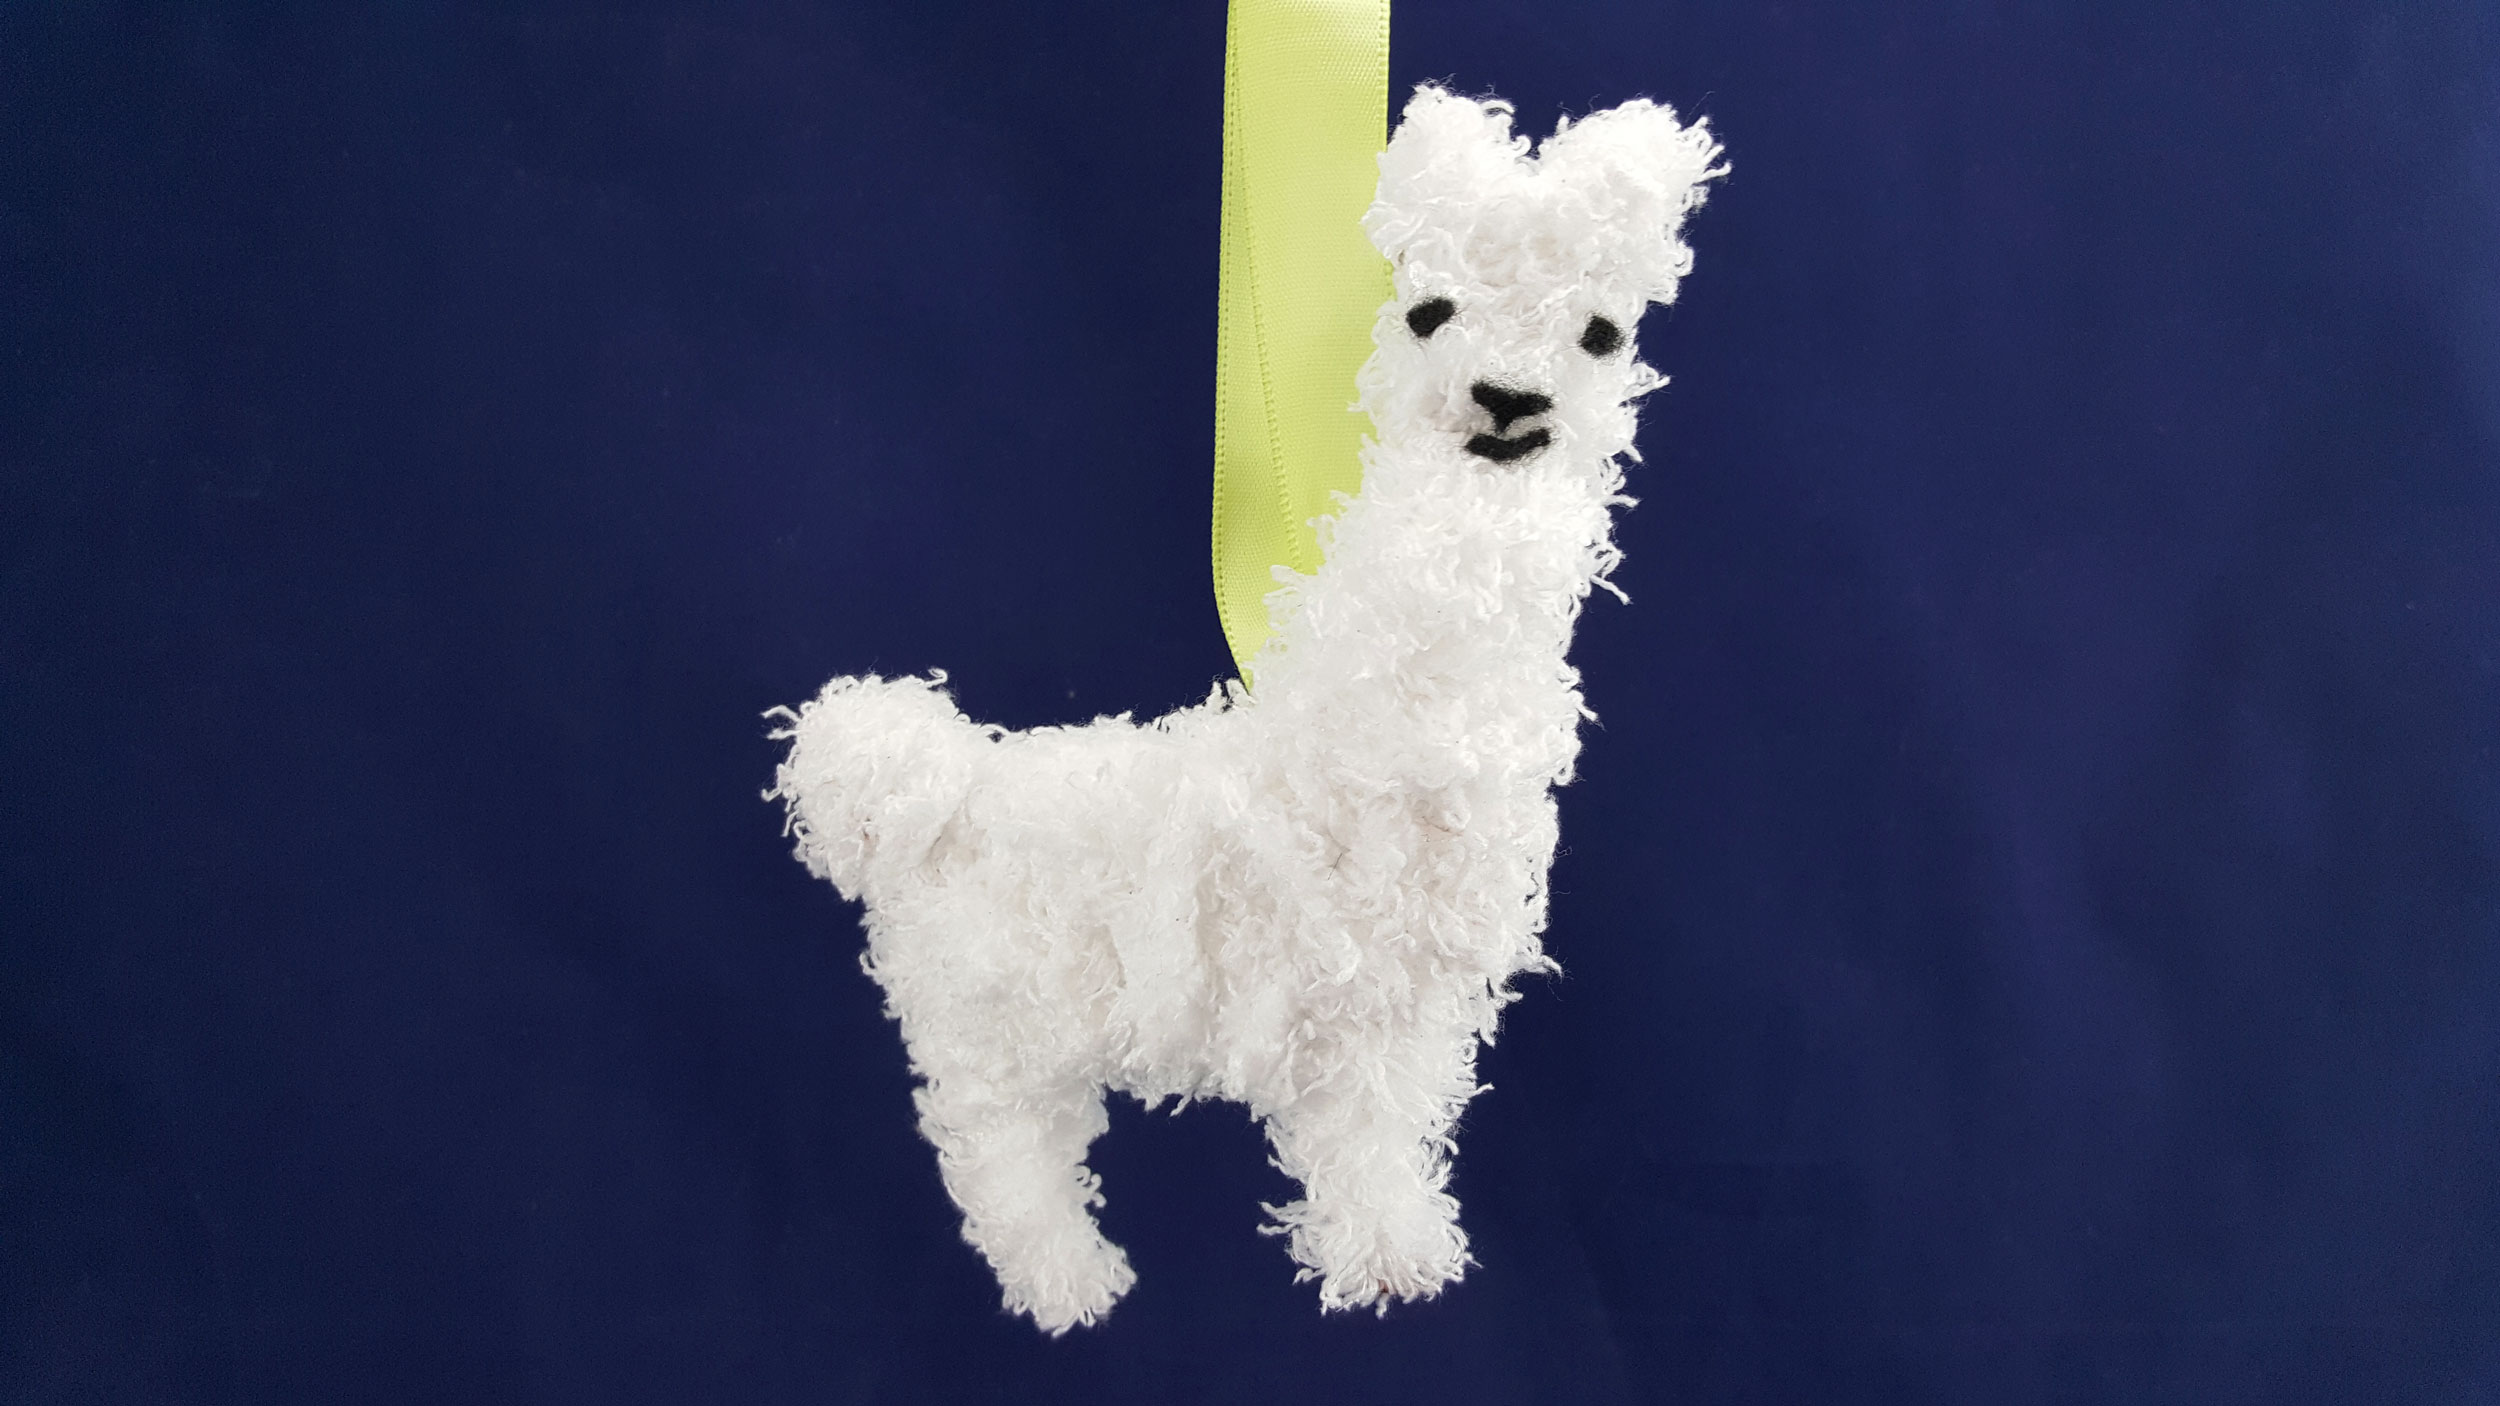
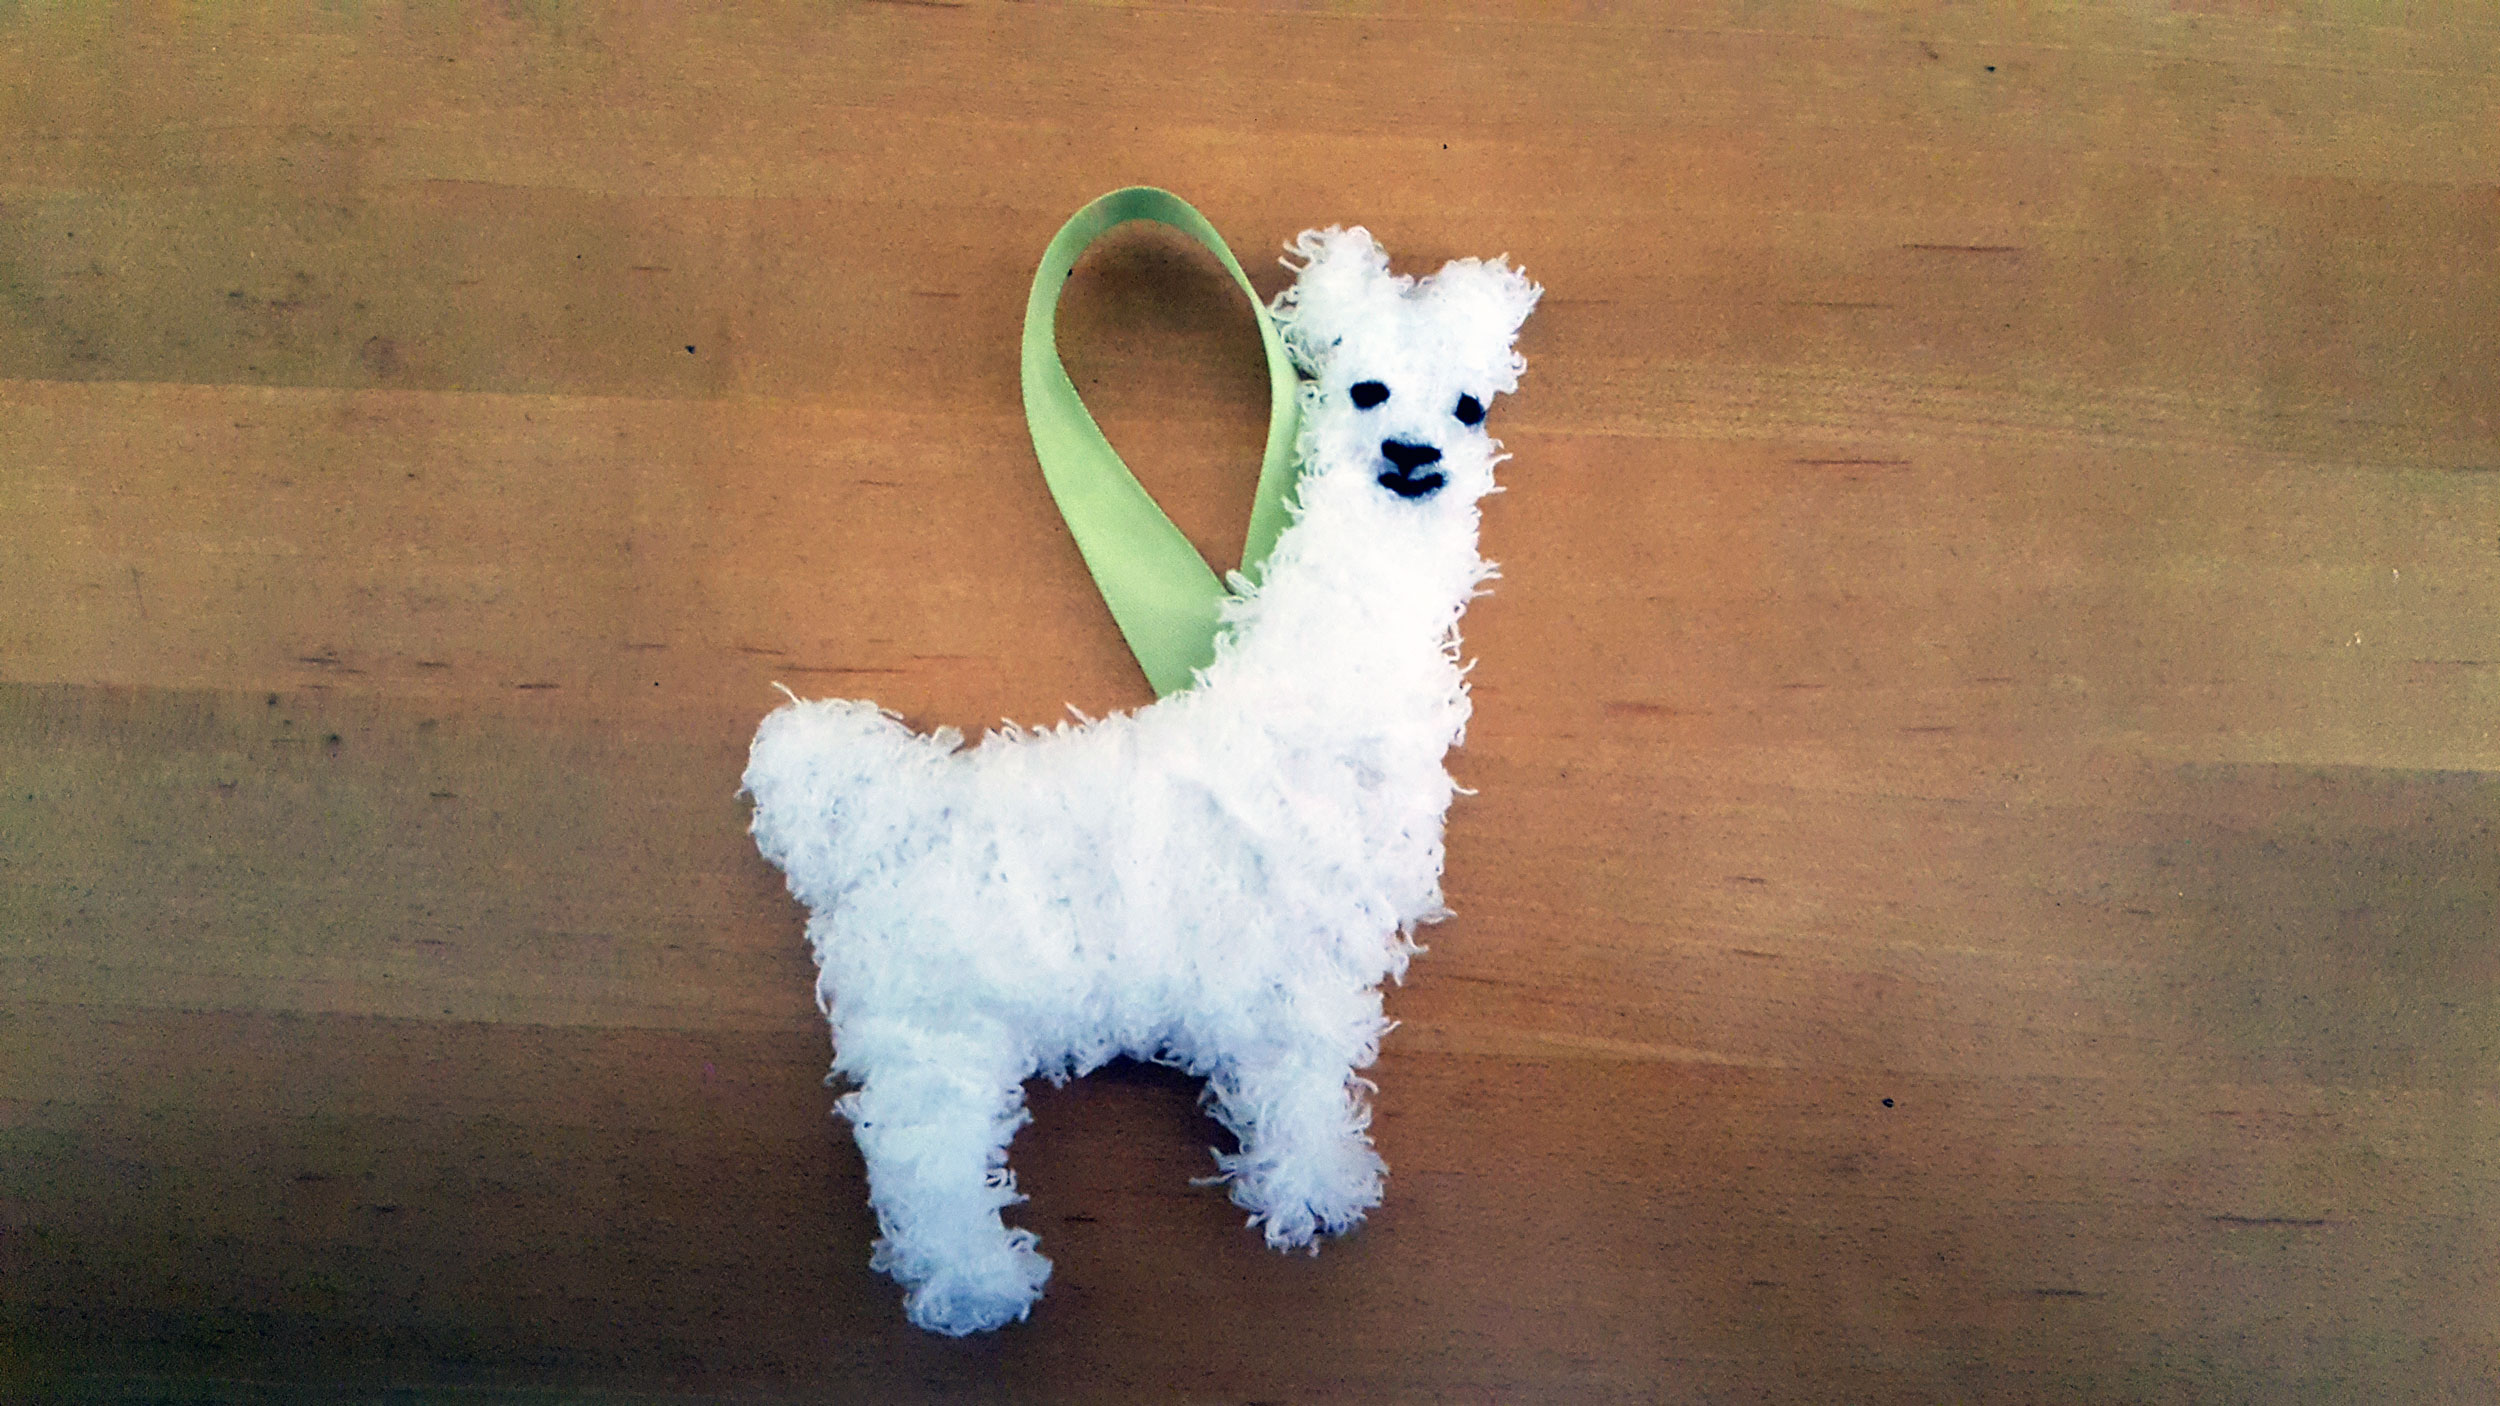
That’s it! Now you have created a unique llama ornament that the llama lover will fall in love with. It is the perfect decoration for your tree or to hang on the wall in your room. Depending on what color yarn you select, you can make llama ornaments in any color that you wish!
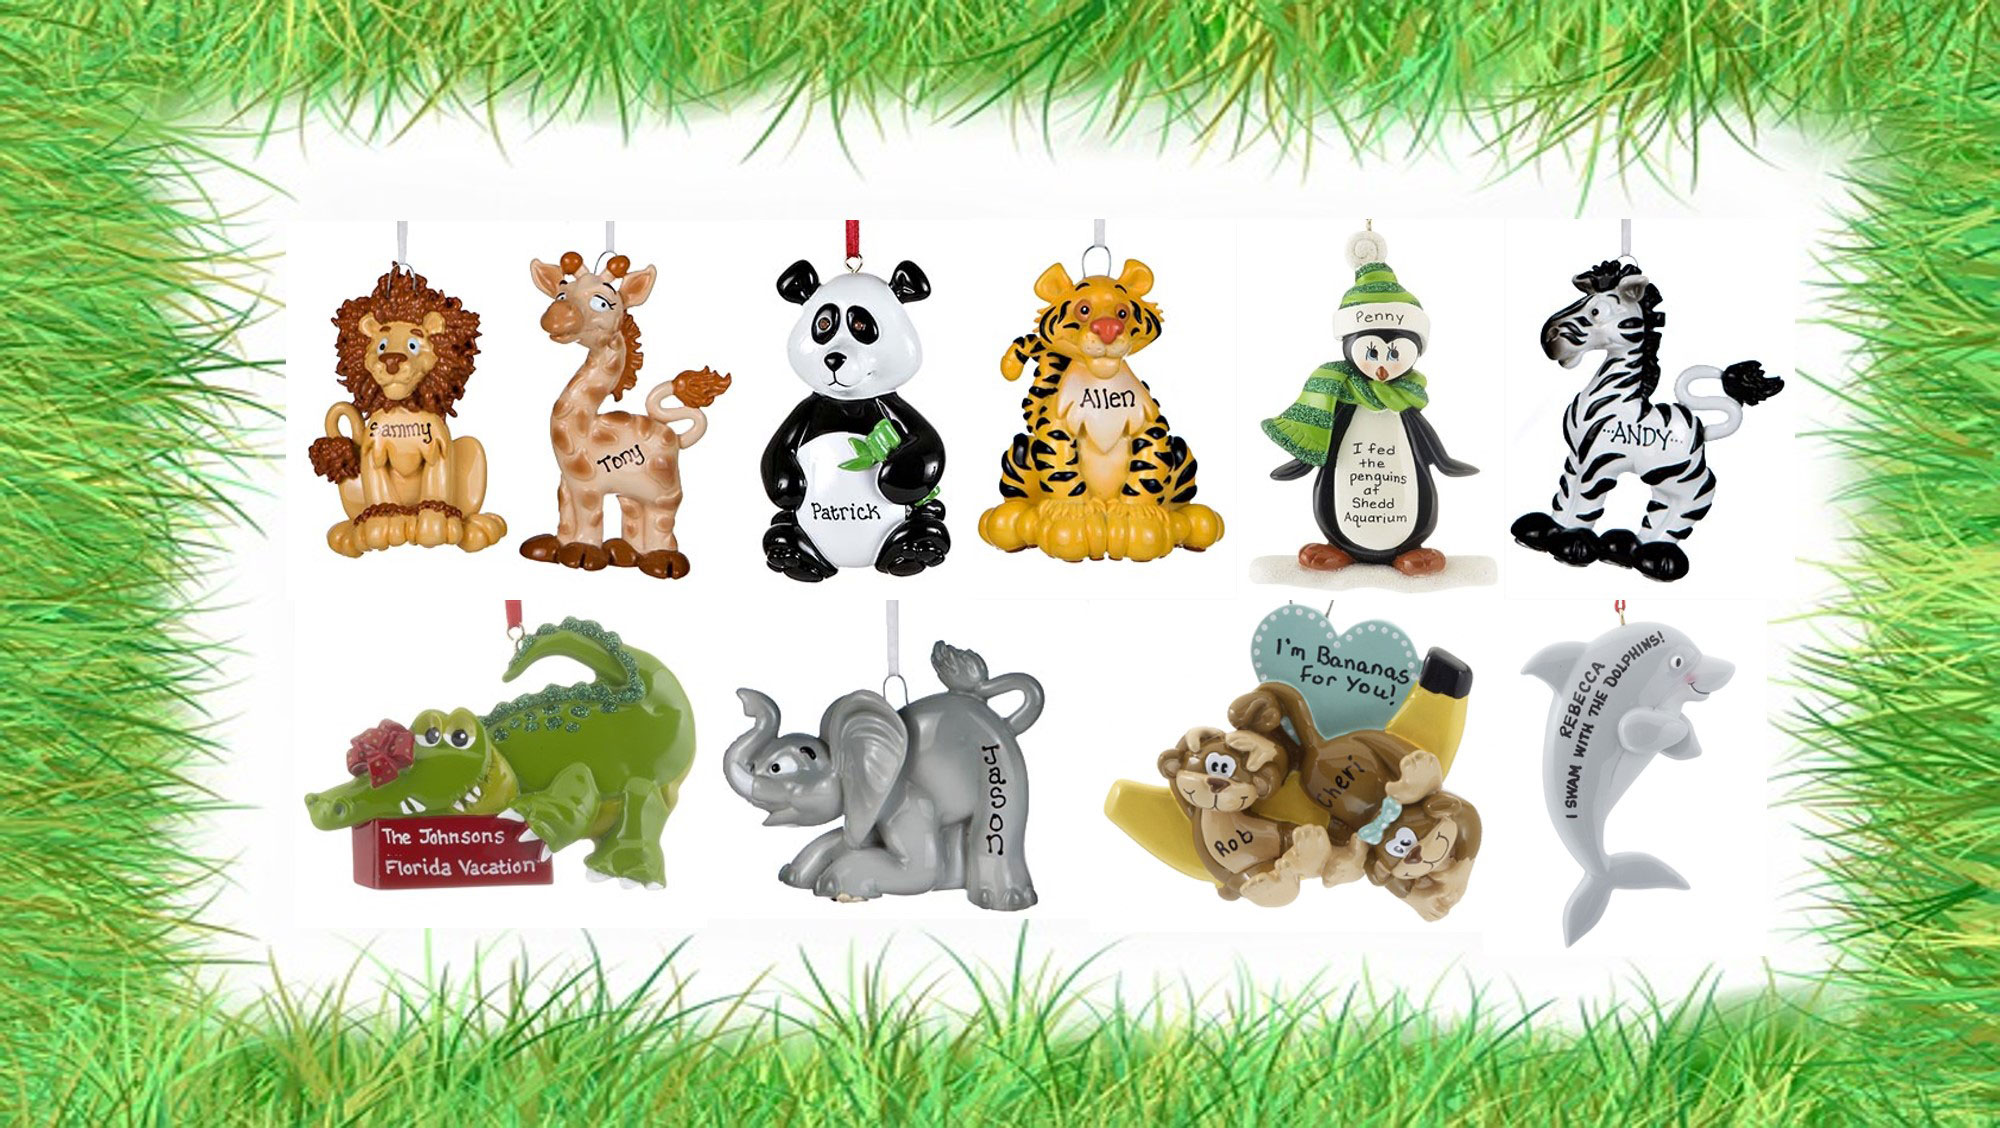
Are you an animal lover but aren’t crafty enough to make our llama ornament? Check out our fun selection of personalized zoo animal ornaments that are whimsical gifts any animal lover will adore.