
Celebrate American pride, military service, and family memories with personalized patriotic ornaments. Shop American flag ornaments, military family keepsakes, veteran gifts, memorial ornaments, national park designs, and America’s 250th birthday ornaments.
Personalized Christmas Ornaments
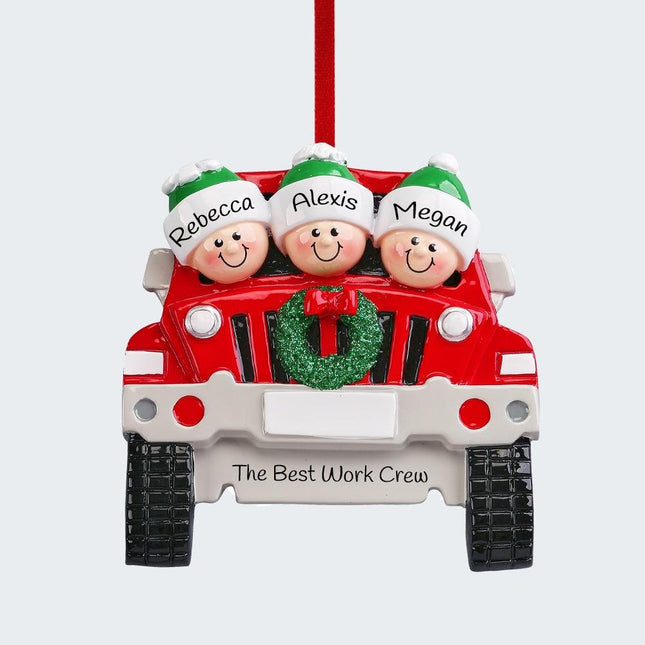
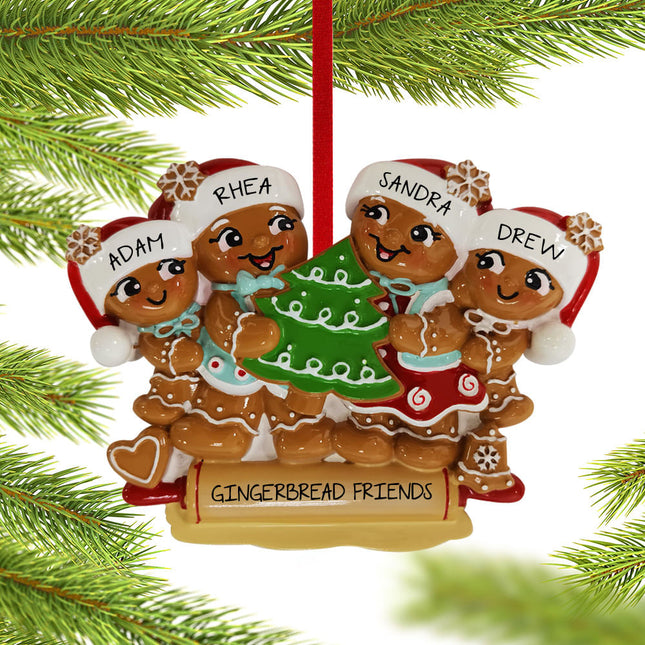
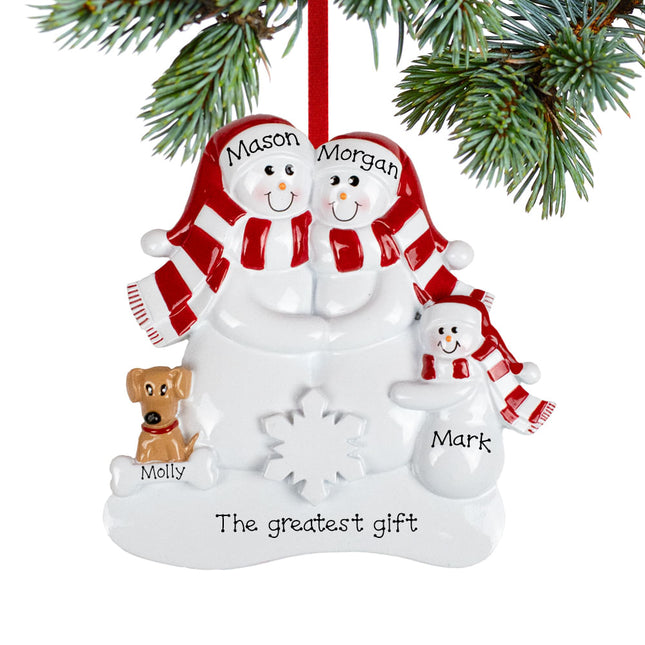
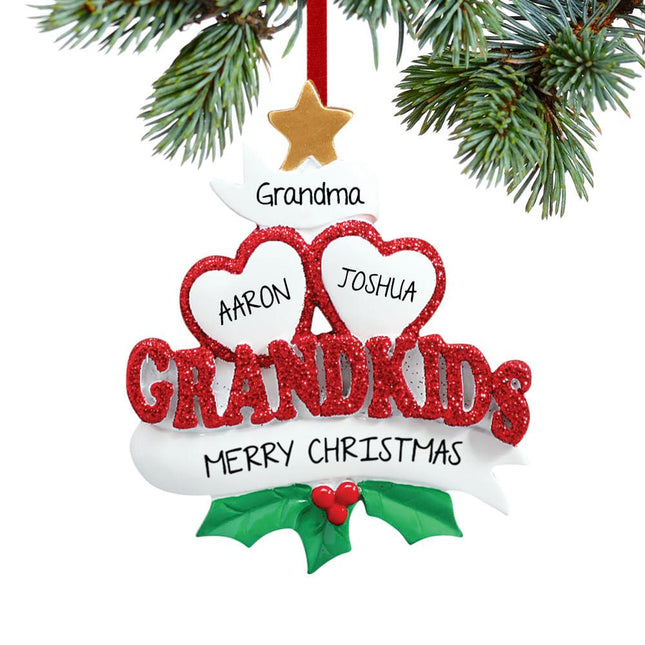
Celebrate the big moments with personalized Christmas ornaments! With over 500 personalized Christmas ornaments, our selection is made for every family member, special event, or milestone. Whether you're starting a new tradition or honoring generations past, each piece is crafted to reflect your story. Shop our personalized collection today to find the newest addition to your Christmas ornament collection.
-


$19.95
-


$19.95
-


$19.95
-


$19.95
-


$19.95
-


$19.95
-


$17.95 - $19.95
-


$19.95
-


$17.95 - $19.95
-

$19.95
-


$19.95 - $28.95
-

$19.95
-


$17.95 - $19.95
-


$17.95 - $19.95
-


$19.95
-


$19.95
-


$19.95
-


$19.95
-


$19.95
-

$19.95
-

$17.95
-

$19.95
-

$19.95
-


$19.95
-

$19.95
-


$17.95 - $19.95
-


$19.95
-

$19.95
-

$19.95
-


$19.95
-


$17.95 - $28.95
-


$19.95
-

$19.95
-


$19.95
-


$17.95 - $19.95
-


$19.95 - $28.95
-


$17.95 - $28.95
-

$29.95
-


$28.95
-

$19.95
-


$17.95 - $19.95
-


$19.95
-

$19.95
-


$19.95 - $28.95
-

$19.95
-

$19.95 - $28.95
-

$19.95
-

$26.99


You have seen 48 out of 524 products
Frequently Asked Questions
How long does personalization take?
Can I see a preview of my personalized ornament?
Do you offer gift packaging for personalized ornaments?